Nov

17

Leftover Halloween Candy Trifle

i don’t know about you, but this Halloween candy HAS…GOT…TO…GO!!!  we allowed the kids to each pick out 10 pieces after Halloween, and the rest was poured into a massive bowl that has been sitting up on the top of my fridge, taunting me every time Jake and i sit down to watch HIMYM on Netflix (we are on Season 7…and i’m dying to know how its all gonna end.  i’m seriously invested in the lives of Ted, Robin, Barney, Lily-Pad and Marshmallow.  i feel like they are my real-life friends….like i’m actually gonna go meet up with them tonight in our booth at MacLaren’s.  am i the only one who really feels like that?  please…somebody…be as crazy as i am when it comes to TV shows.)

anyway…i had finally had enough of the taunting coming from that big wooden bowl, so i decided to do something about it…

so for our City Group Meeting last week, i decided i was gonna share the wealth…but since all of my friends are also all sick of the taunting coming from their own Halloween candy bowls, i had to get creative….

so…i adapted an old tried and true recipe called Death by Chocolate, and came up with a great way to rid my house of all those leftover chocolate bars criminals and get my friends to eat them instead, without them really realizing my sneaky ways.  and so i present to you…

Leftover Halloween Candy Trifle

text

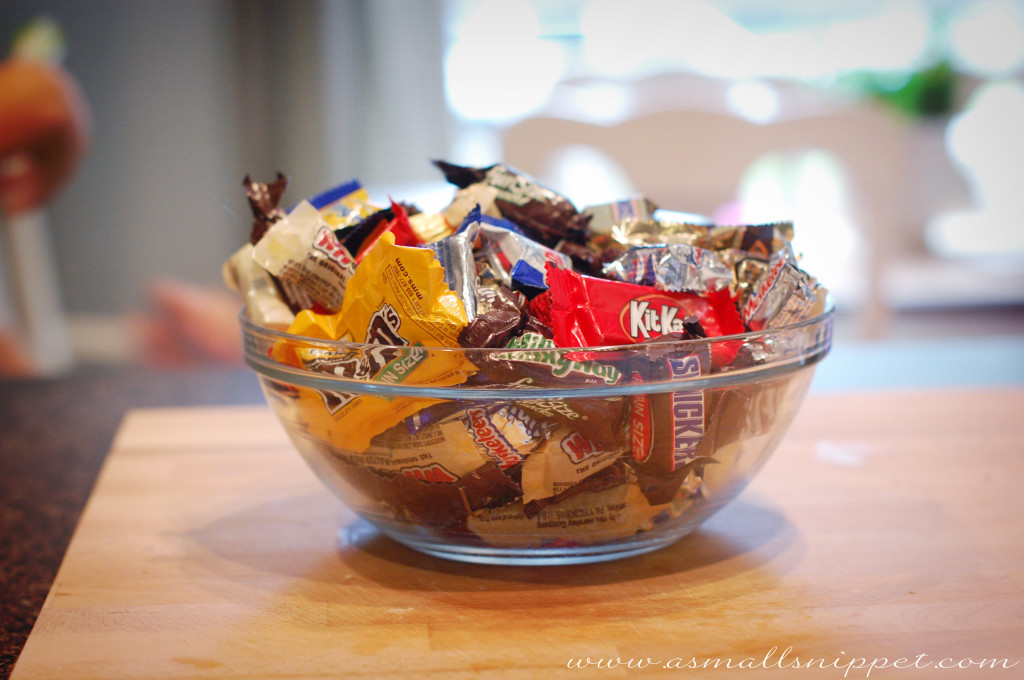
here’s what you do.  start off my digging all those tempting chocolate bars out of your stash.  don’t hold back people.  get ’em all.  EVERY…LAST…ONE.  the more the merrier.  don’t leave any behind.  include those m&m’s too, cause they are just as deadly…
candy

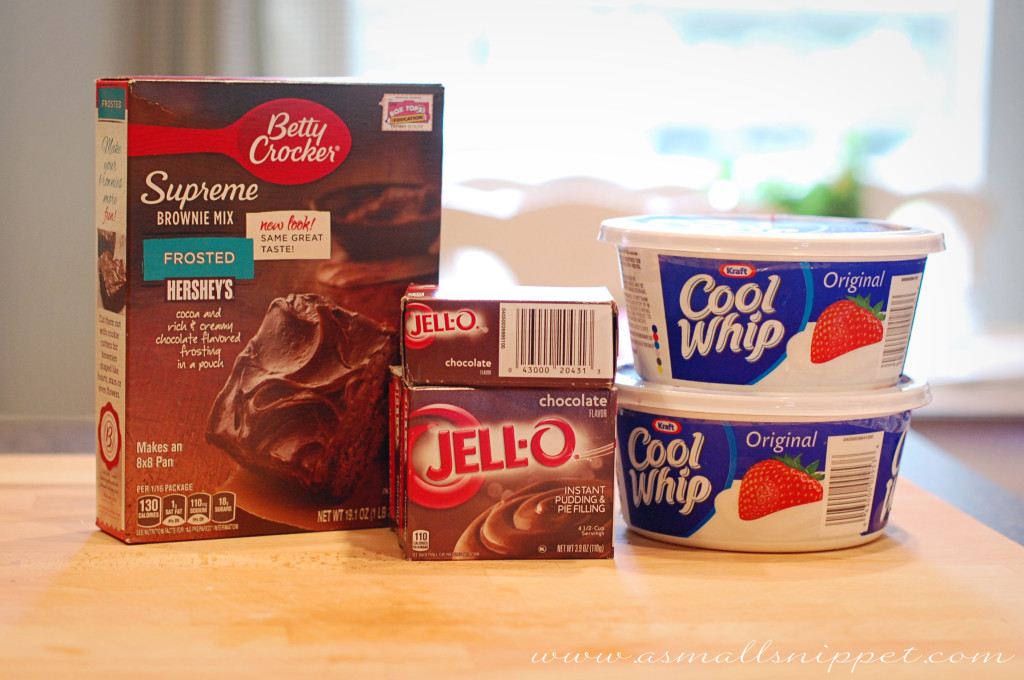
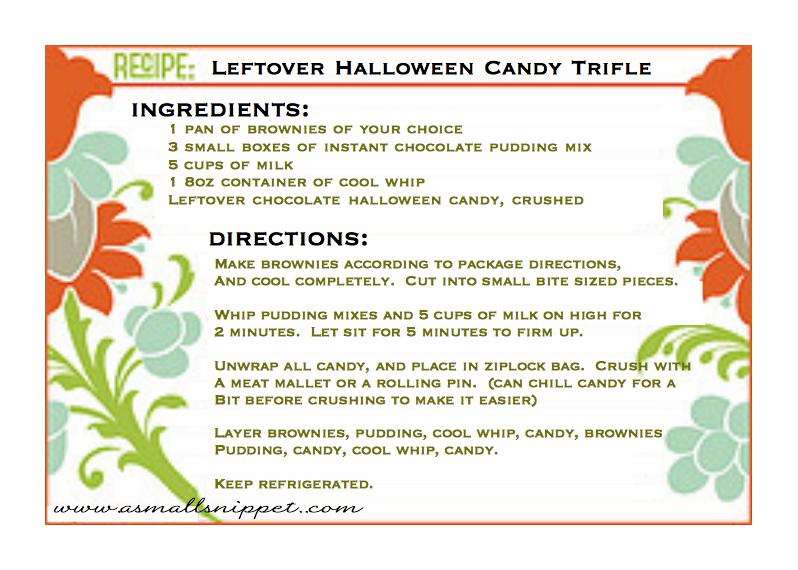
then gather up a few other weapons.  this ain’t no clean eating…we are pulling out the big guns for this job.  (full ingredients list on the recipe card at the bottom of the post)DSC_0205 copy

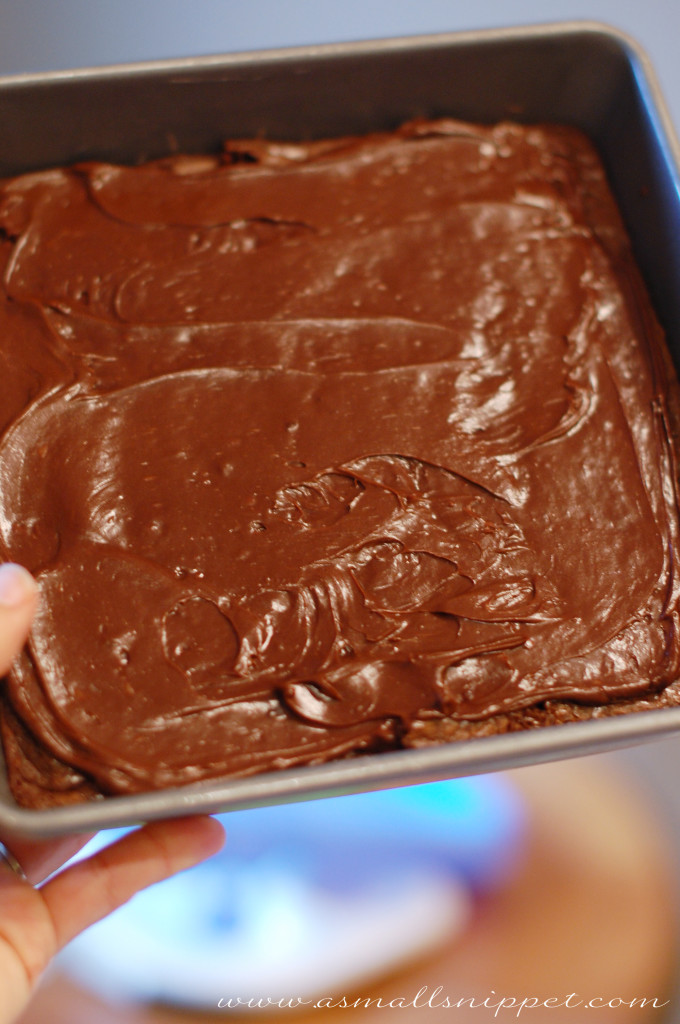
make some brownies and let them cool.  or buy some already made, but make sure you get or make the frosted ones.  cause frosting just makes everything better.  and you are trying to be sneaky here, so you want this to taste as amazing as possible, and let’s be honest…frosted brownies have some power that regular brownies just don’t possess.DSC_0260

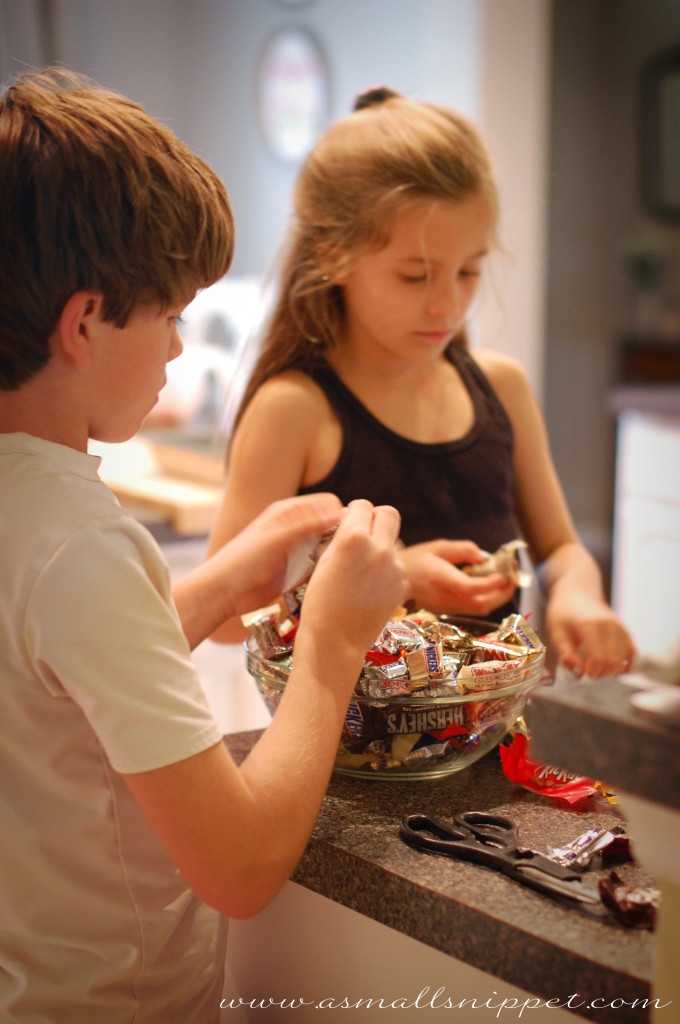
this next step might require some accomplices to do the dirty work.  let those accomplices unwrap all those little chocolate villains…DSC_0217 copy

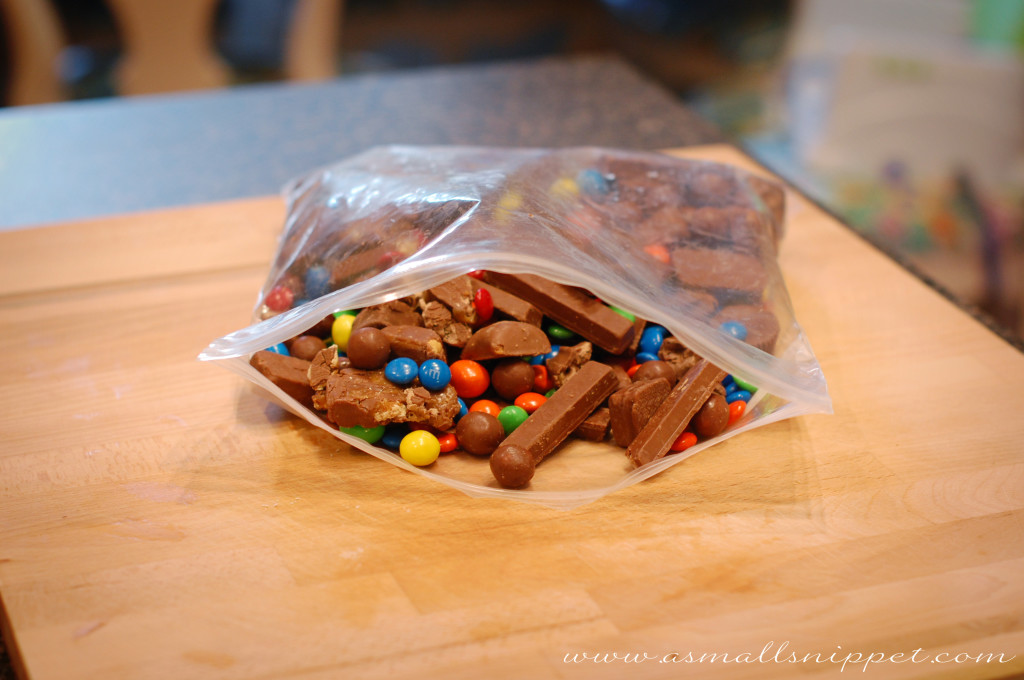
and just throw them all together into one big ol’ ziploc bag.  remember, they are the enemies here, so have no mercy:

DSC_0229 copy

then you…..
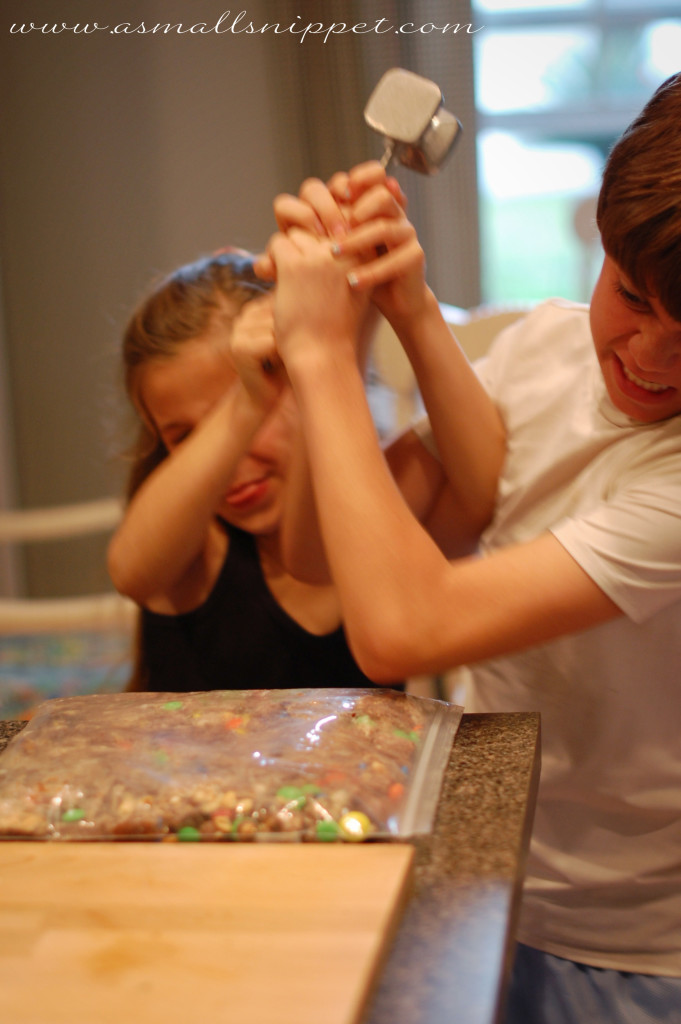
well….you go all B6-13 on ’em.  (Scandal reference, anyone?  anyone??)
i’ll just let the next picture do the explaining:

DSC_0240 copy

at this point, the dirty work is done.  now you just have to finish the job.  so make your pudding:

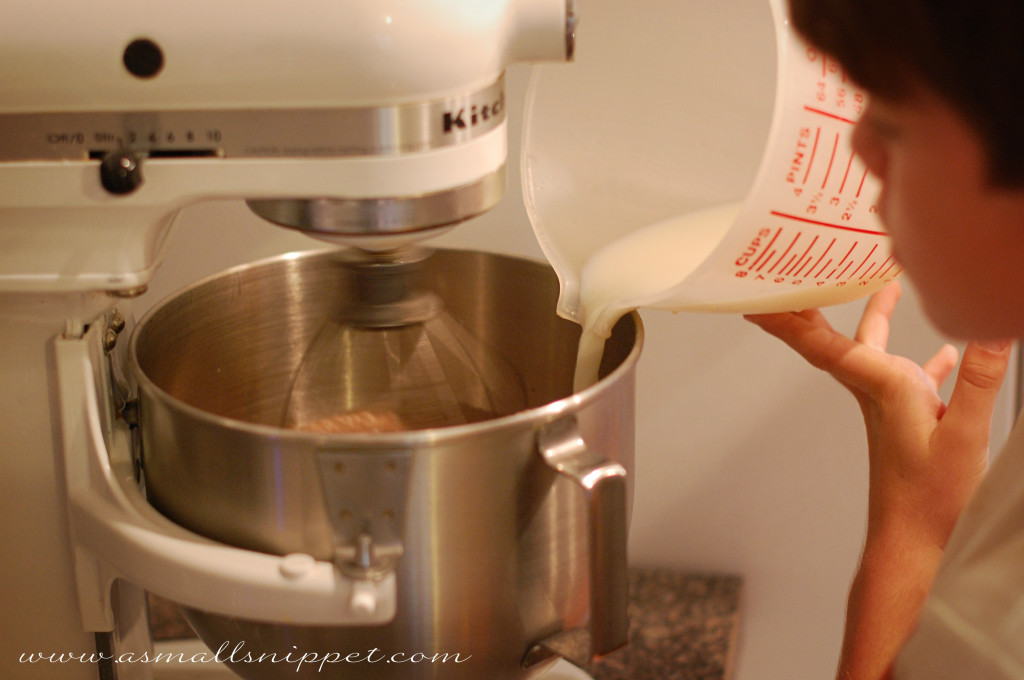
DSC_0220 copy

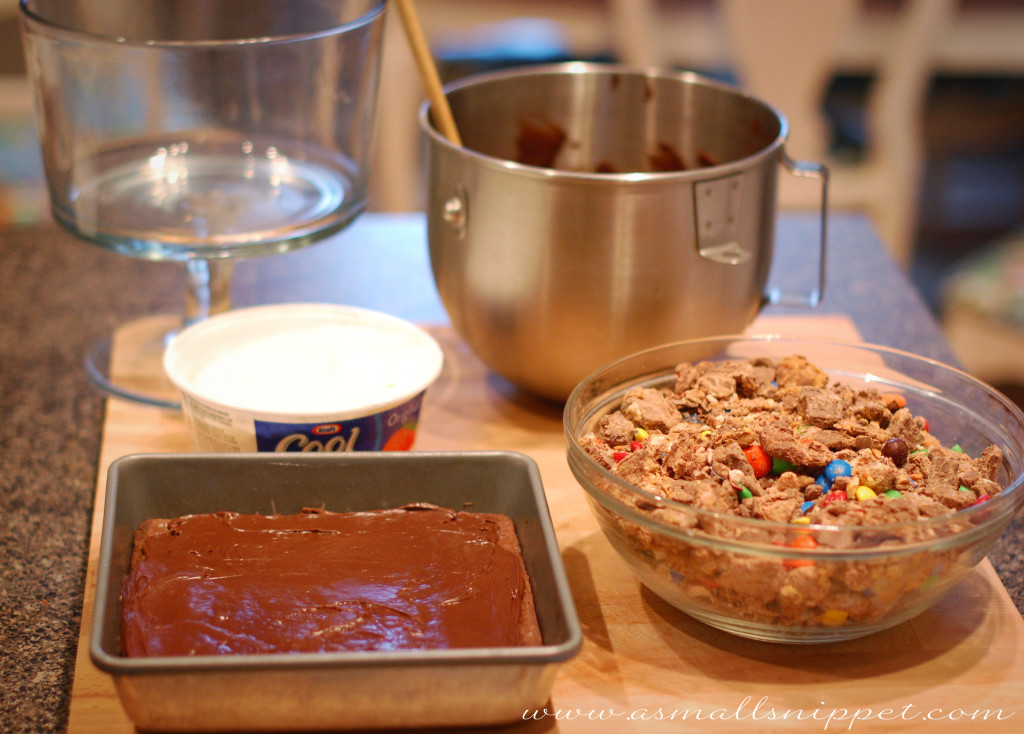
once that’s set, gather up all your ammunition:

DSC_0266 copy

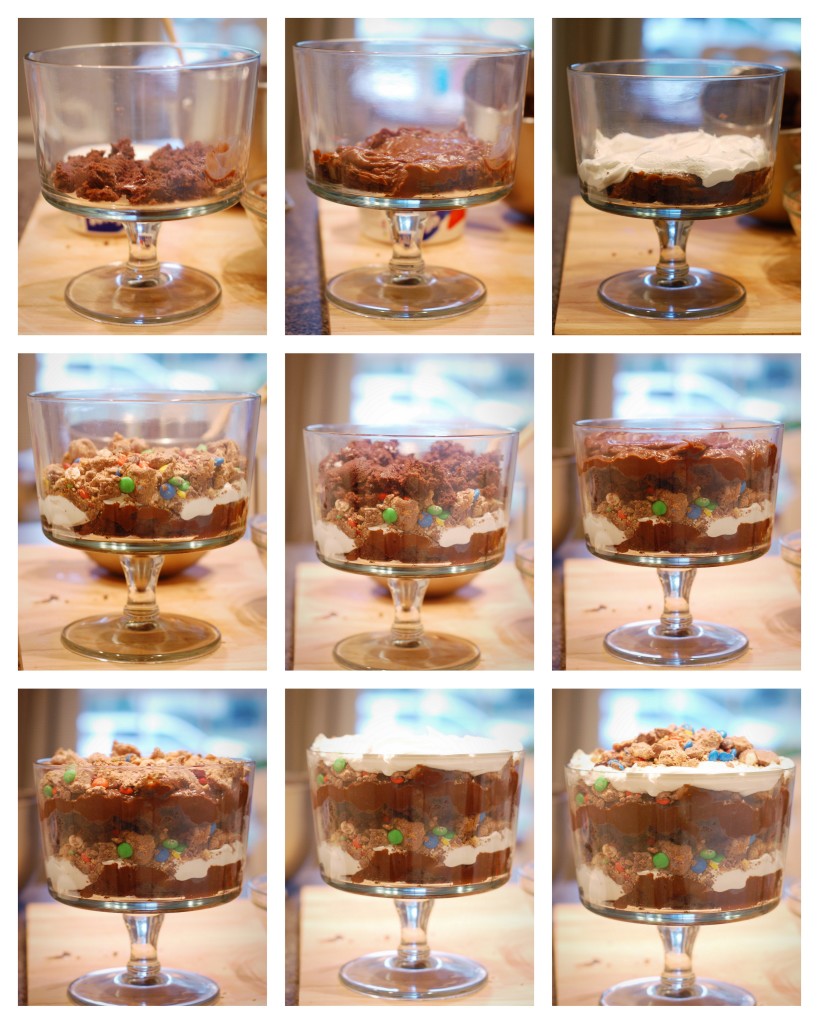
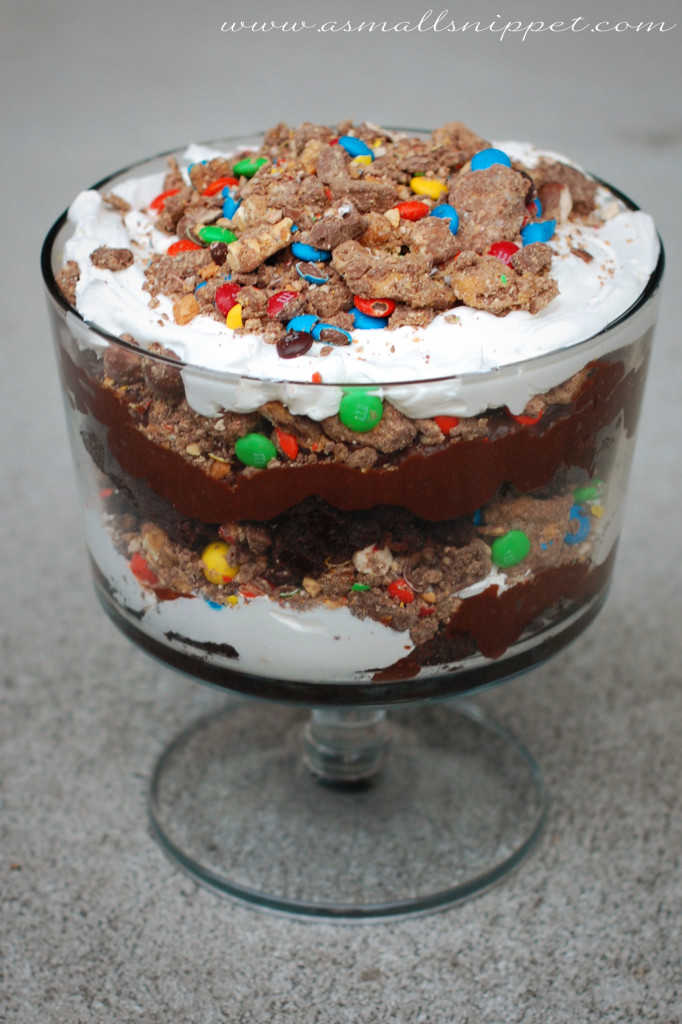
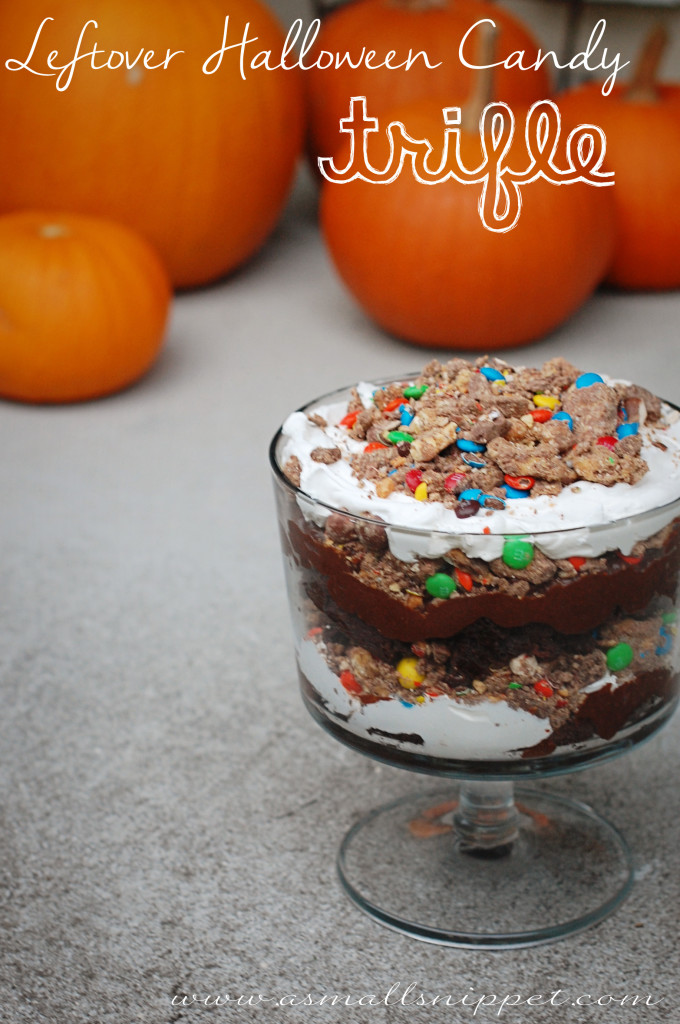
and start the layering, people.  brownies, pudding, cool whip, candy, brownies, pudding, candy, cool whip, candy:trifle

and your job is now complete.  you need to get rid of the evidence, so take it to the nearest gathering of friends, neighbors, heck…random people for all i care.  just GET THIS OUT OF YOUR HOUSE ASAP!!!  (but not before having just one little eensy weensy bite.  just one bite never hurt anyone.  you’ll thank me later.)DSC_0301 copy

here are the detailed instructions for your files:

halloween candy trifle
trust me.  do this immediately.  no one’s got to know the motive…and you will receive your payment in the heaps of gratitude from those with whom you choose to share this Death by Chocolate!

4 Comments

Nov

03

Easy DIY Chalkboard Art

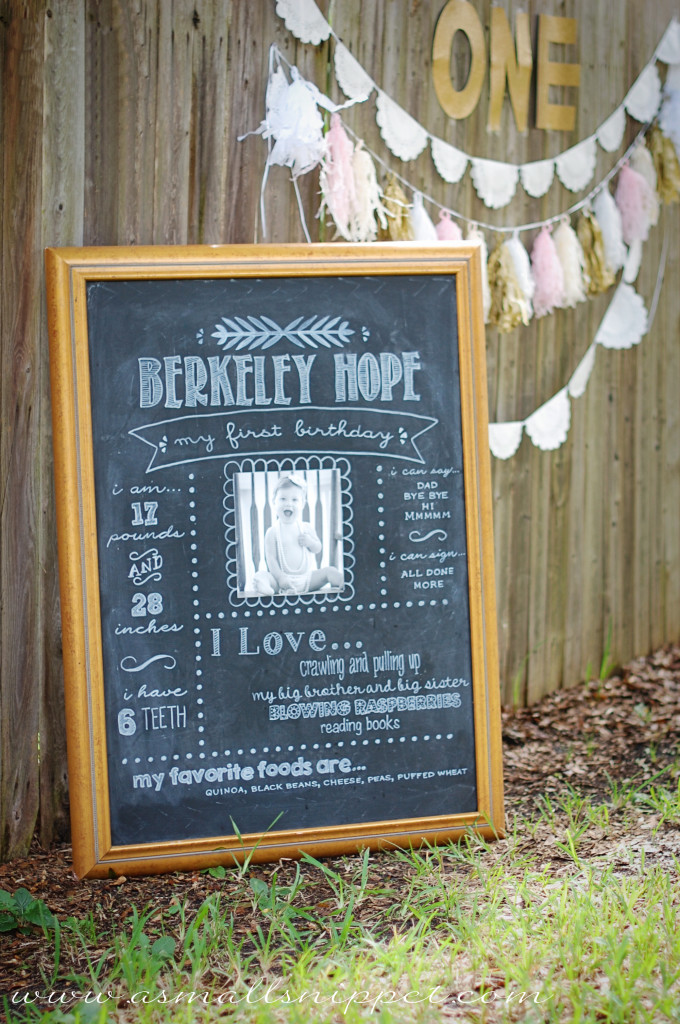
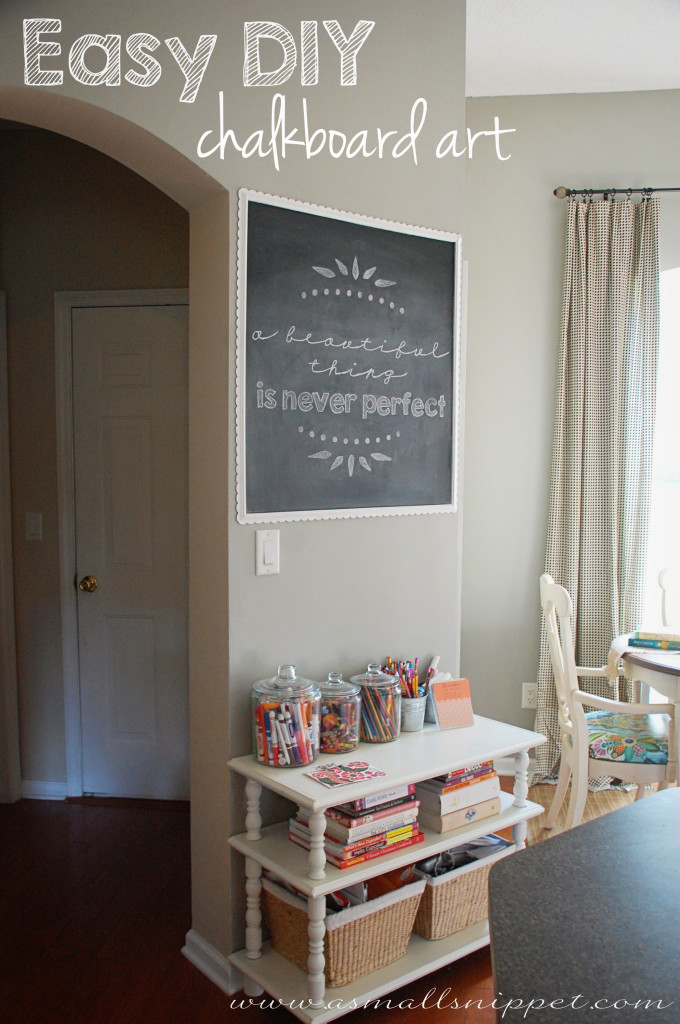
you might remember from Berkeley’s First Birthday Party post where i told you that i would show you an easy way to create chalkboard art.  today is the day, my friends!
easydiychalkboardart

this was a game-changer for me.  i am a recovering perfectionist, so when it comes to things like chalkboard art, my free-hand creates lots of unnecessary frustration and leaves A LOT to be desired!  even the smallest inconsistency would bother me, so of course it would take me multiple tries and lots of erasing to get anything even close to how i wanted it to look…and even then, i was never completely satisfied.  there are lots of things these days that i’m slowly learning that do not need to be perfect, and in fact are better because of their imperfections (hence the phrase that is currently on my chalkboard!) but when it came to chalkboard art, i really did like it to look polished and clean and…well…as close to perfect as i could get it.

when i figured out this simple technique through some trial and error, my erasing-and-starting-over days became a thing of the past.

here’s what i do.

first off, create a document that looks the way you want your chalkboard art to look.  i use photoshop but you could use a simple word document.  just make sure that you create your document to the size of your chalkboard.  so the first thing i do before anything else is change the image size to the dimensions of my chalkboard.  you should easily be able to do that in any drawing or graphic design application.  (even open office draw has that capability, and that’s a free program that you can download off the internet.  i use that program a lot, and its very easy to work with.)

there are TONS of free fonts available to get the look you’d like, (i love mixing fonts) and lots of free fonts that offer frames and ornaments and dingbats to add decor to your art.  here’s a link to some fonts from my all time favorite font designer.  she has lots of frames and decoration fonts too.  (scroll through the pages in the link to see more.)

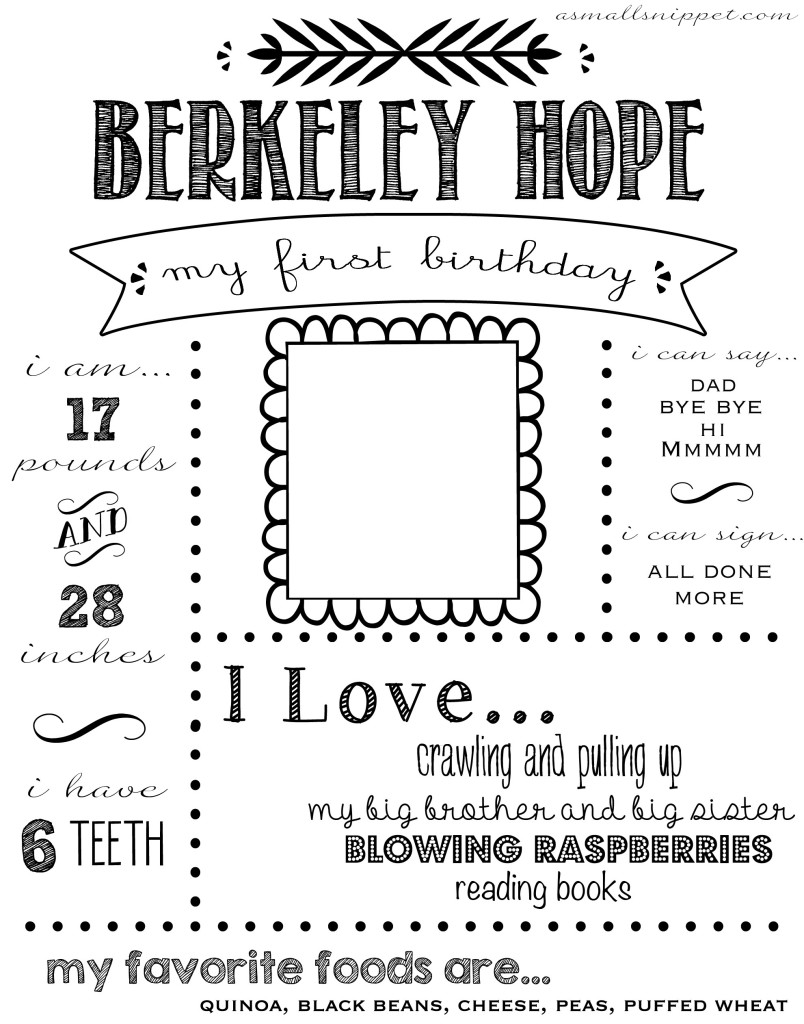
here’s a sample of the document i did for Berkeley’s Birthday Chalkboard:
berk bday board

this one is slightly more involved then most chalkboard art i would typically do, but it gives you a good idea of what i mean by using different fonts and decorations.  (and at the end of the post, i’m giving you a printable for another document i created for your own personal use.)

once i have the document finished, i then take it to my local Fed-Ex Office store.  y’all by now know of my deep love for my Fed-Ex peeps.  i use this place ALL THE TIME to do my dirty work!  basically, i email them or take in my document on a flash drive, and tell them the exact measurement of my chalkboard, and then they print that bad boy up just right!  it usually only costs a few bucks.  i just make sure to tell them to print on the cheapest paper, in black and white.

now comes the fun part.  you take that big ol piece of paper, flip it over so the printed side is down, then color in the entire backside of it with a piece of chalk.  use the long side of the chalk and rub it all over the paper to really cover every inch of it well in chalk dust:
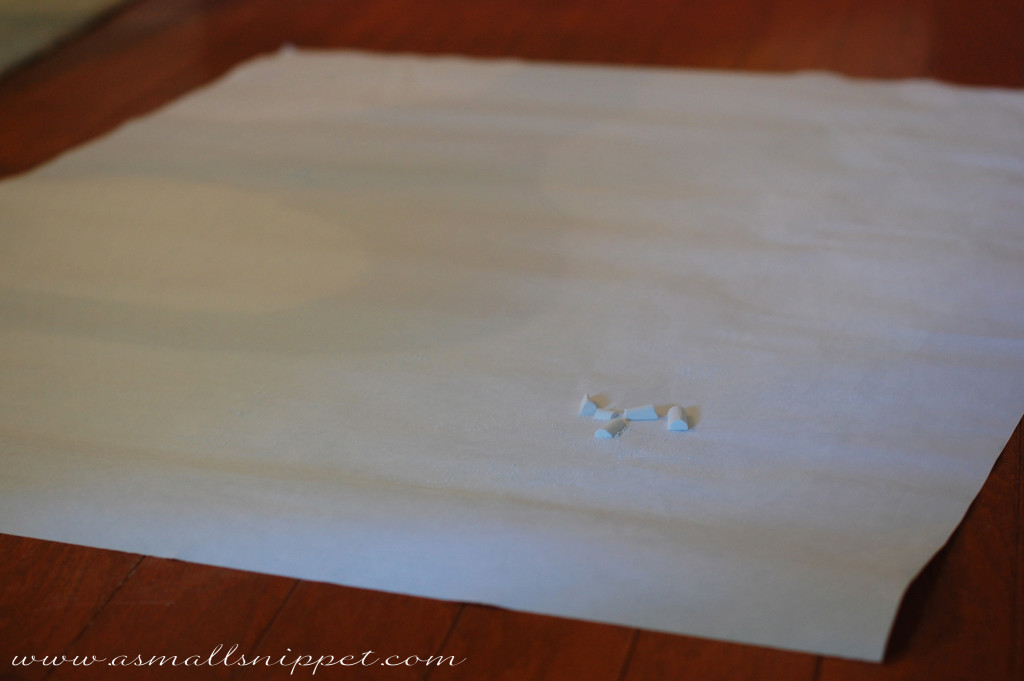
DSC_0432 copynext, flip it over onto your chalkboard so the printed side is now up, get it all centered and positioned just right, and tape it down so it stays in place.  the chalk dusted part should now be touching your chalkboard.
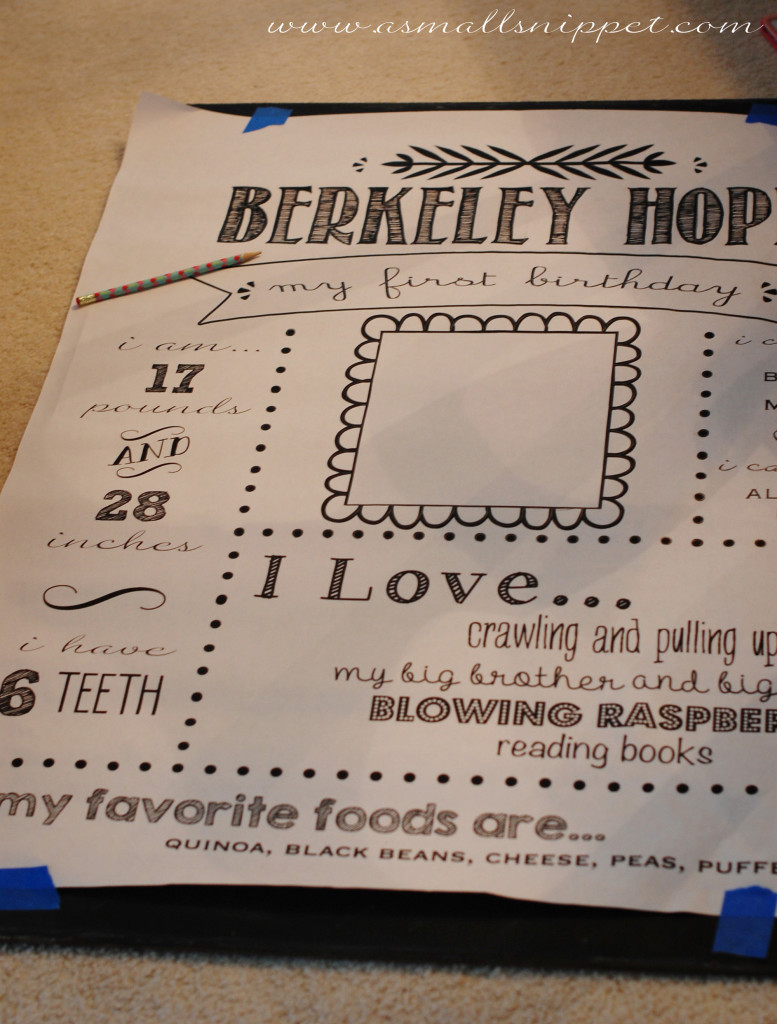
DSC_0436

then you take a dull pencil (you don’t want to use a super sharp pencil)….
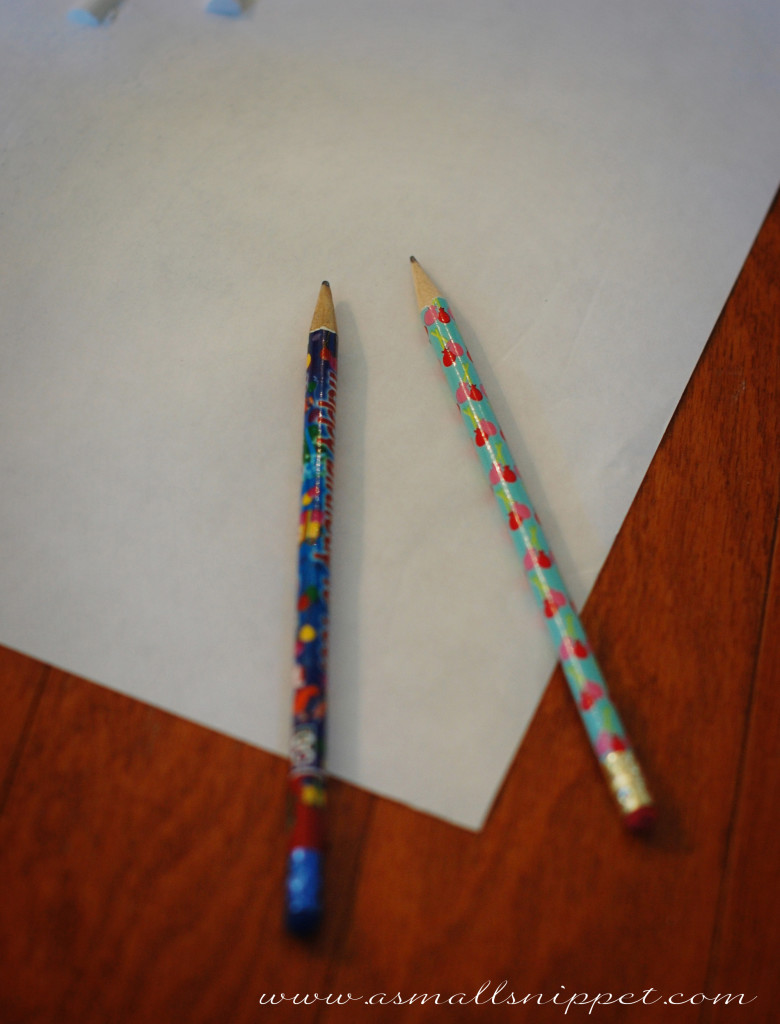
DSC_0435 copy

and trace over all the printed areas…every word, decoration, etc.  this process will transfer the chalk dust to the chalkboard in the exact areas you want it.  if you have a word or decoration that will need to be filled in later, you can simply trace the outline of it for now.
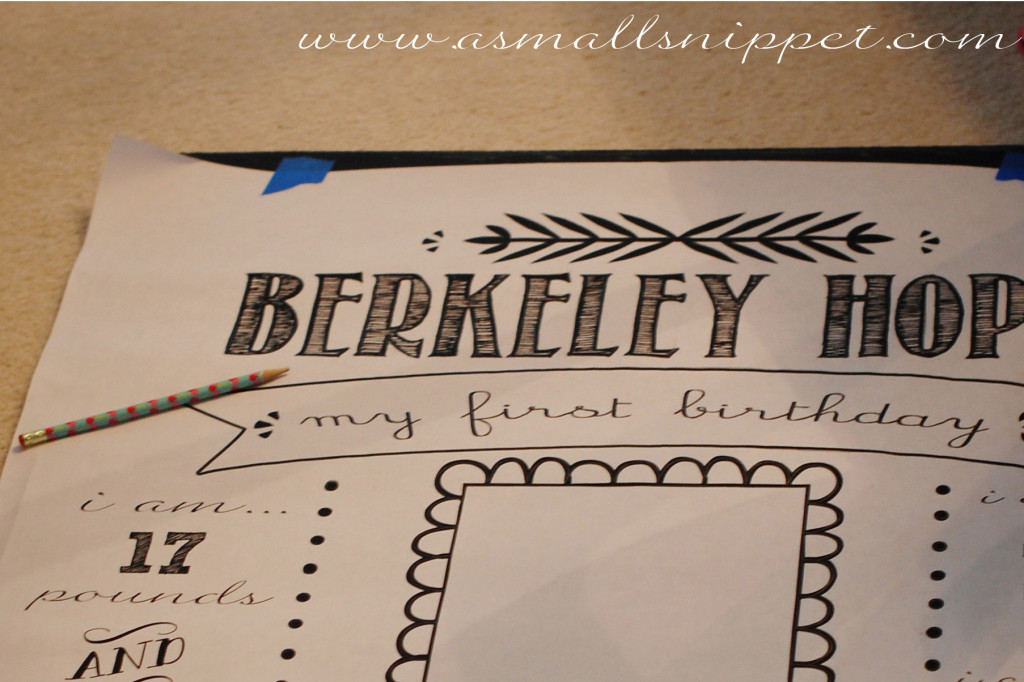
DSC_0436copy

when you are finished tracing the entire document, carefully remove your template, and you will see that it is now transferred onto your chalkboard in a light outline (don’t worry about the extra chalk dust around the art.  that will fade as you complete your project, and you can always go in later and wipe it off):DSC_0440 copy
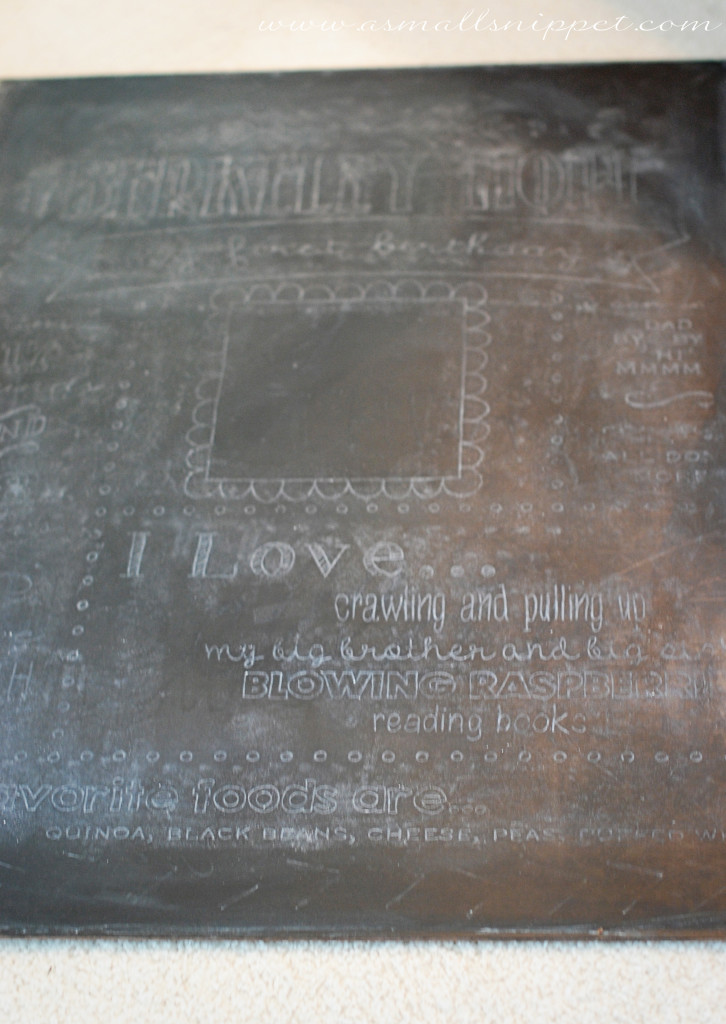
this is where using a chalk marker makes this project really easy.  if you don’t have a chalk marker, you can always use a piece of chalk, but its best to dip the tip in water as you are writing.  that gives you a crisper line, and makes it less likely to smudge.  however, if you have a few bucks to spend, its worth investing in a chalk marker.  the one on the left was only $1.00 at Target (in that brilliant dollar section that beckons me to buy everything!!!).  i stock up on them whenever i see them in there.  the one on the right is a little thicker, and i ordered it off Amazon.  here is the link:  Chalk Ink 6 mm Chalk Marker, White
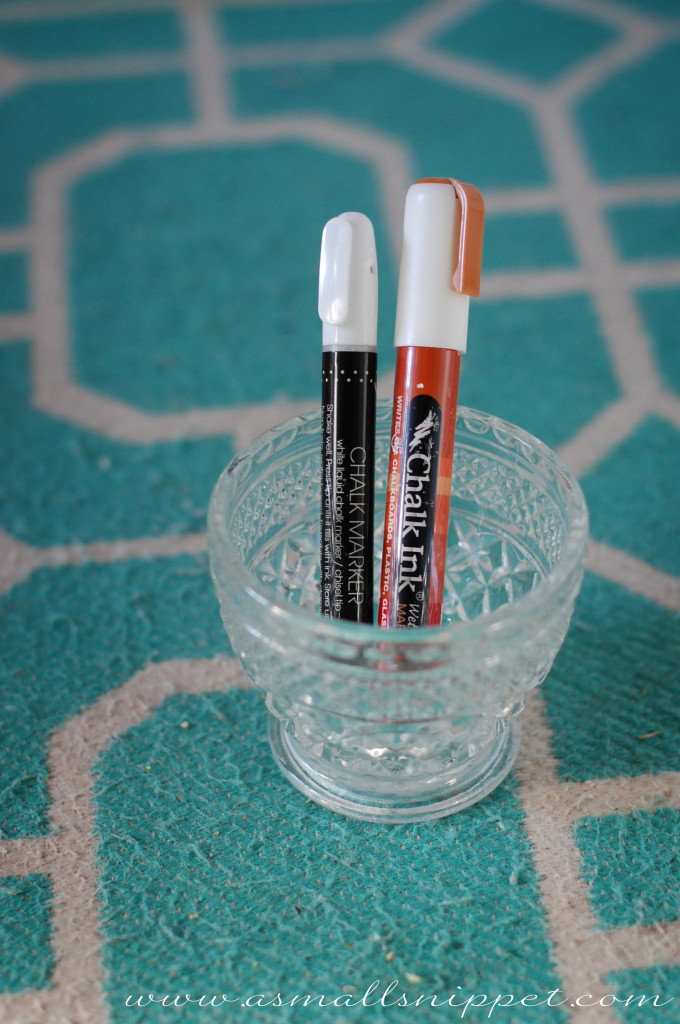
DSC_0128 copy

take your chalk marker, or wet chalk, and begin going back over everything, filling in whatever you need to fill in.DSC_0445 copy
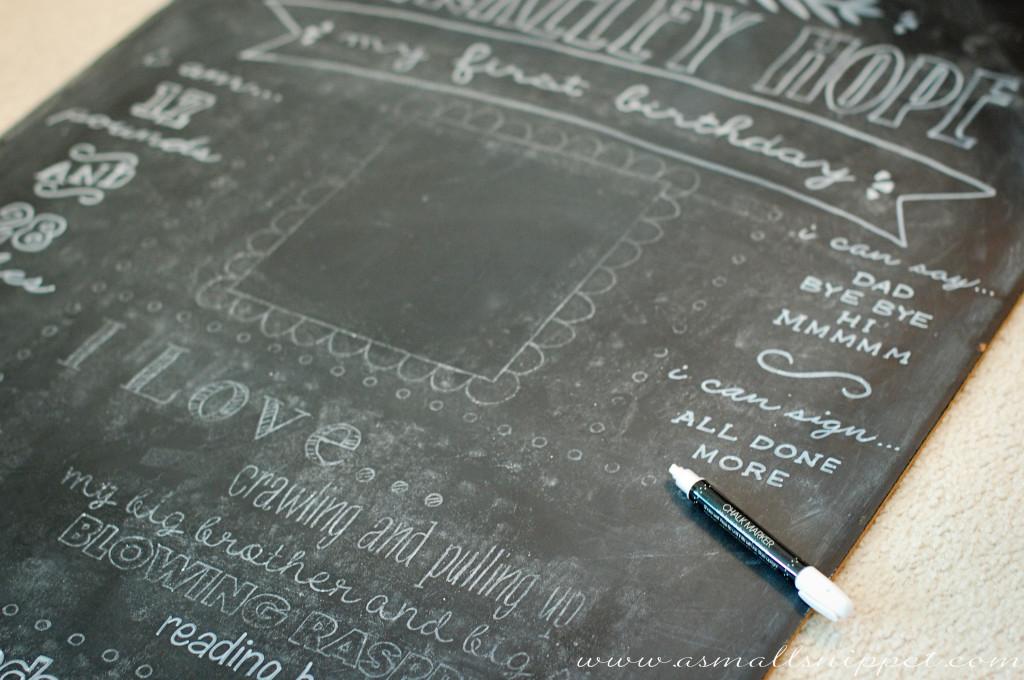
once you are all finished, you will be left with a crisp and clean chalkboard.  DSC_0106 - Version 2 copy
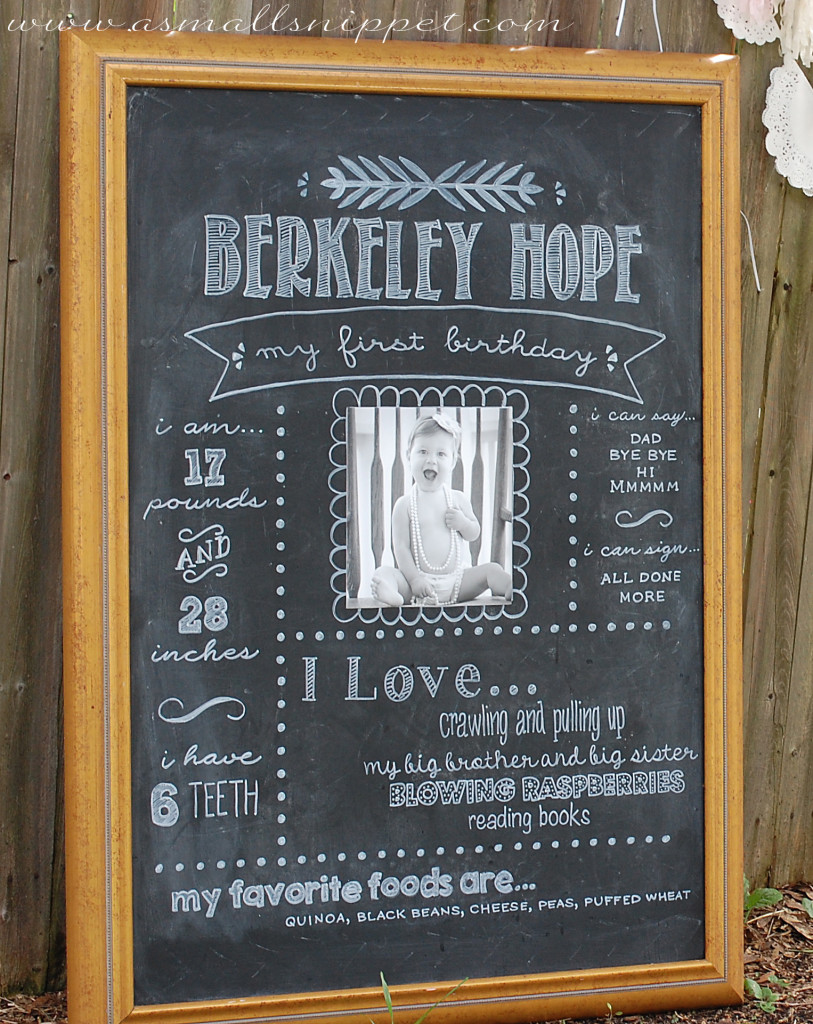
DSC_0111 copy

i use the same exact technique for my chalkboard that is painted directly on my wall.  it takes a bit more effort, because i have to stand on a chair to do it, but it yields the same effect.  this is currently what is on my chalkboard in my kitchen (although i’m getting ready to change it out for the holiday season):DSC_0121
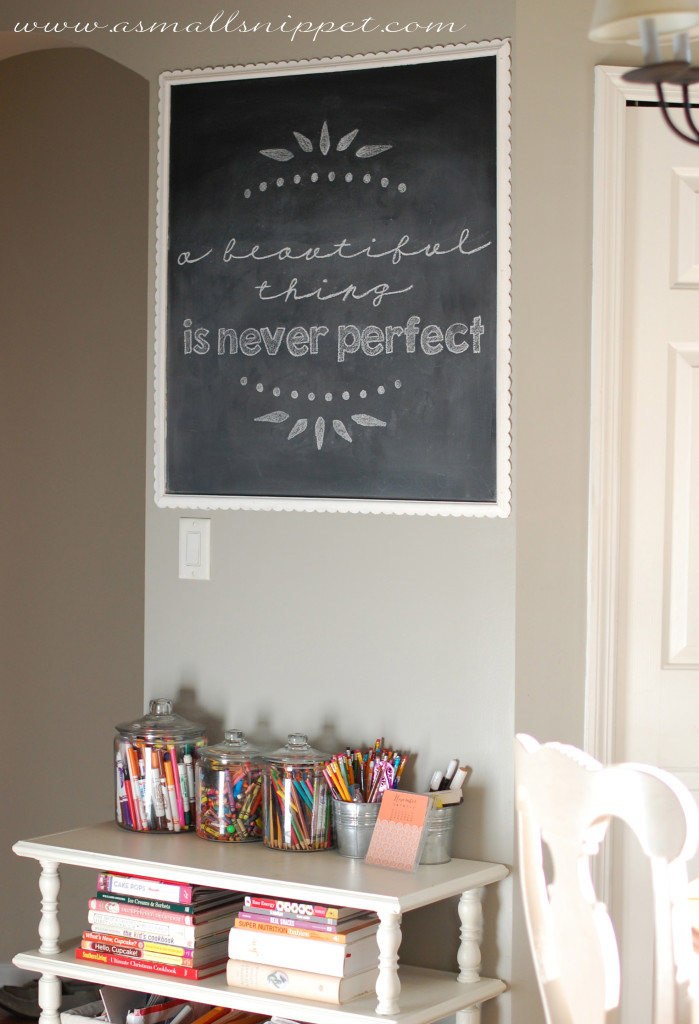
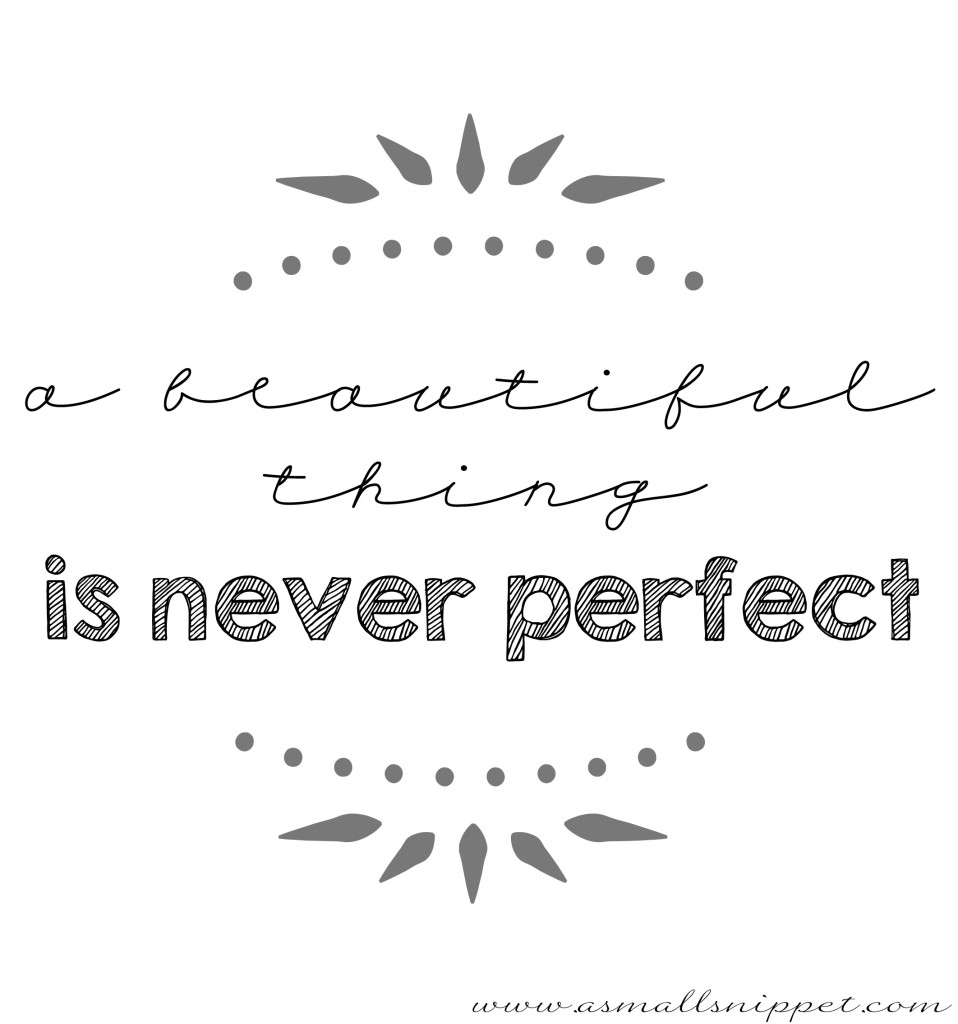
i read that quote when reading this precious book, The Nesting Place: It Doesn’t Have to Be Perfect to Be Beautiful.  y’all…this book was written for me!  it is such an easy, and enjoyable, and encouraging read.  if you haven’t read it, i’m telling you, its worth your time.  that quote has been my mantra, as we’ve moved and settled into our “new” old house.  its just so good to remember in all areas of life…”A beautiful thing is never perfect.”  i’m beginning to believe that maybe the imperfections of life are what make life beautiful.  although as soon as i finished writing it up on the chalkboard, my precious and oh-so-witty and smart son came to me and told me that it wasn’t true…and then proceeded to use Heaven as an example of something that is beautiful AND perfect.  i couldn’t really argue with that one, but you get the point!

anyway, i’ve attached the document i created for that chalkboard art for your personal use, in case you are also, like me, a recovering perfectionist and need to be reminded of this too!  i think you can just save the image by right clicking, and then get it printed to the size you need.
chalkboard sept copy

another great thing about creating chalkboard art this way, is that i keep all of my printed documents, so if i change out my chalkboard for the holidays, but want to put that quote back up later on, i already have the document all ready to go.  an added bonus!

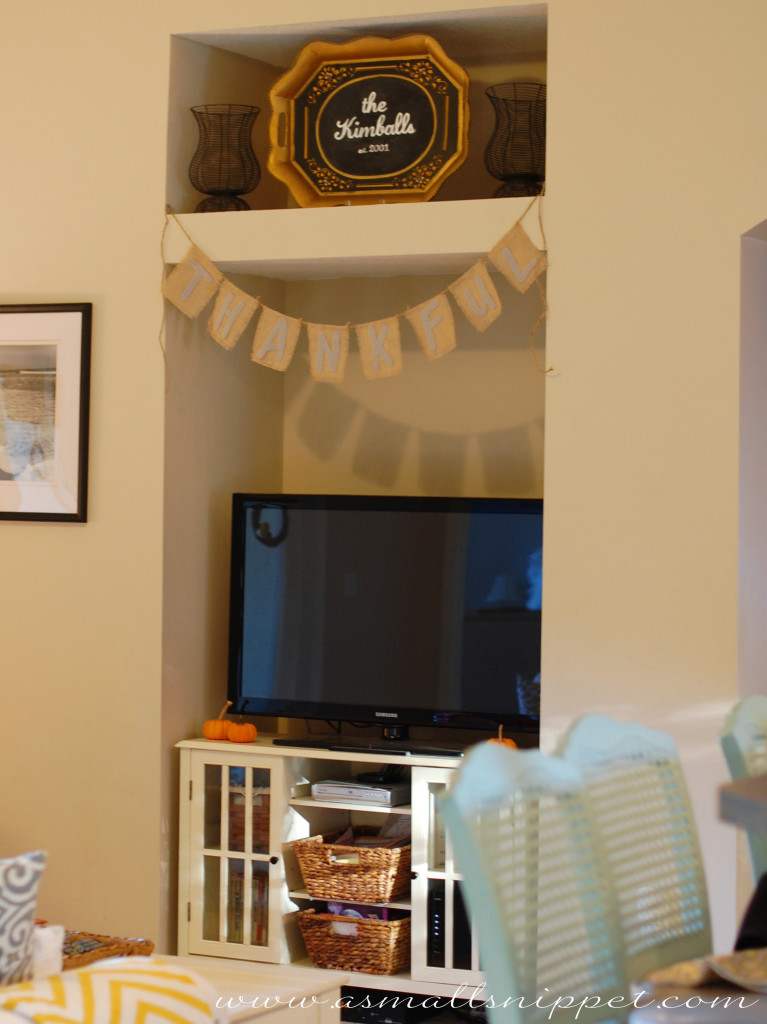
i’ve also used this technique for smaller chalkboards around the house.  i painted the center of an old tray that i had with chalkboard paint, and personalized it to go above our TV in our family room.  for smaller chalkboards like this one, i can simply print the document at home:
DSC_0148 copy

the possibilities are endless…now go have some fun creating some chalkboard art!

1 Comments

Oct

28

Glow in the Dark Jellyfish Costume Tutorial

i probably should’ve posted this a few weeks ago, but tis the life of a momma to three.  i feel like i’m late to everything…and blogging about holidays is no exception!

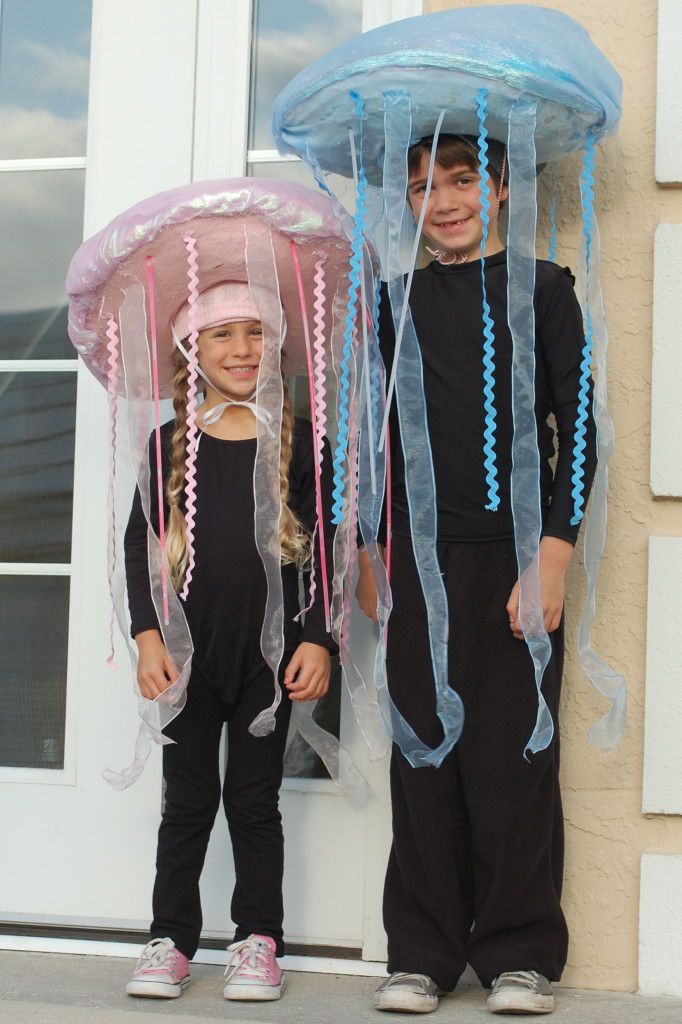
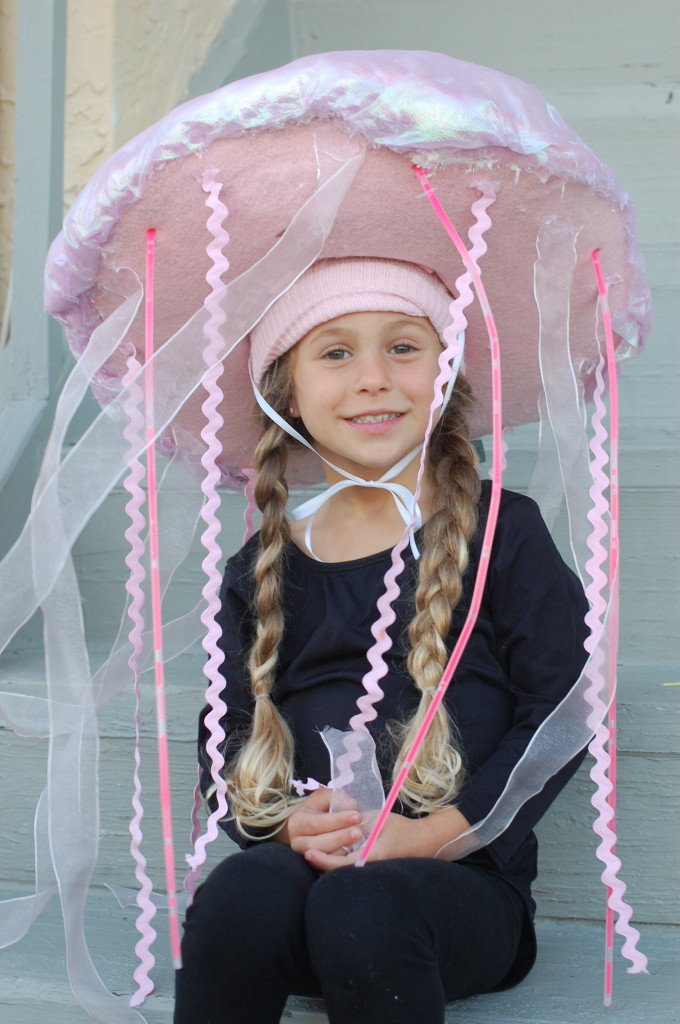
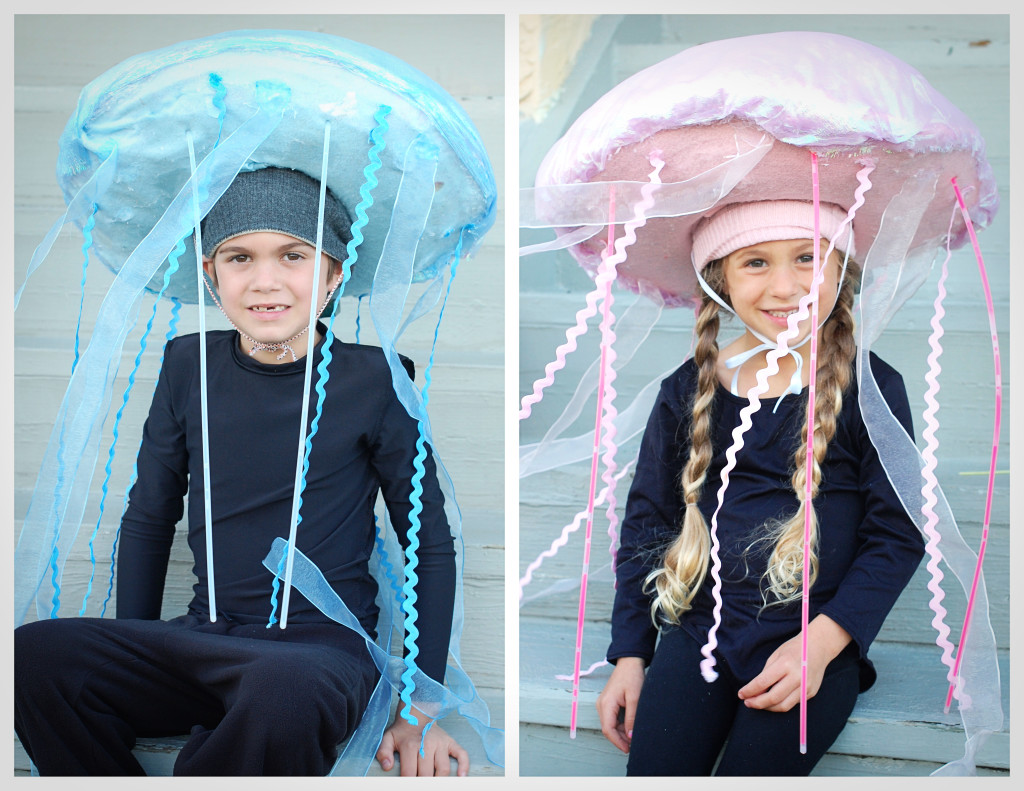
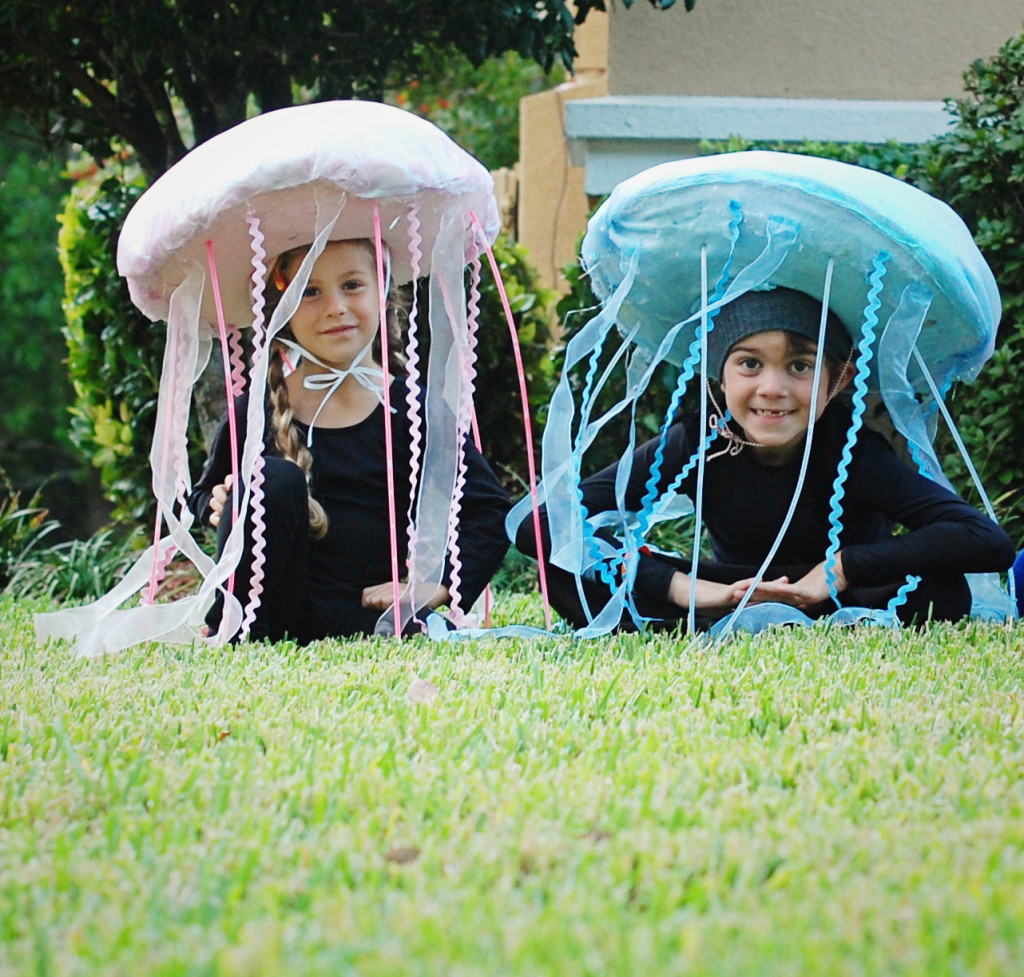
here’s a step-by-step tutorial for a DIY, no-sew costume idea that you can make for your kiddos or for yourself….Glow in the Dark Jellyfish!!

i’ve had lots of requests for the details about the jellyfish costumes from a few years back, so i figured i’d go ahead and put it all in one post.  maybe for next year…or maybe for those of you still trying to pull together a costume for this year…it happens, peeps.  trust me.  i know!  this one is not too difficult, nor is it that expensive.

DSC_0184

DSC_0199

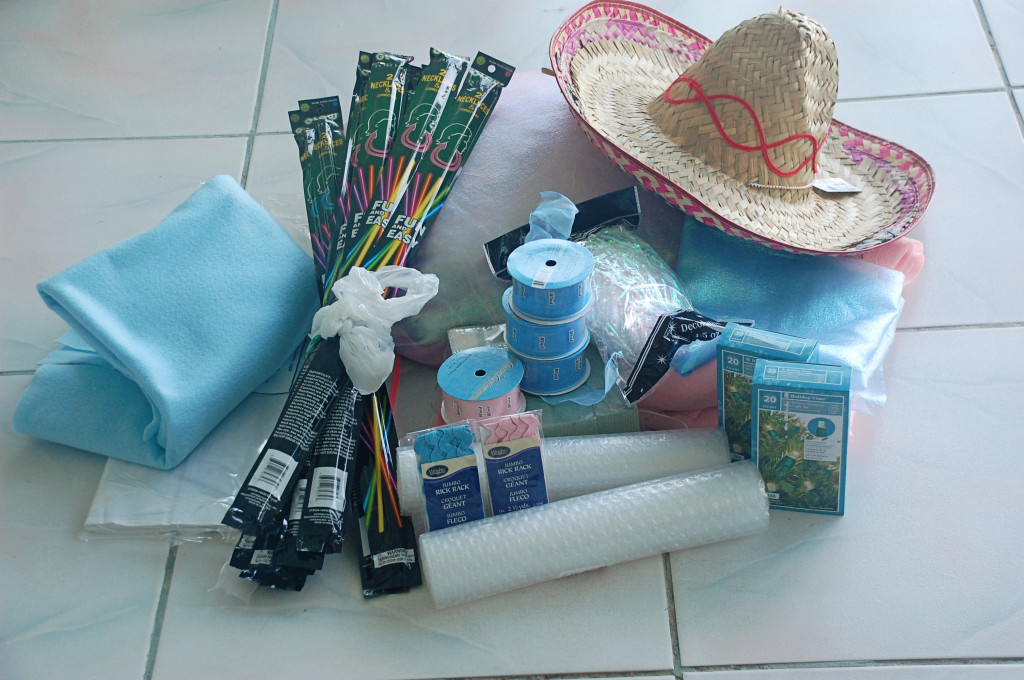
i was able to find all of the supplies at the dollar store, with the exception of the fabric, rick rack, and ribbon, which i purchased from Joann’s.

so…what you’ll need:
a sombrero or similar kind of hat with a large brim (i found one at Good Will and the other at a party store, but sometimes the dollar store has them)
long glow sticks (5-6 of the same color that matches your costume, so you might need to buy multiple packages to get the same color)
bubble wrap
iridescent gift bag filler
white tissue paper
battery operated white or clear Christmas lights (strand of 20 lights)
foam floral bricks (the lightweight, green, soft foam ones.  look at the ones i purchased in the pic below underneath the spools of ribbon)
1 yard felt in your color choice
1 yard iridescent fabric in a similar color as your felt
2-3 spools of wired ribbon, same or coordinating color
1-2 packages of rick rack, same or coordinating color

(if on hand, you can also use some batting, plastic bags, and newspaper to make the hat more dome-ish)

DSC_0453the sombrero will be the base of the costume, but there are a few things you’ve got to do to make it look like a jellyfish!  (just a note…it works best if you can find a sombrero or hat where the brim doesn’t turn up too much on the edges.  one of my hats had a flatter brim, and the costume looked better in the end.  so if you can find a hat with a flatter brim vs a turned up brim, that is best.  but if not, it’ll still work!)

first, cut your foam floral bricks in half lengthwise, unless they are already pretty flat, like mine.  on the top brim of the sombrero, hot glue a few of the foam bricks all the way around.  this is what the glow sticks (tentacles) will slide into later on.   i discovered that the glow sticks stayed best if they were pushed through the foam from the bottom of the hat (but more on that in a minute).  don’t use heavy or super thick foam.  you just need a small layer for the glow stick edge to stick into.

next, for the bottom of the sombrero, lay out your felt and cut it to the size of the bottom of your sombrero, leaving enough on the edges to glue over the brim a bit.  cut a hole in the center of the felt that is the size of your child’s head.  lay the felt out, place the hat on top of the felt, then wrap the felt over the brim of the hat, and hot glue the felt on.  i did have to stuff the hole later on with a little bit of extra felt to make sure it fit snugly on my kiddos’ heads.  that is also why i had them wear beanies…it helped the hat to stay on their heads.  the hats get pretty heavy once everything is attached, and our’s tended to slide to the back of their heads.  i hot glued some ribbon on to tie under their chins, but if i were to do it again, i would use elastic to ensure that it will stay put.

DSC_0163

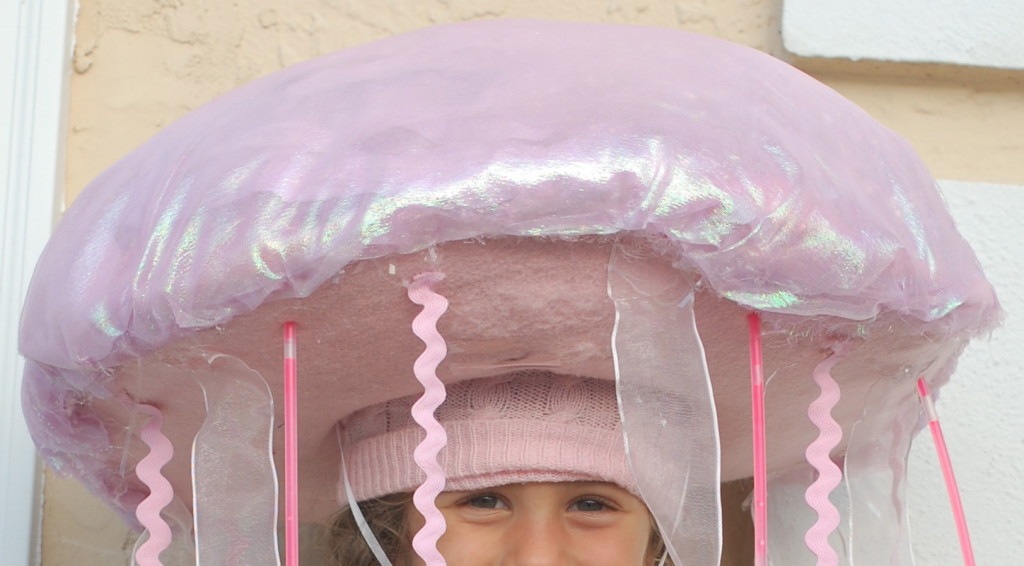
the next thing you want to do is to round out the top of the sombrero so that it resembles a rounded jellyfish.  you can use a combination of rolled up newspaper, batting, white tissue paper, balled up plastic bags, and bubble wrap…whatever it takes to make the top of the sombrero completely round.  i just kept adding items to the hat and hot gluing them in place and on top of each other until i had a rounded top all the way around (including the brim).  if using newspaper, or other things that are not neutral, place those on the bottom and cover them with the white tissue and bubble wrap on top so that they don’t show through the fabric once its attached.  it won’t be perfect, but you can see below what the rounded top is supposed to look like once its covered in the fabric:
DSC_0180 2

before you cover the top in fabric, you want to add in some battery operated christmas lights (the dollar store and target sold them at the time).  i spread out the lights over the newspaper, batting, tissue paper, bubble wrap, etc. that i used to round out the top, and hot glued the lights in place all over the top.  make sure to space each individual light out over the top so they that light up the entire top. keep the battery pack outside of the top of the jellyfish, because once its all completed, you will need to glue the battery pack and switch to the bottom of the sombrero in the back so that it is easily accessible.  i would suggest finding lights that use the lightest amount of batteries possible, as that really added some weight to the costume.

after you have the lights attached, take the iridescent gift bag filler, and cover everything on the top of the hat so that you can’t see the newspaper or batting.  this also added to the iridescent glow like a jellyfish.

now you want to cover the top.  fold the iridescent fabric in half (so that it is less see-thru) and hot glue that over the entire top, wrapping the edges under the brim and covering the edge of the felt.  Leave a small opening, so that once the fabric is on, you can go back in and add more fullness to the top if needed.
DSC_0259
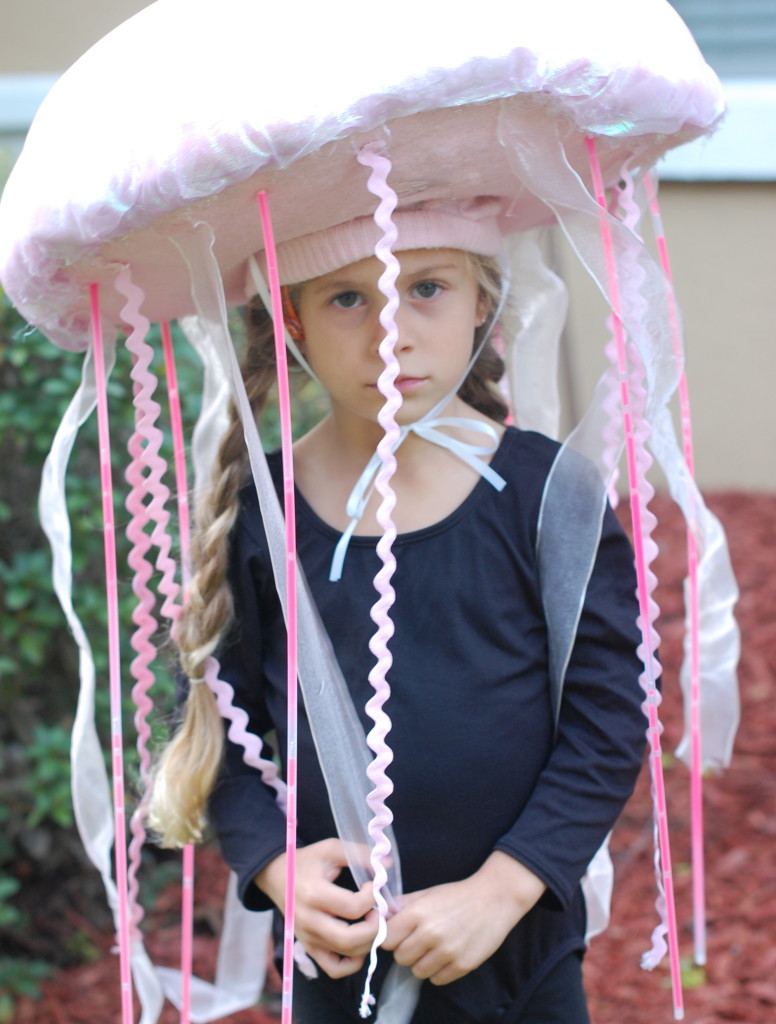
then, using hot glue, attach long strands of the rick rack and ribbon to the bottom of the hat, creating the tentacles.  i alternated the ribbon, rick rack, and glow sticks, but you can do it randomly if you wanted.
for the glow sticks, using only one stick as a template (so you don’t break them all yet), poke holes where you want them through the felt layer, the hat, and the foam bricks.  you will need to use the point of some scissors to get it all the way through, but be careful not to poke too large of a hole.  you want to be able to slide the glow sticks in and have them stay.  it is best to use some hot glue in the hole as well when attaching the glow sticks.  but since you don’t want to break the glow sticks until right before wearing the costume on halloween, because the “glow” will run out, i would poke your holes but wait to officially glue and attach the glow sticks until right before using the costume.  (i used the same color glow sticks as the costume to keep everything consistent.)
DSC_0152
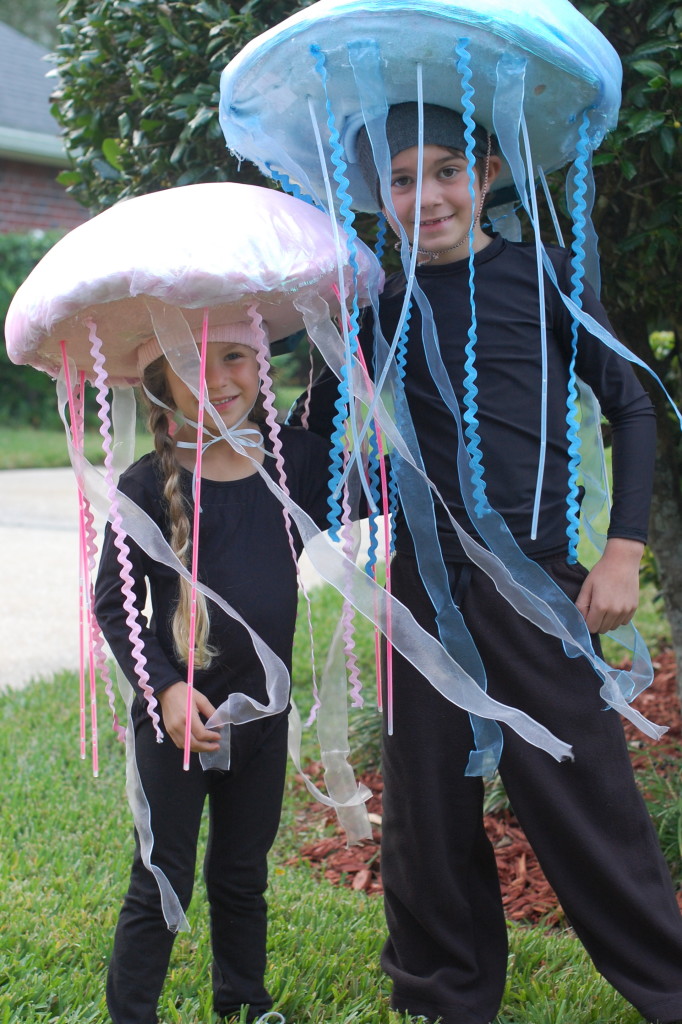
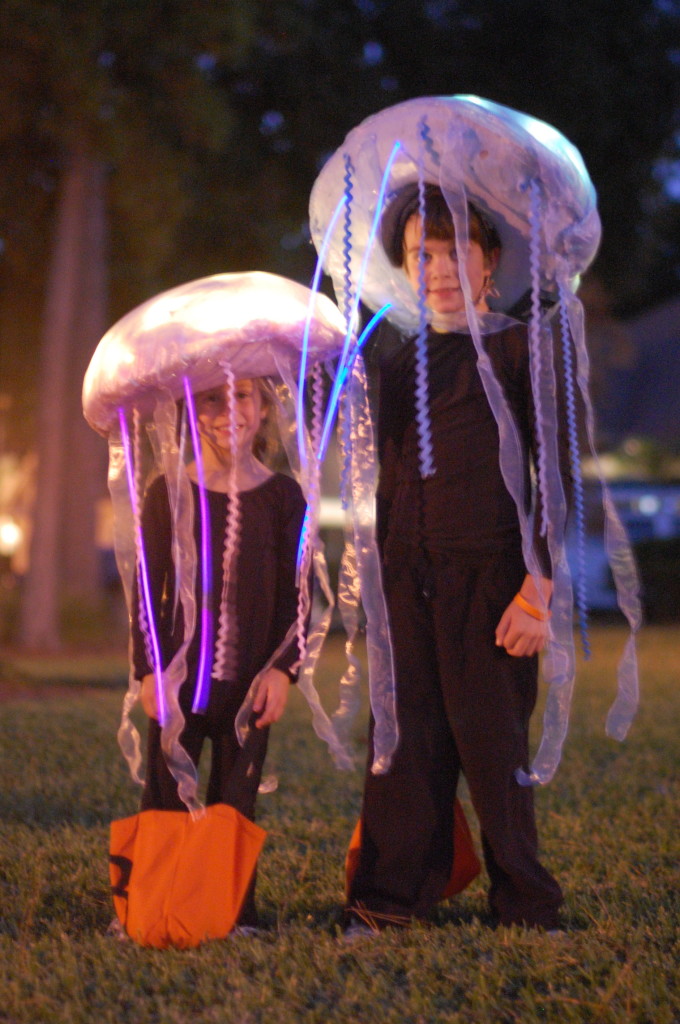
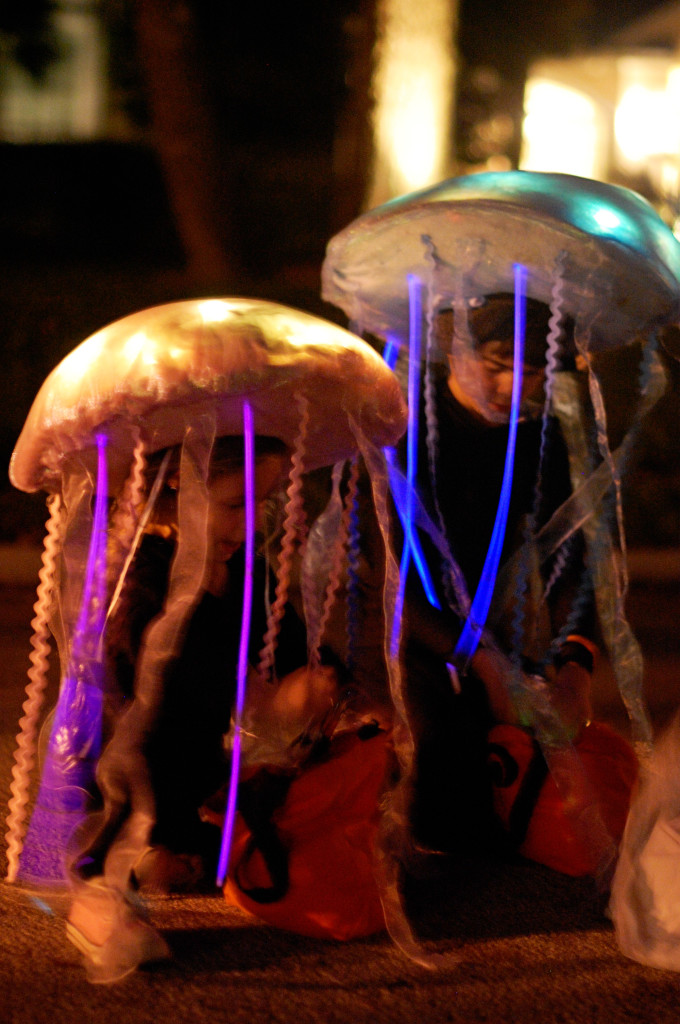
once its nighttime, the glow sticks and the christmas lights shining through the iridescent fabric really make the costumes glow! :)
DSC_0303
DSC_0313
if you look closely at the finished costumes, they are certainly not neat and tidy and perfect.   i got to the point where i just had to use massive amounts of hot glue to get everything in place, but once it was all completed, it really didn’t matter.  so just know that its not going to be this perfect finished product, but will still look adorable!

DSC_0213i had my kiddos wear black pants and a long sleeve black shirt because when they were walking around at night, the costumes really glowed and it looked like little jellyfish walking around!

glow in dark

hope this all makes sense. if you have questions, you can leave them in the comments.

8 Comments