Feb

01

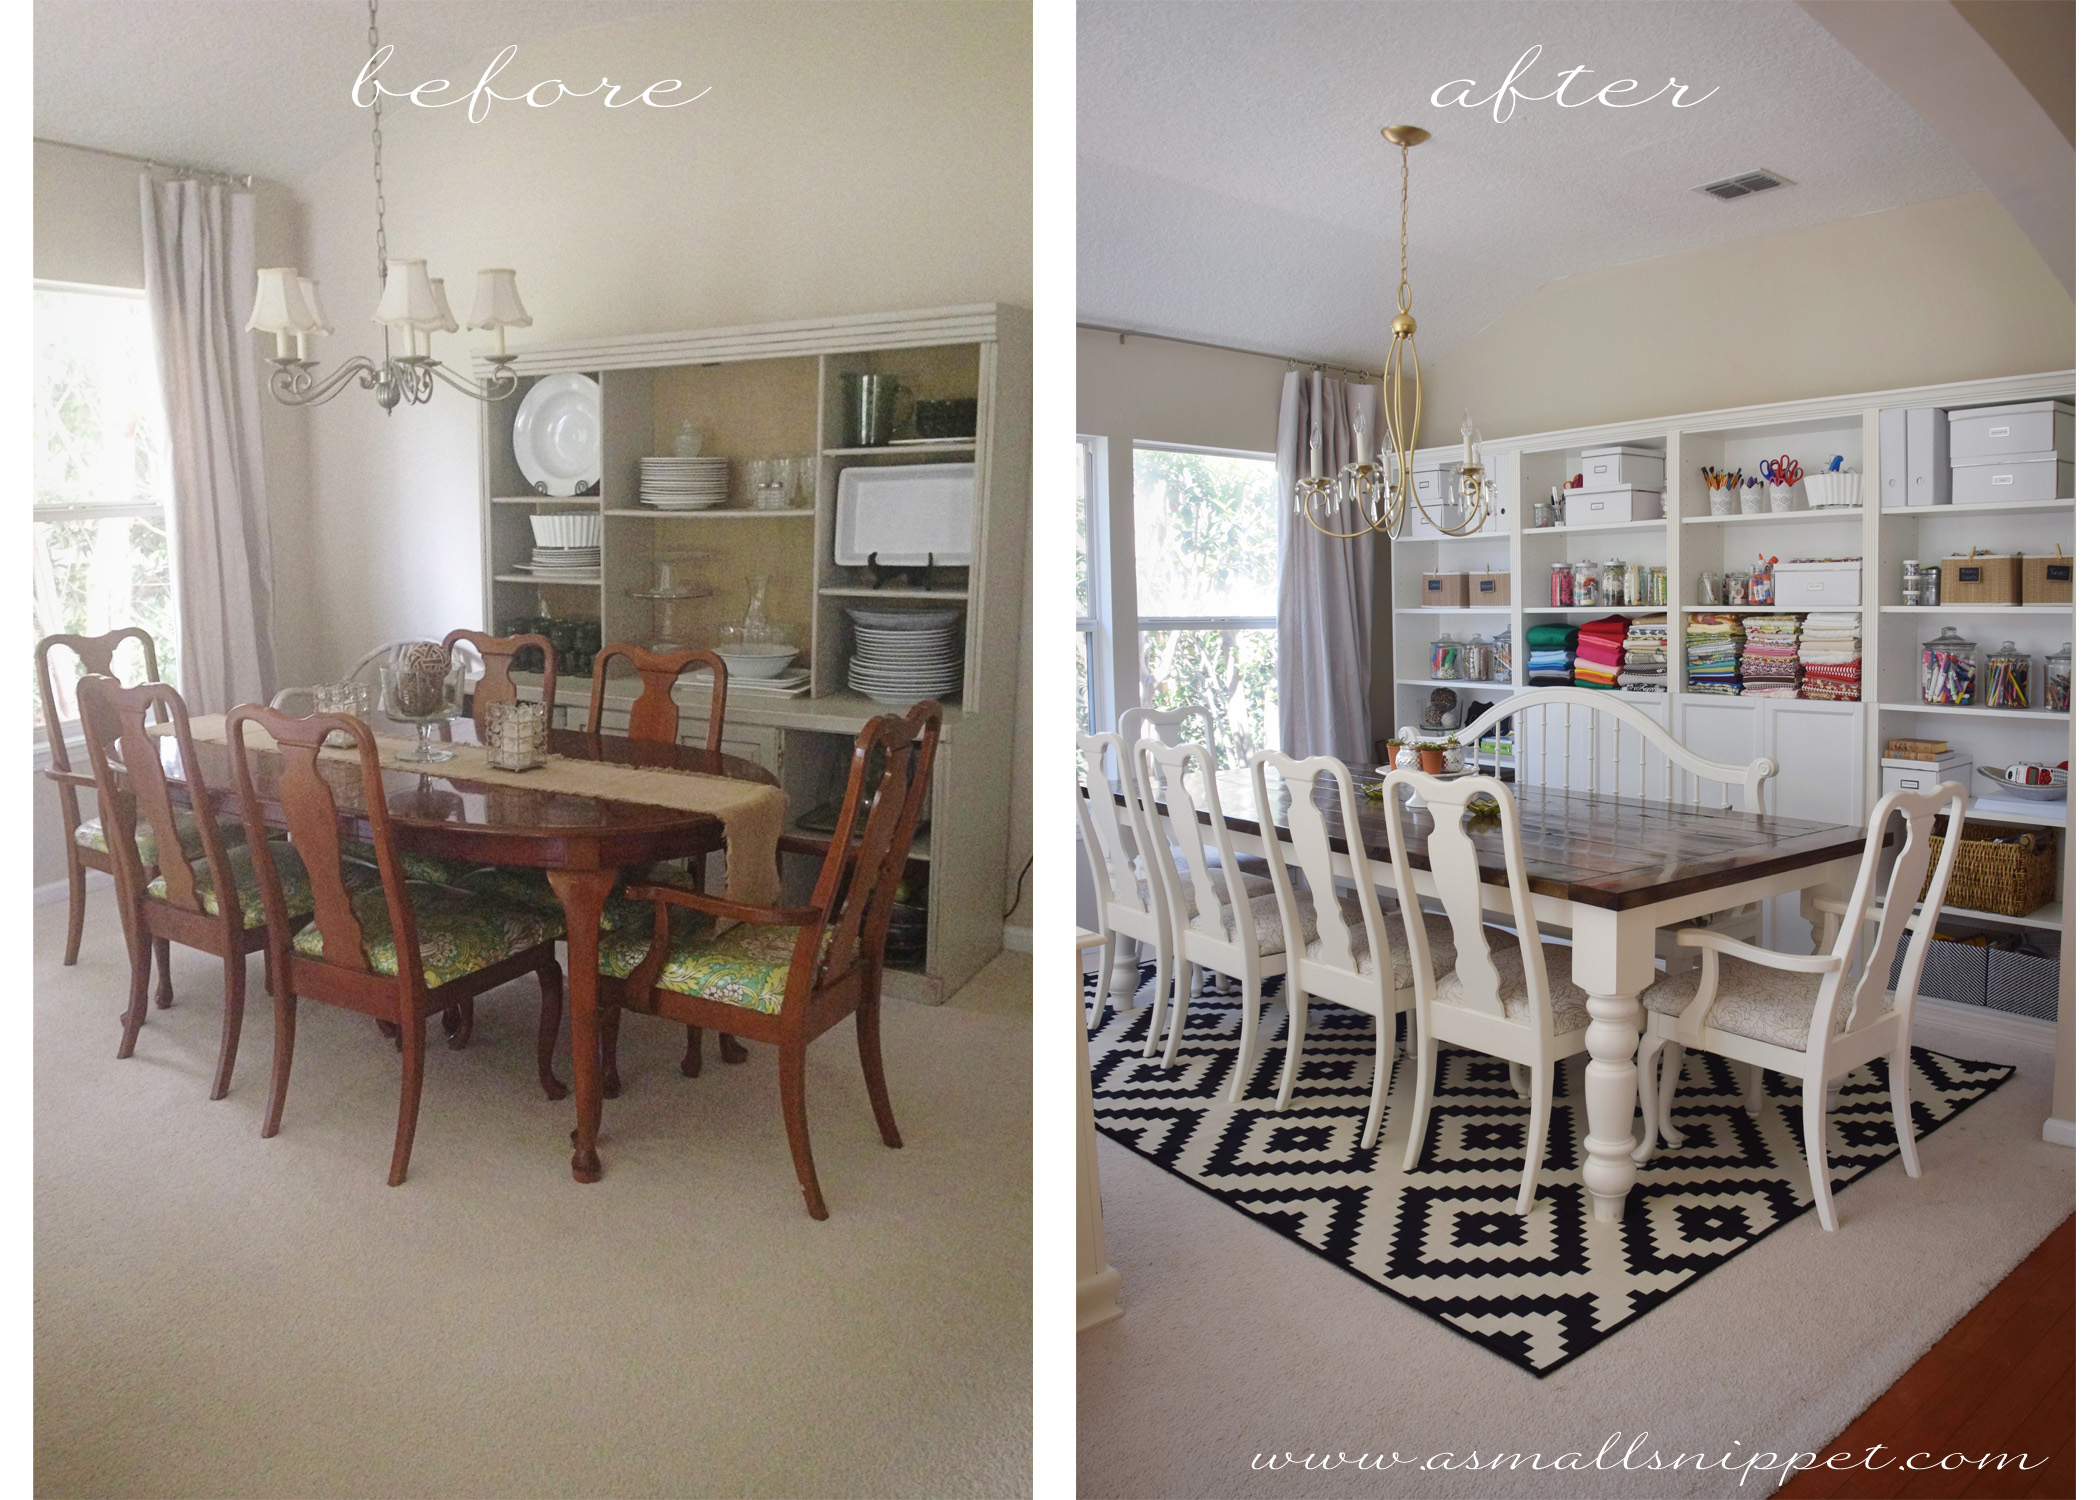
Craft Room Organization

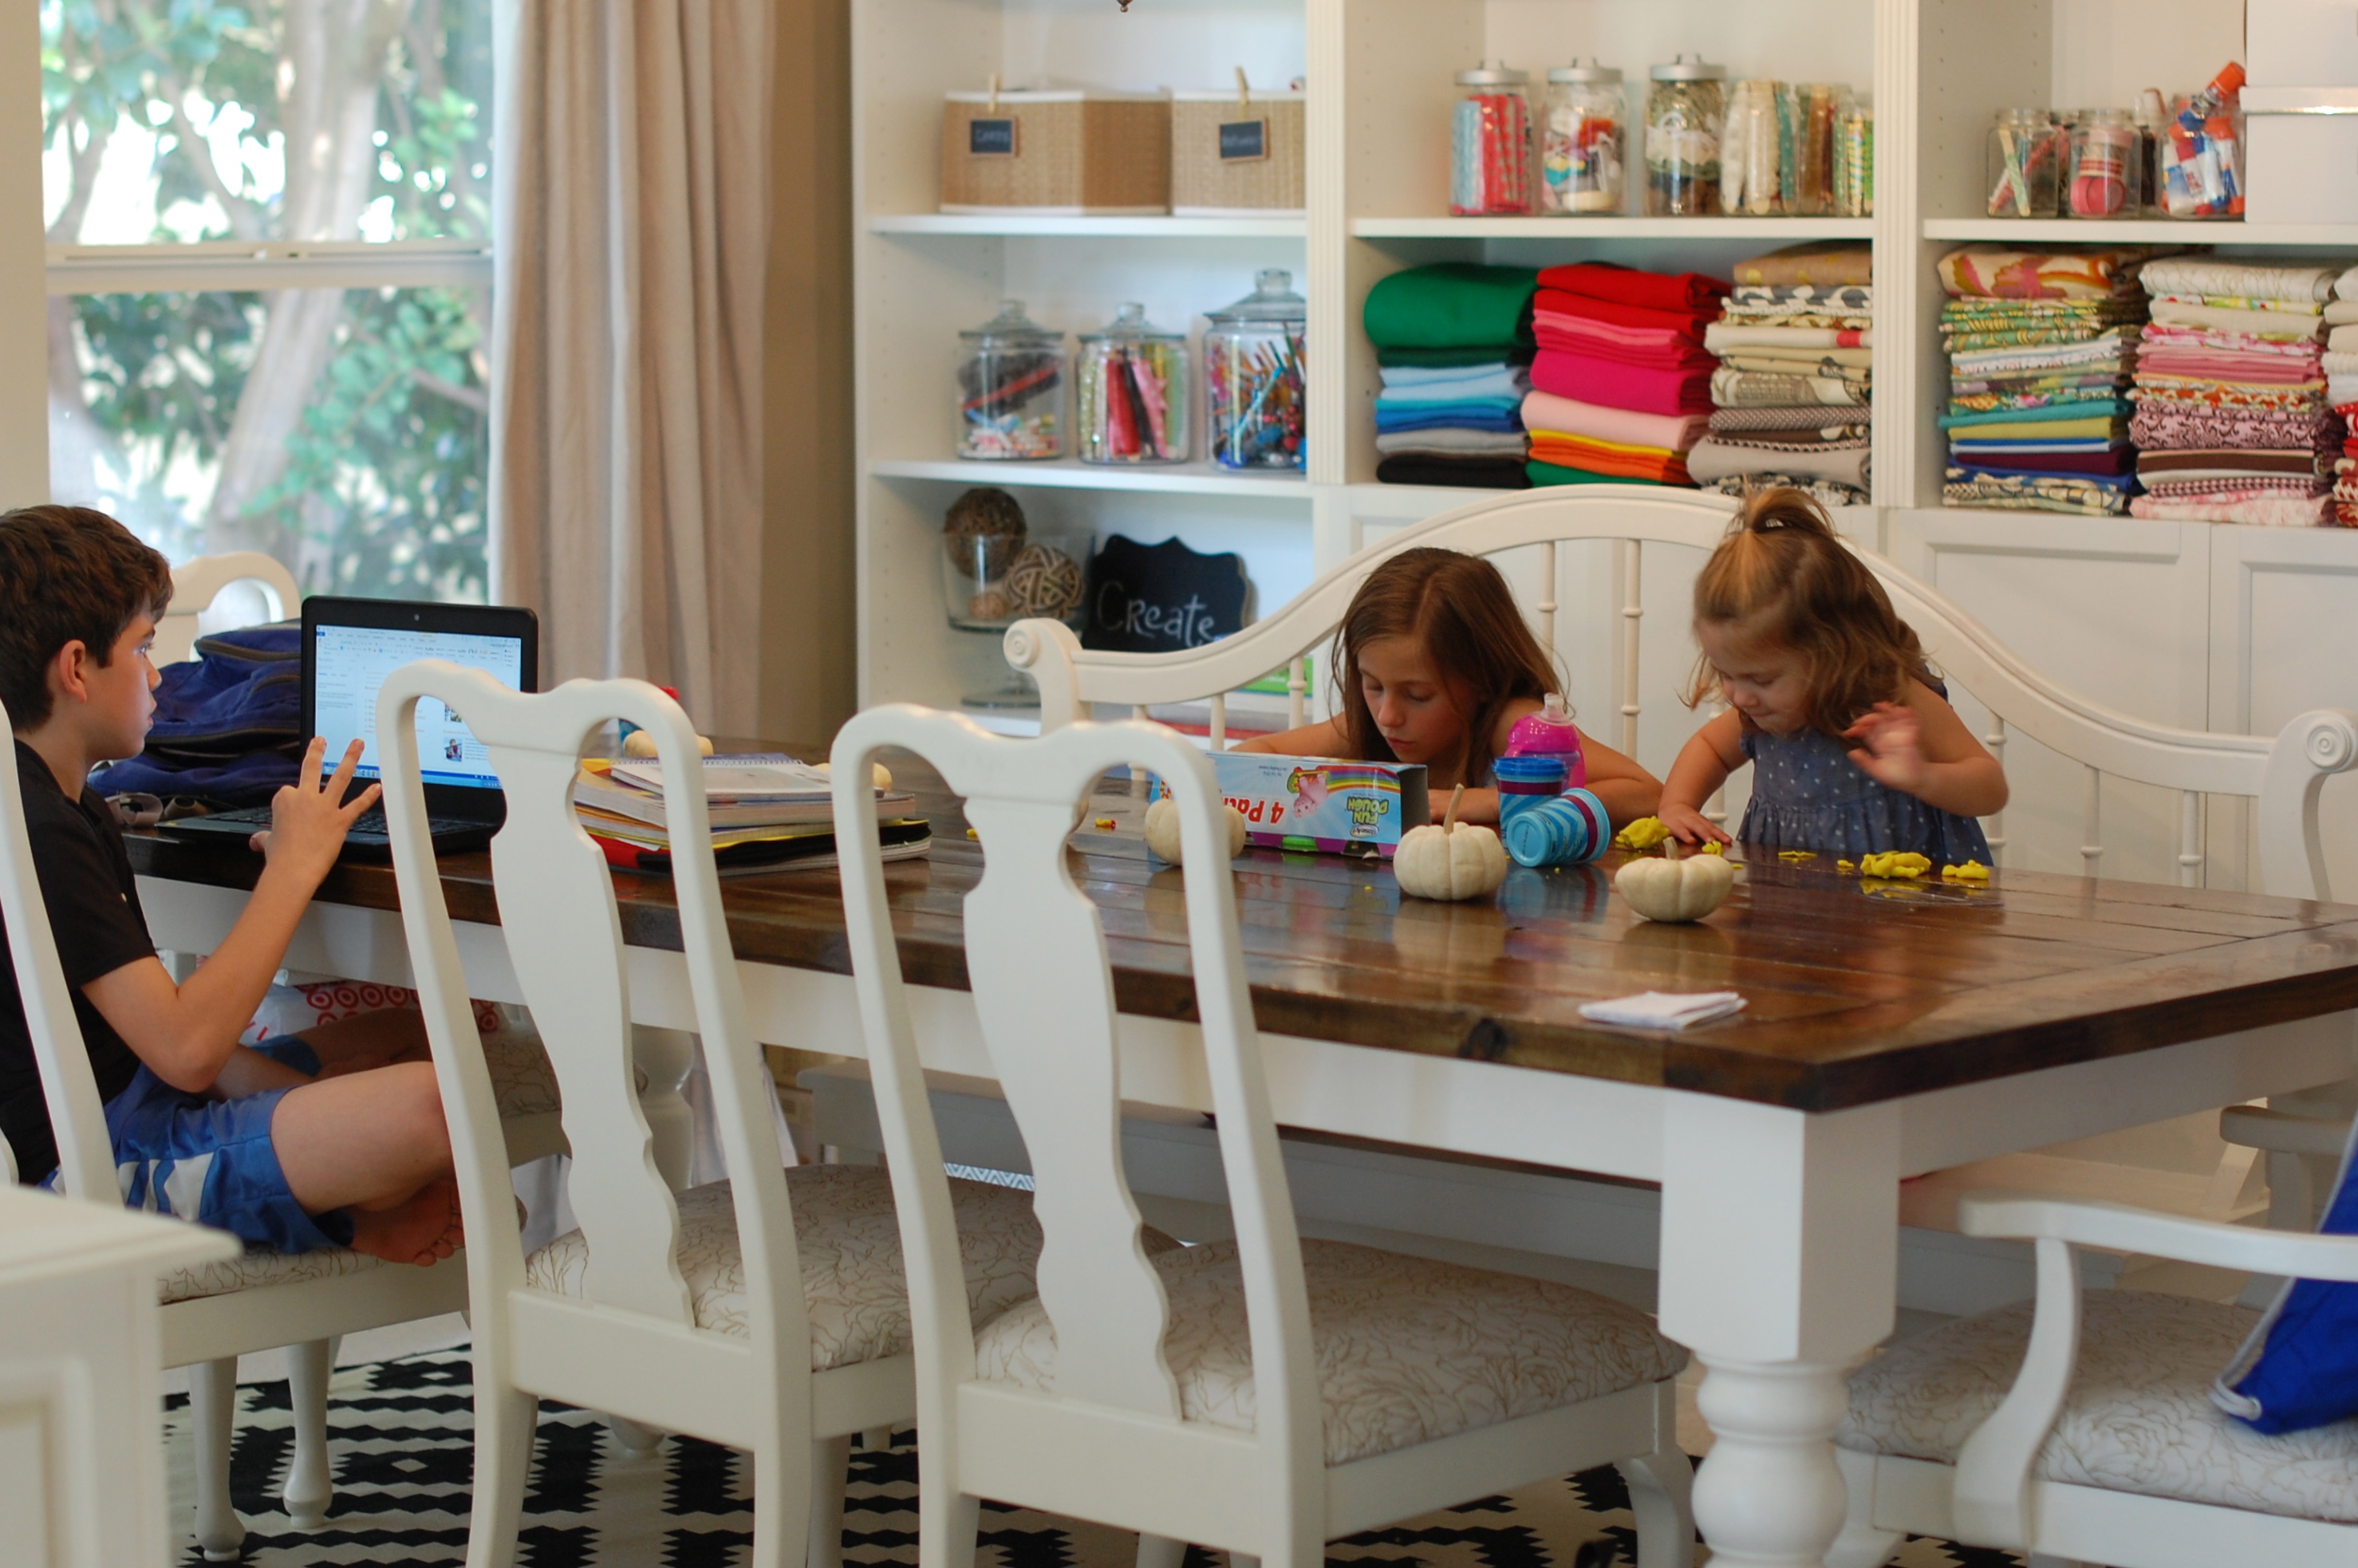
as i mentioned in my last post, i wanted to show you a few ways that i organized my craft items in our activity room.

DSC_0228

i personally love to see how people organize things.  its always so inspirational to me, so i’m hoping you feel that way after reading this post.  the things i’m going to show you are super easy and could be done no matter what kind of storage space you have.  in other words, you certainly don’t need a whole craft room in order to implement these ideas.

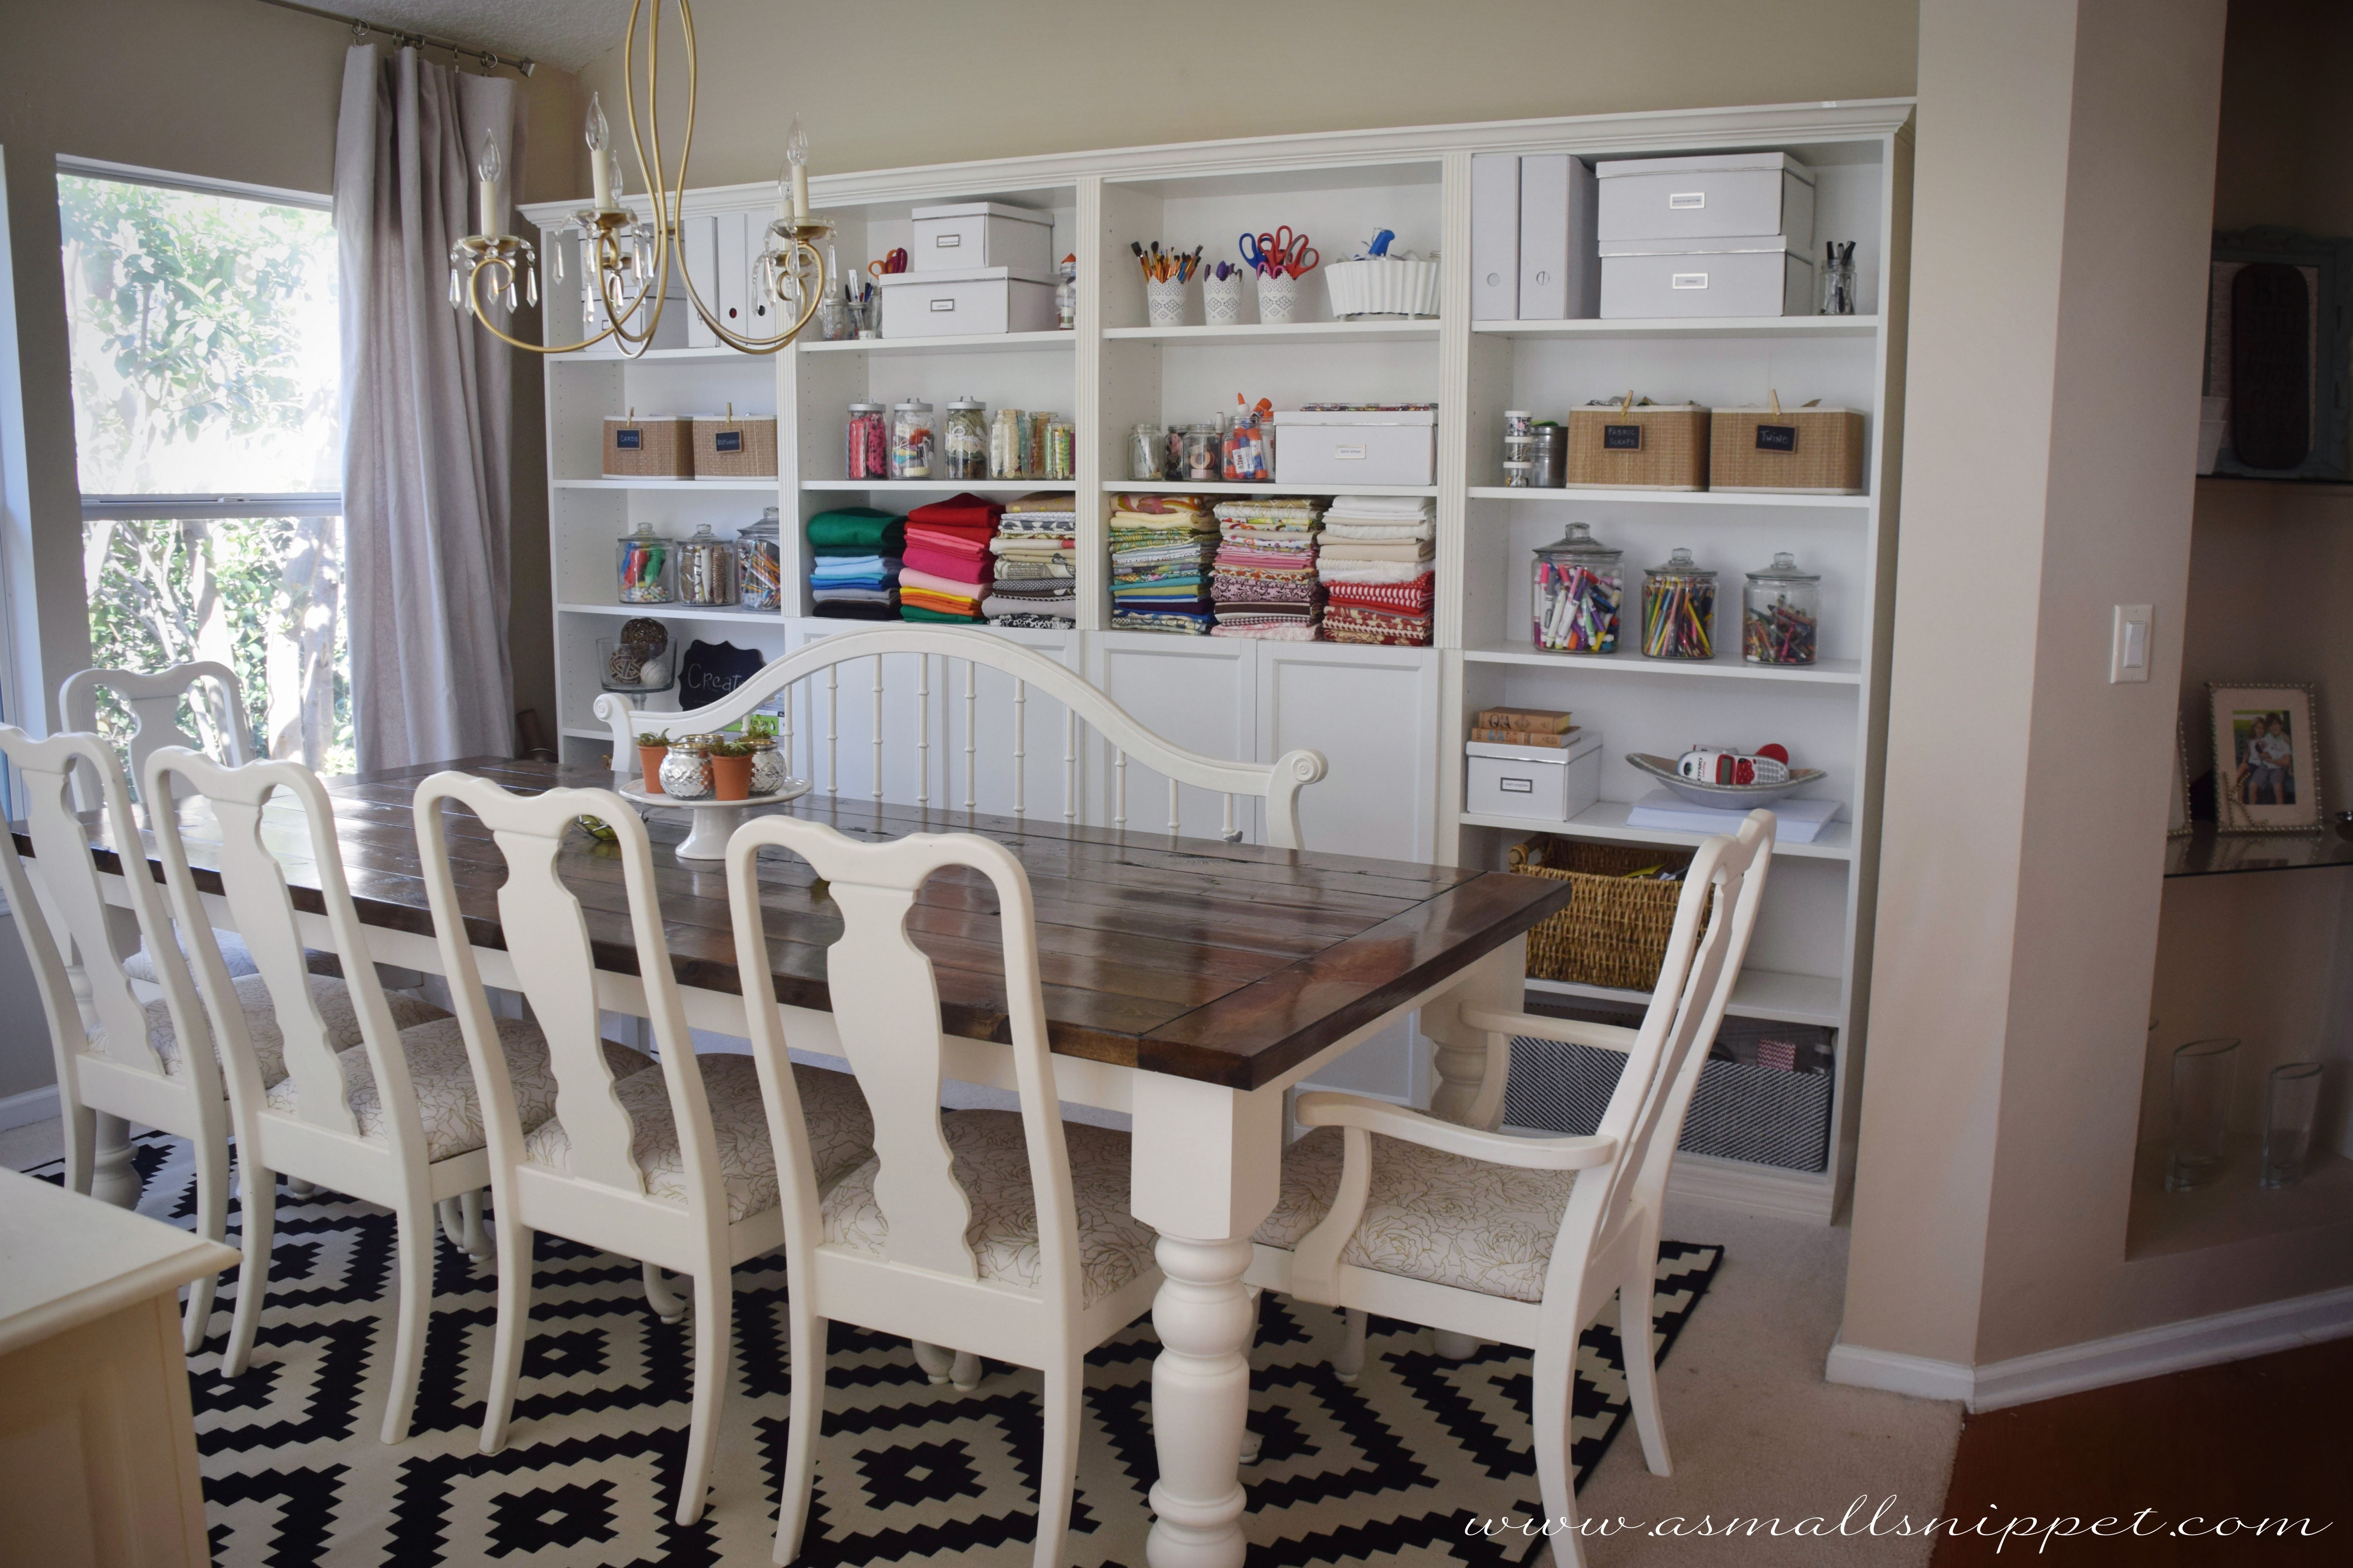
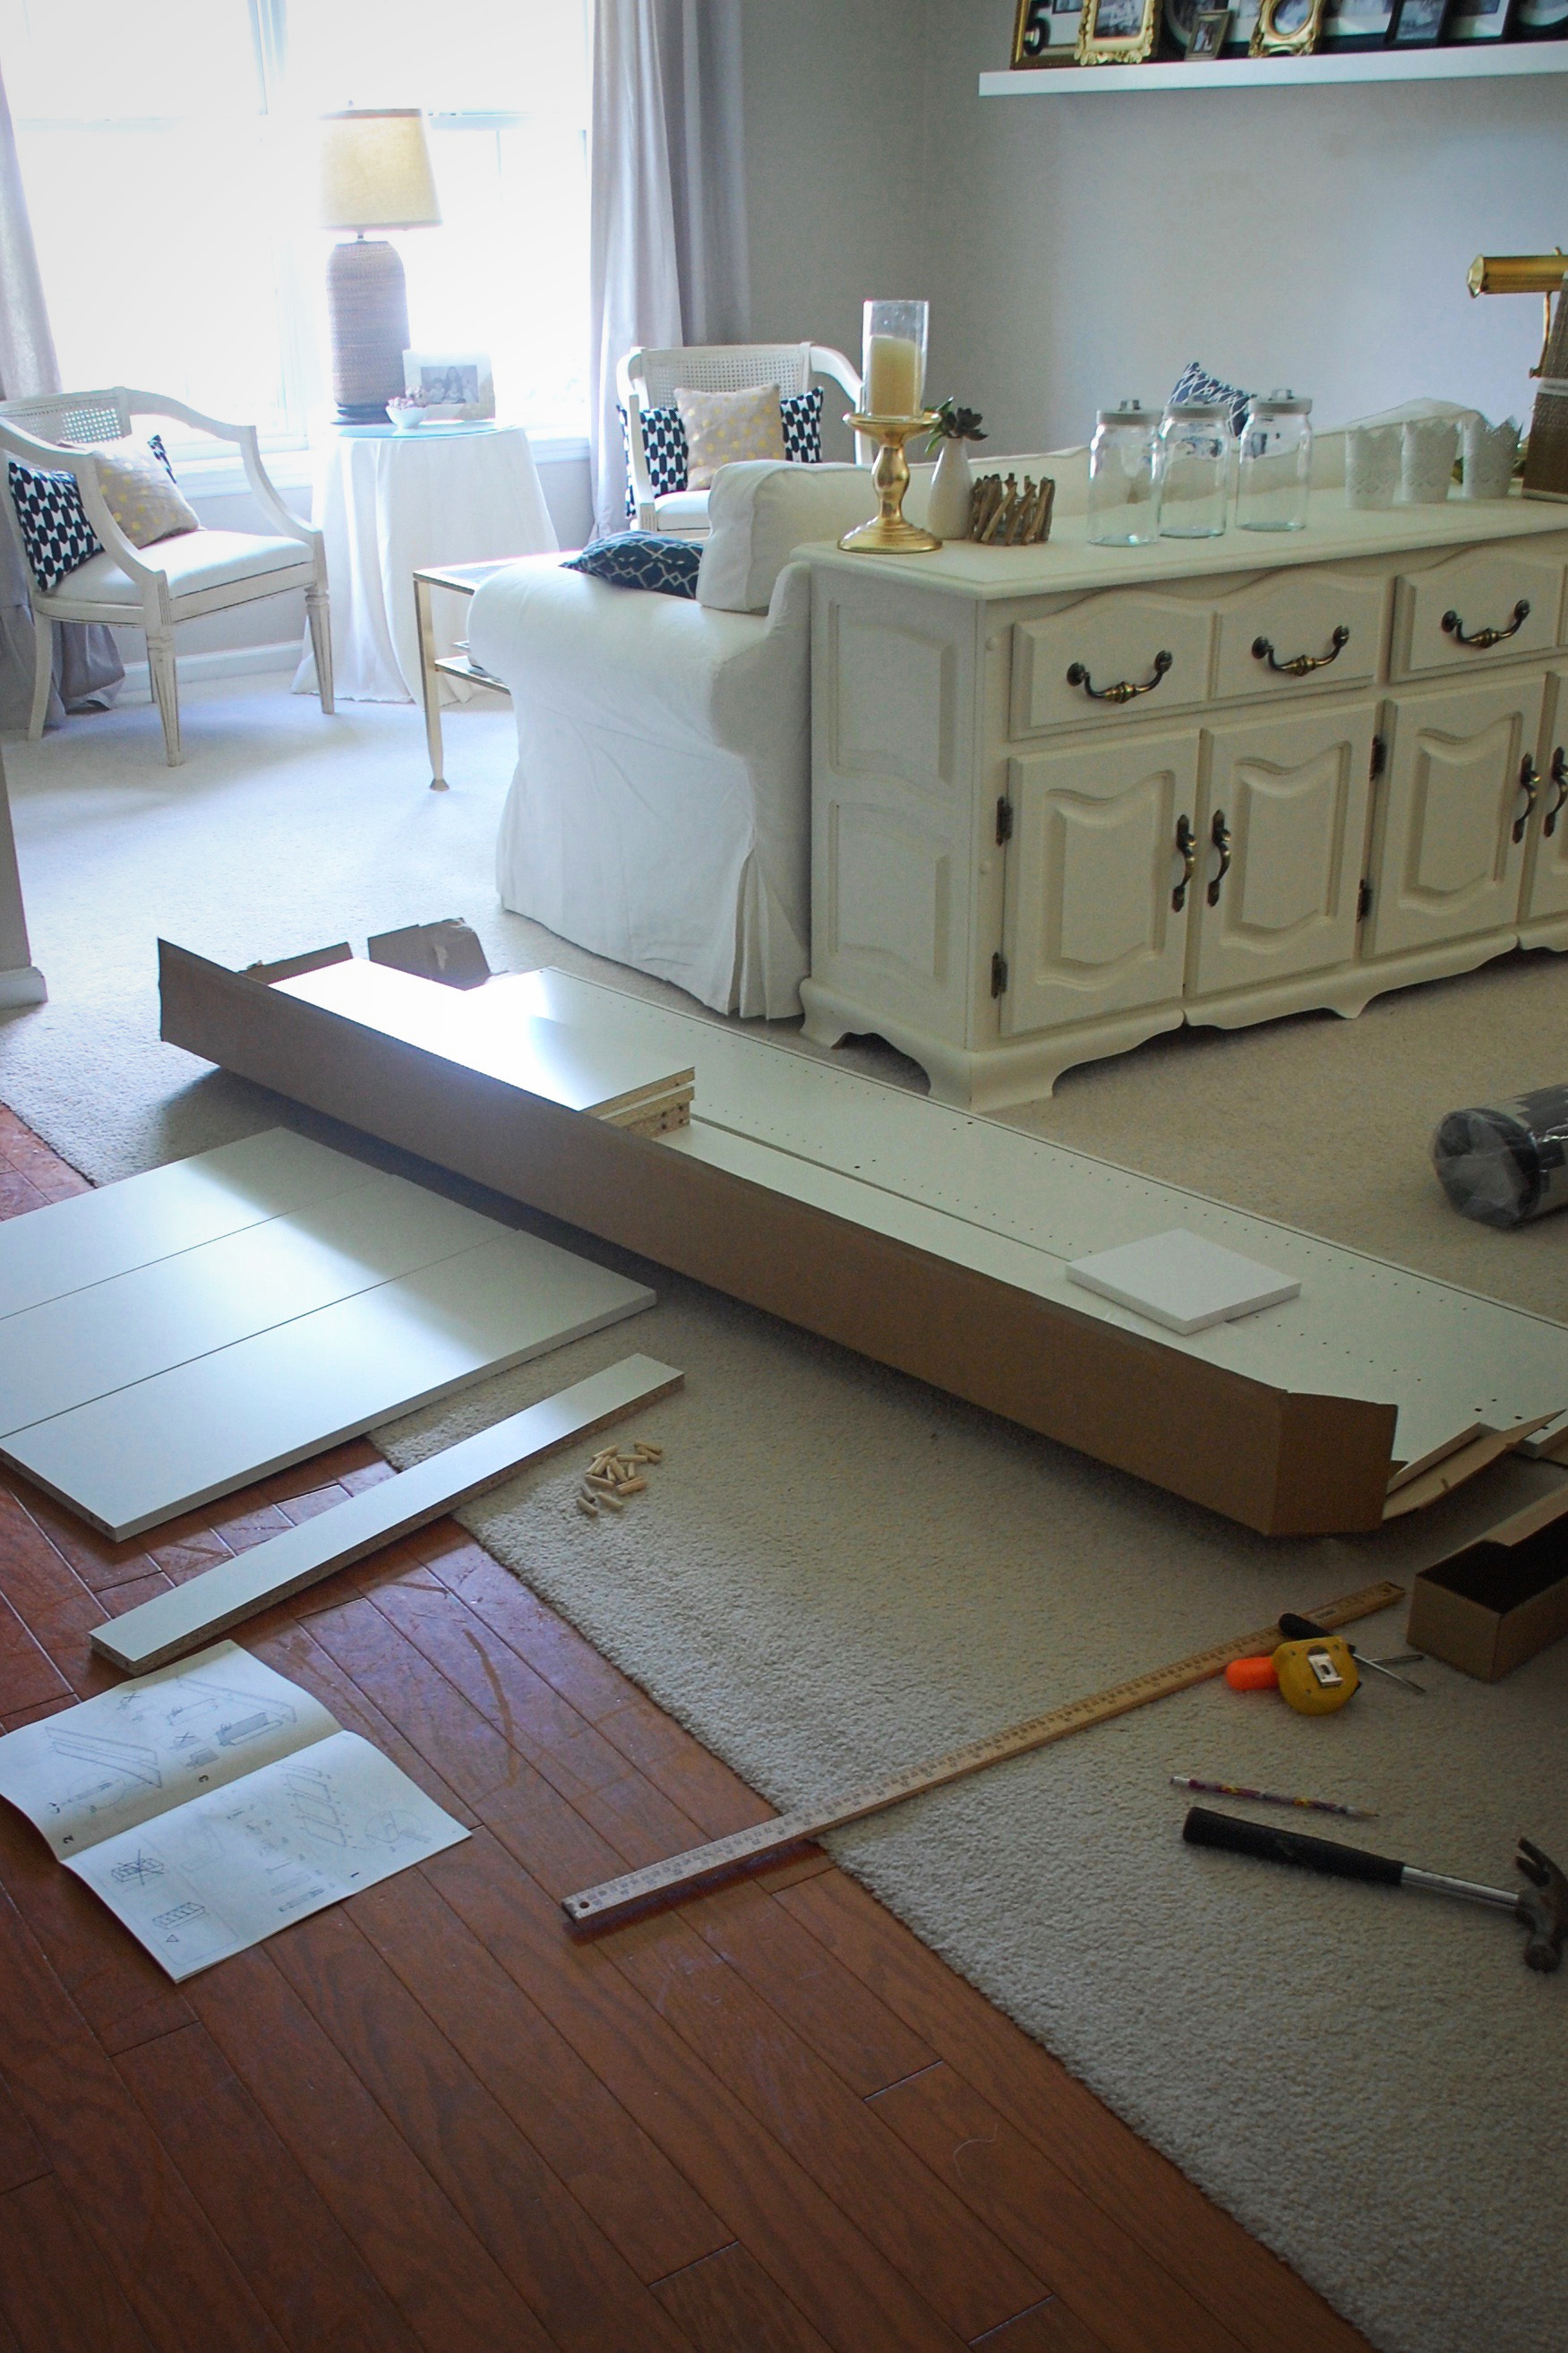
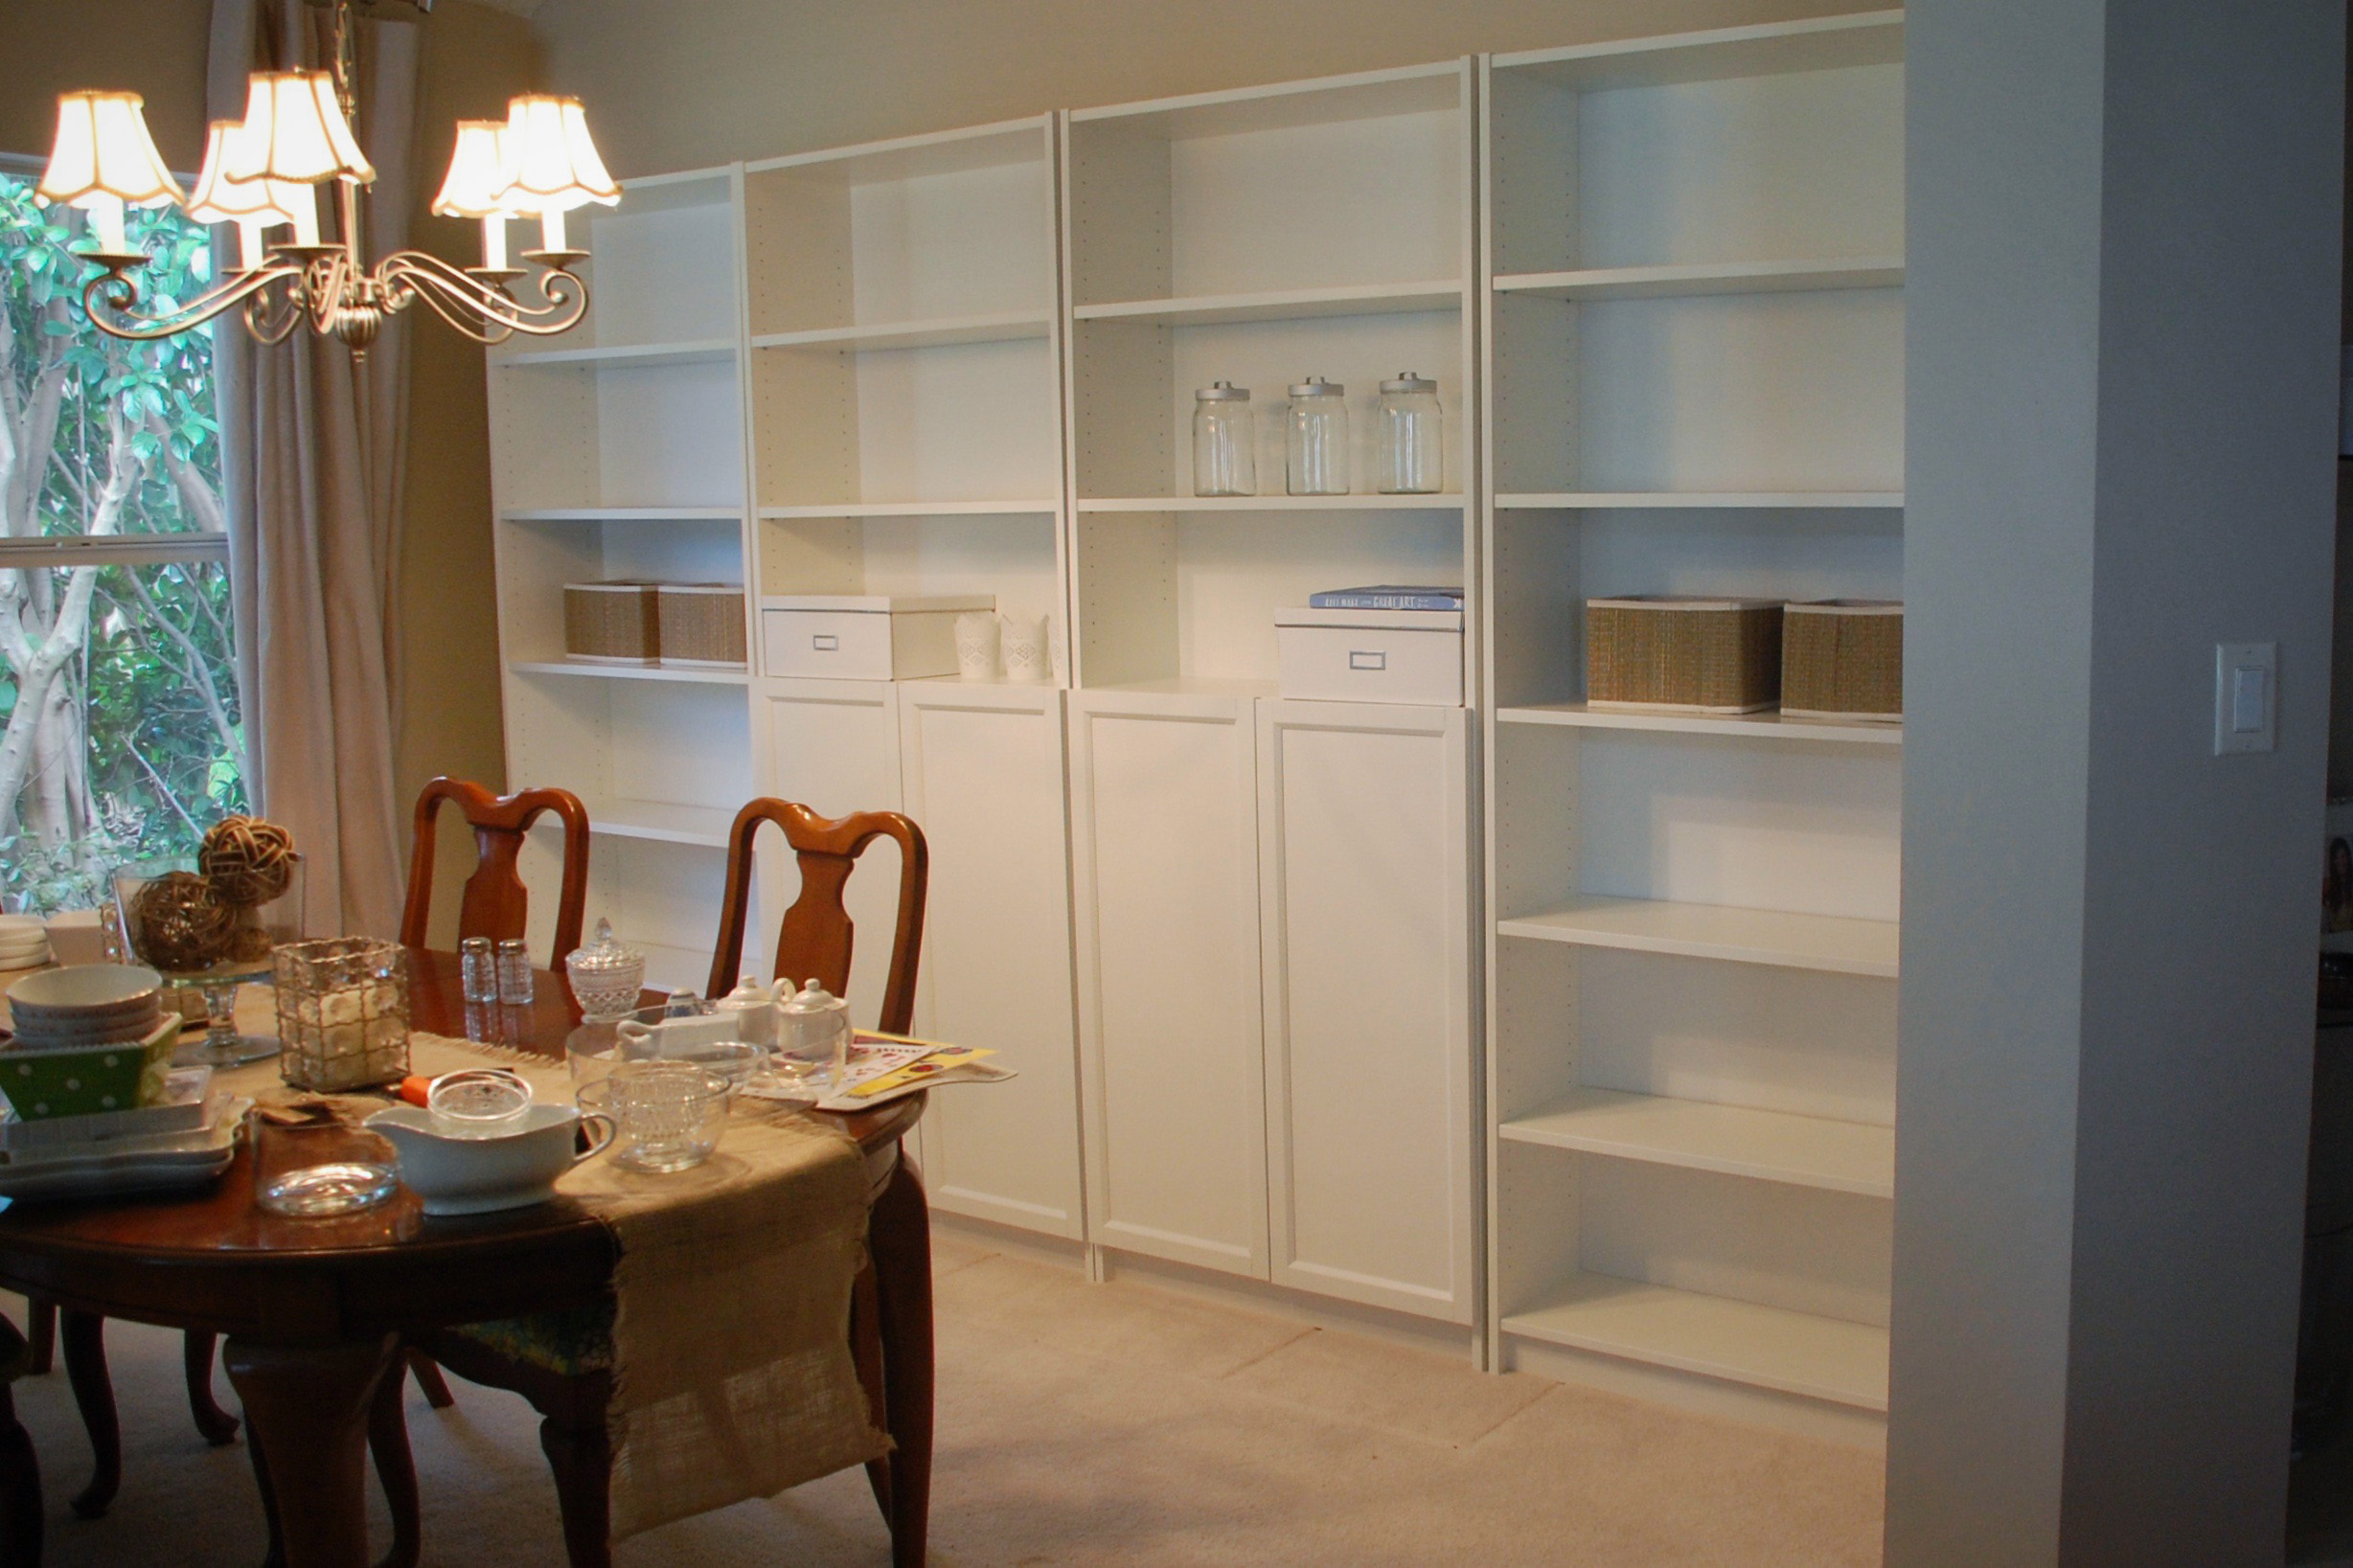
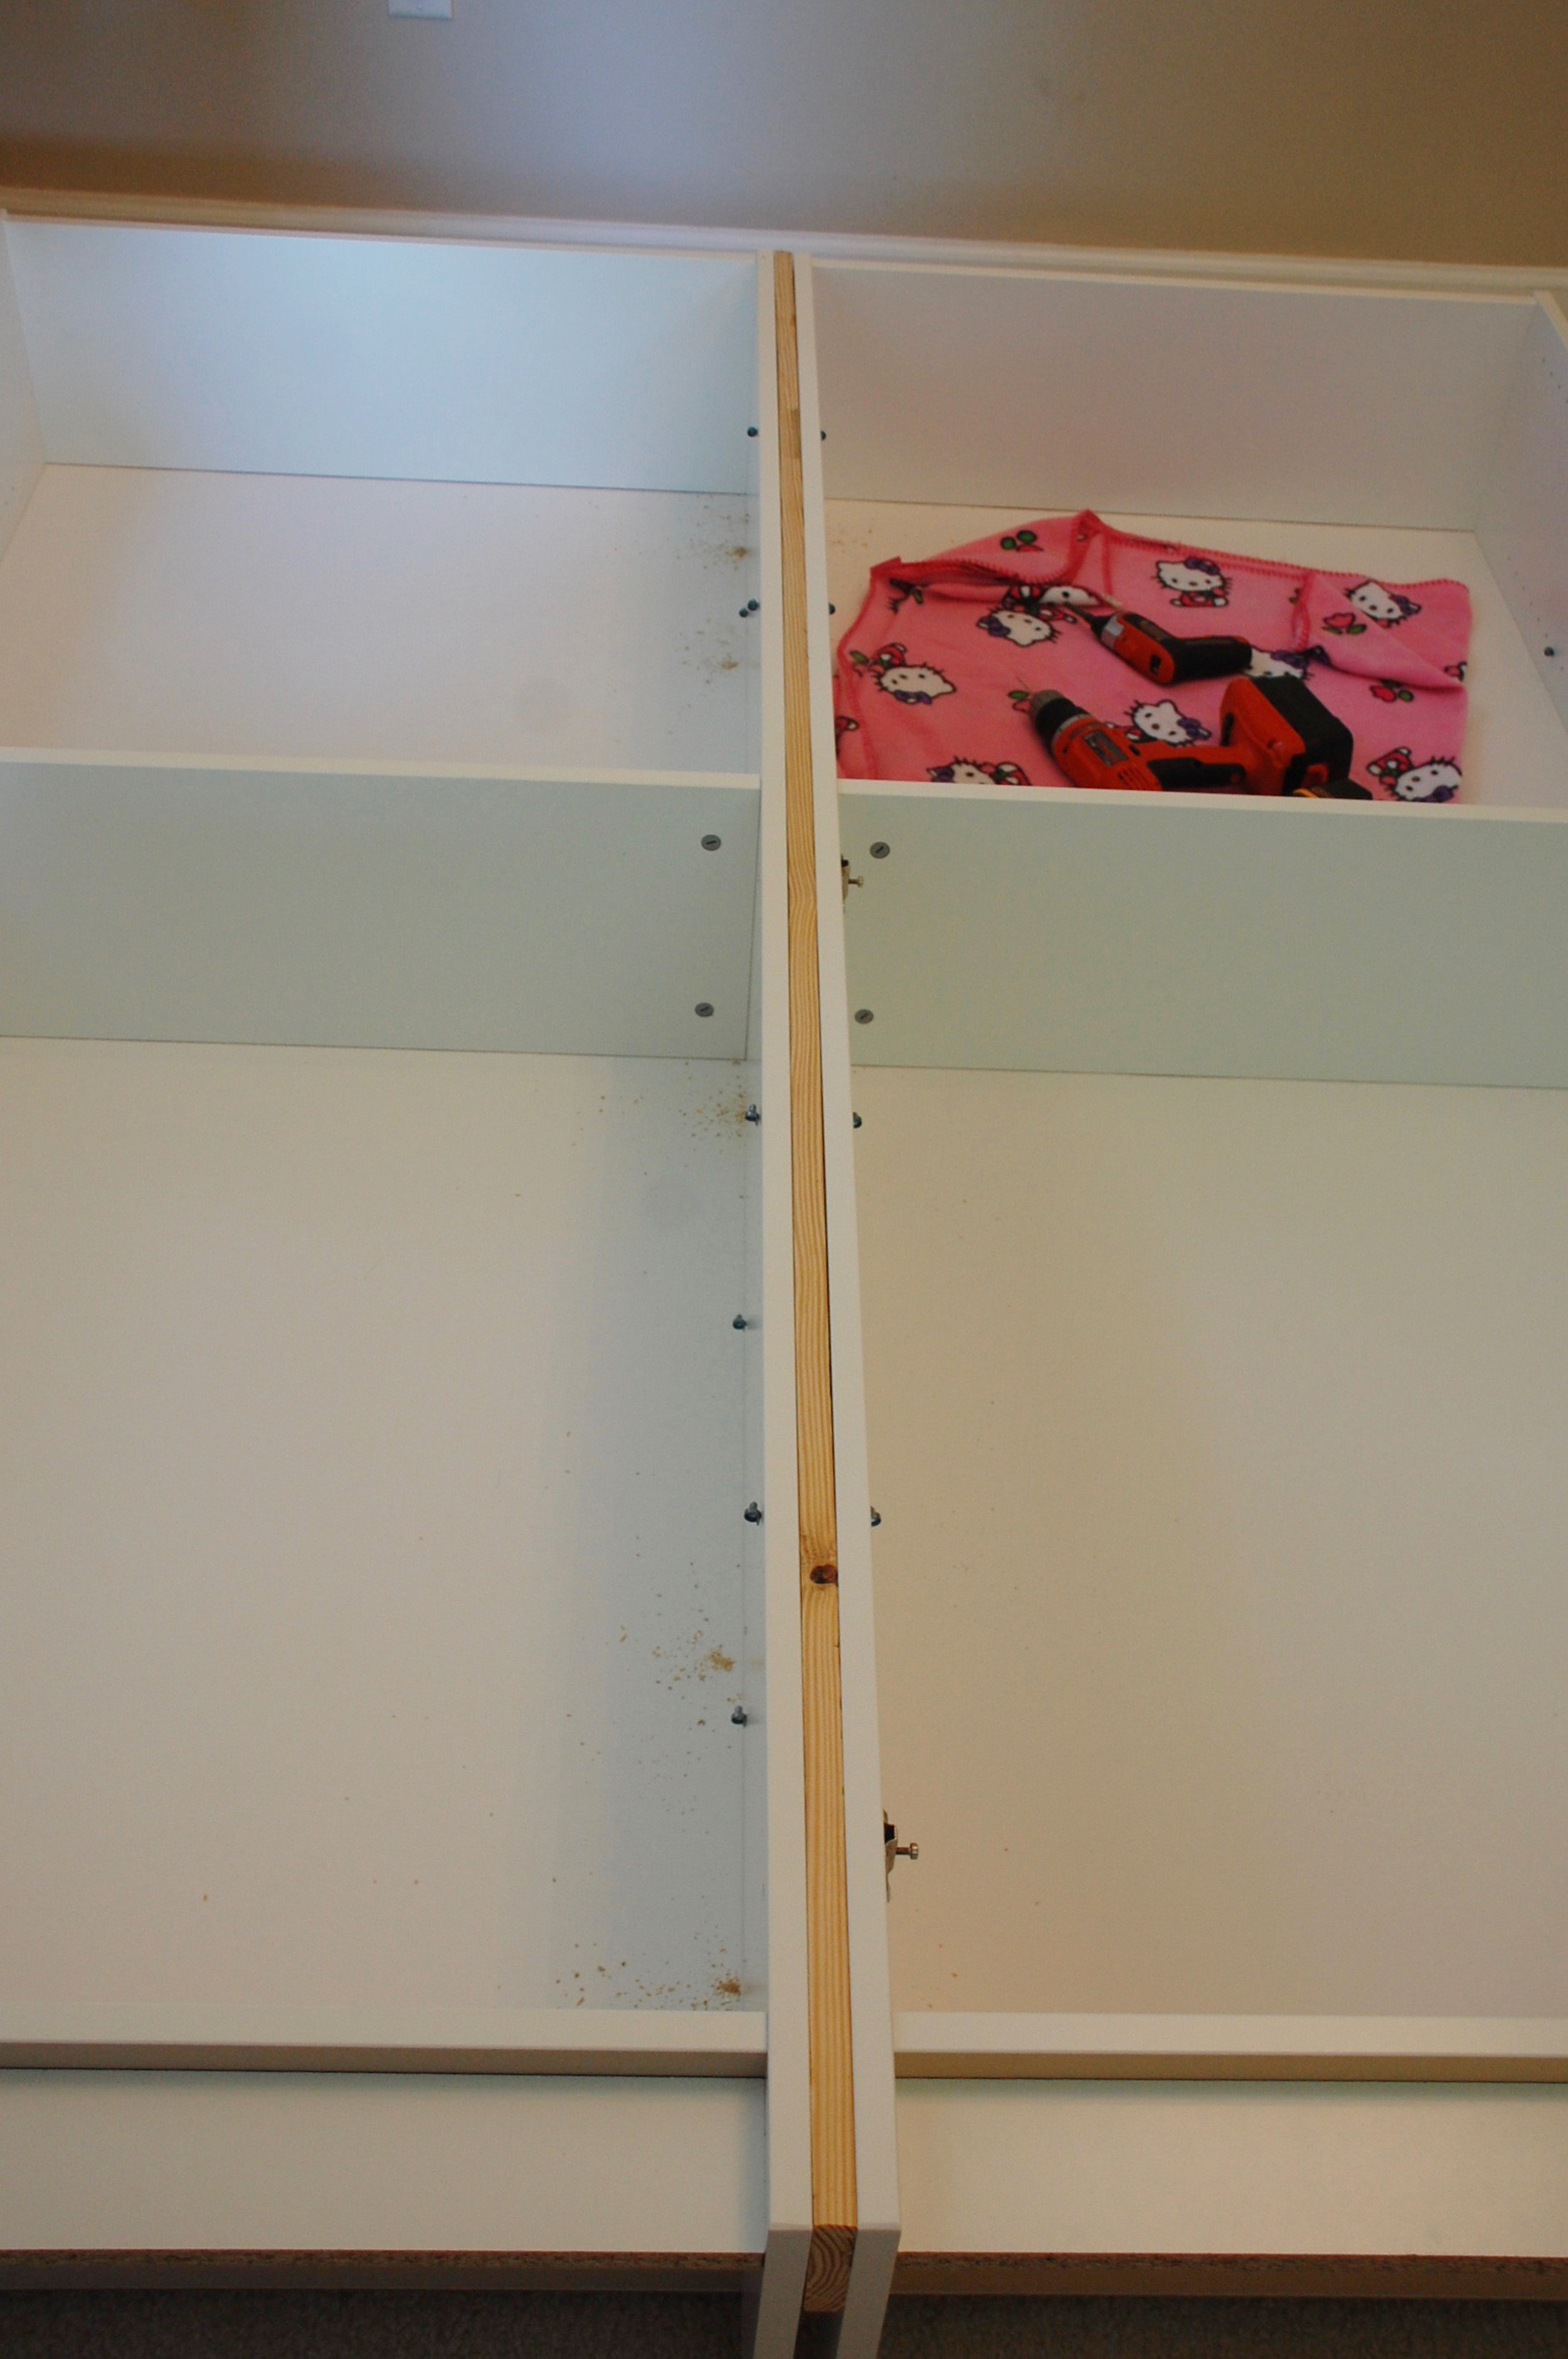
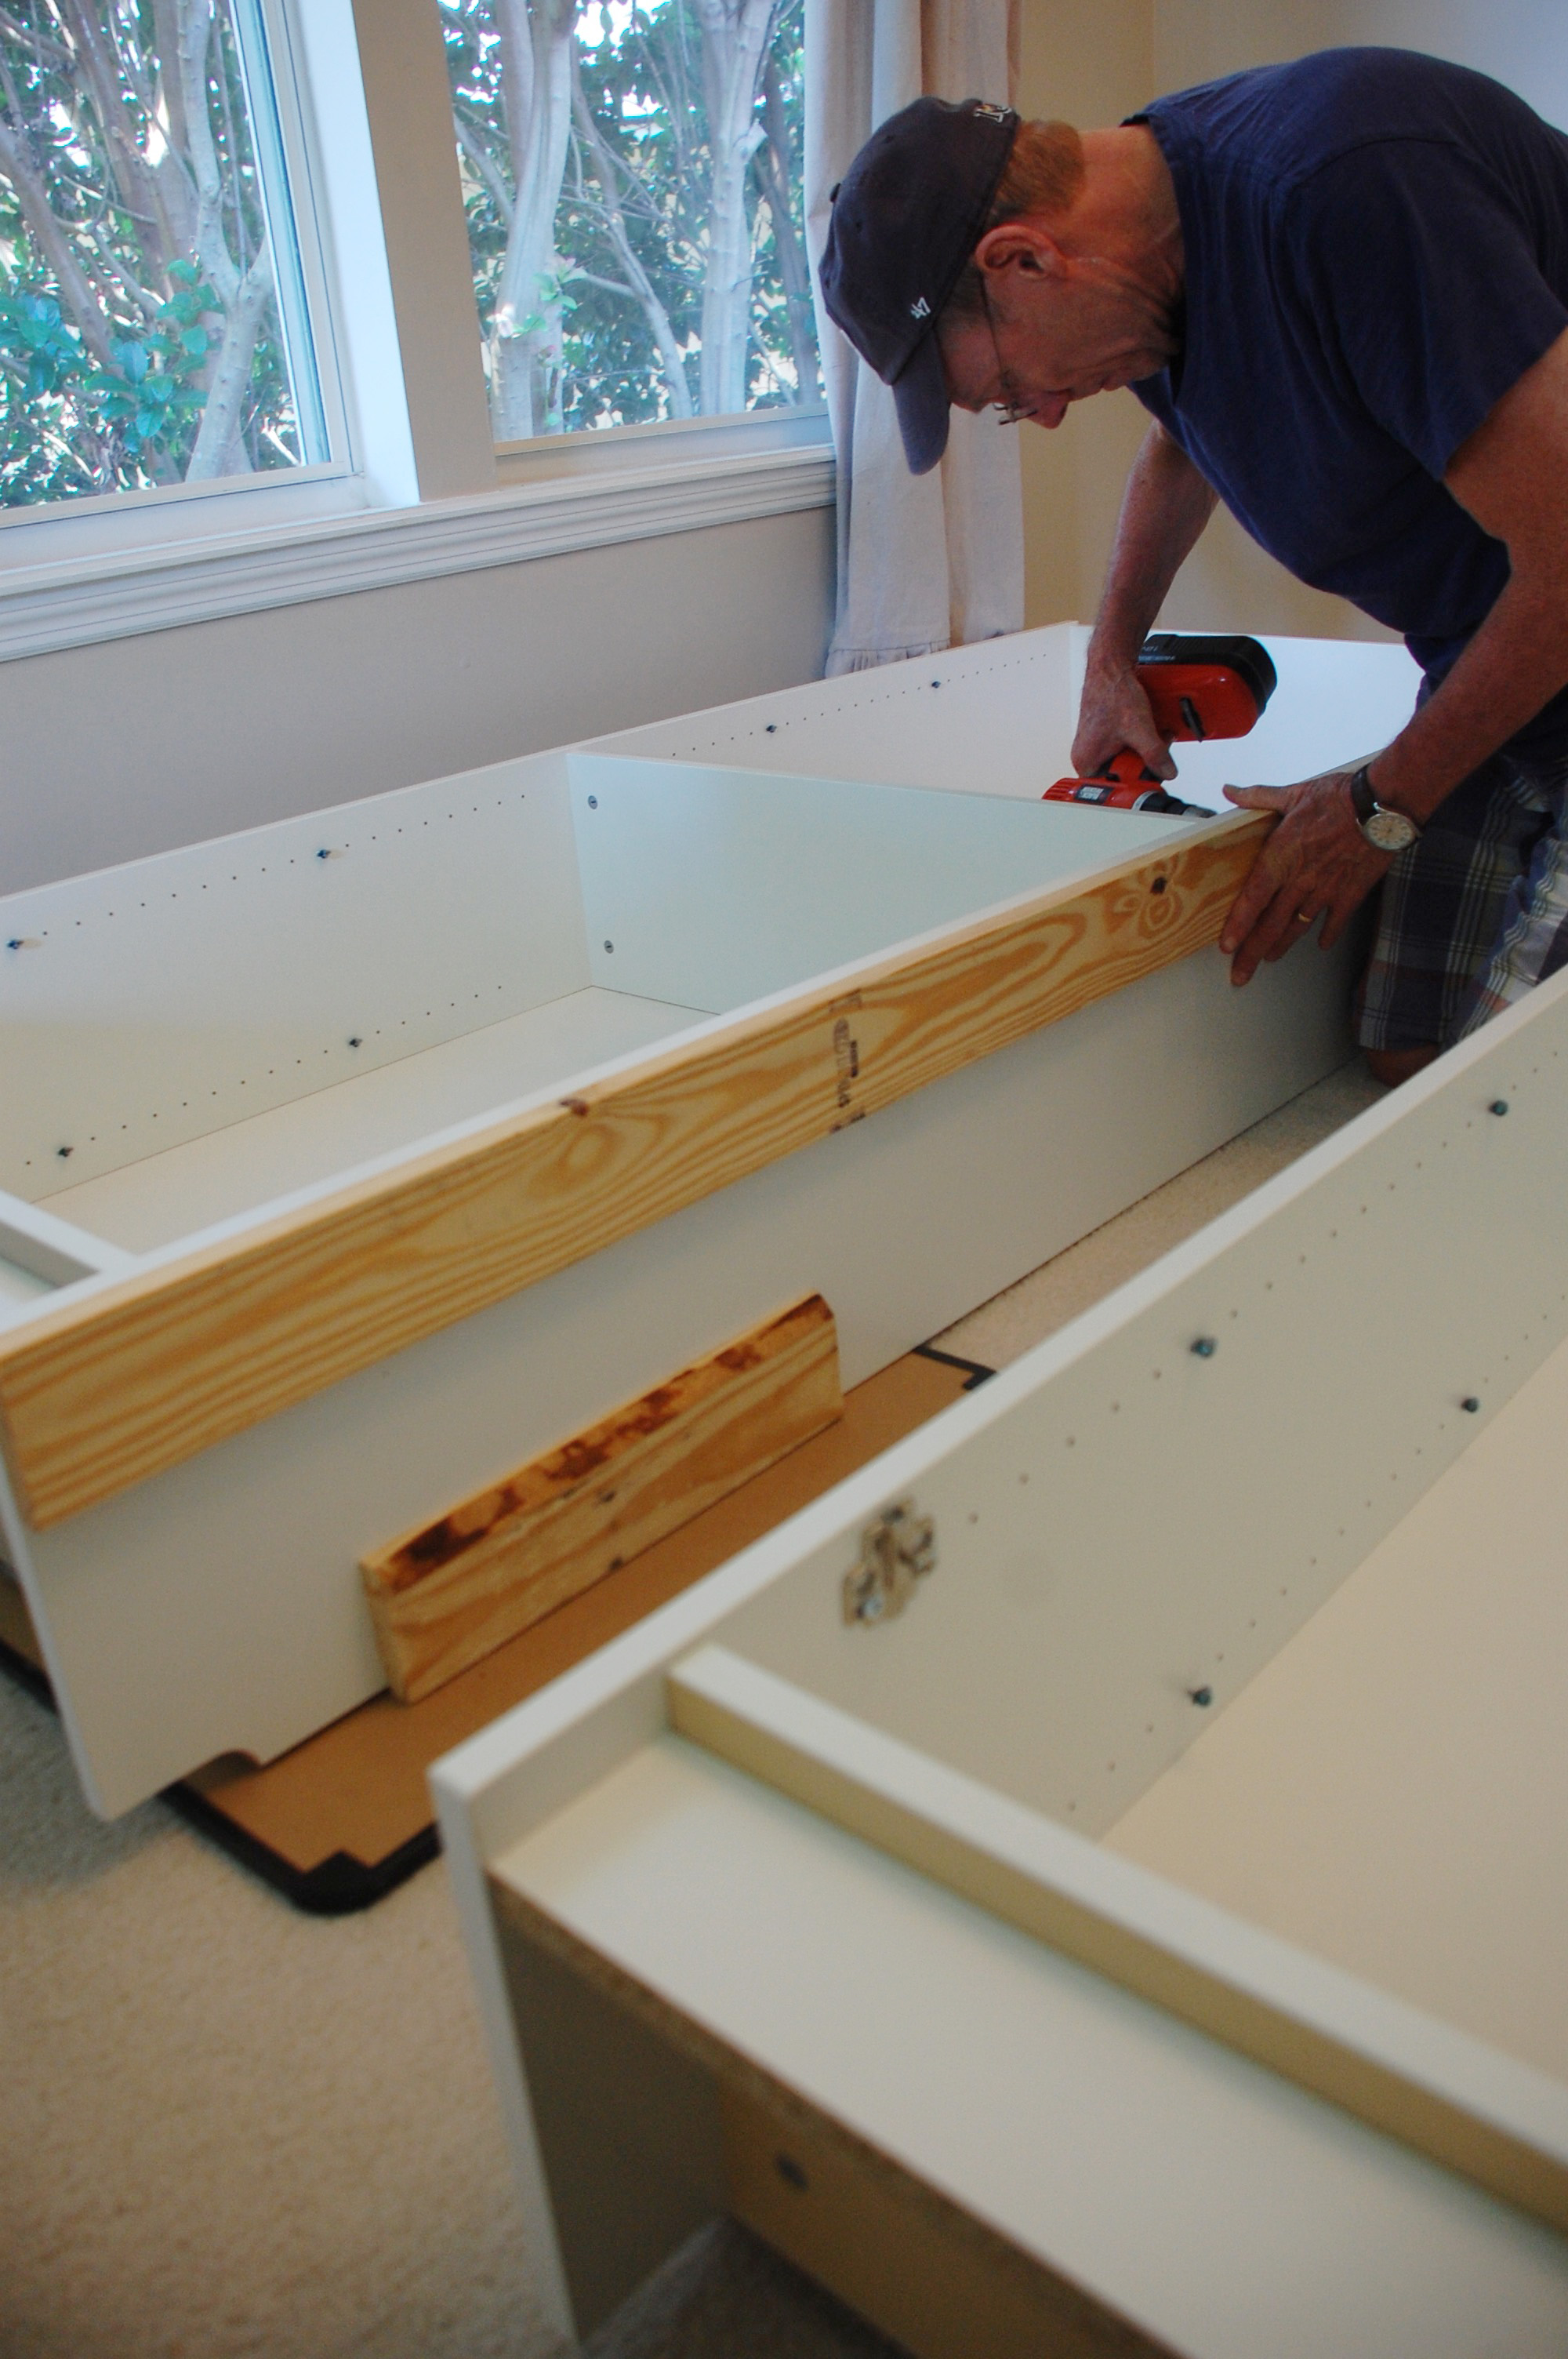
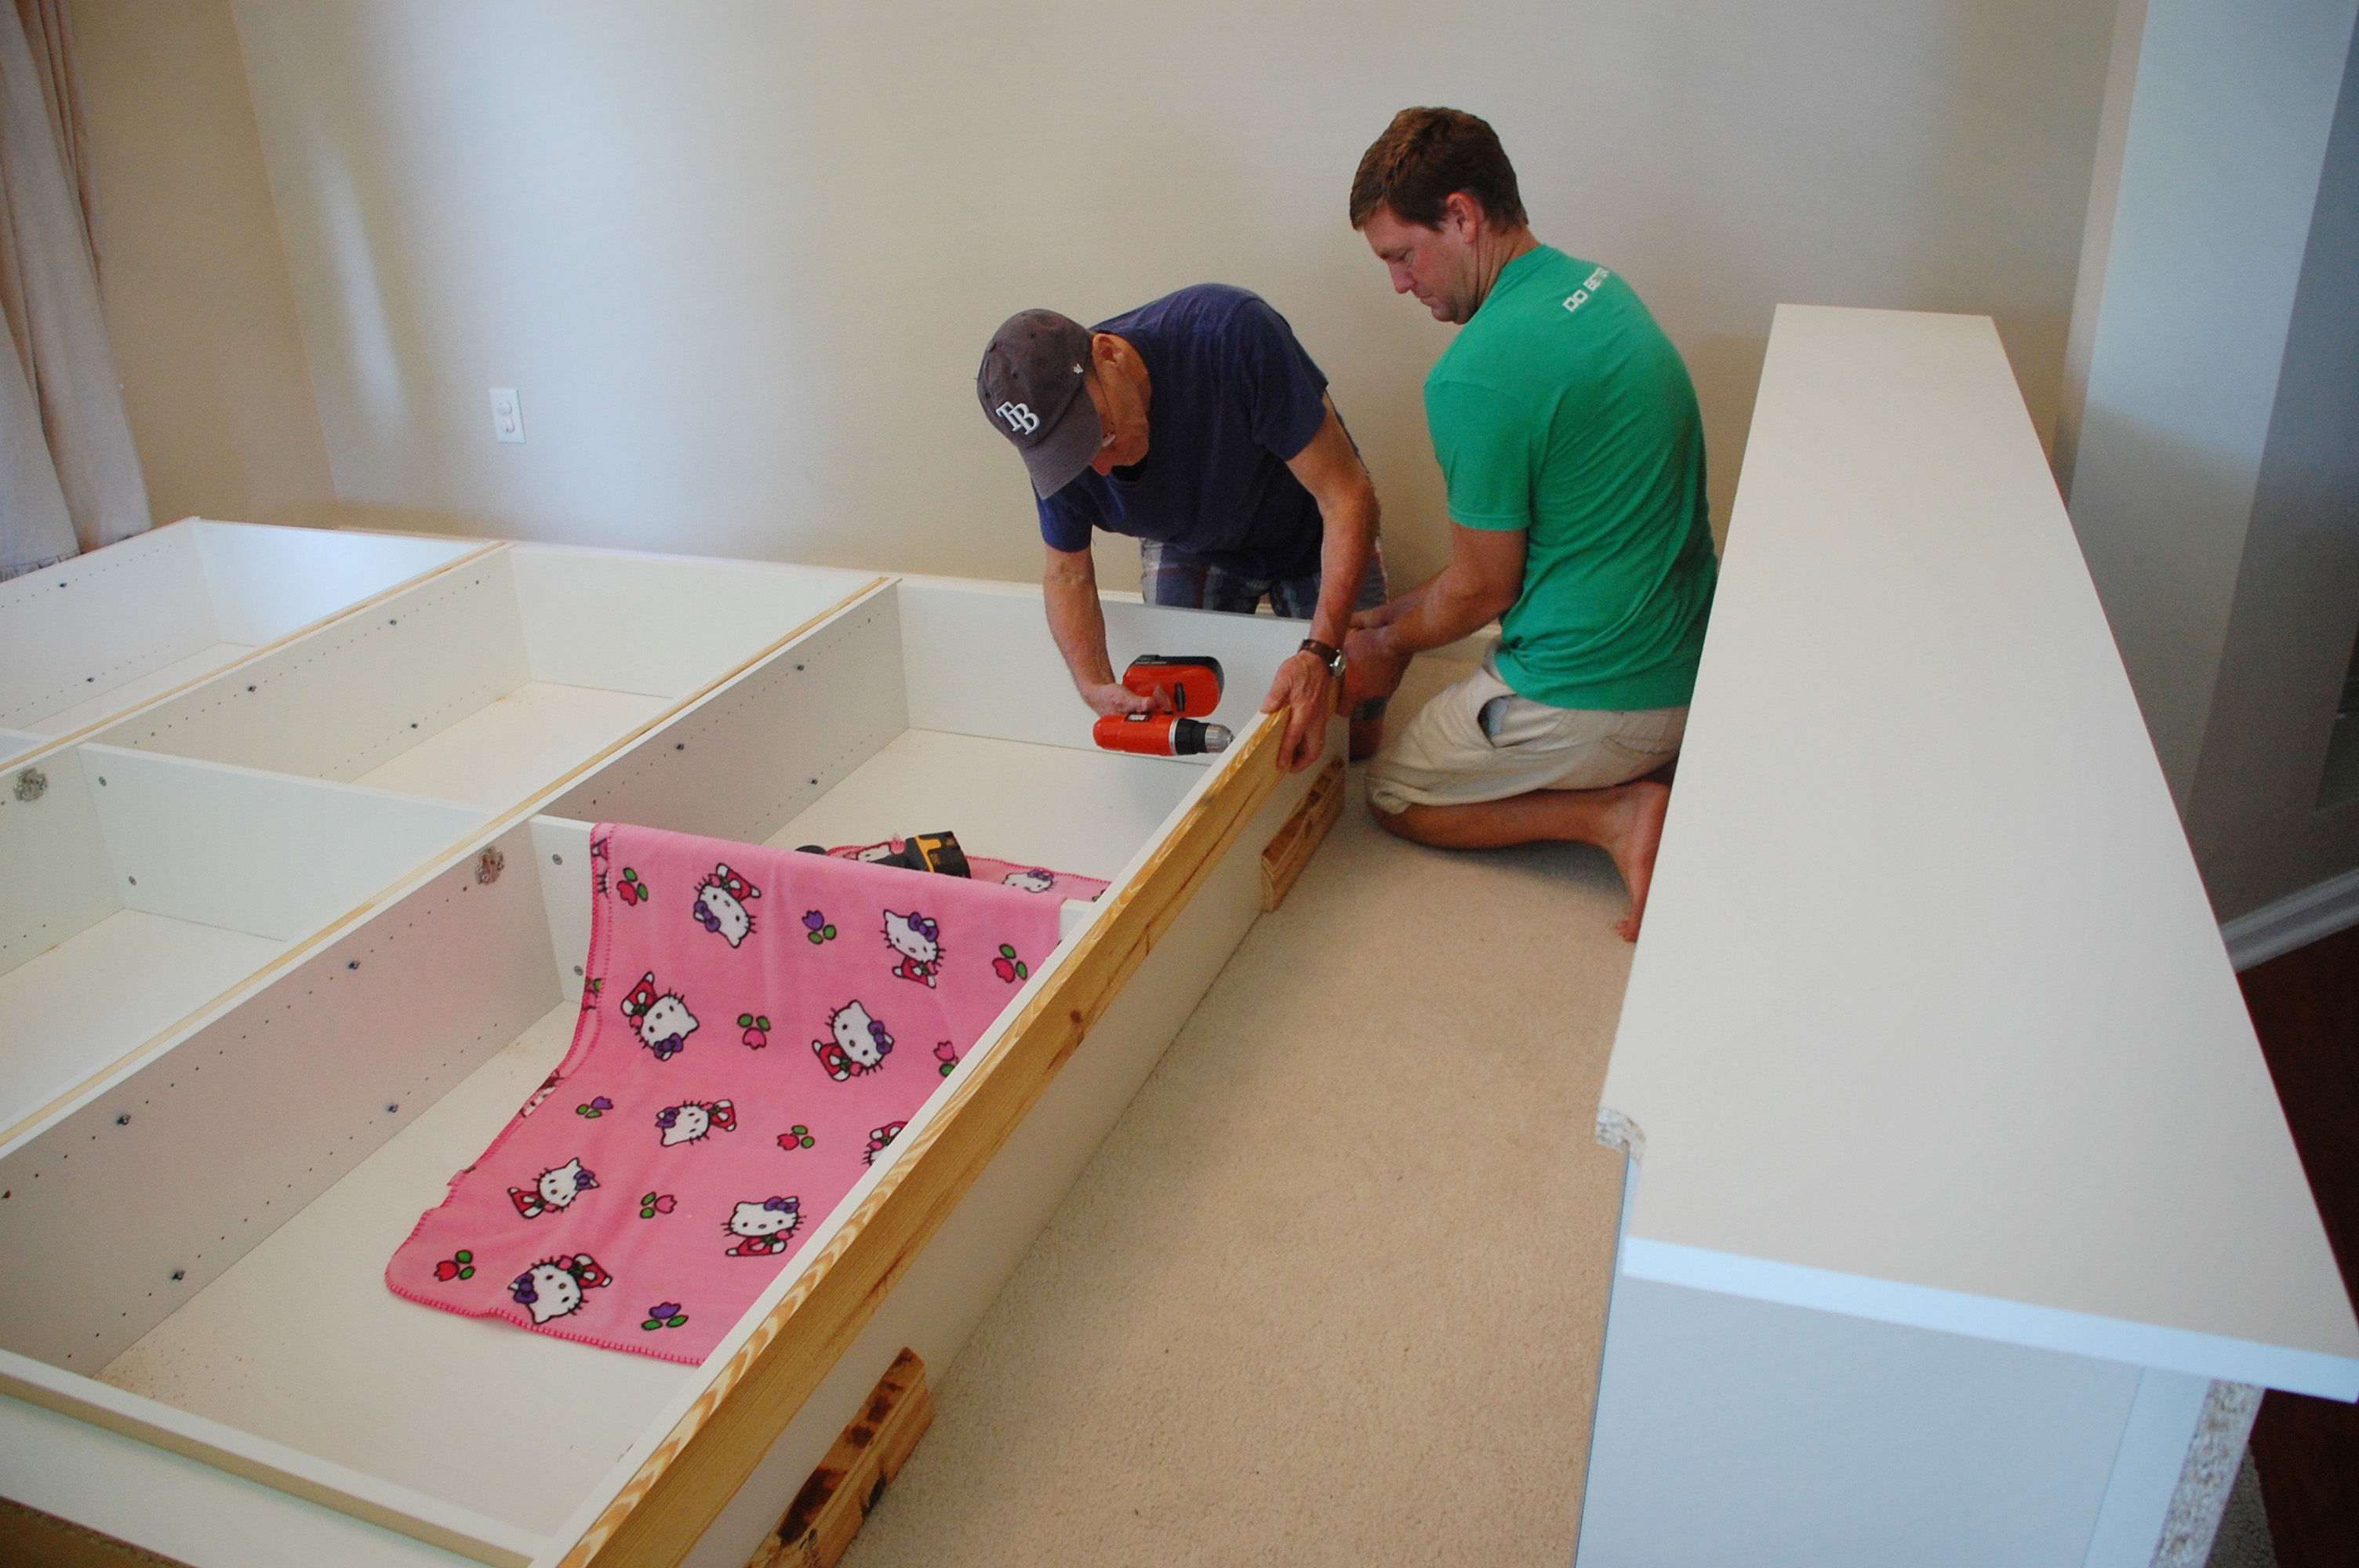
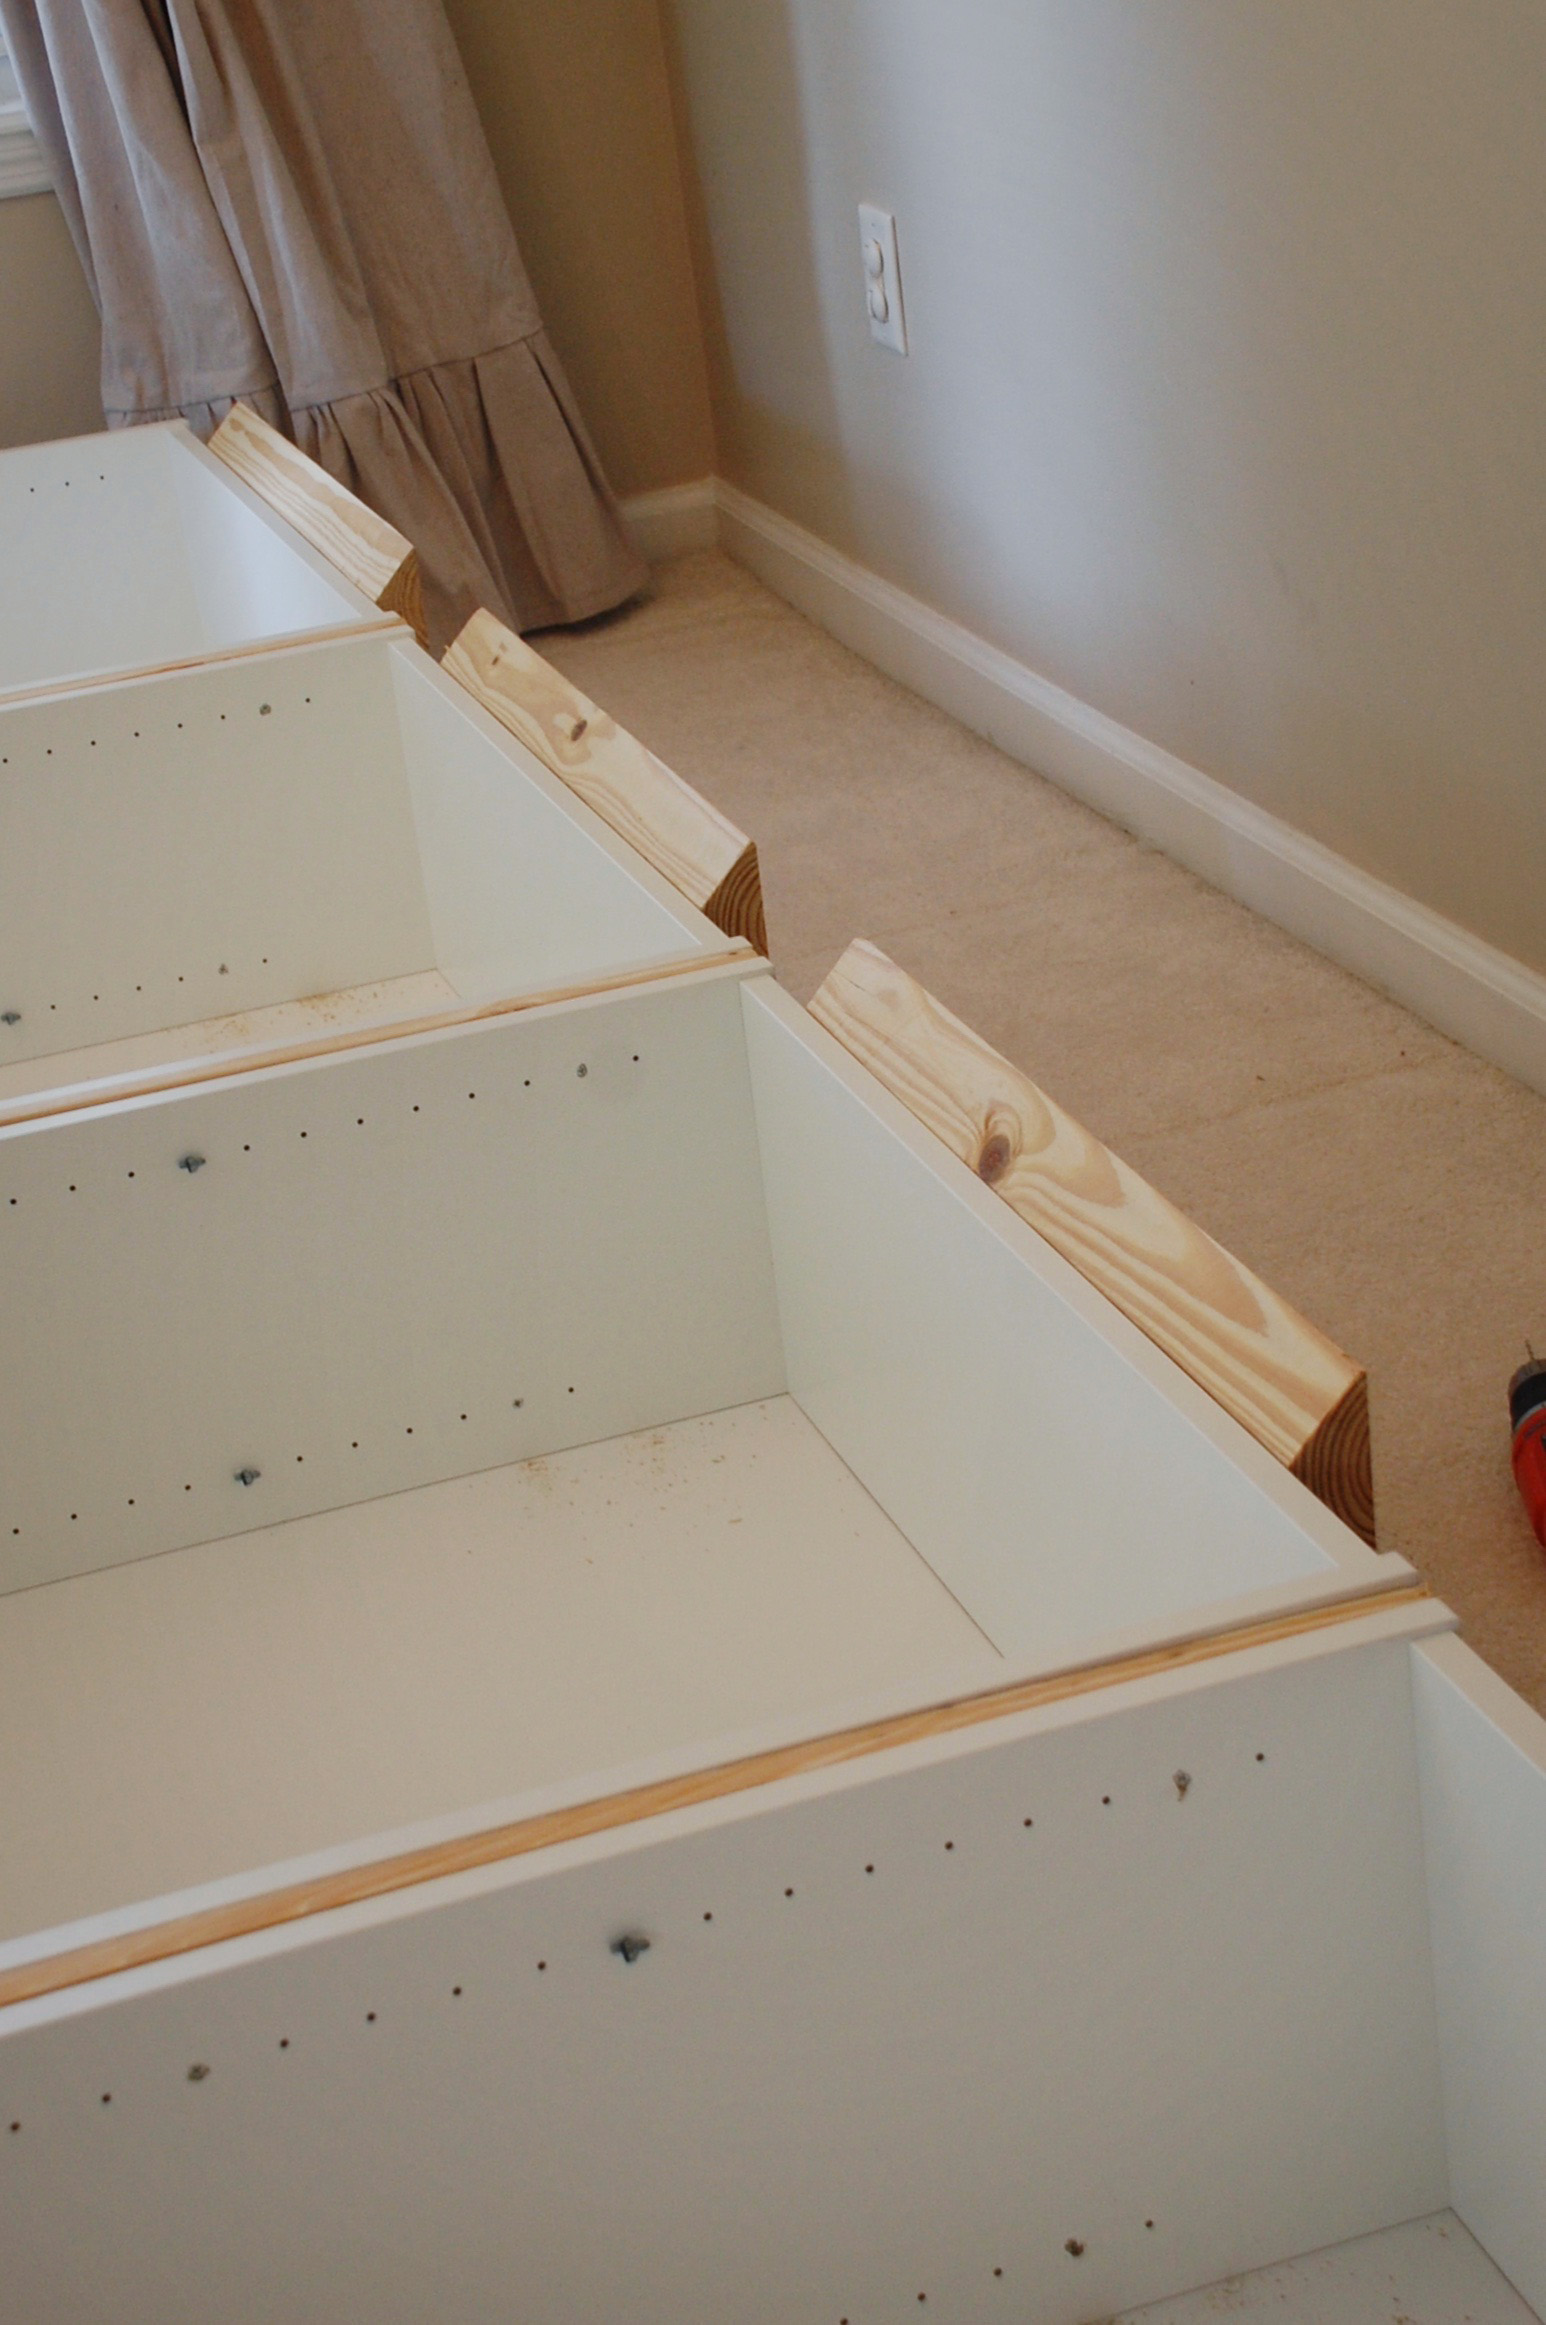
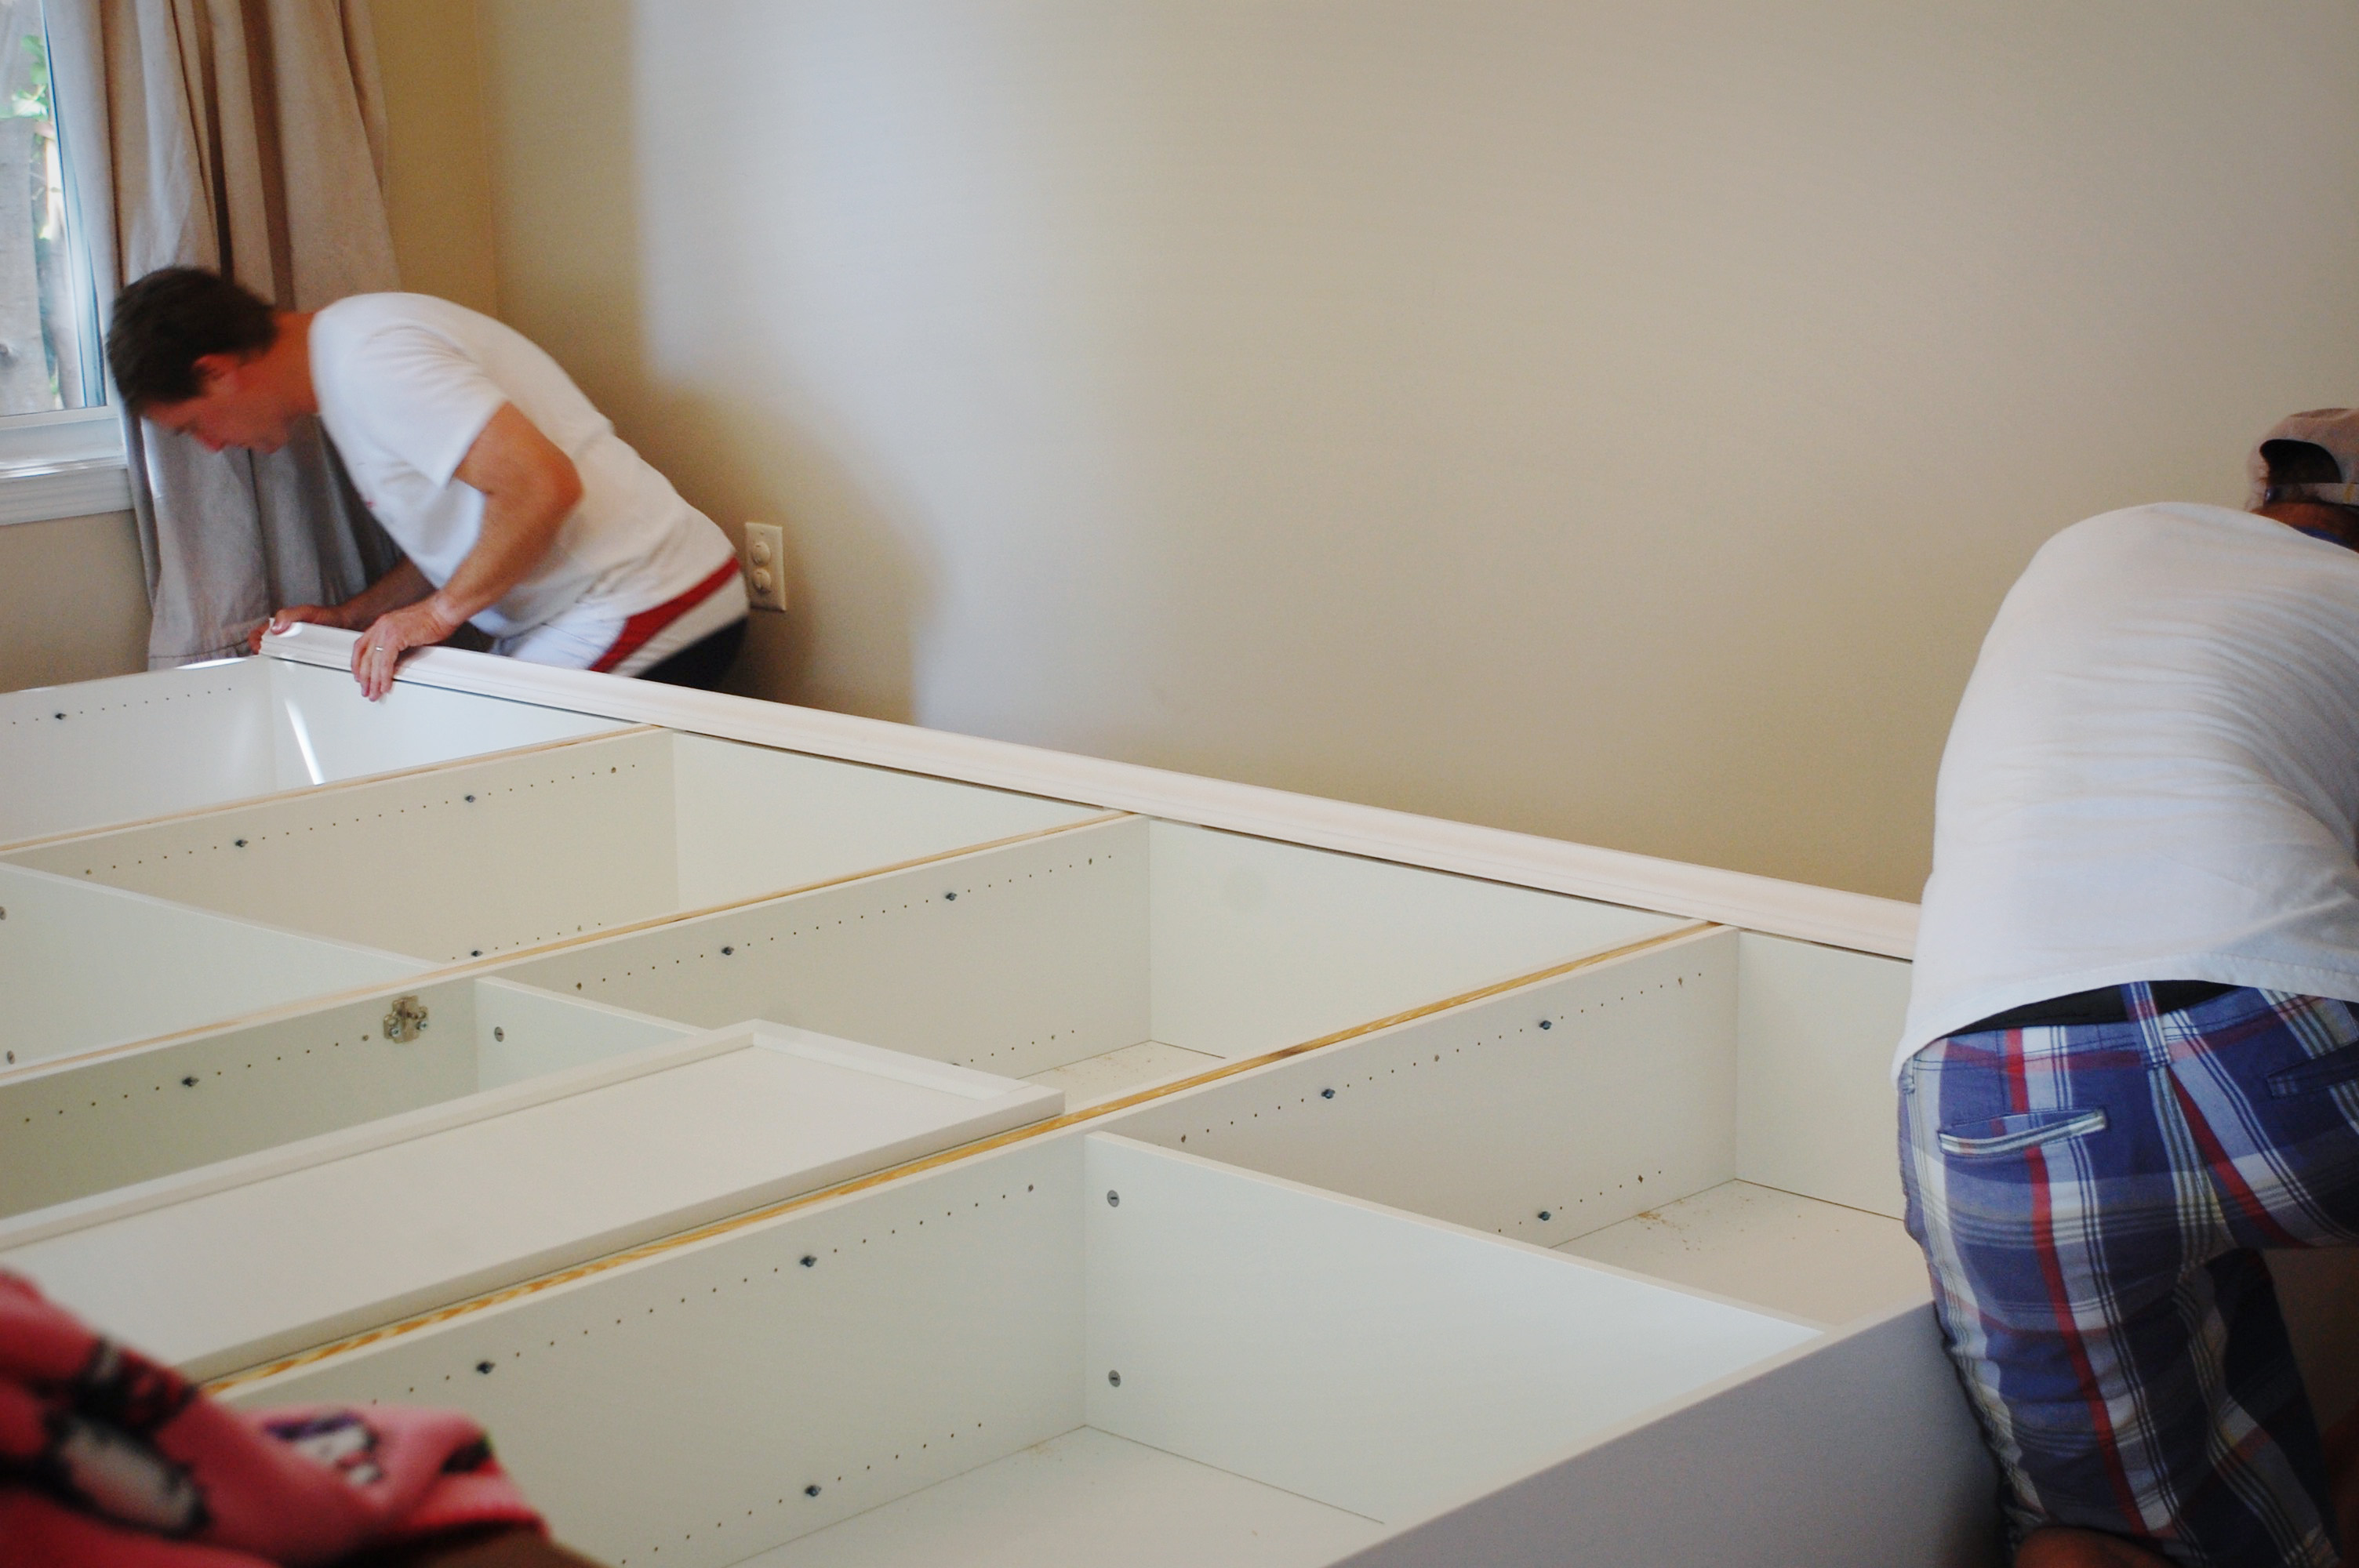
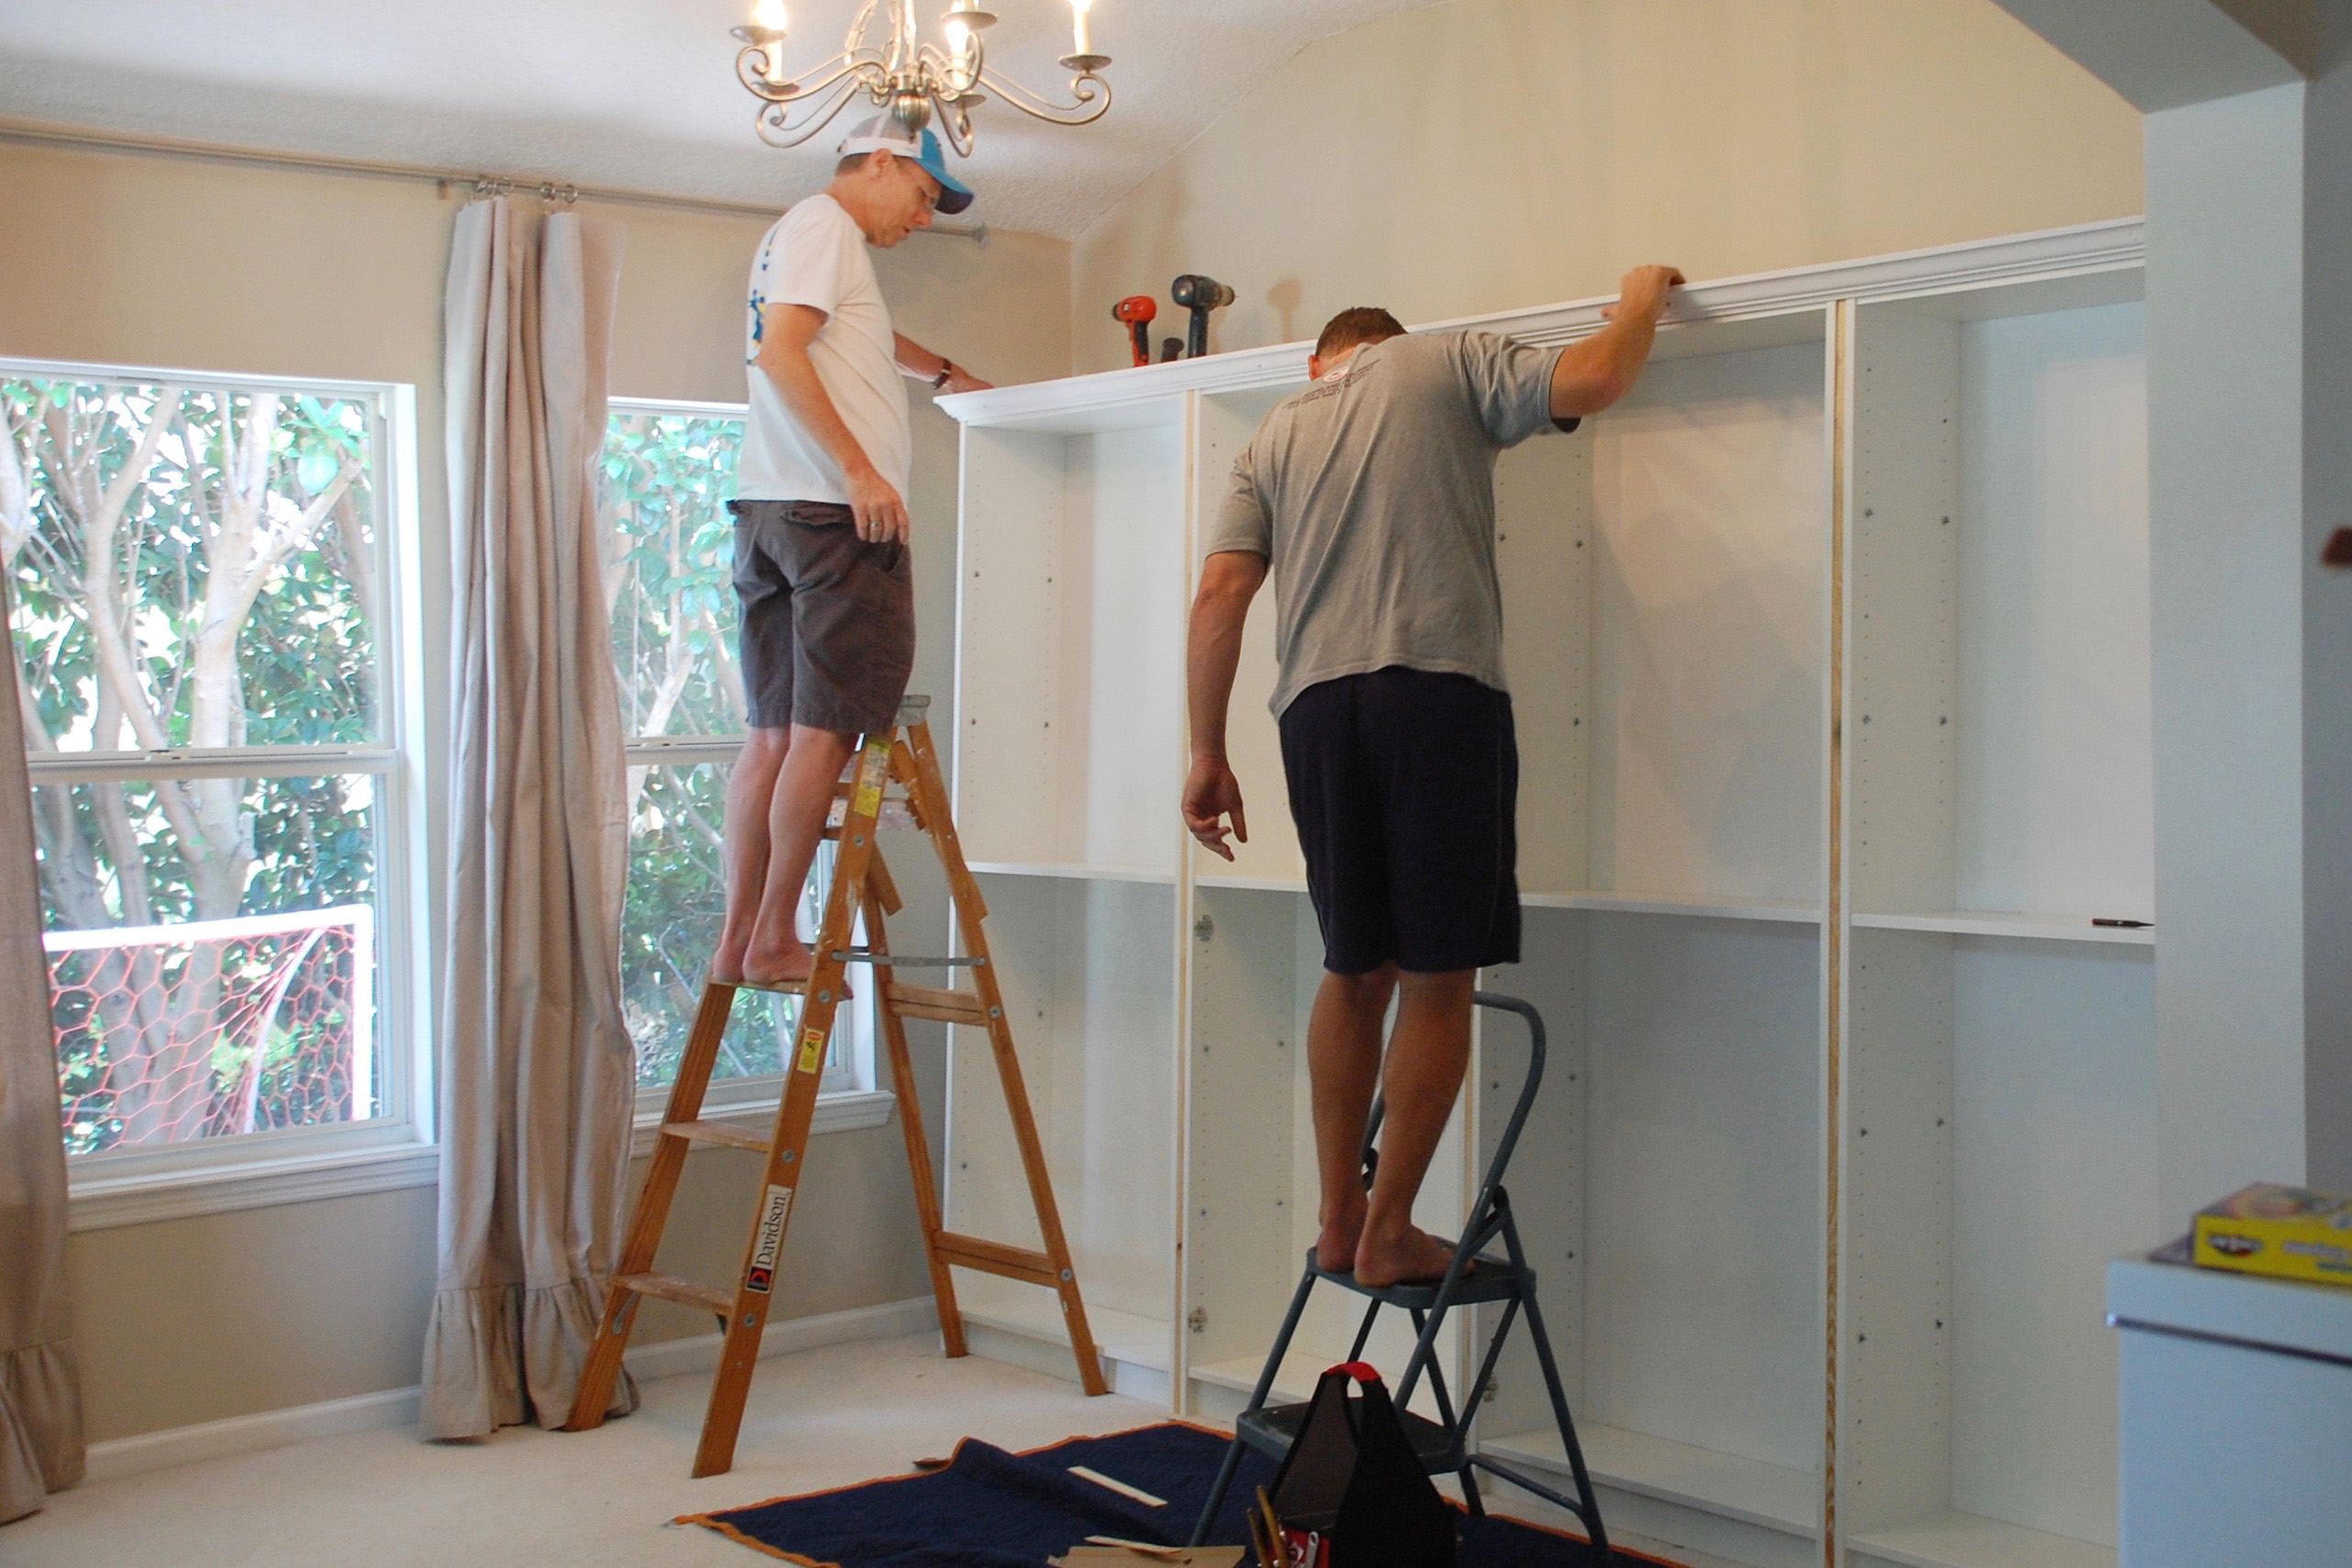
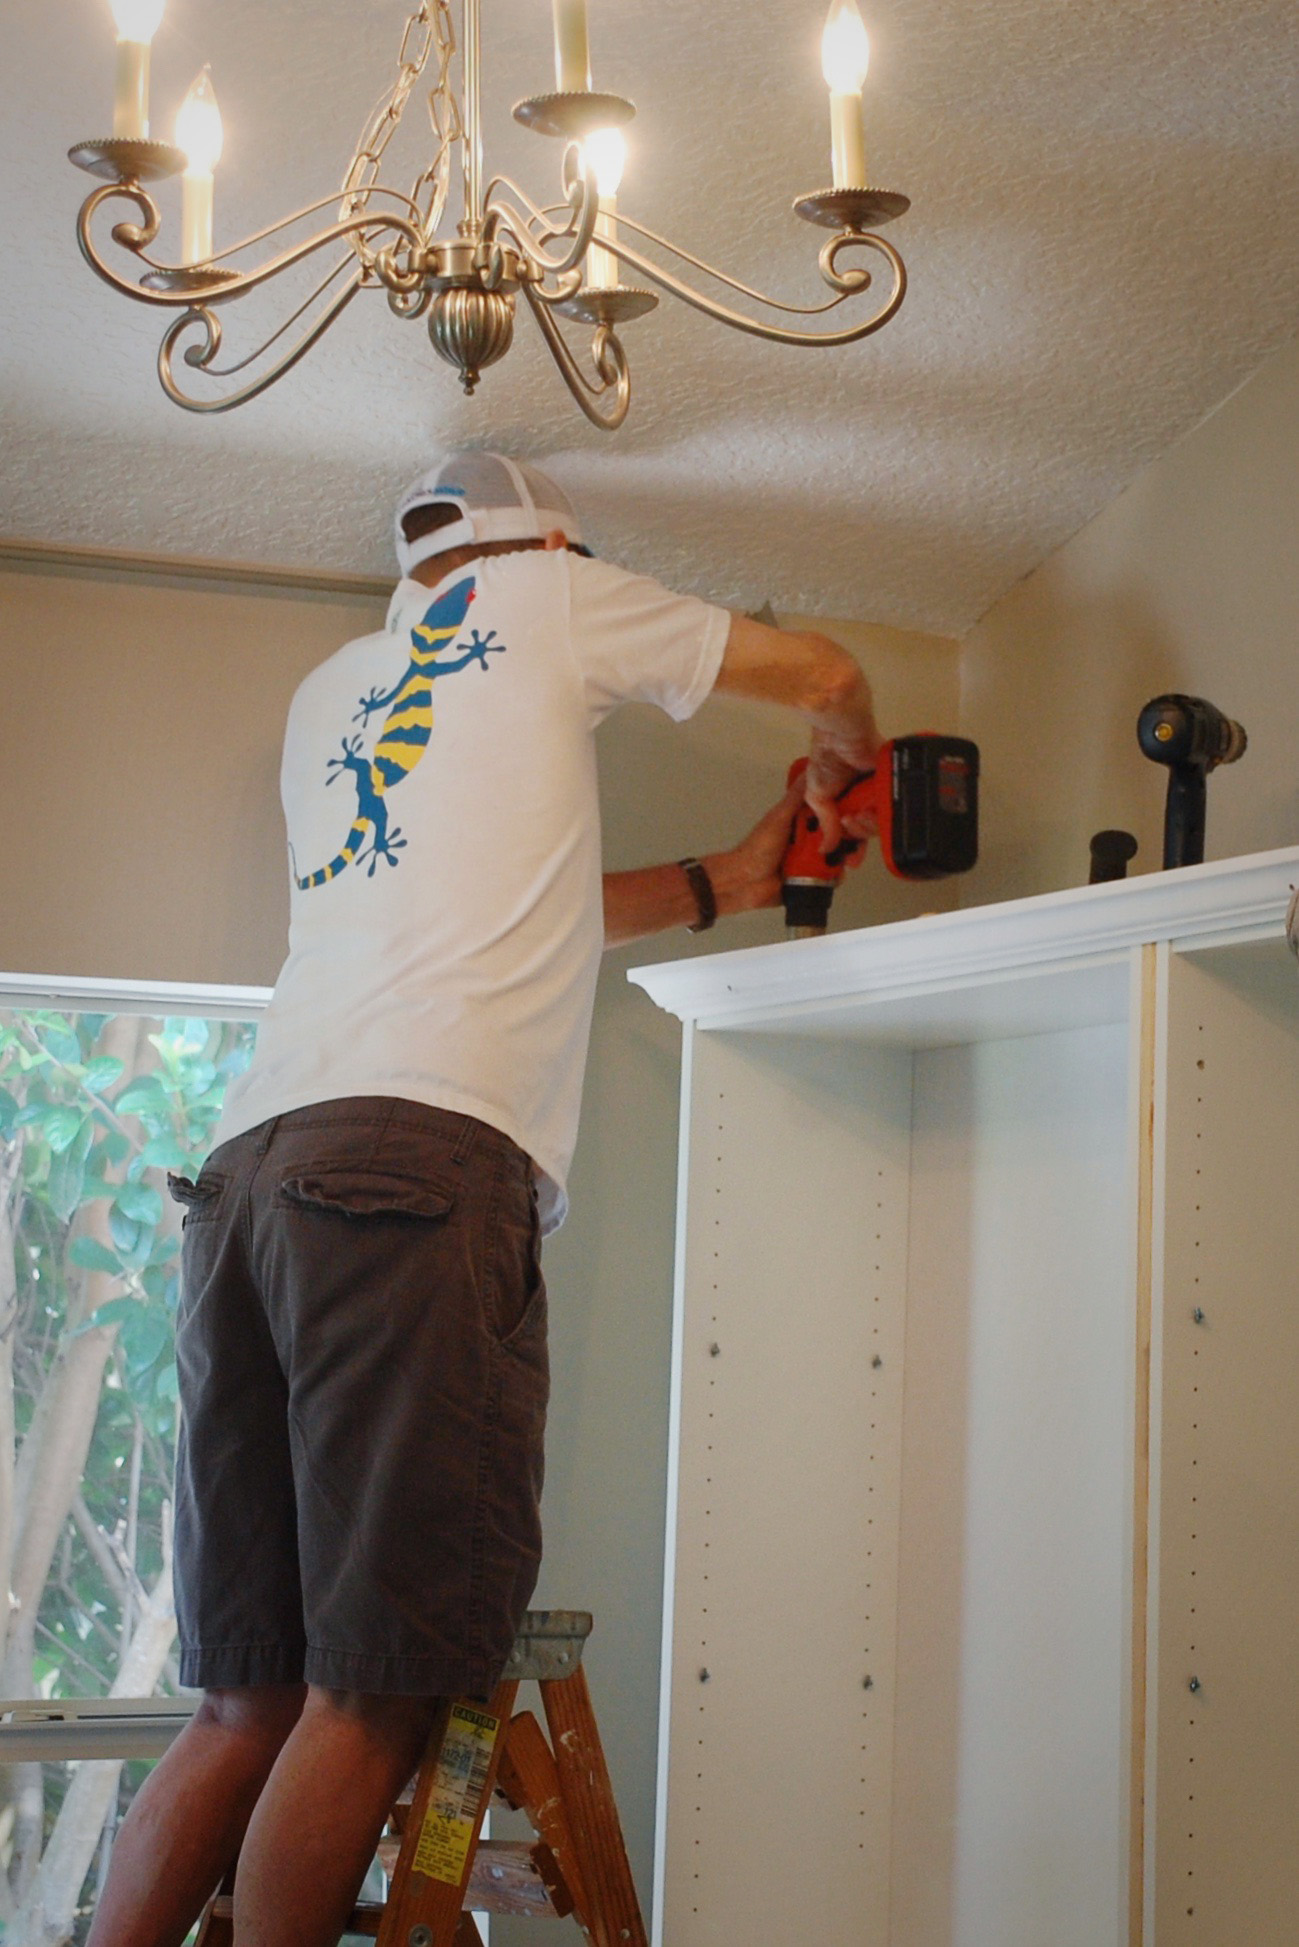
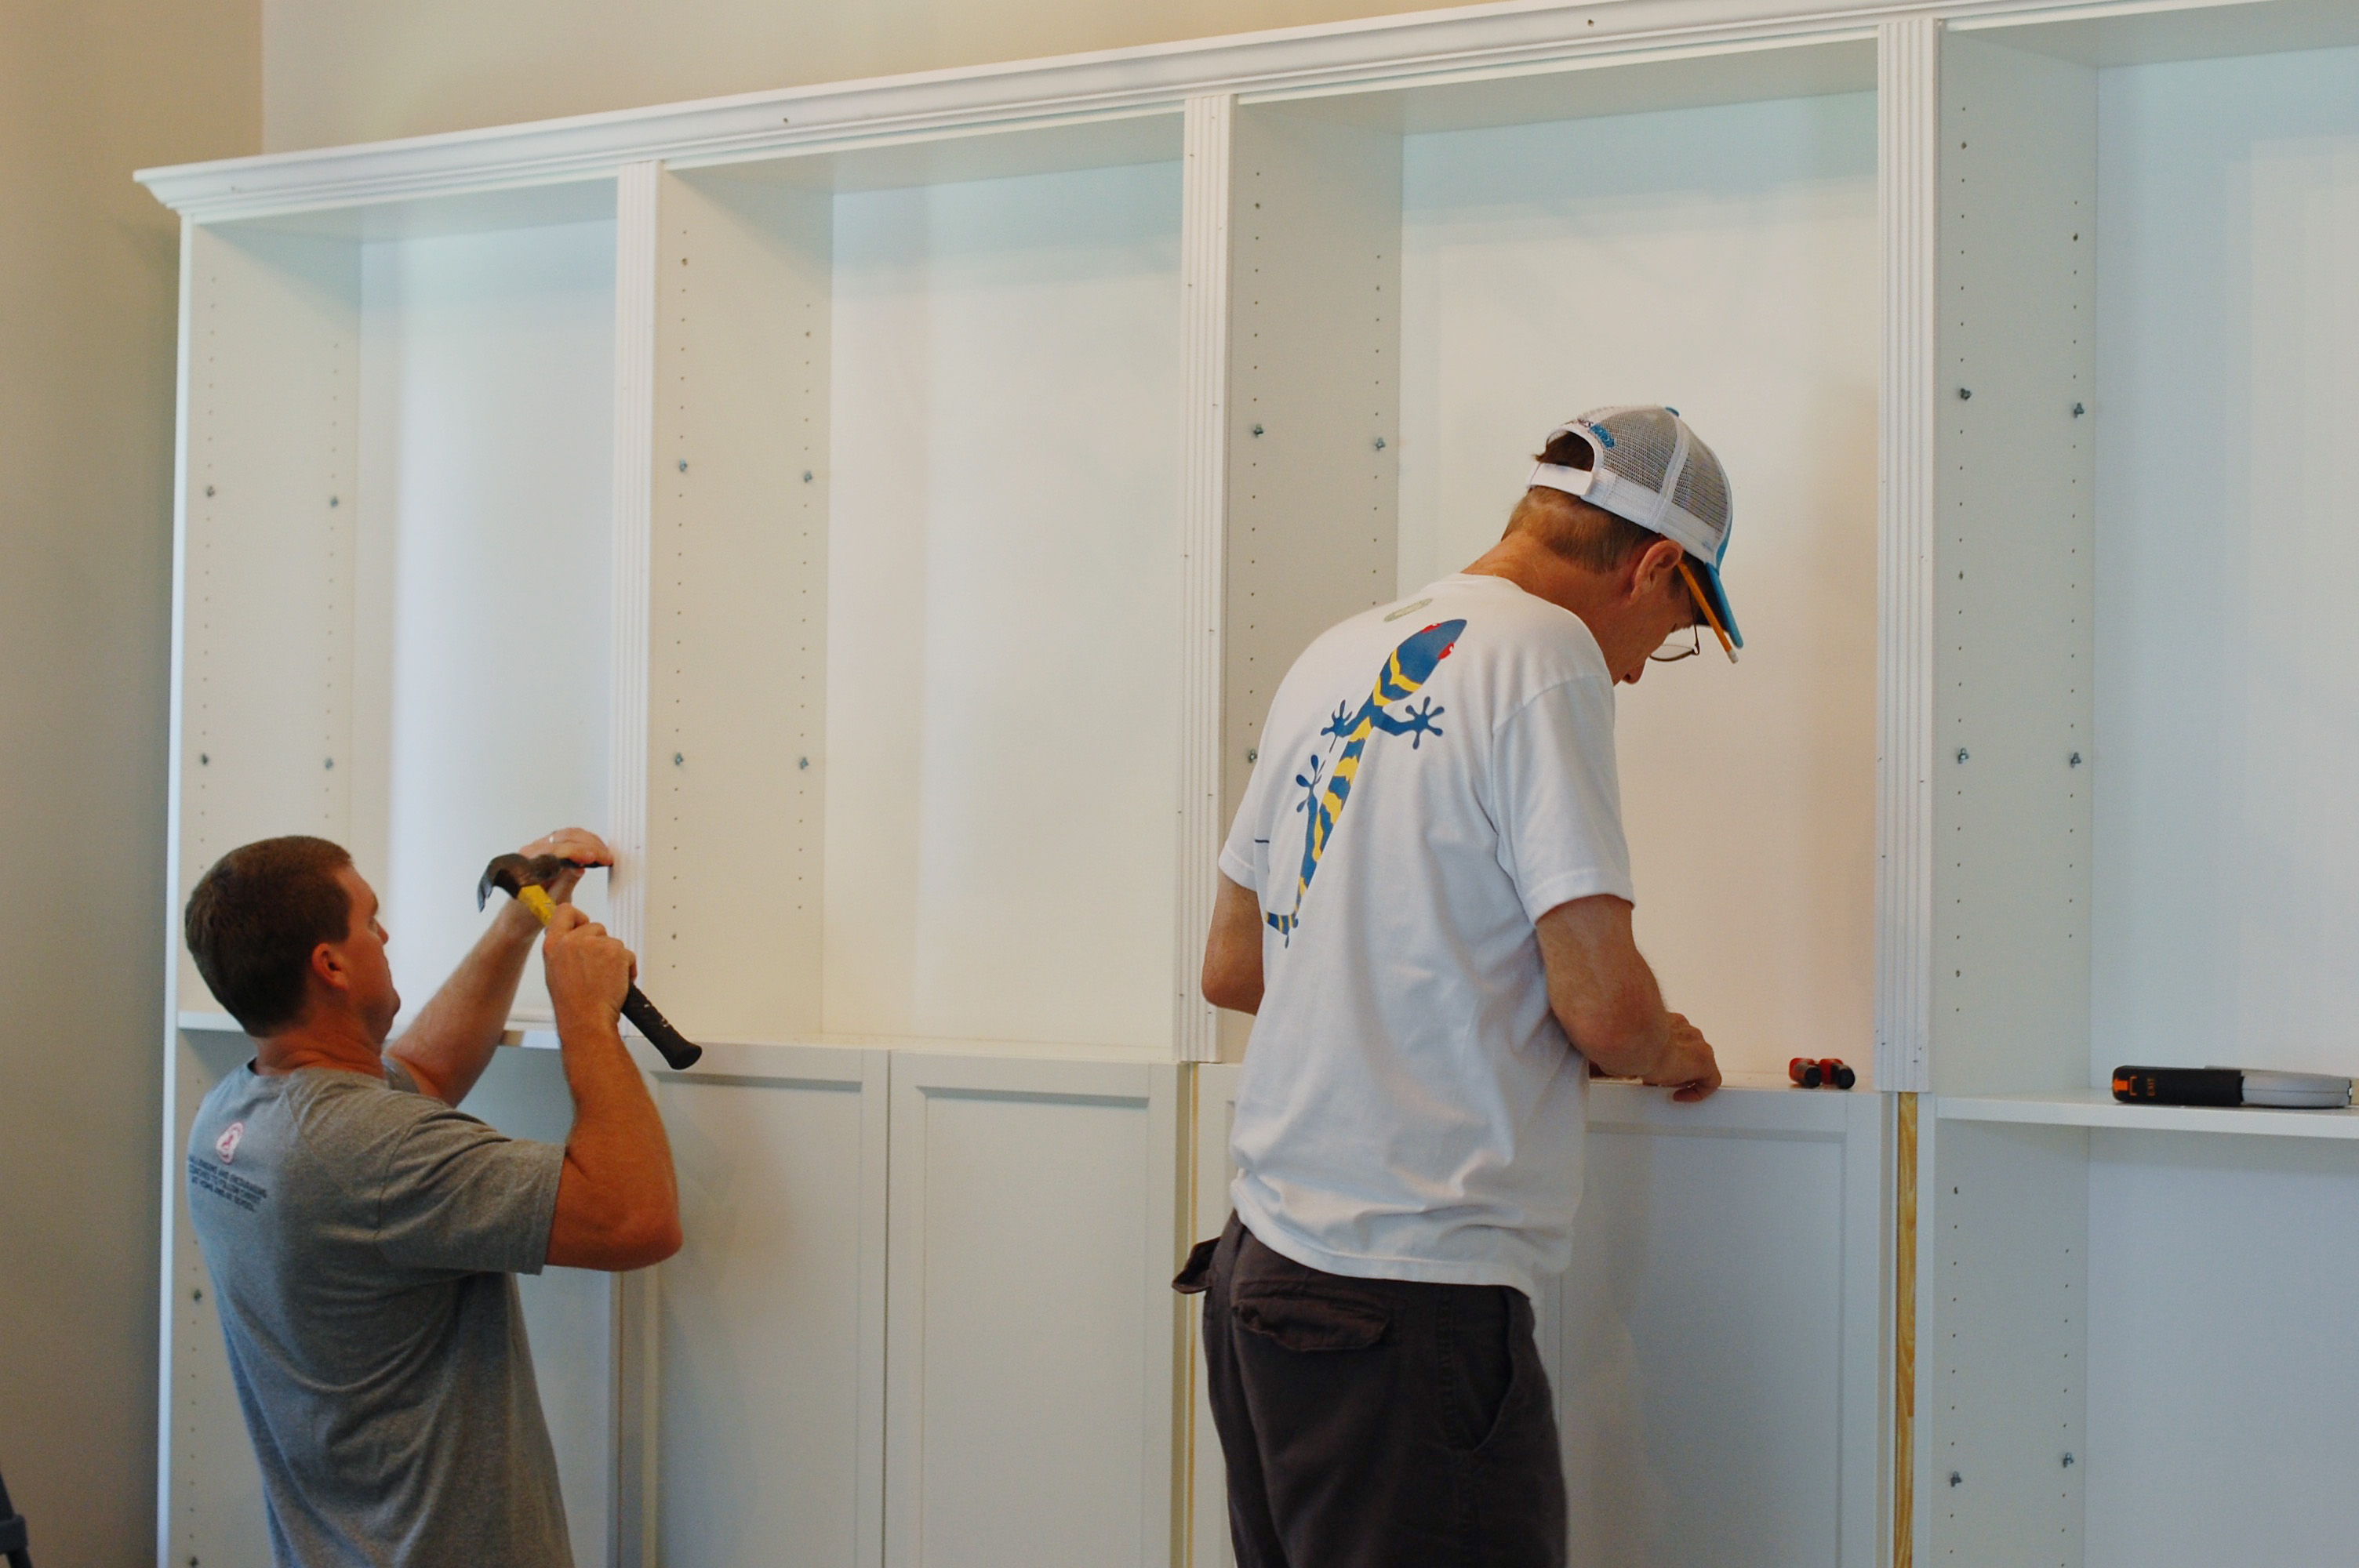
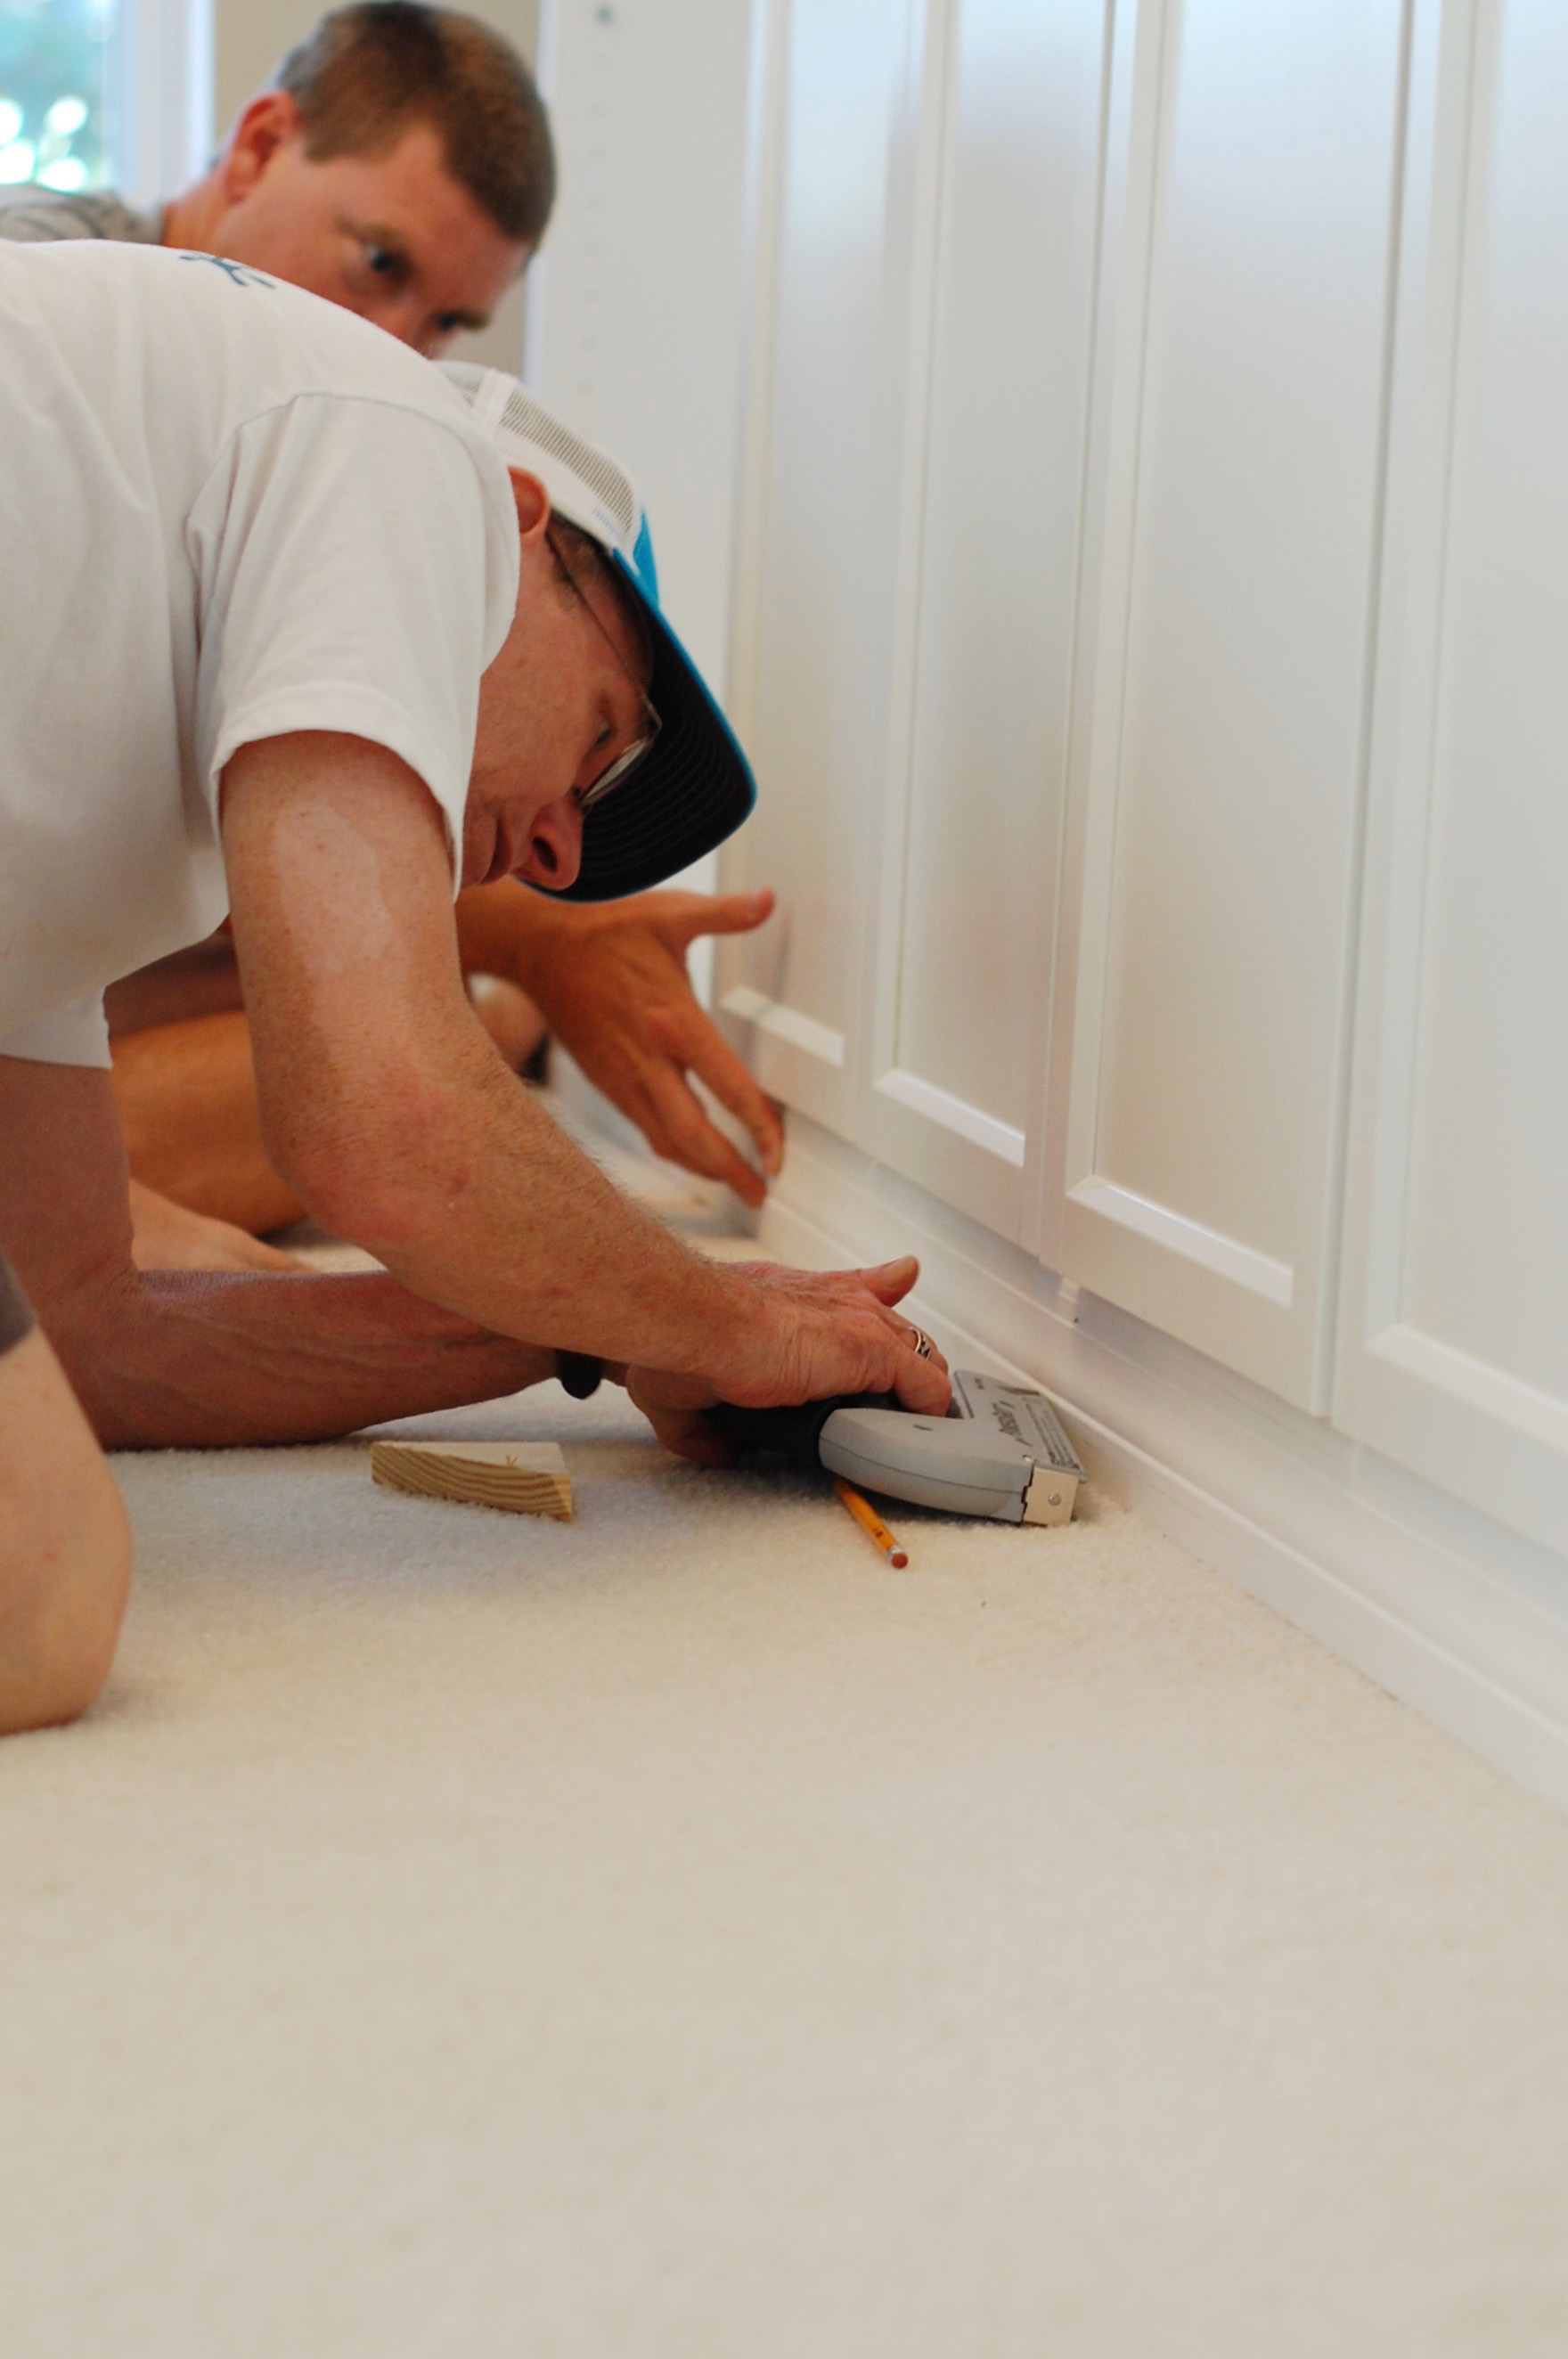
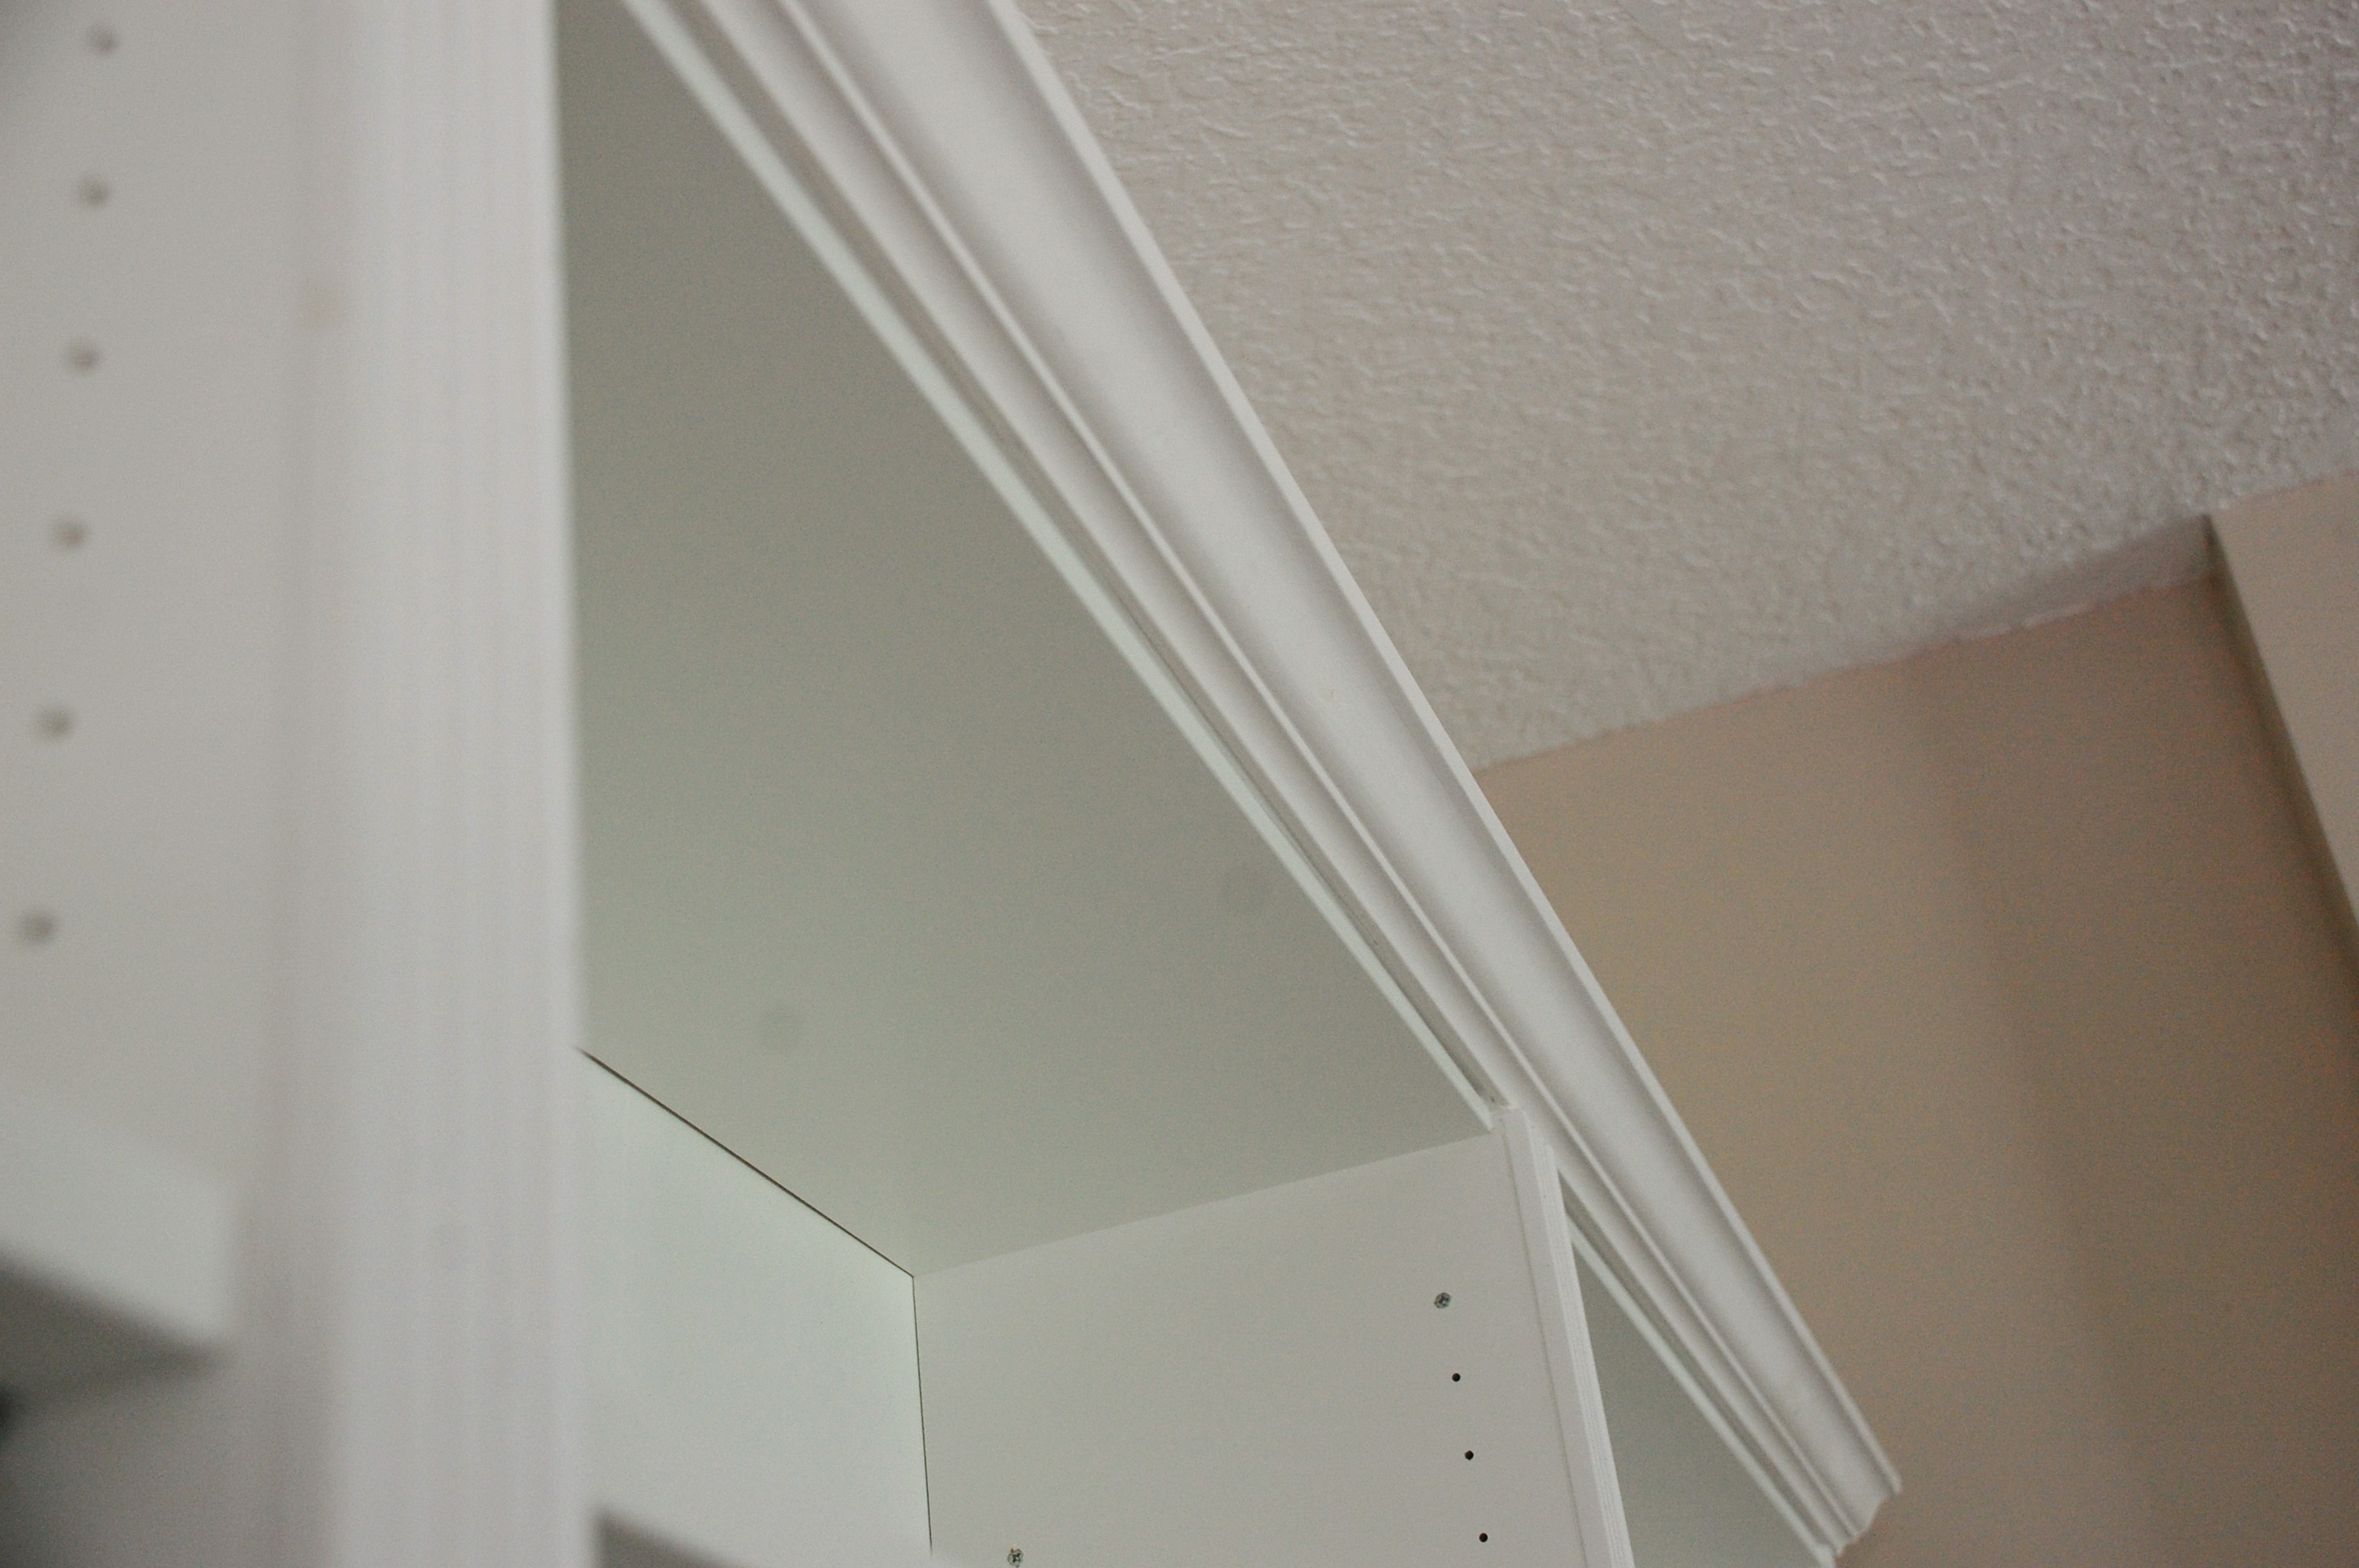
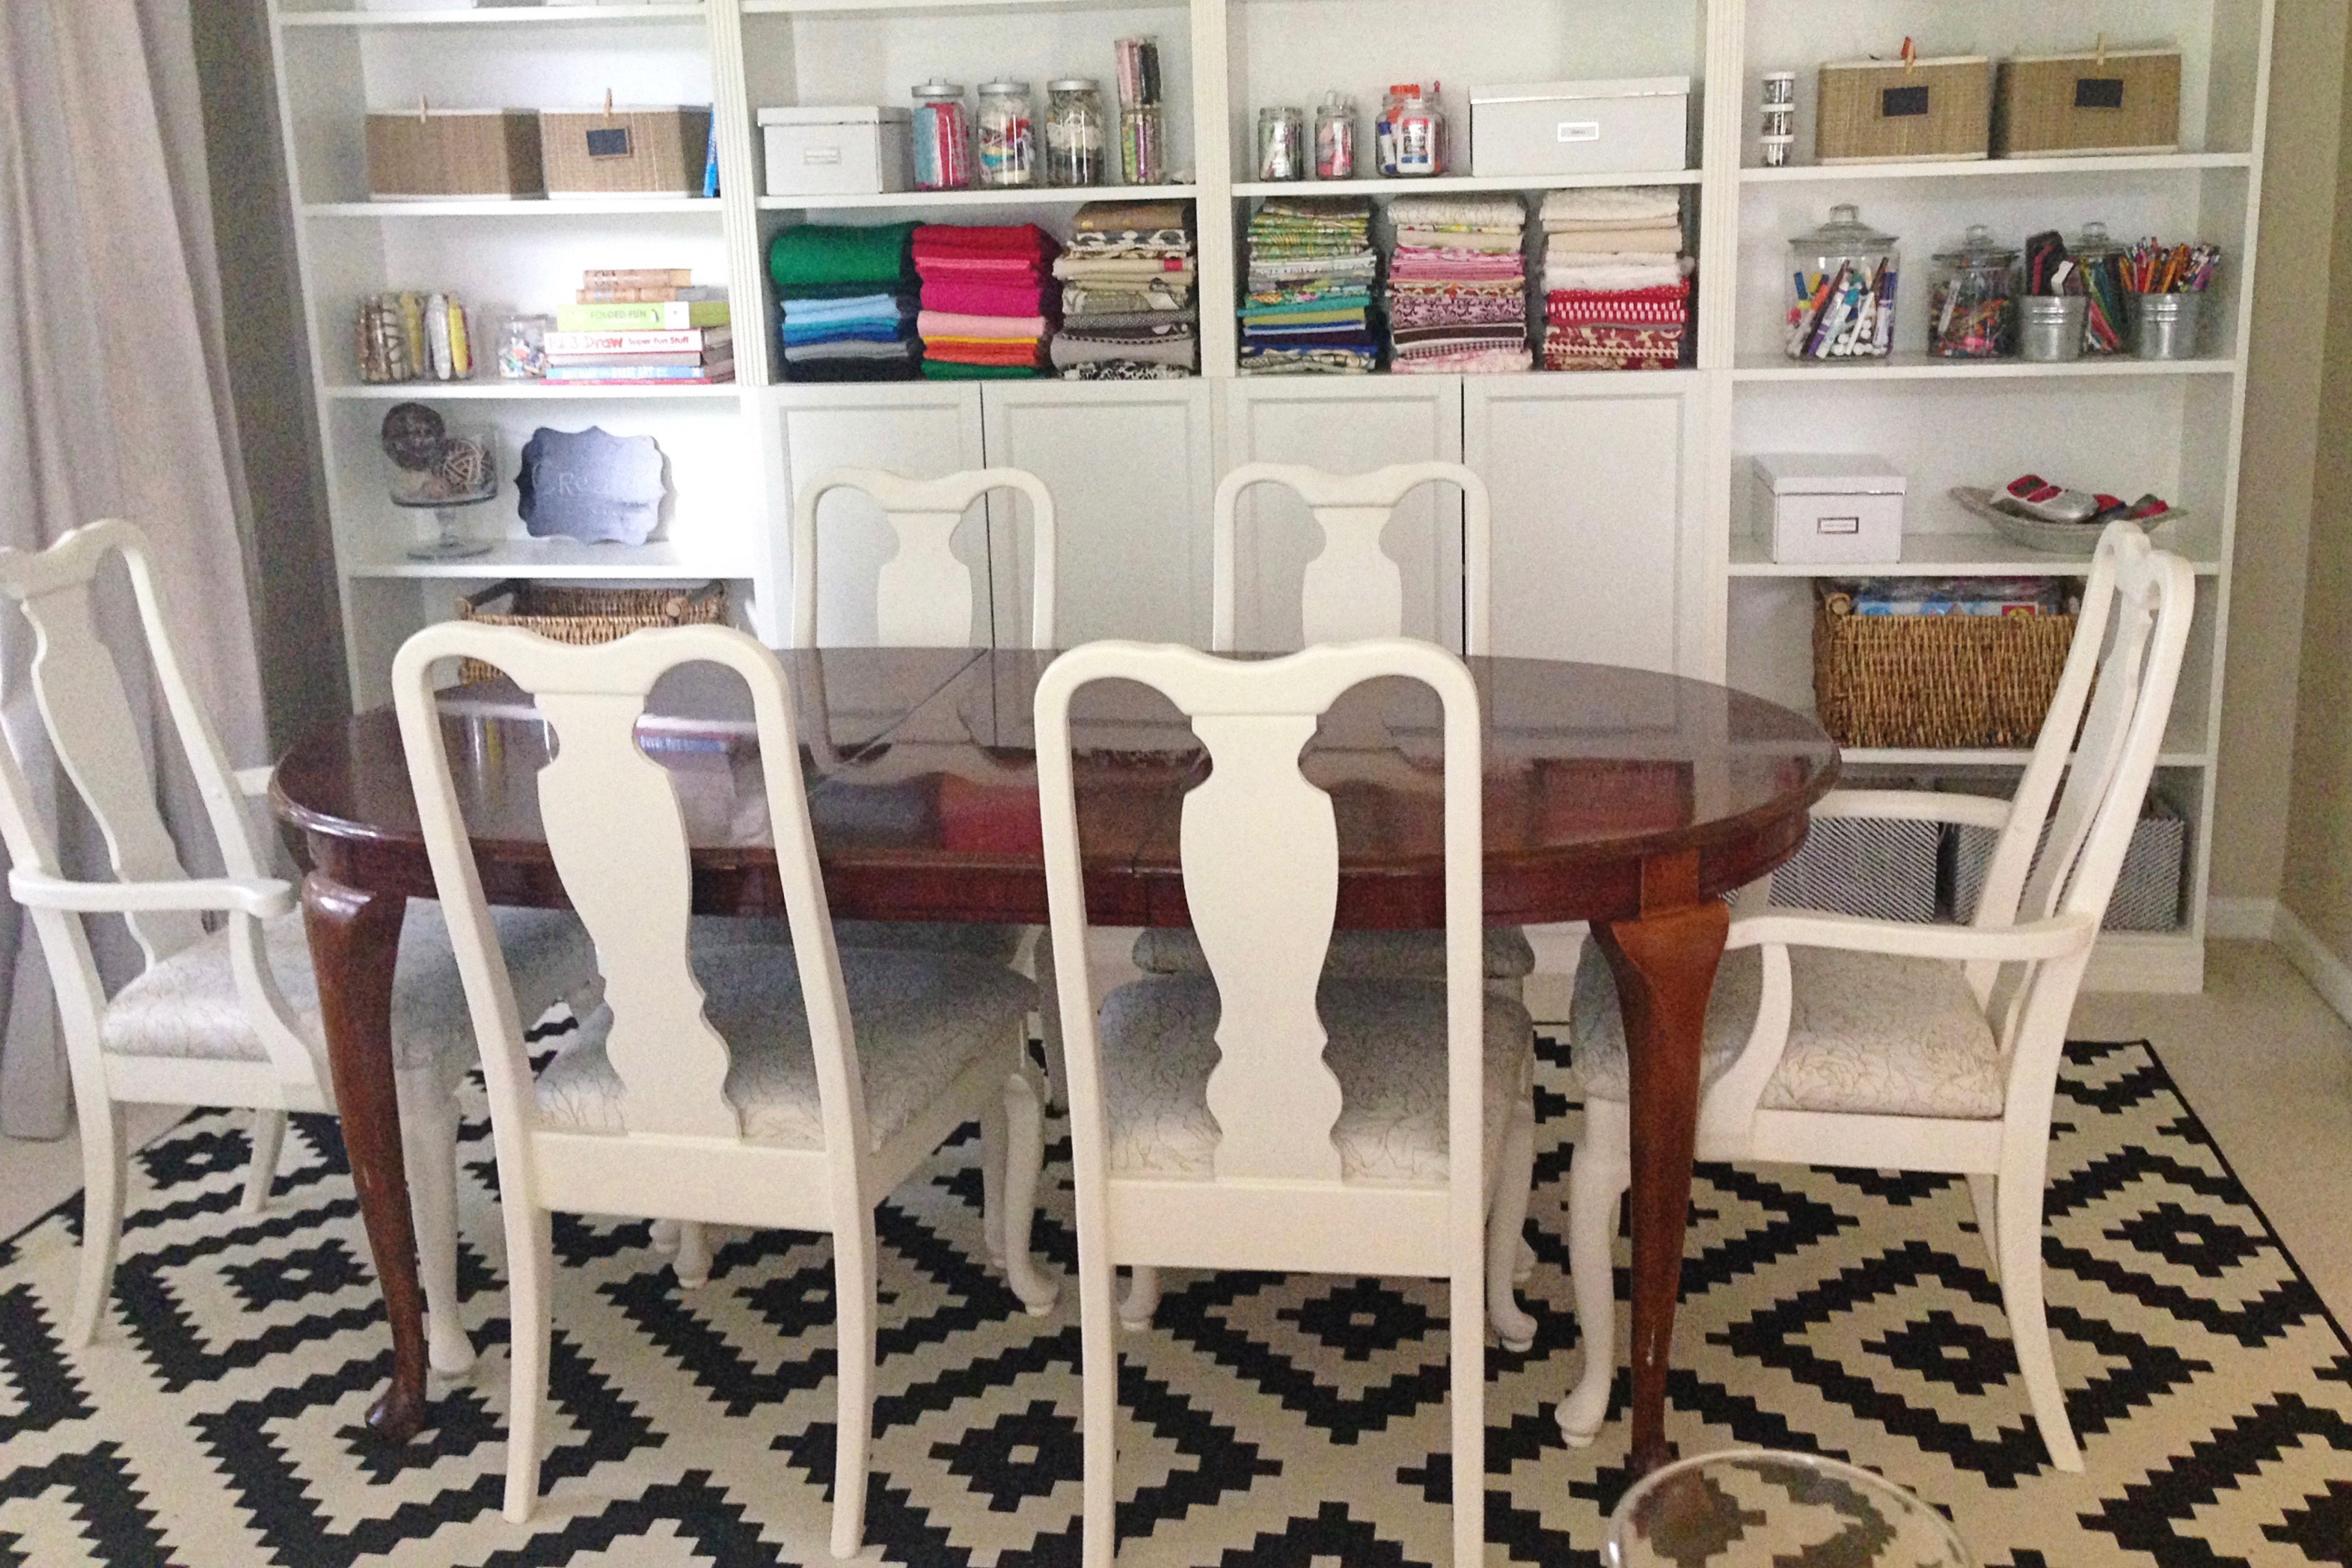
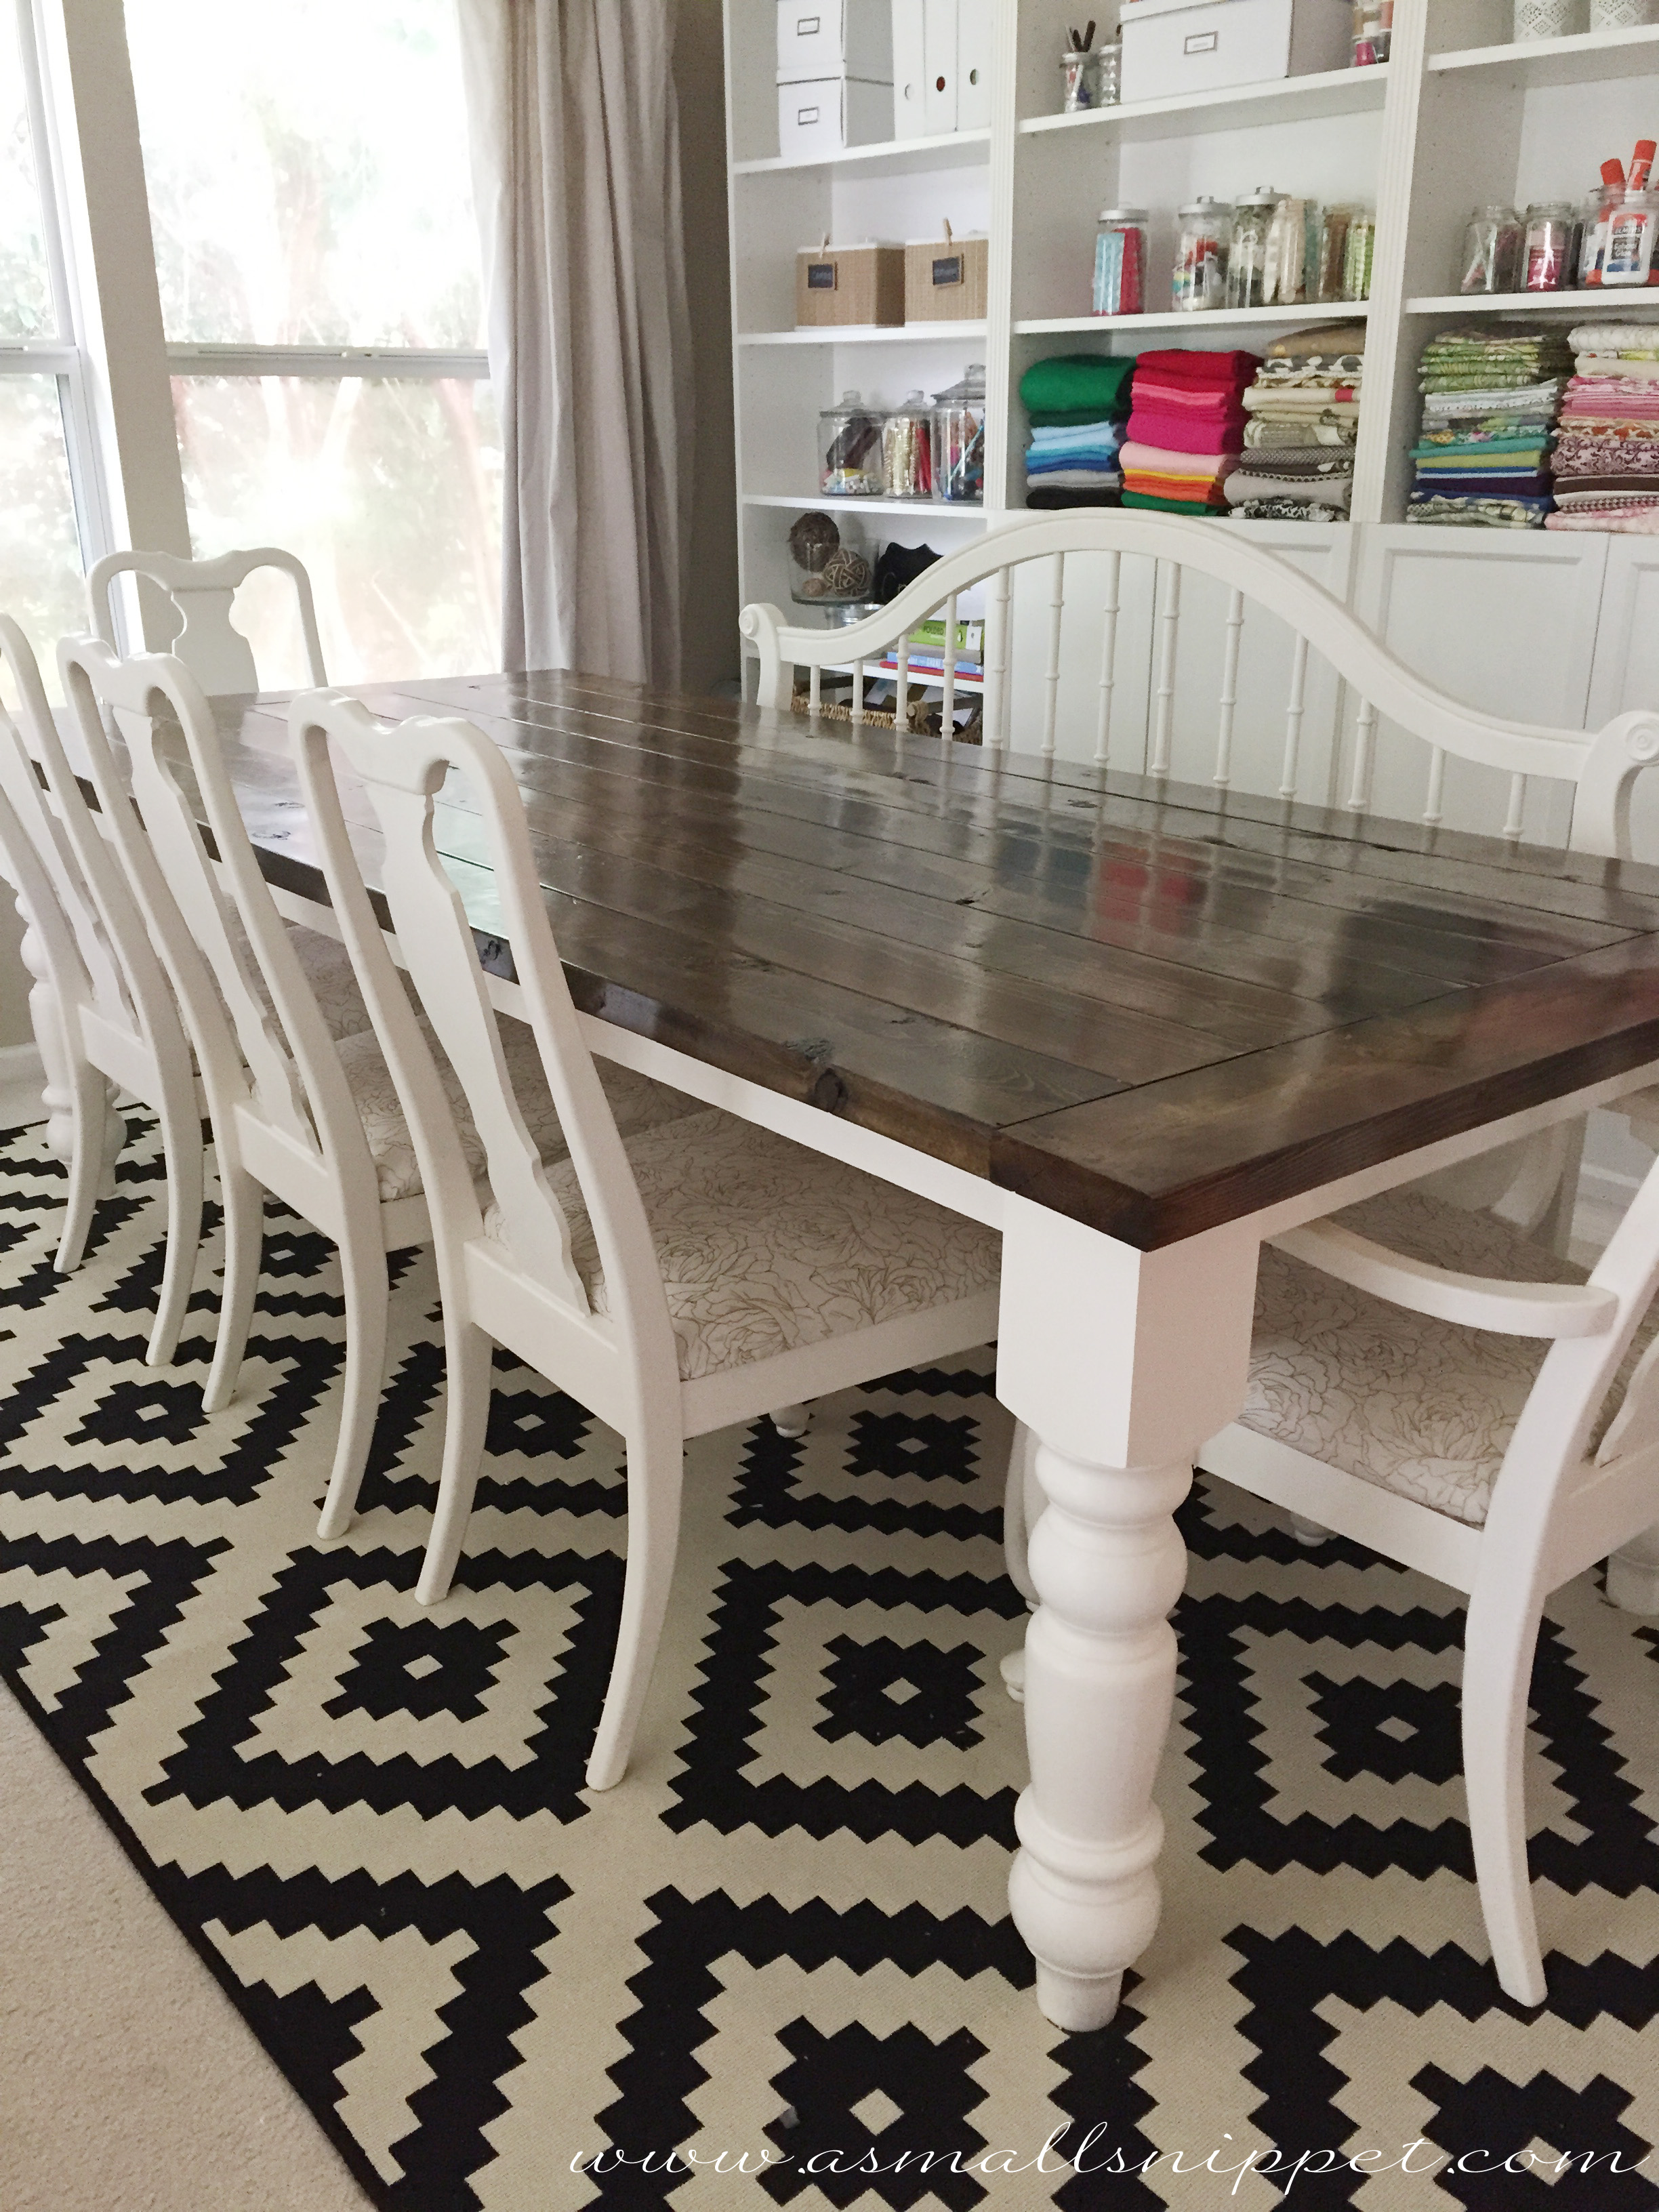
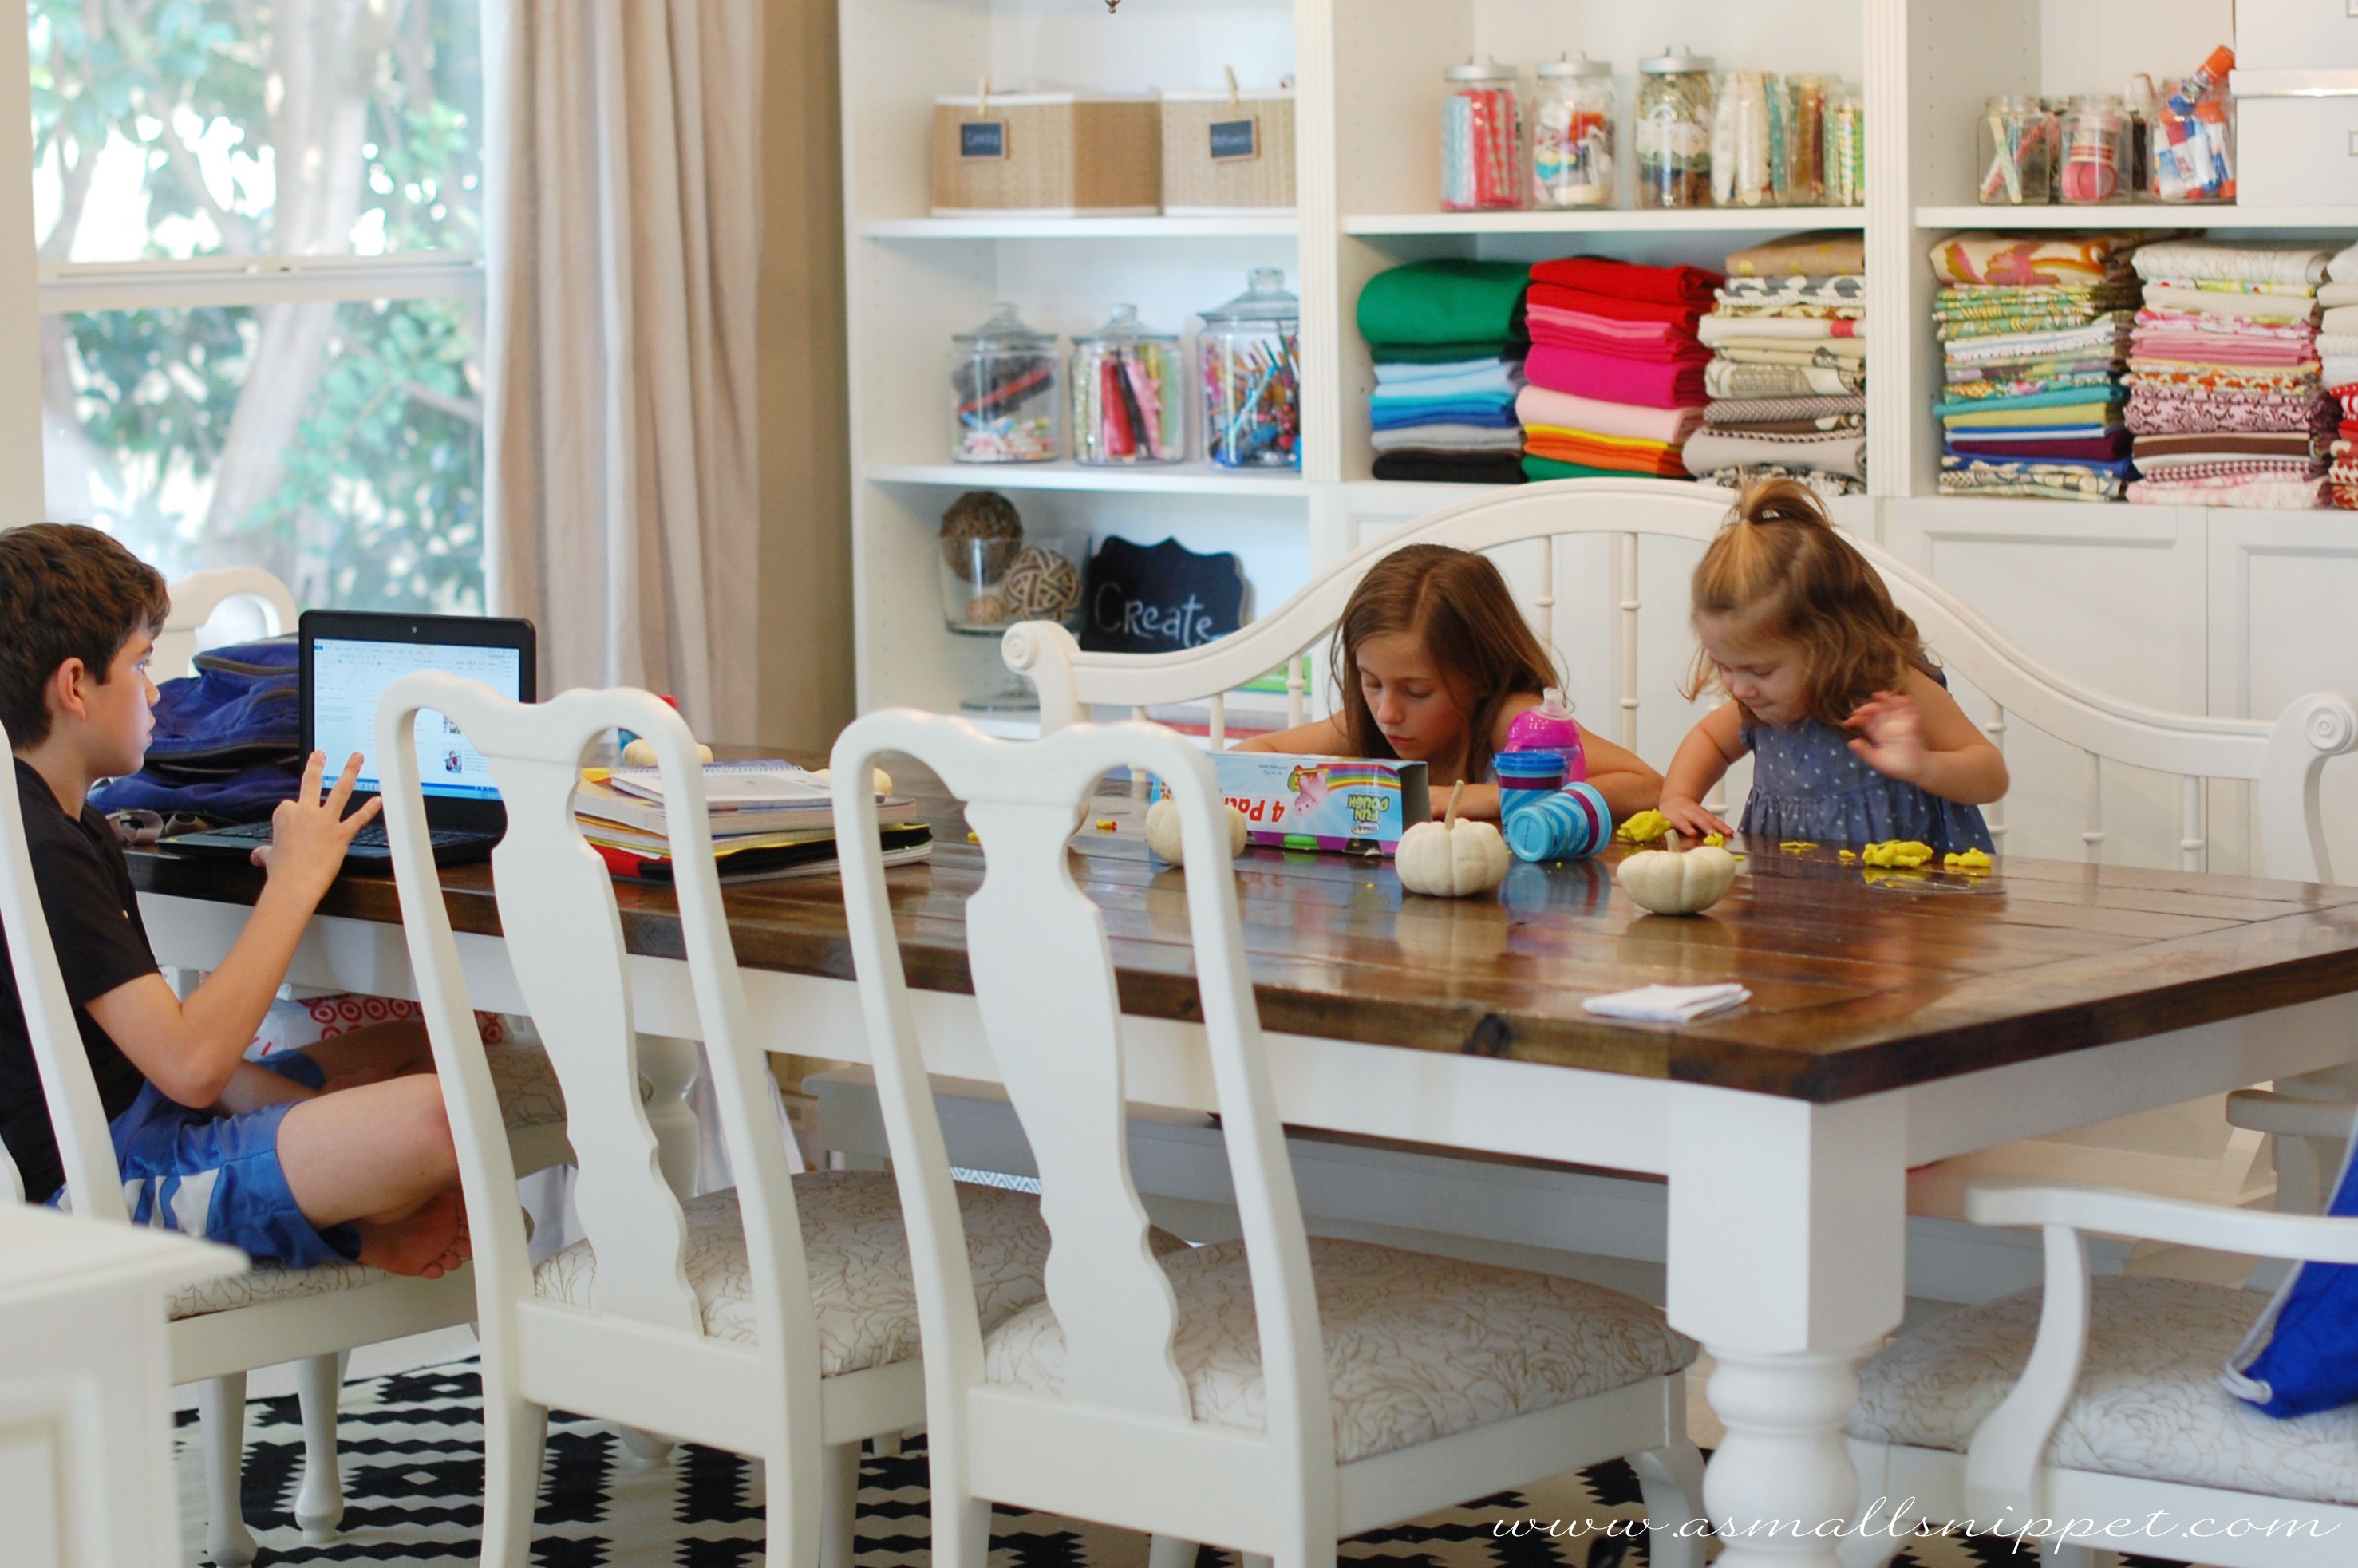
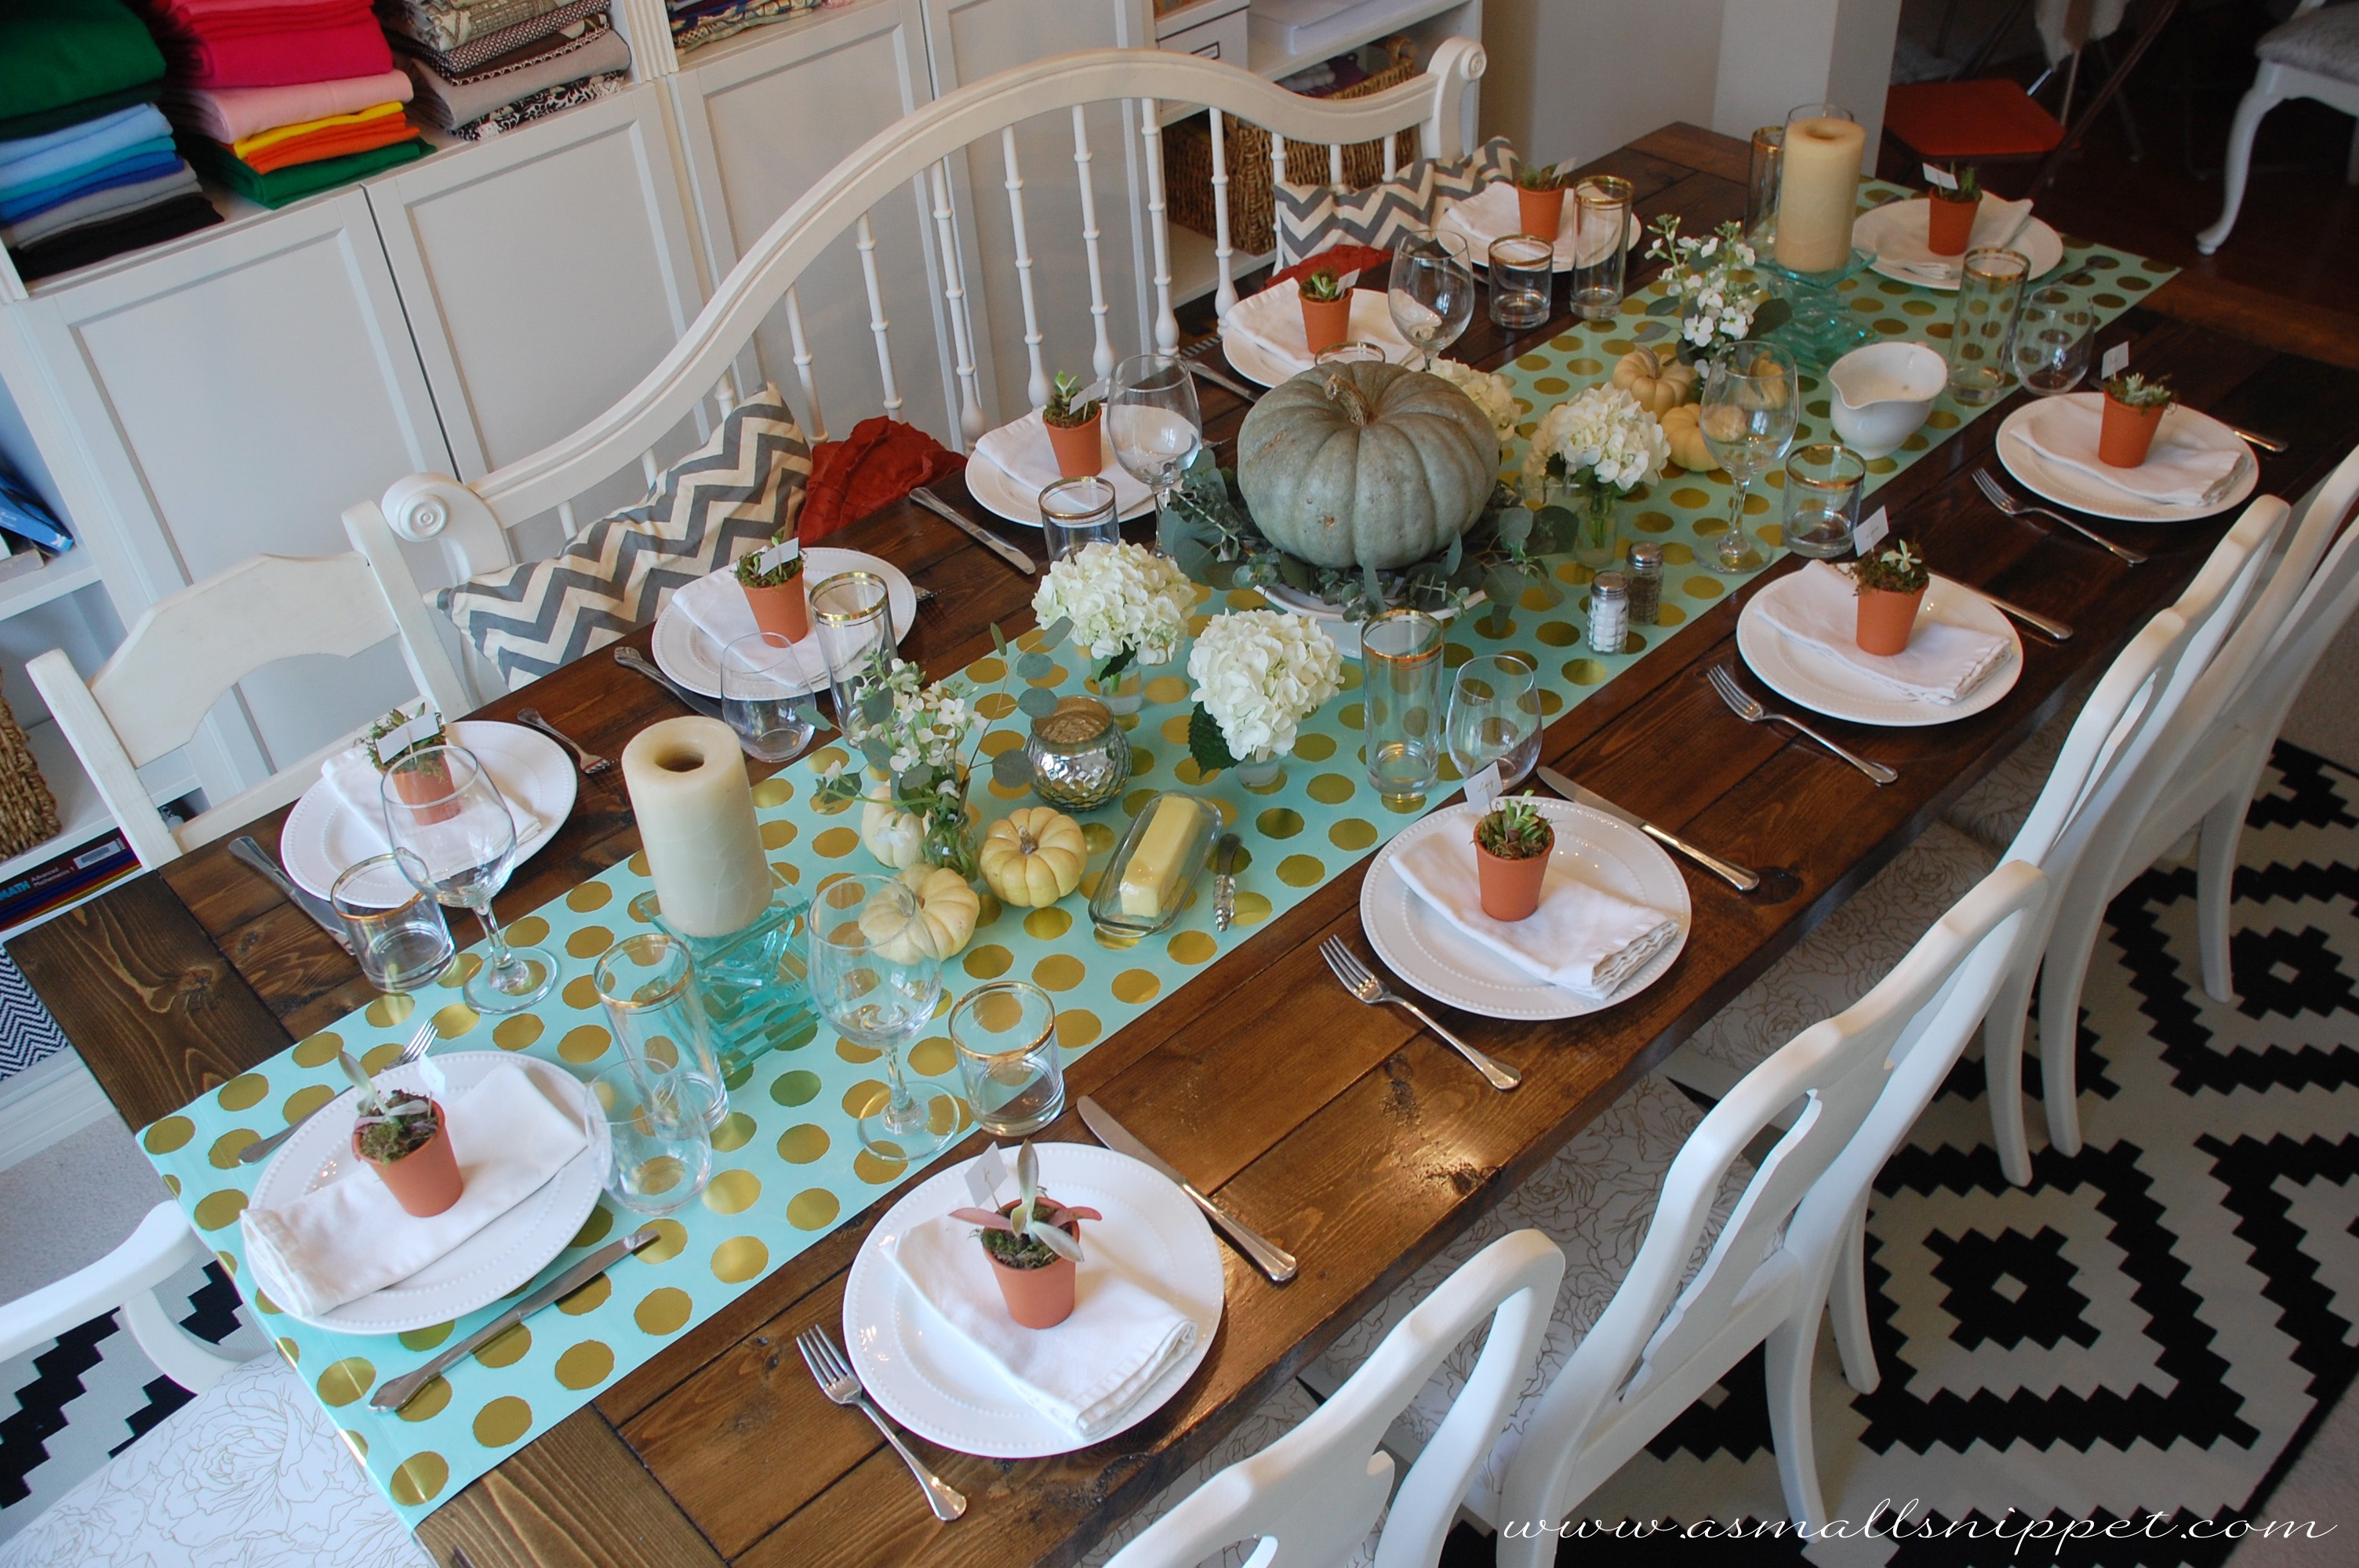
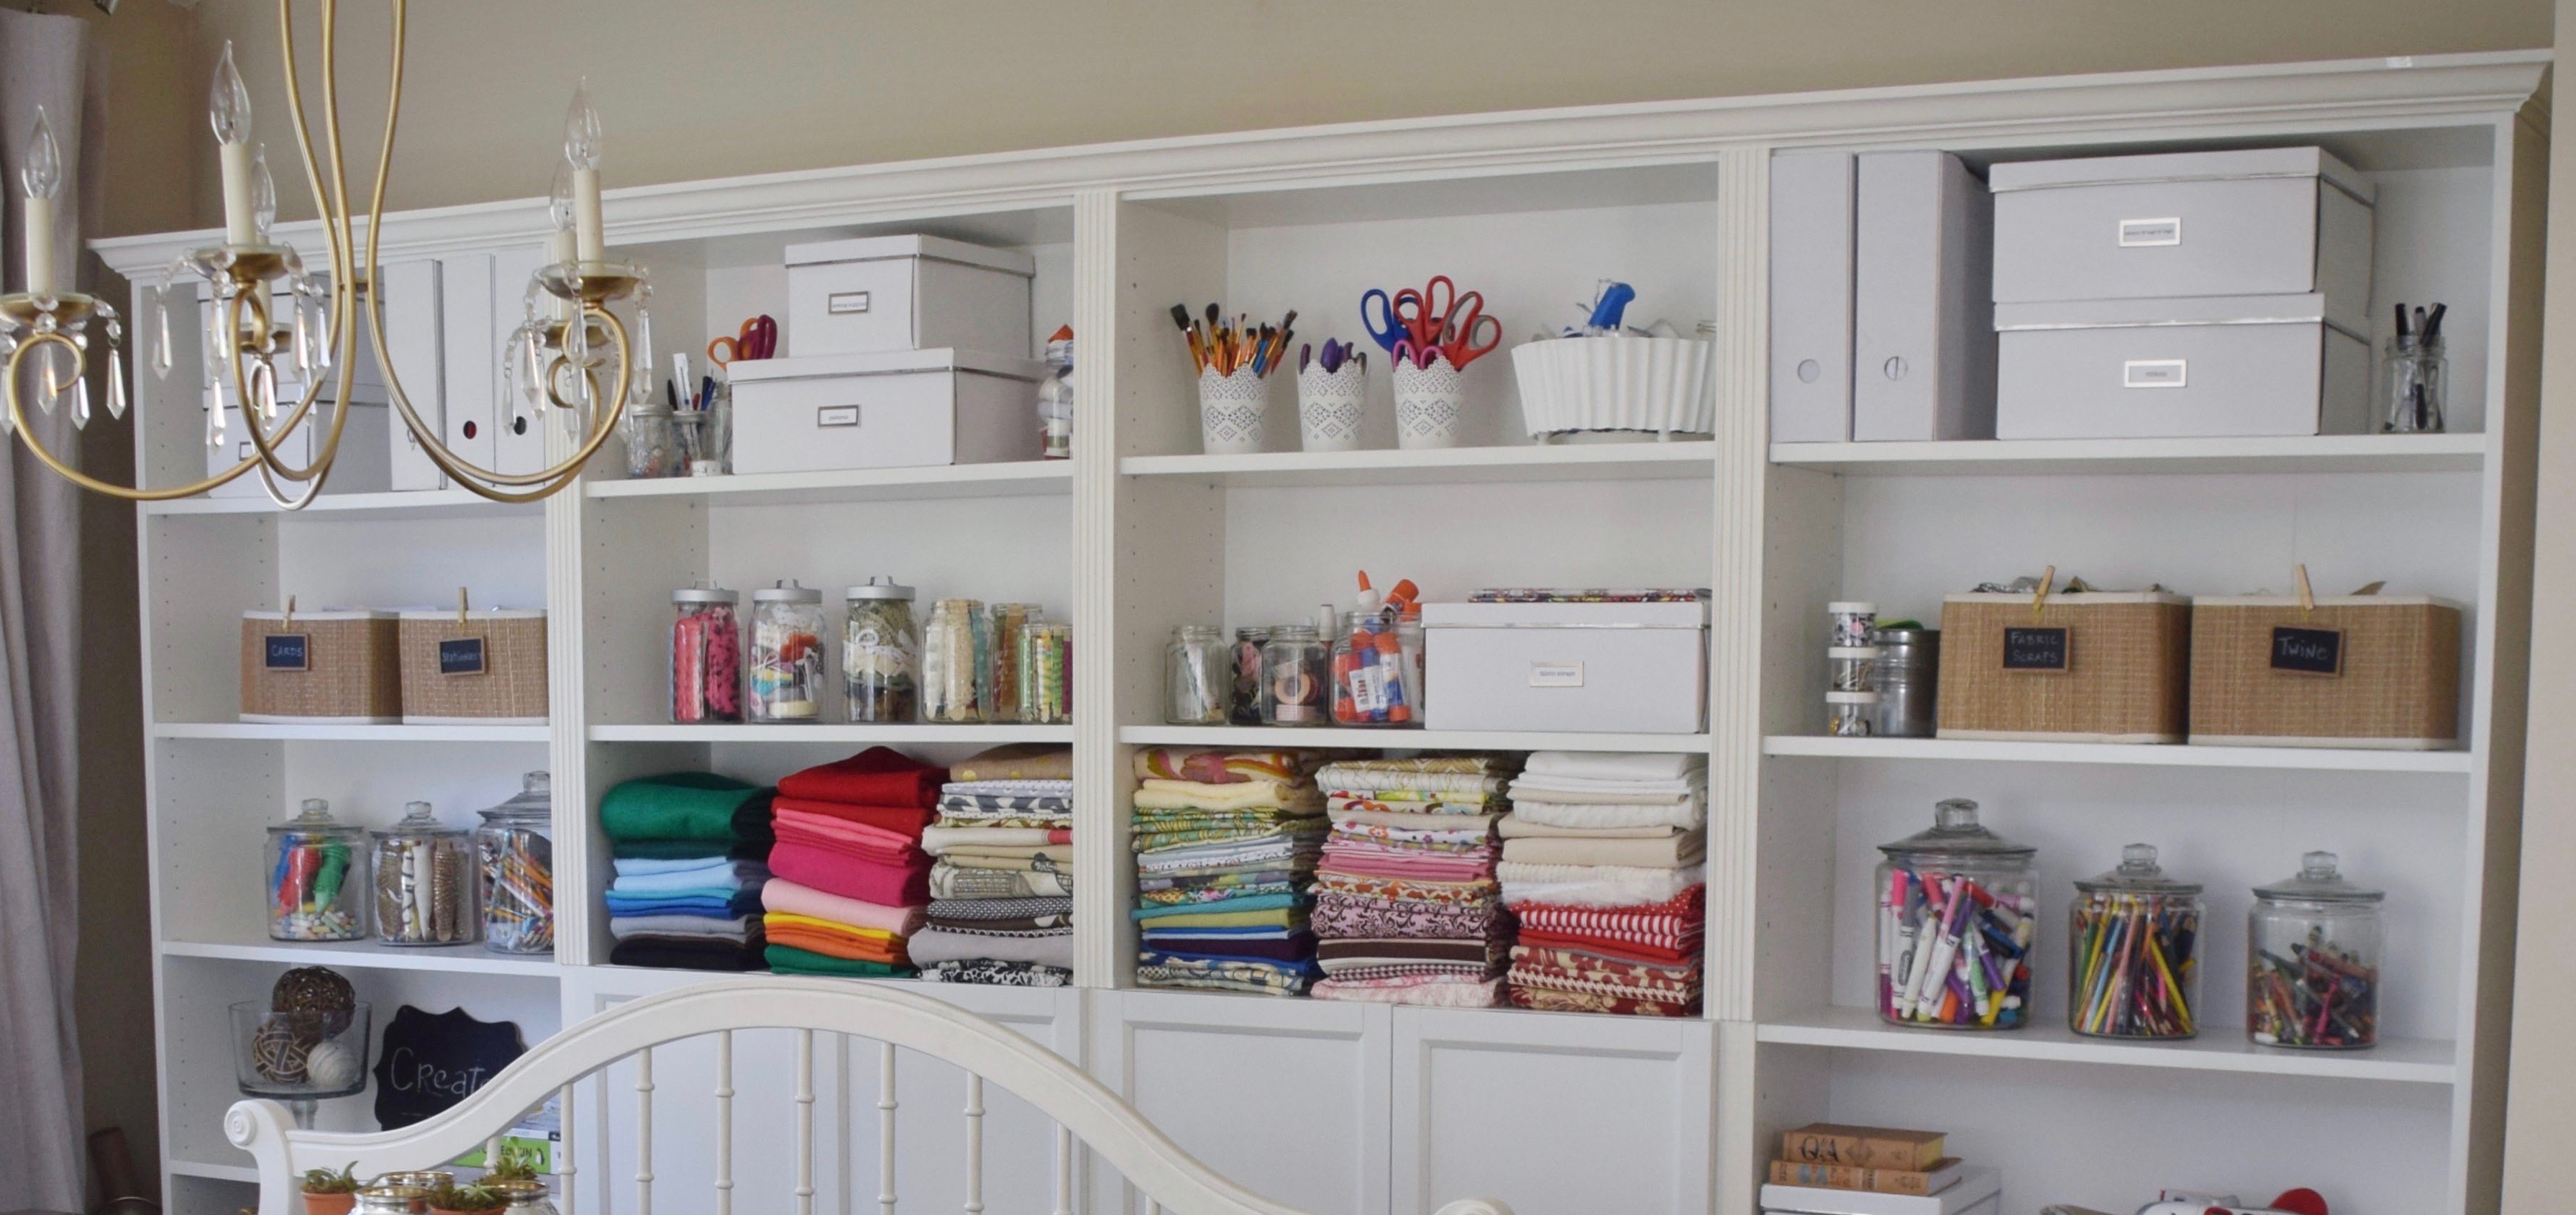
one of the first things i wanted to do was to get my fabric organized and easy to access.  i used to have it stored in a dresser in my garage, but whenever i needed something, i’d have to dig through each drawer until i found it.  after putting up our shelving unit (see details here), i debated putting my fabric out in the open, because i didn’t want it to look messy, but having it out not only makes it super easy to get to, but has also been really inspiring, as i can see what i have and think about what i want to do with it.

DSC_007 copy

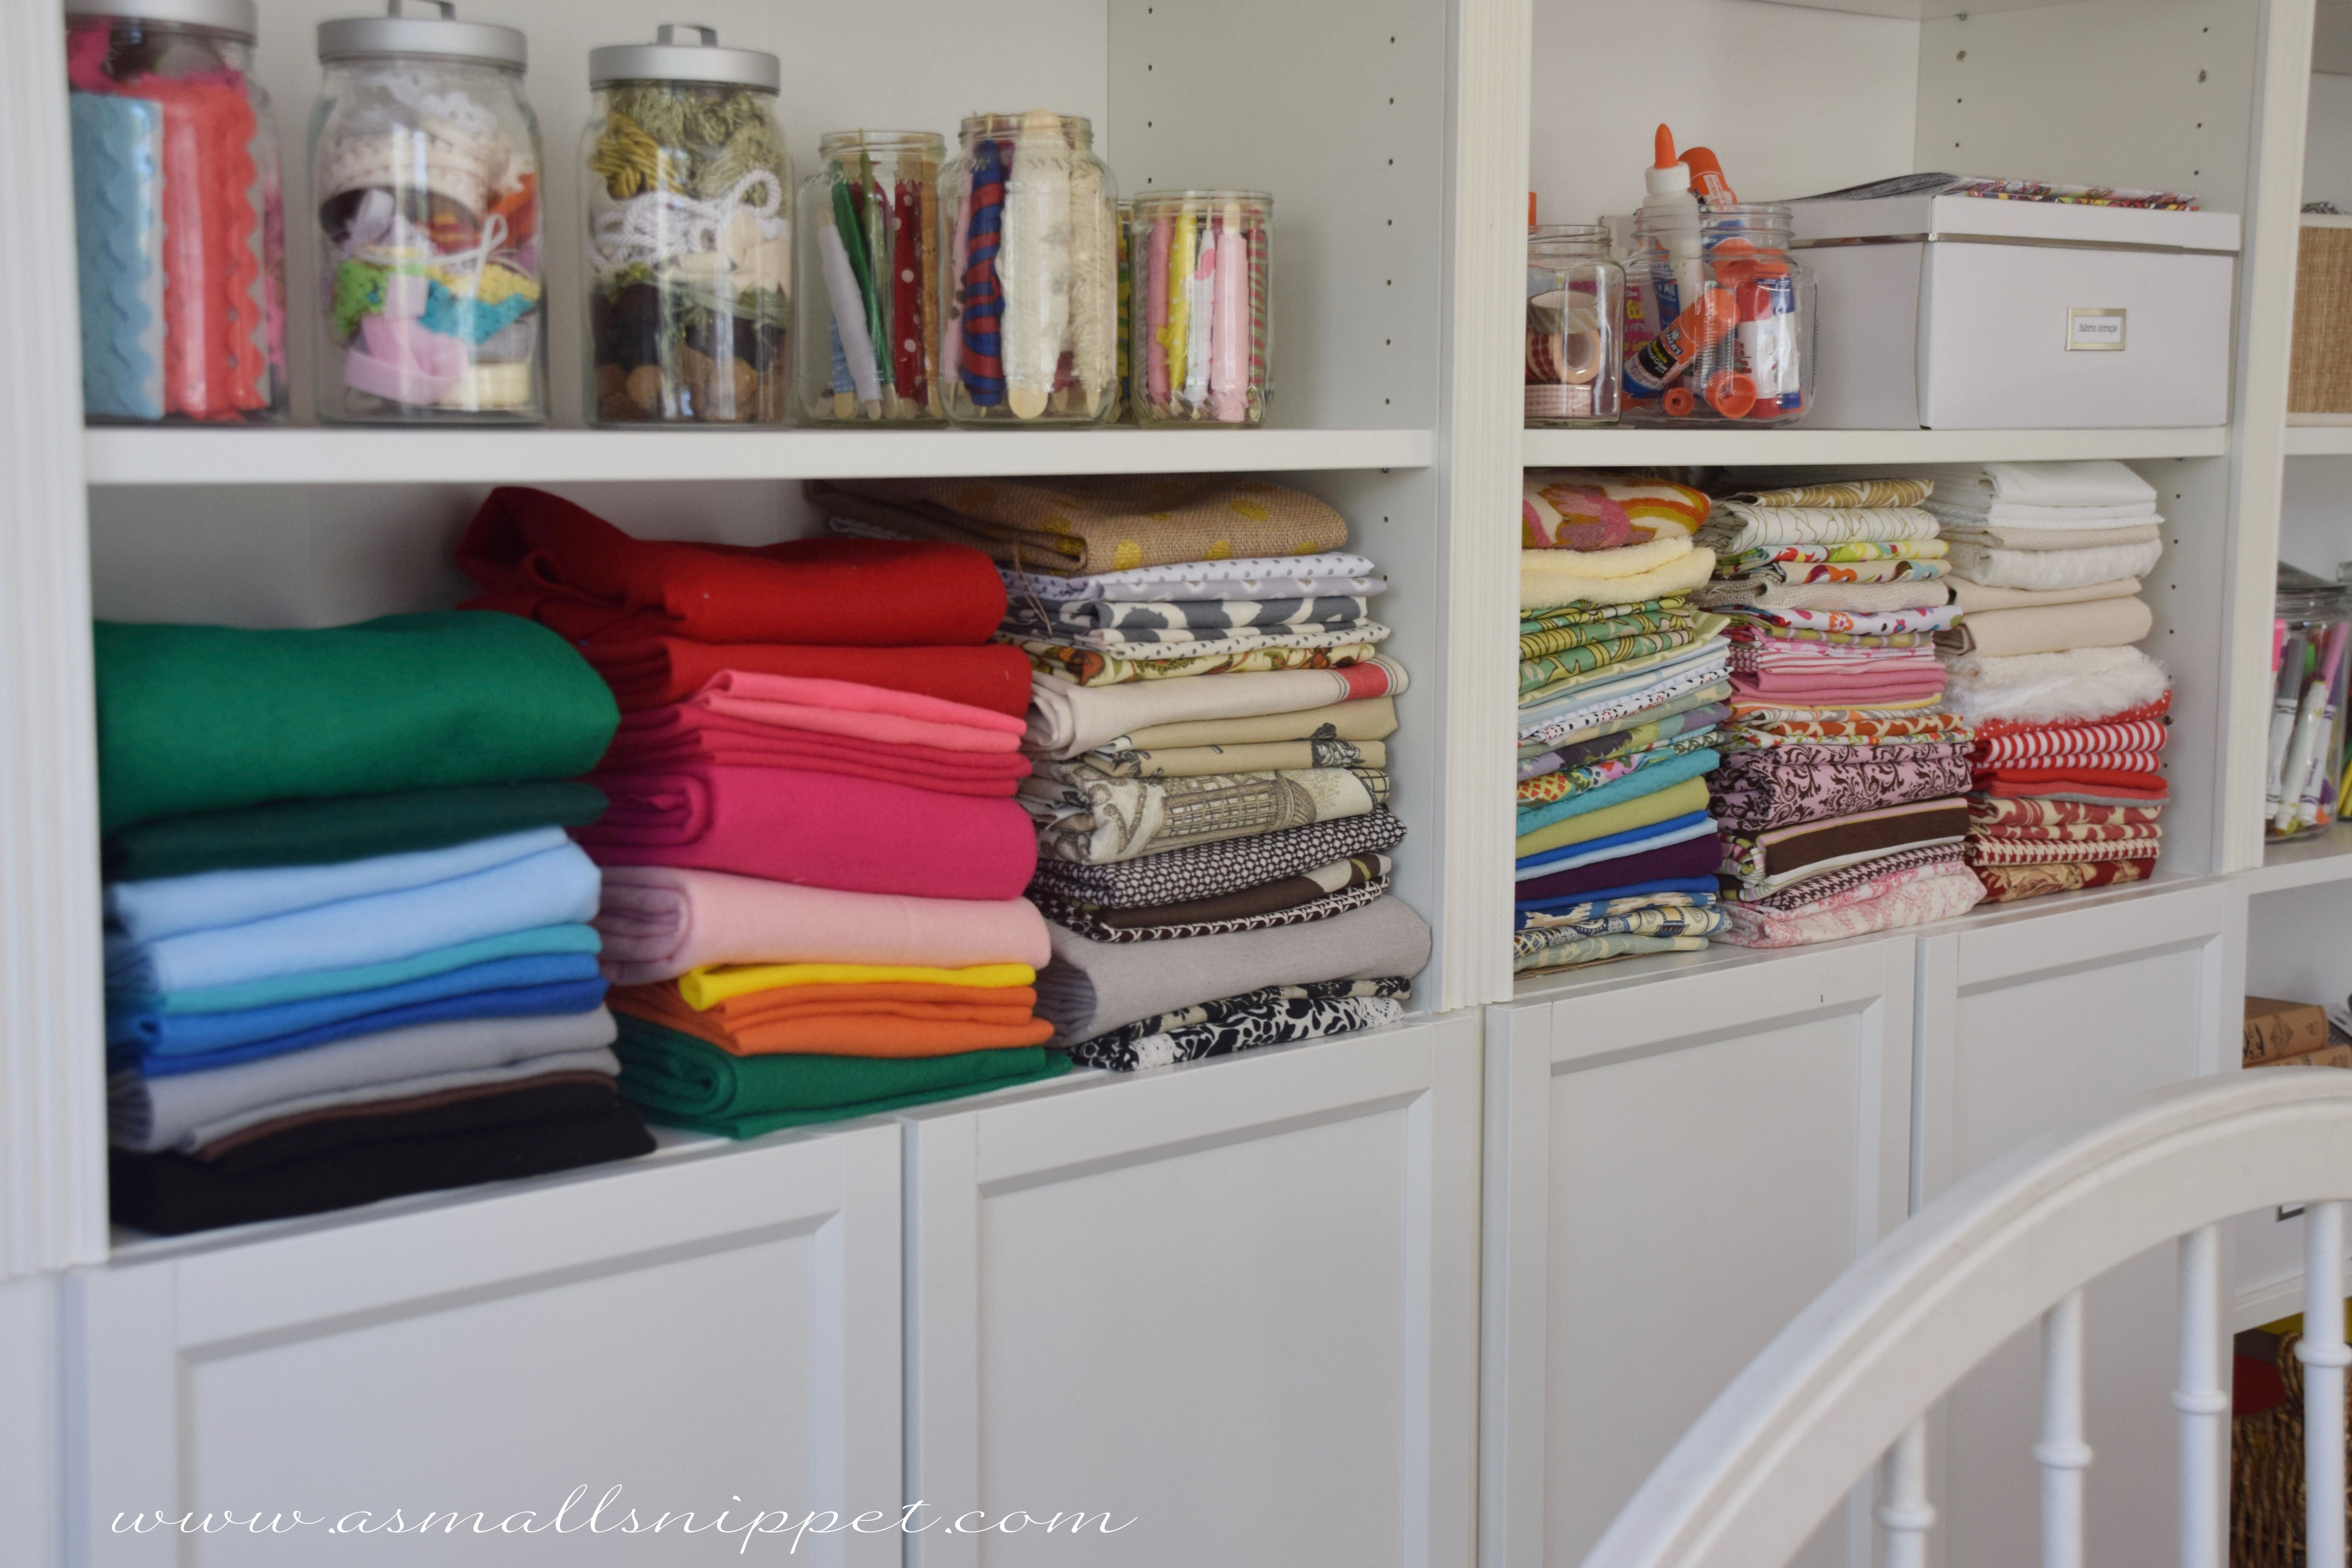
however, in order for the fabric to be out but to still look organized, i found a way to fold it so that each piece could be neatly stacked on top of each other.  its super simple, and i think regardless of where you store your fabric, you could benefit from having it all folded to the same width.  here’s how to do it:

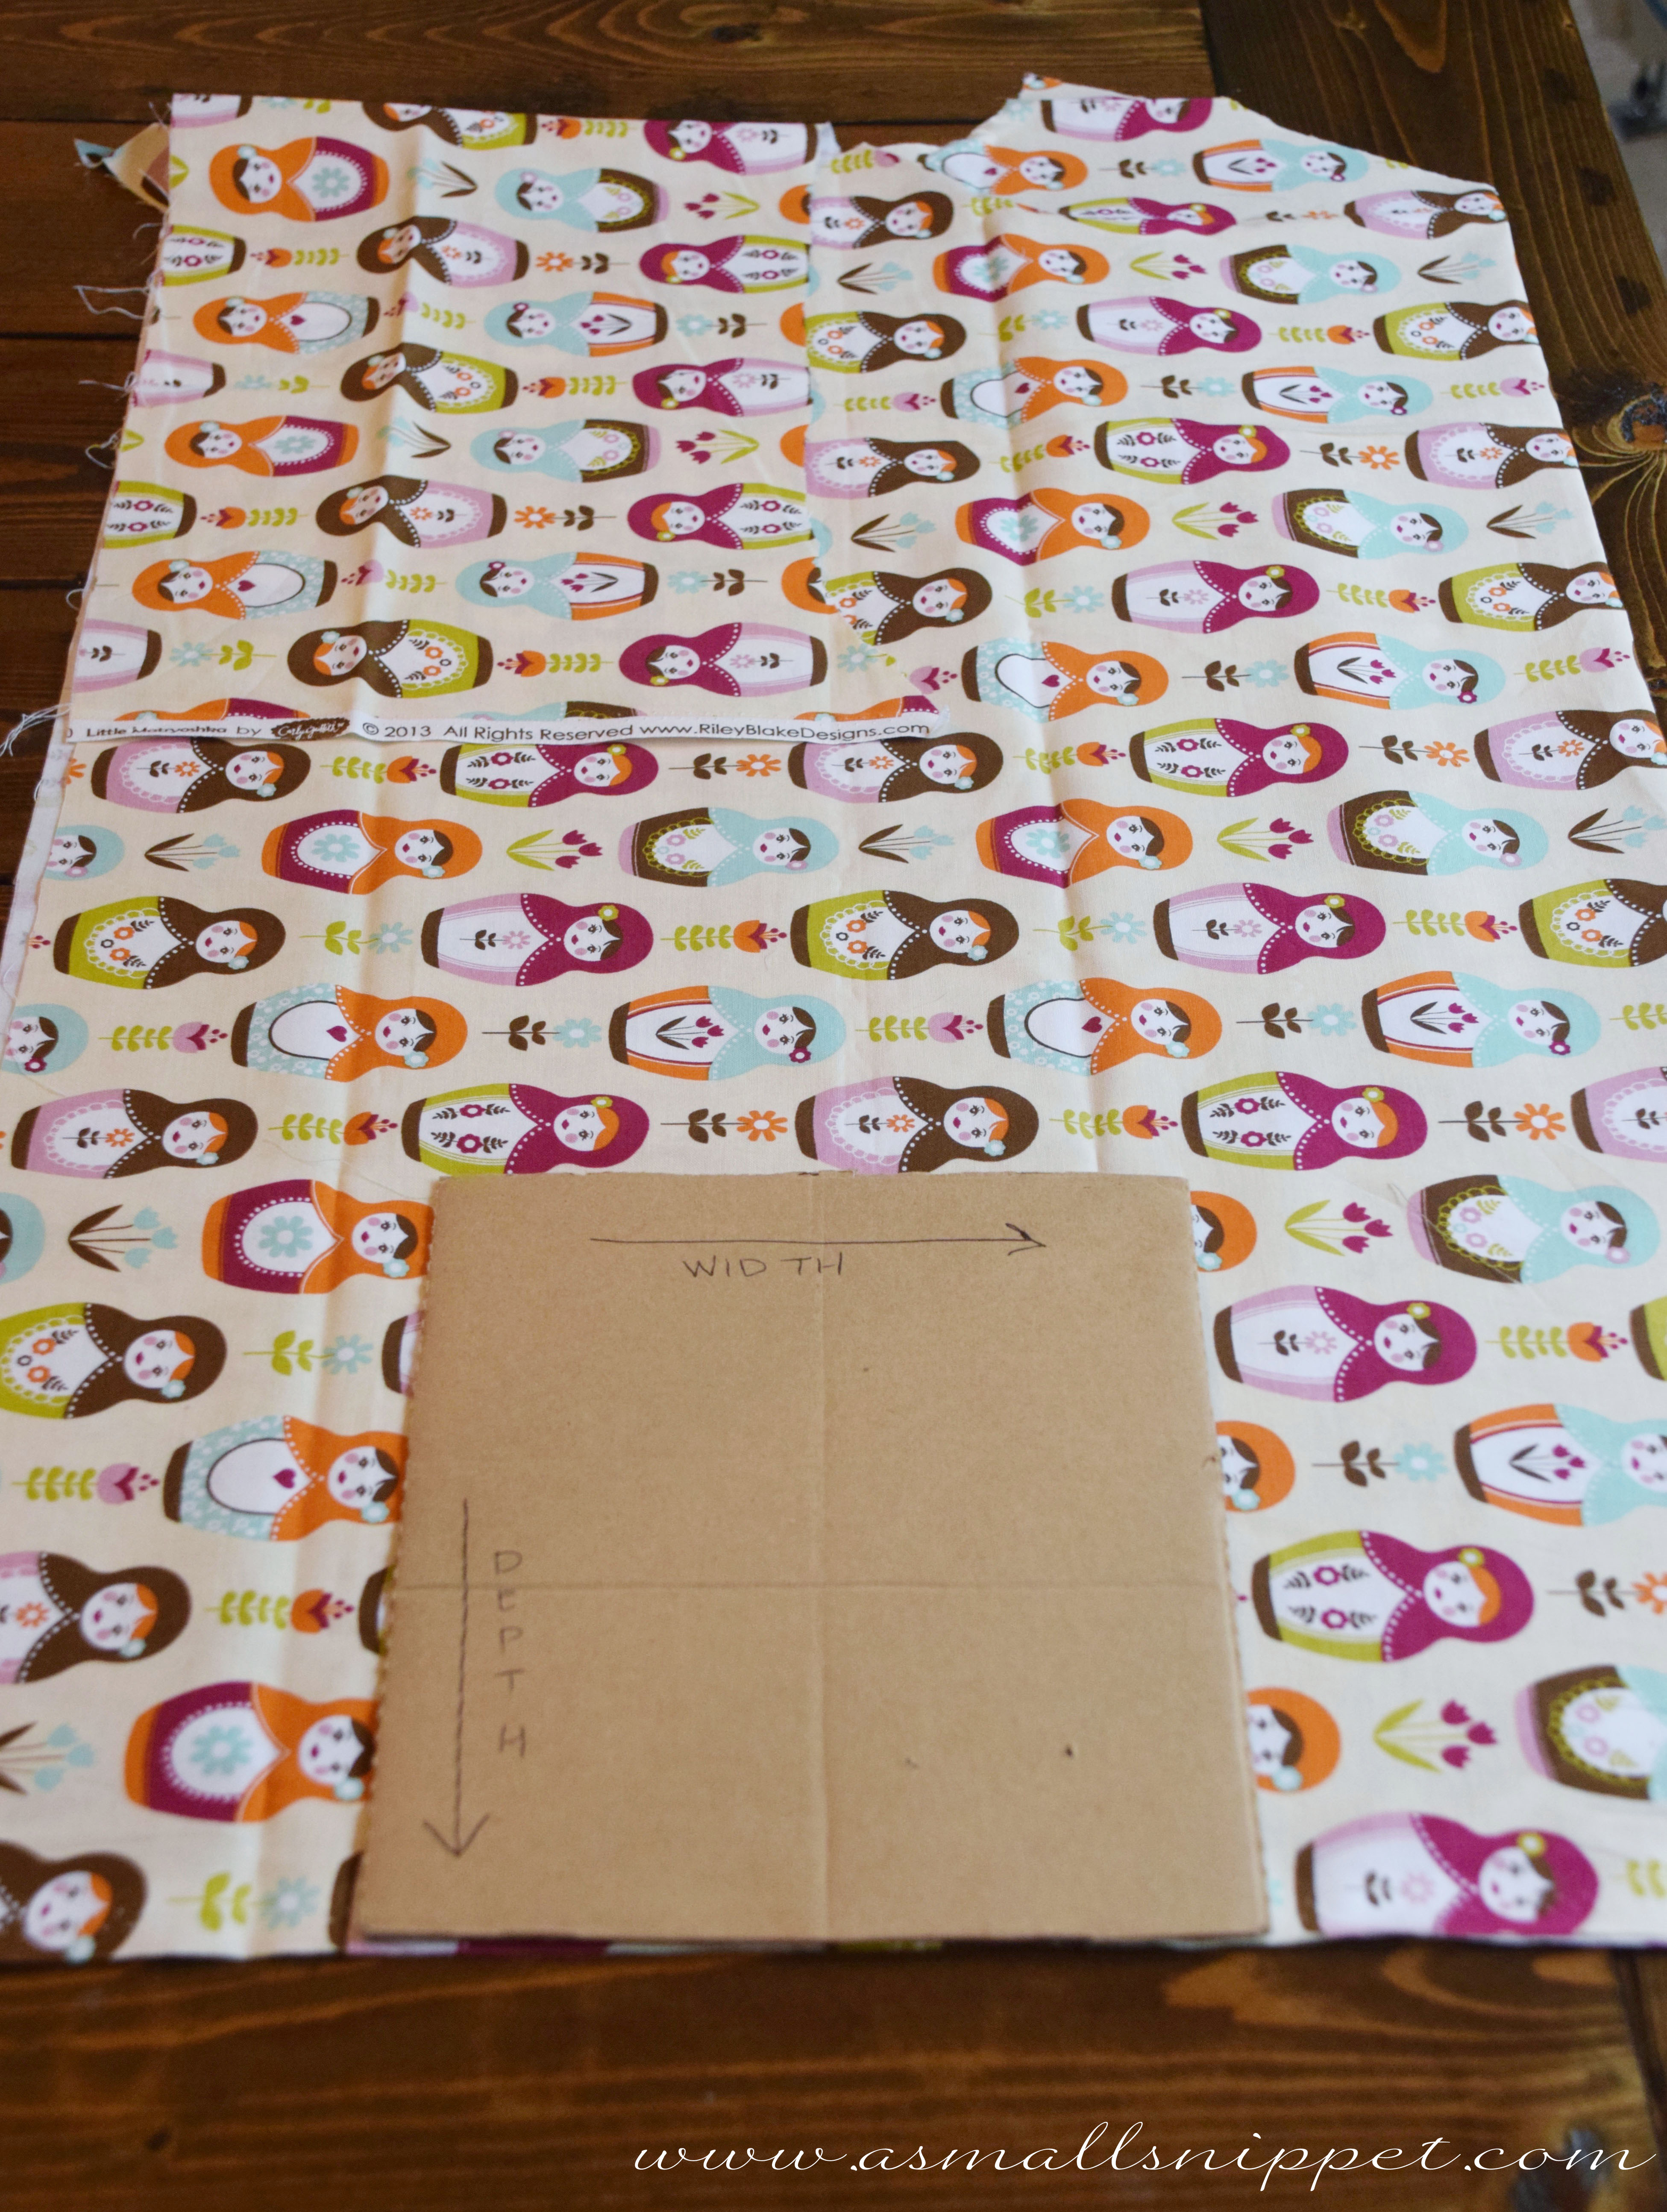
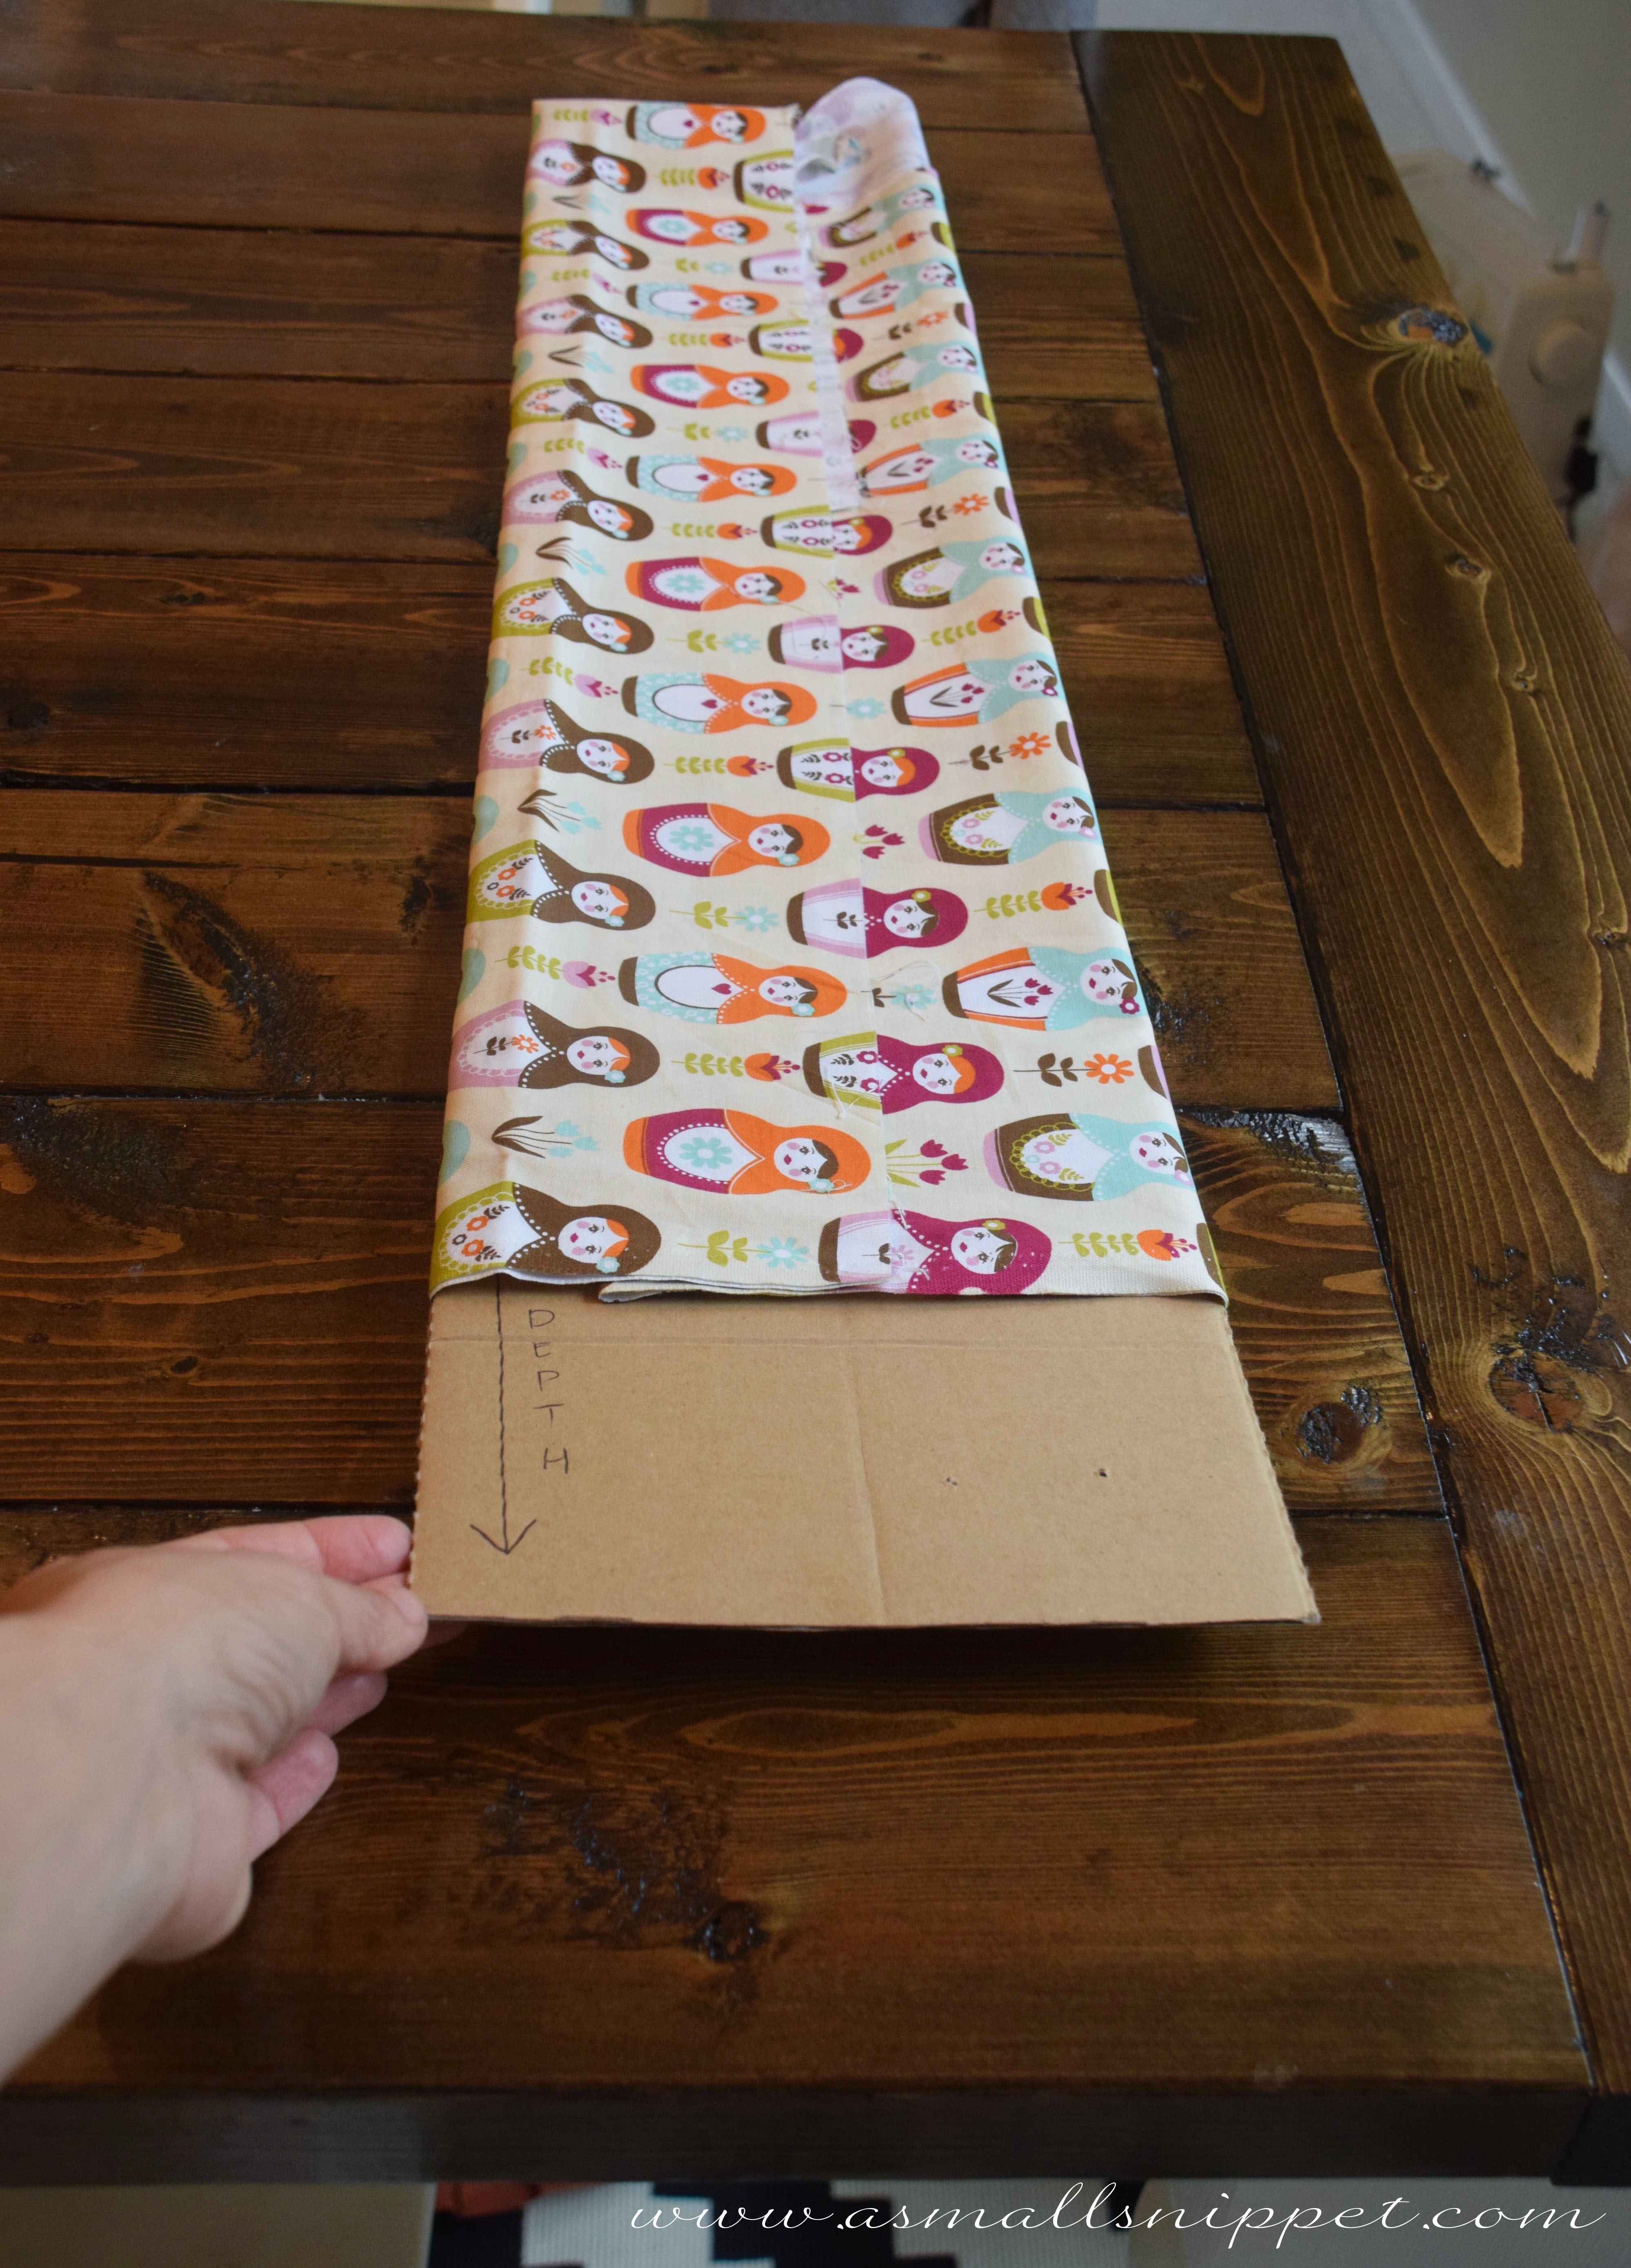
first, cut a piece of cardboard to the width and the depth that you want your folded fabric to be, and label the cardboard.  mine was 7.5 width by 8.5 depth.

DSC_010

lay out your piece of fabric.  if its uneven from previous cutting, just fold in the ends or extra pieces until you have somewhat of an even rectangle.  if the piece is really large, you can even fold it in half if needed.  lay your cardboard template on top, lining up the bottom of the template with the bottom the fabric:

DSC_011

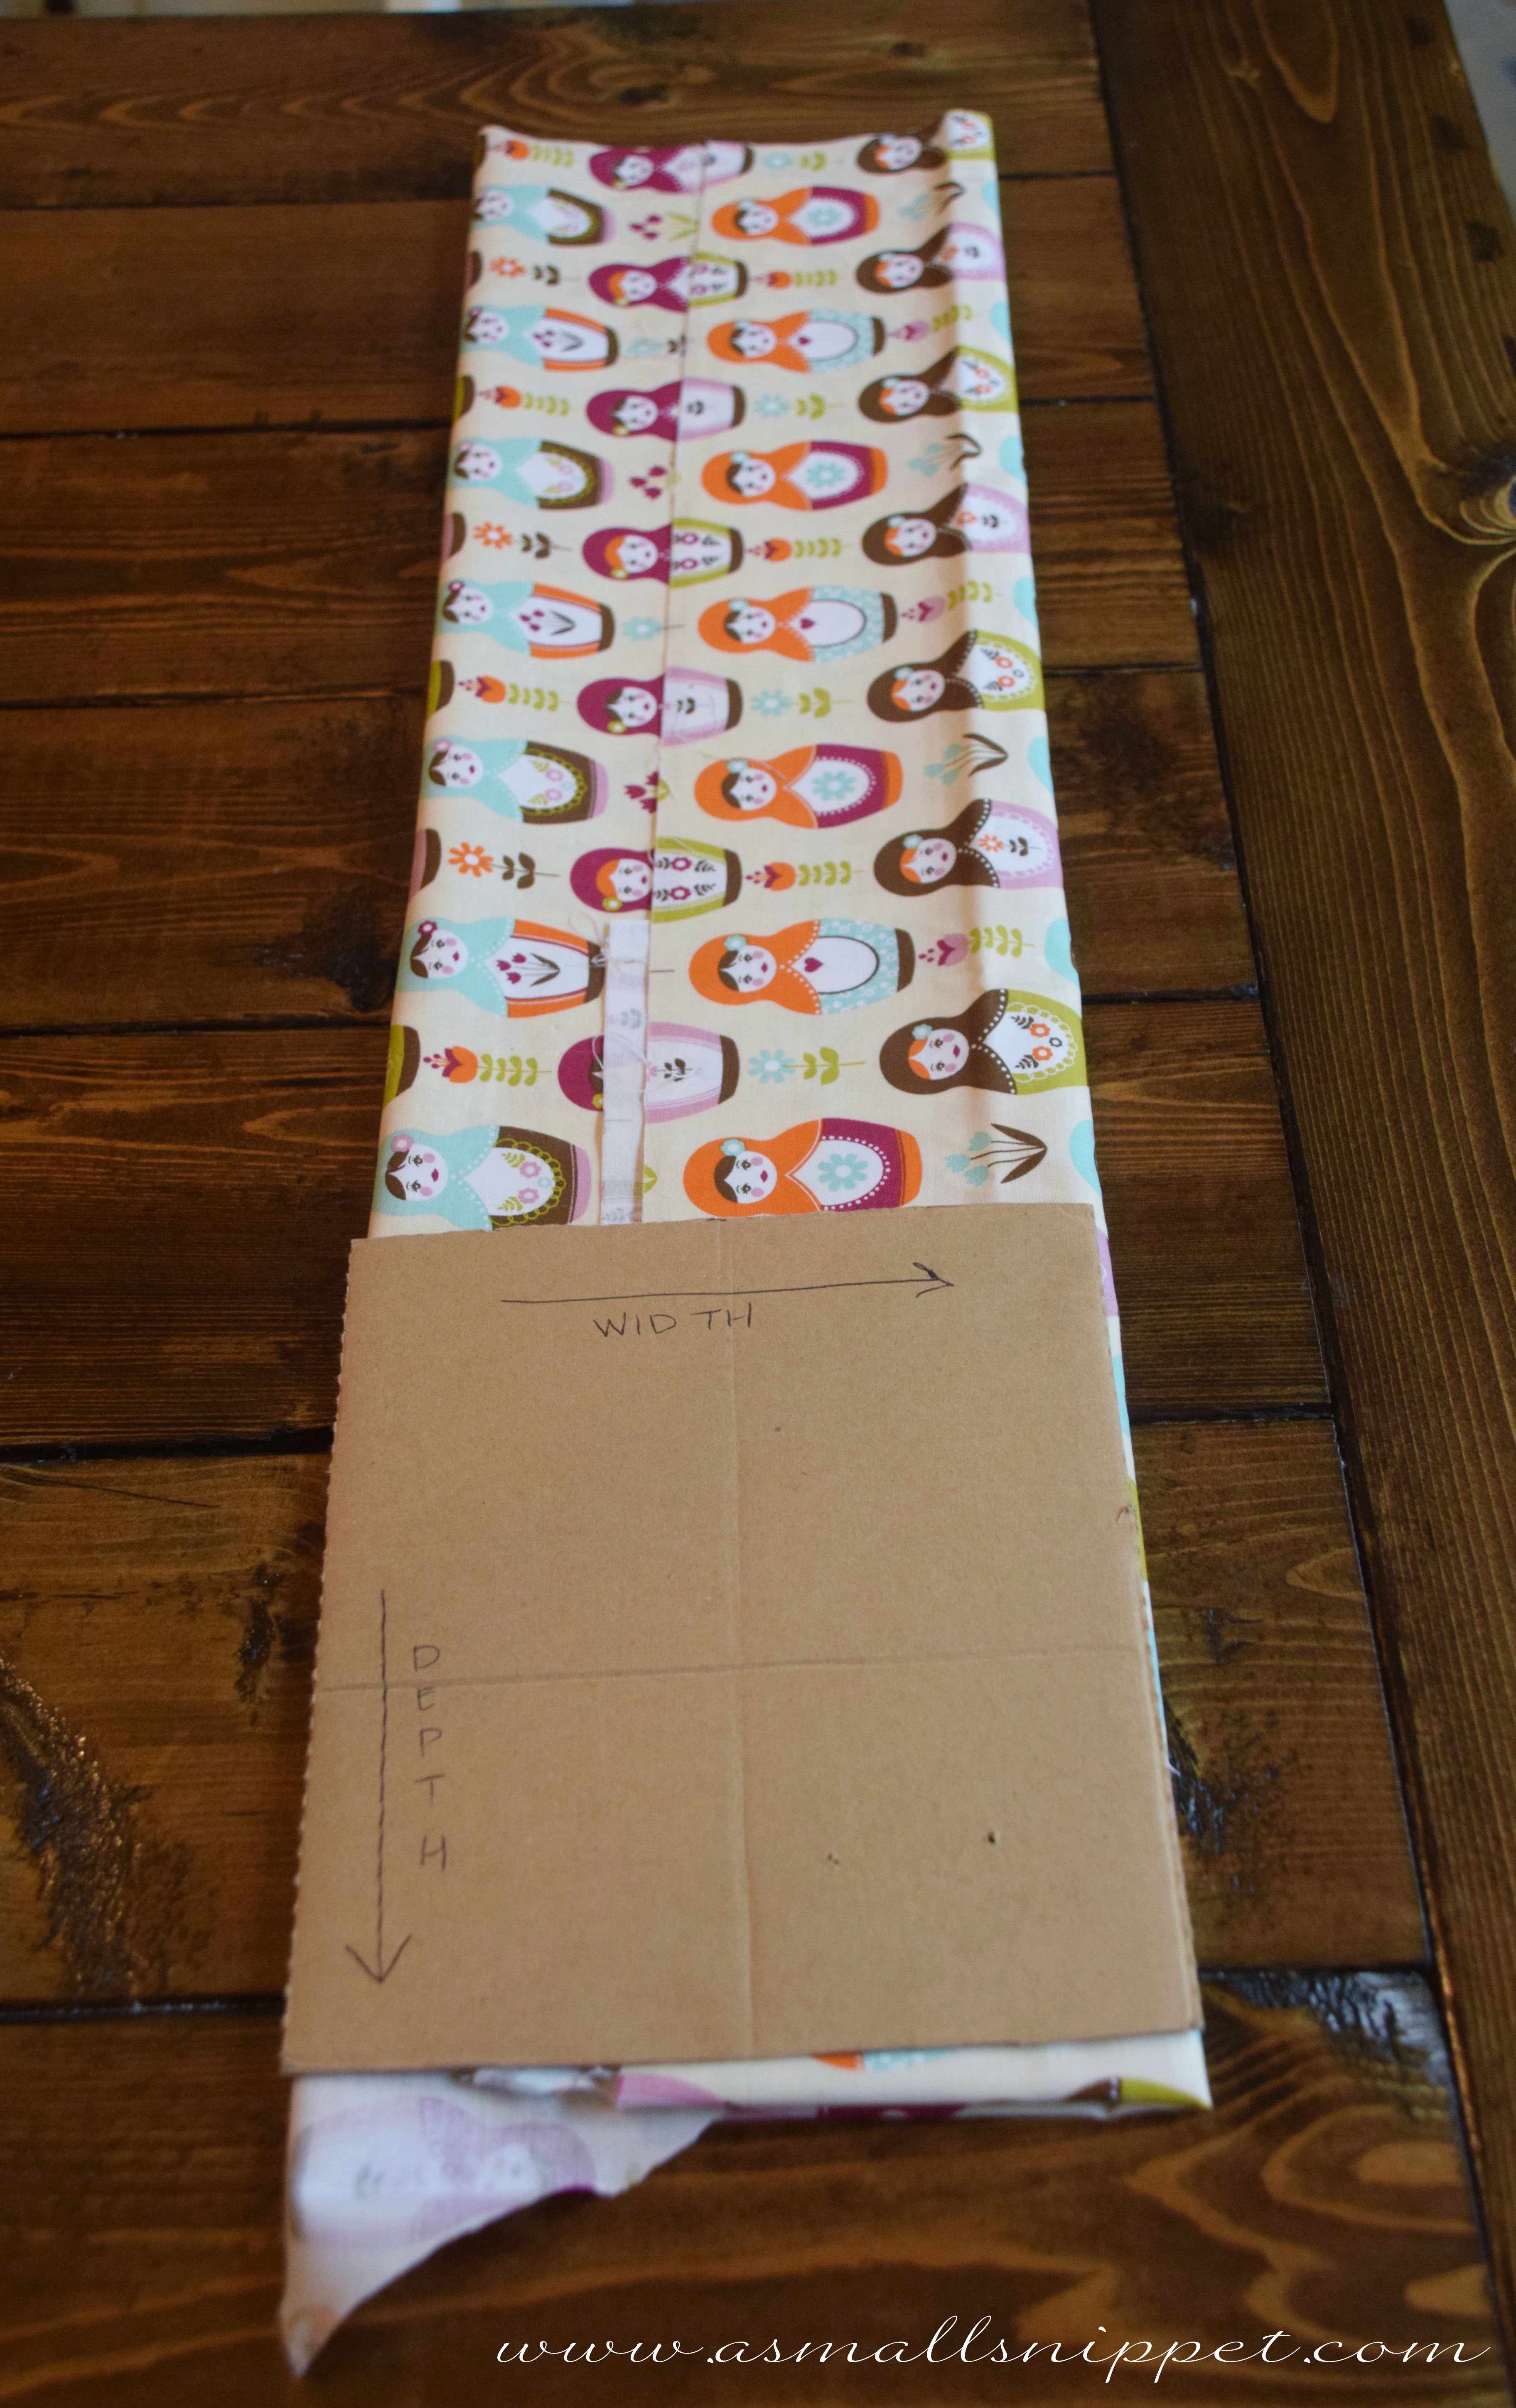
fold one side in, snug against the side of the template:DSC_012

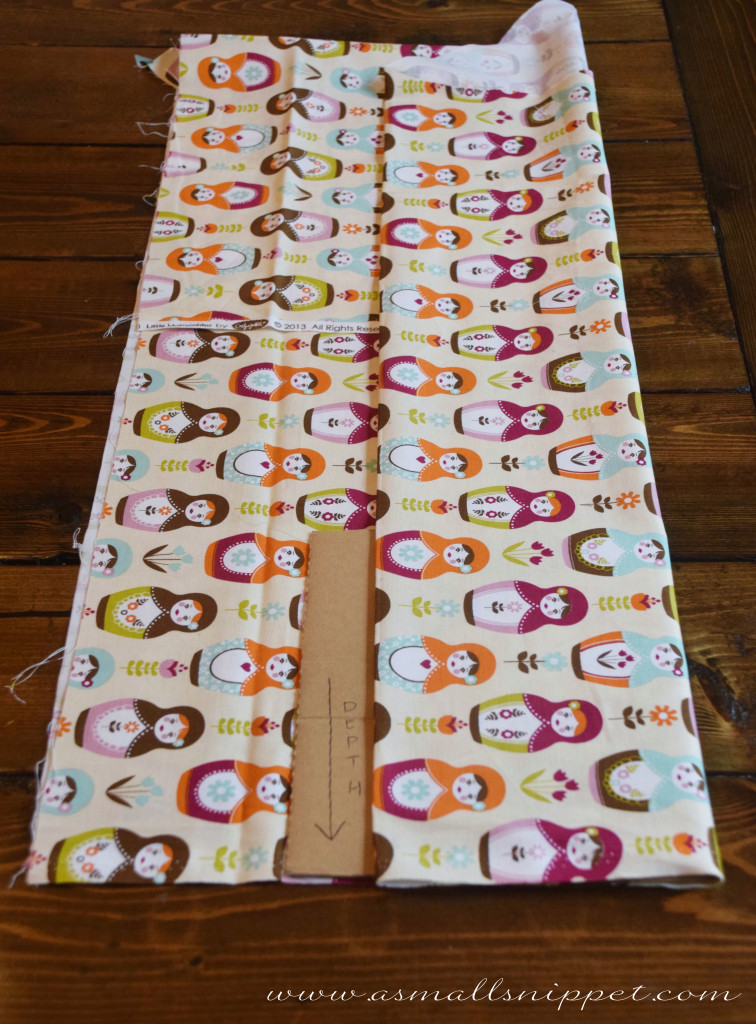
then fold the other side in until it hits the other side of the template:DSC_013

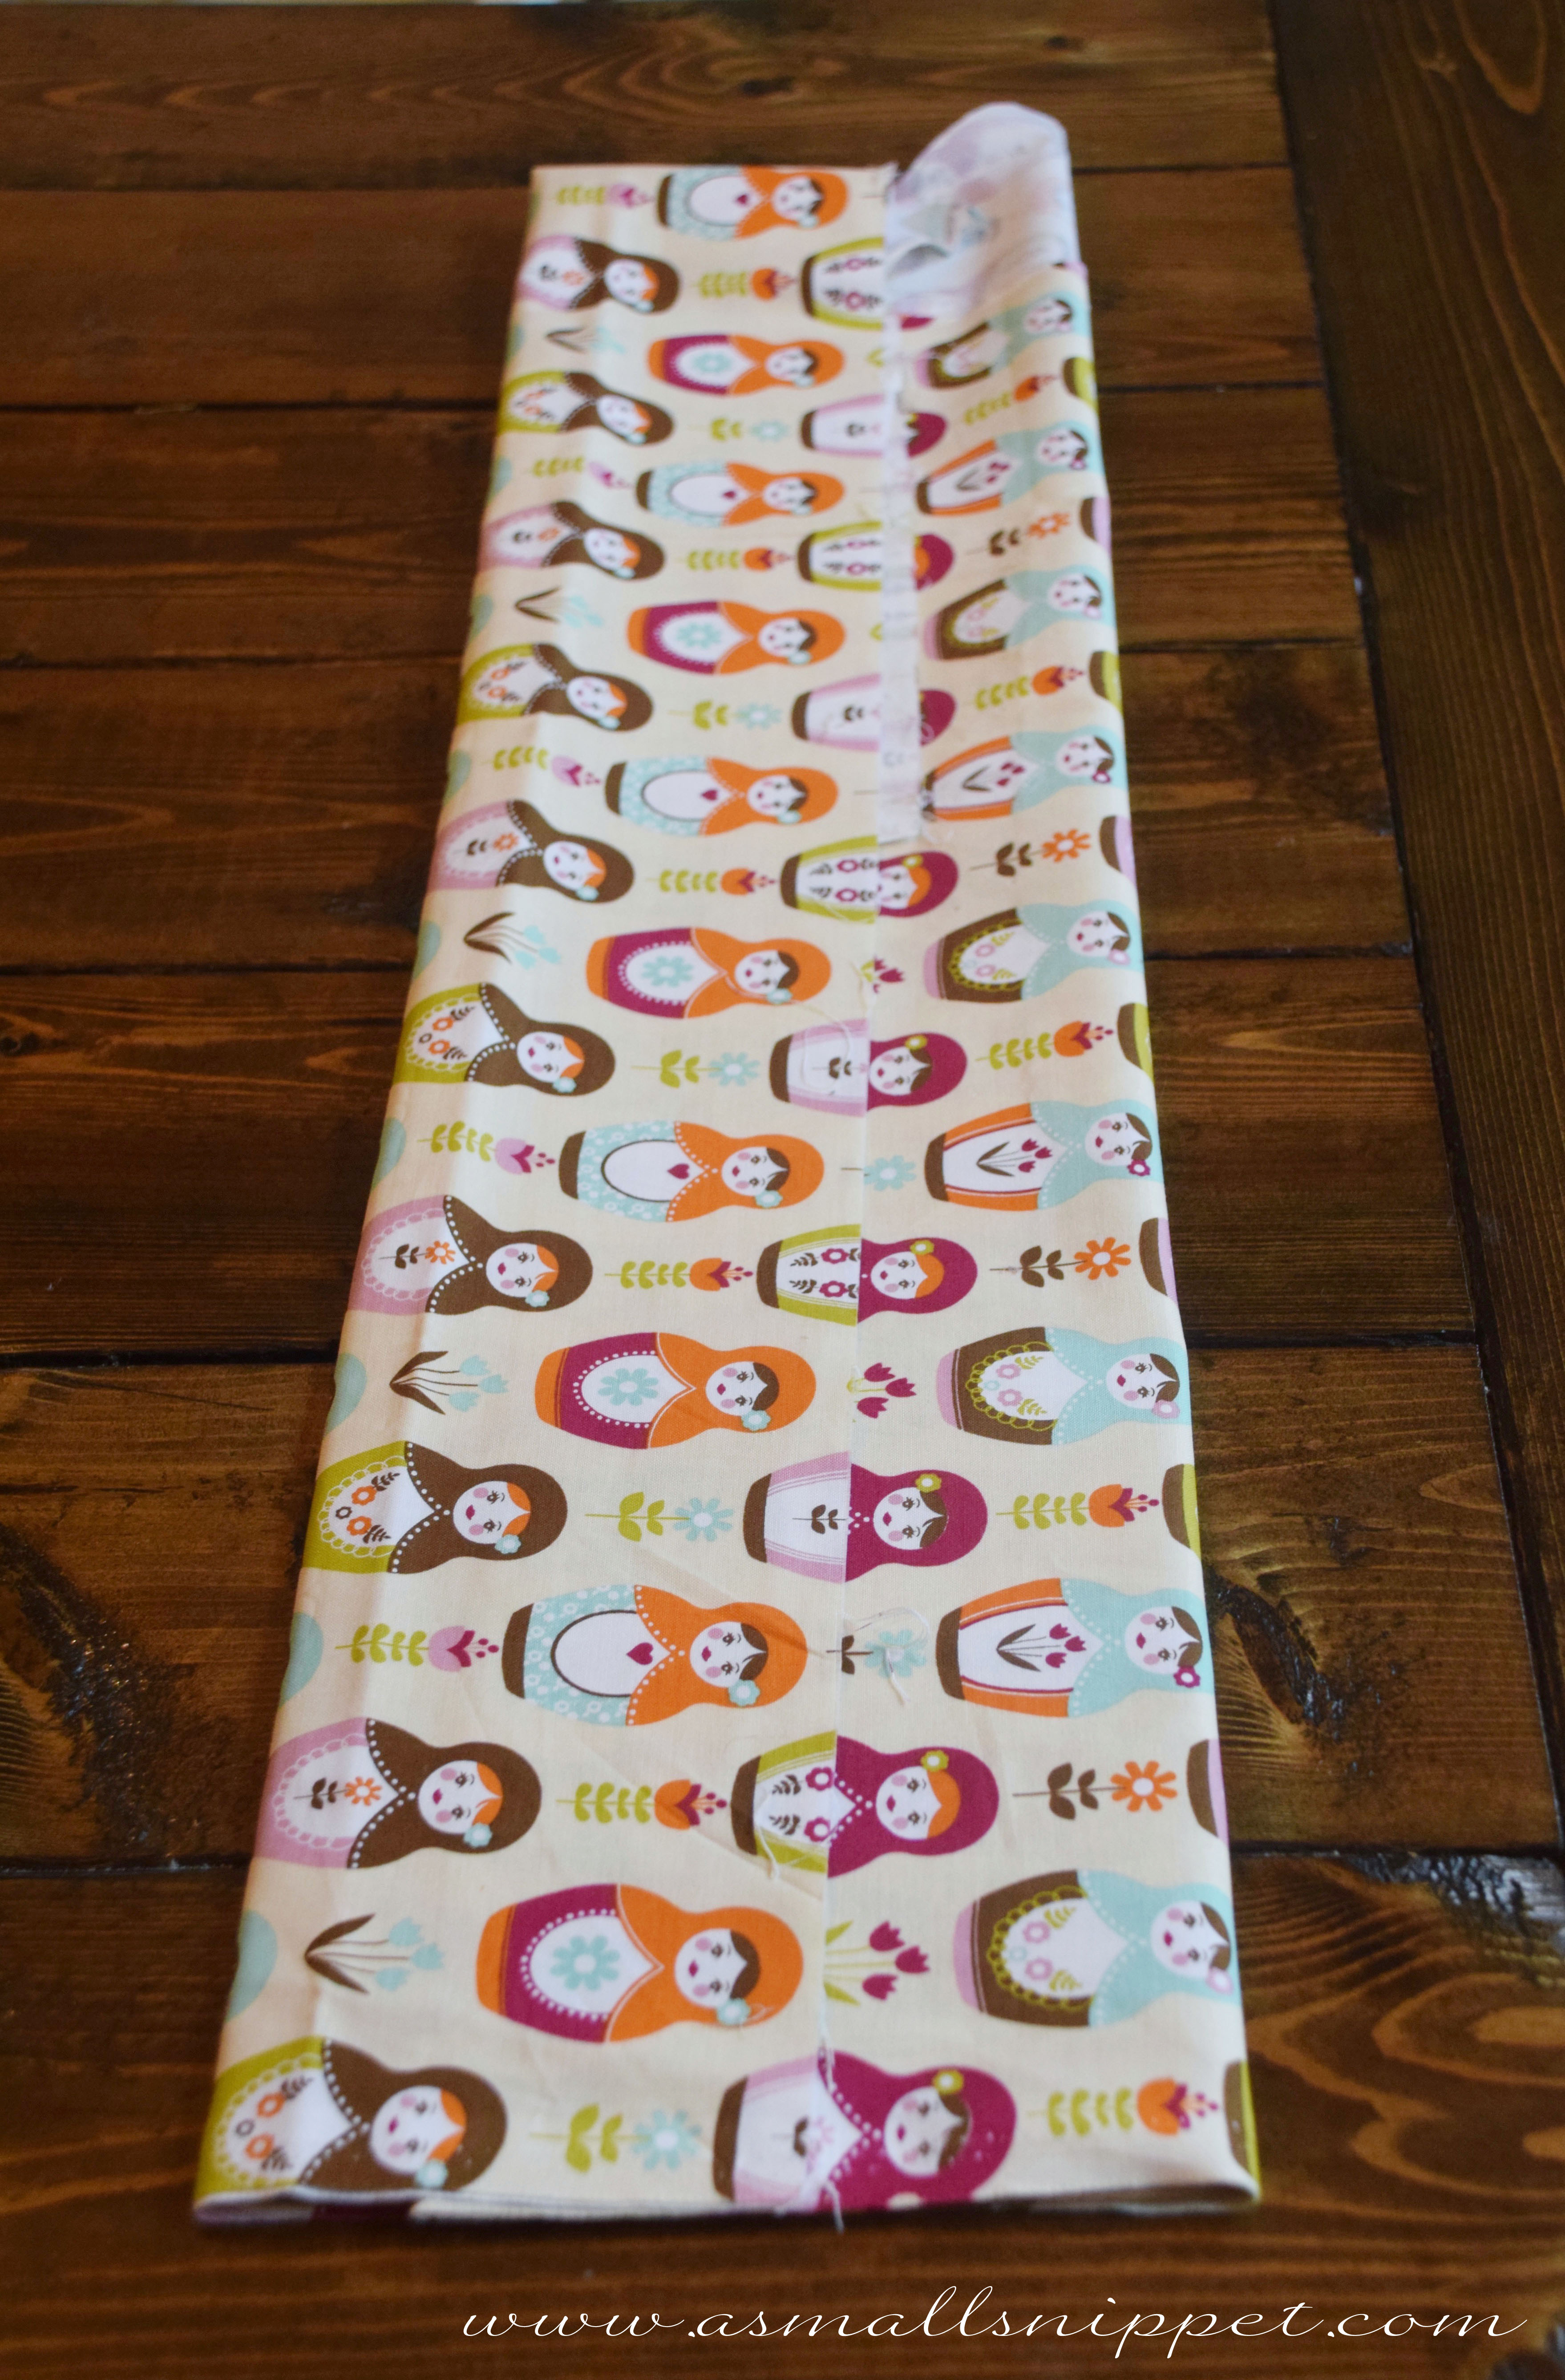
reach in and slide the template out of the bottom, keeping the fabric folded to the correct width:

DSC_014

lay the template back on top of the folded fabric, at the bottom:
DSC_015

then begin folding the fabric up, using the template as your guide to depth:DSC_016

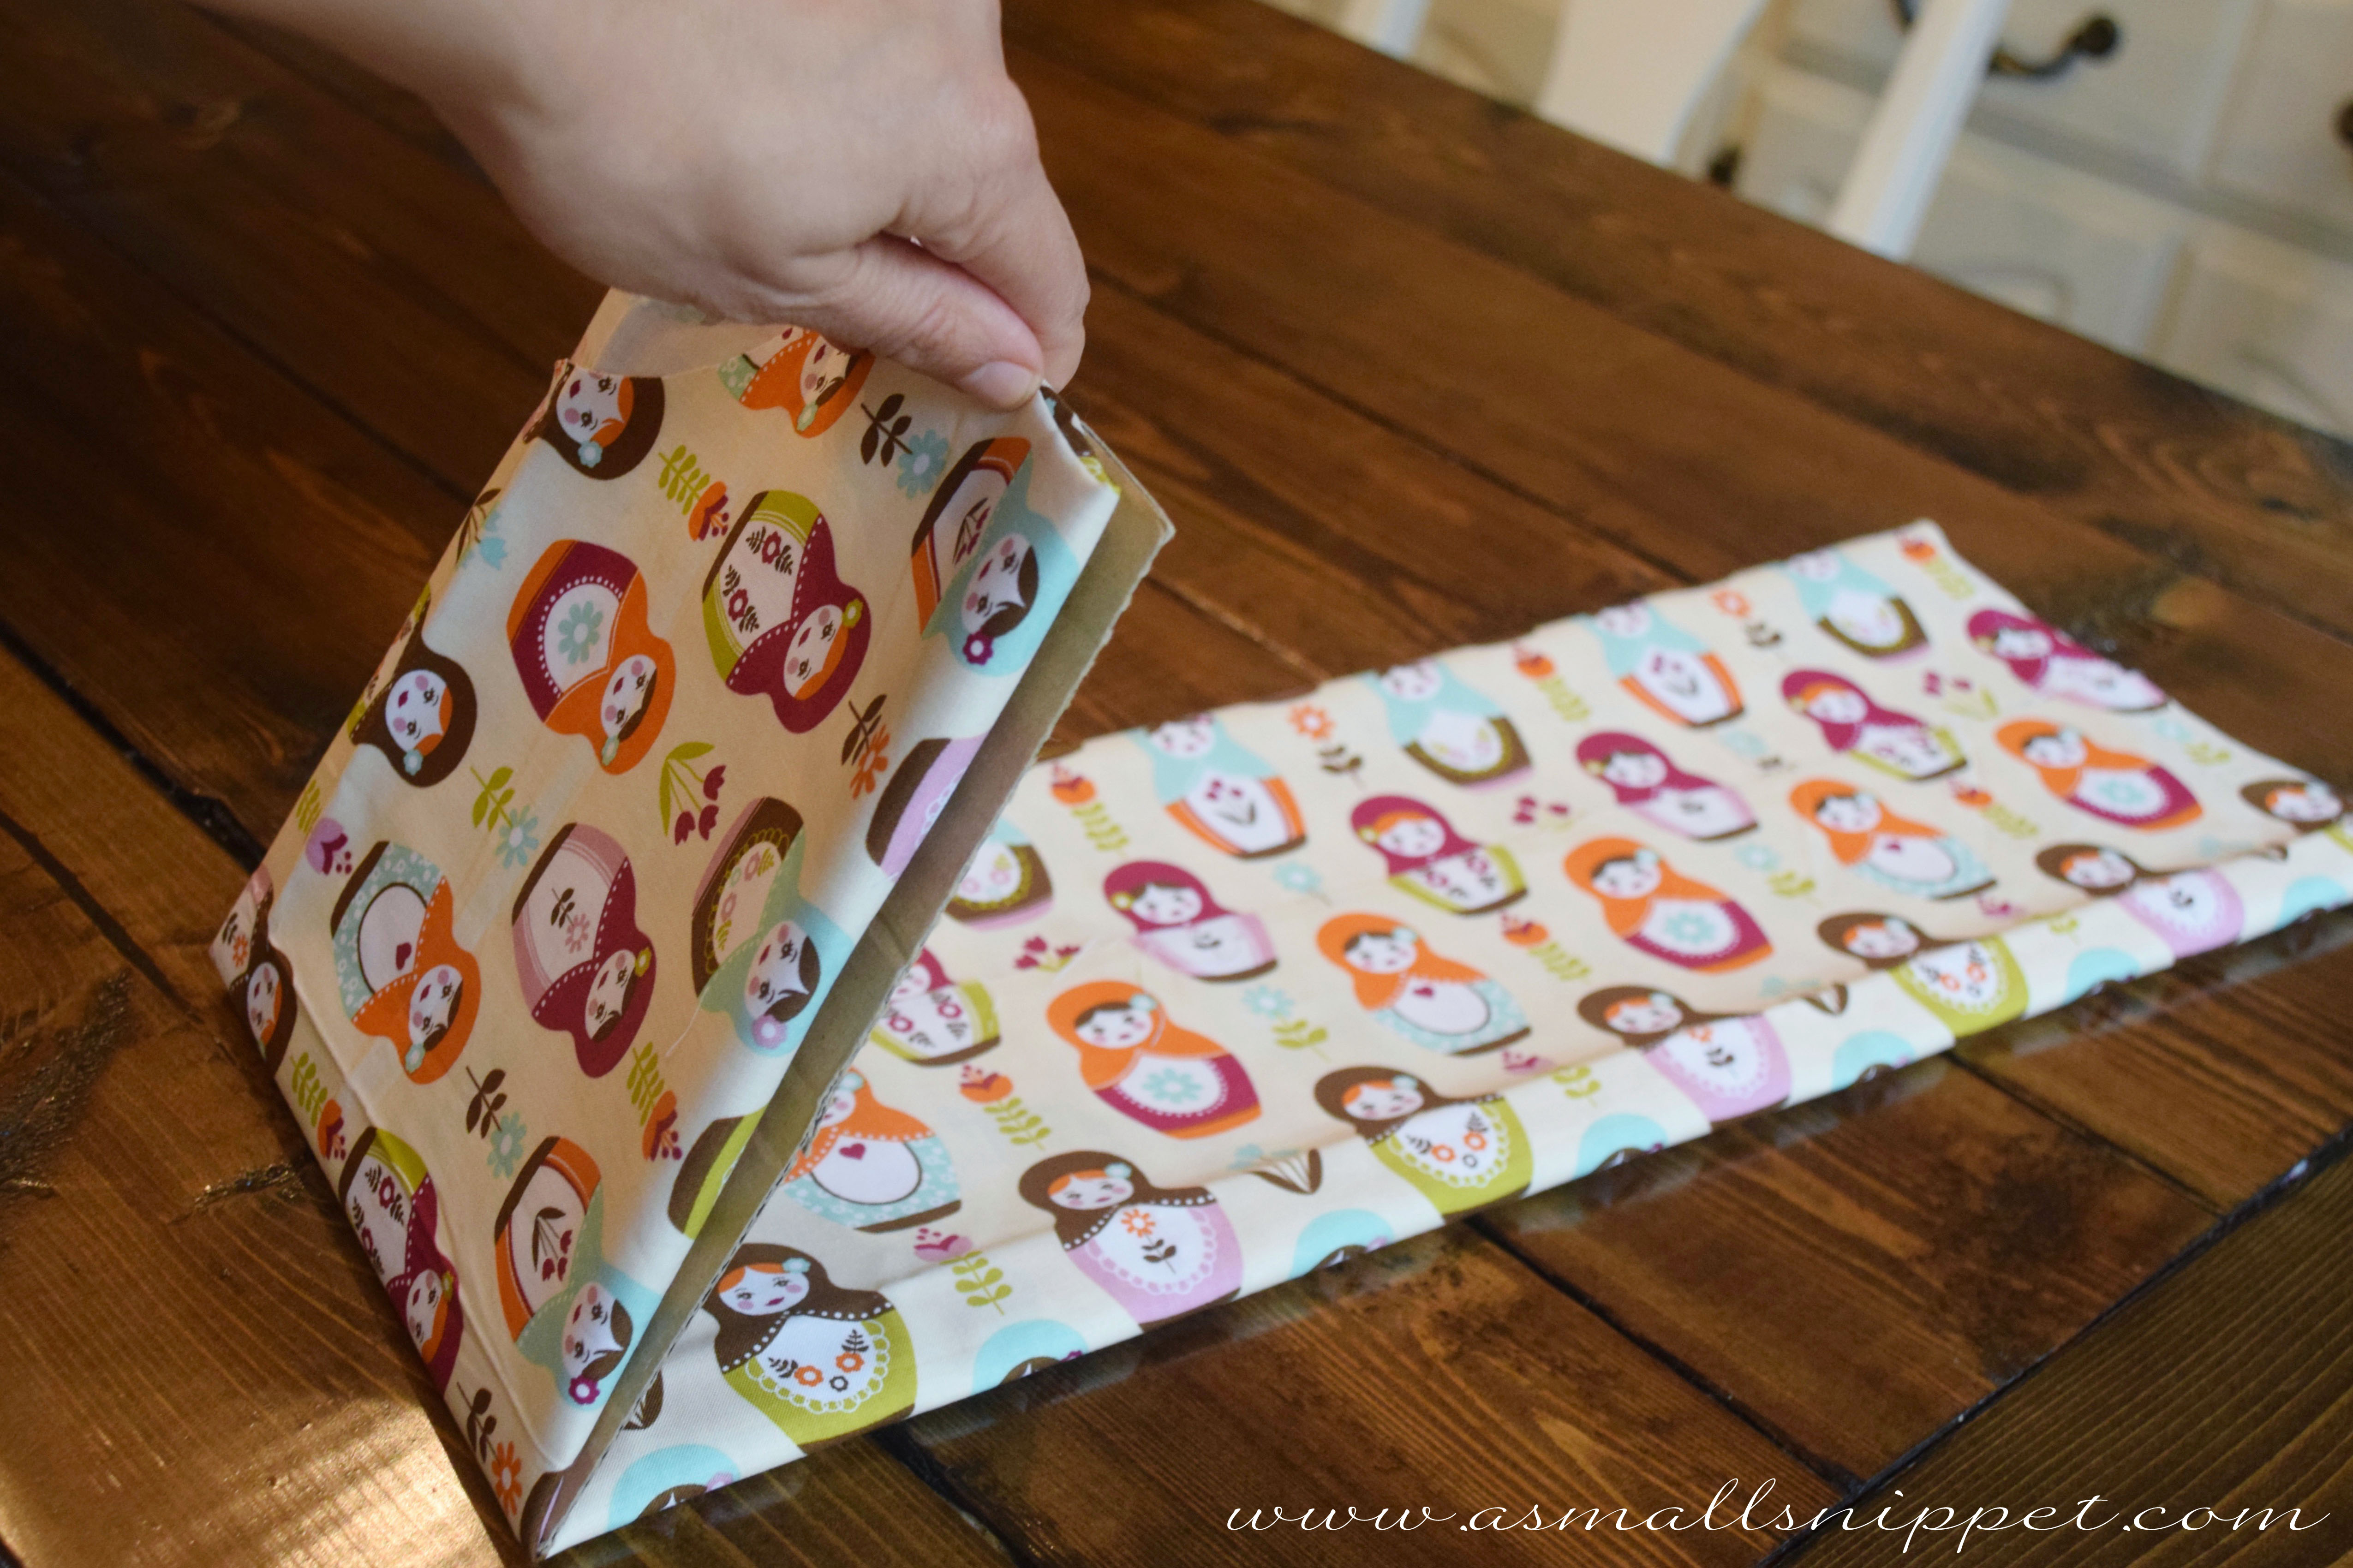
keep folding until you reach the end of the fabric:DSC_017

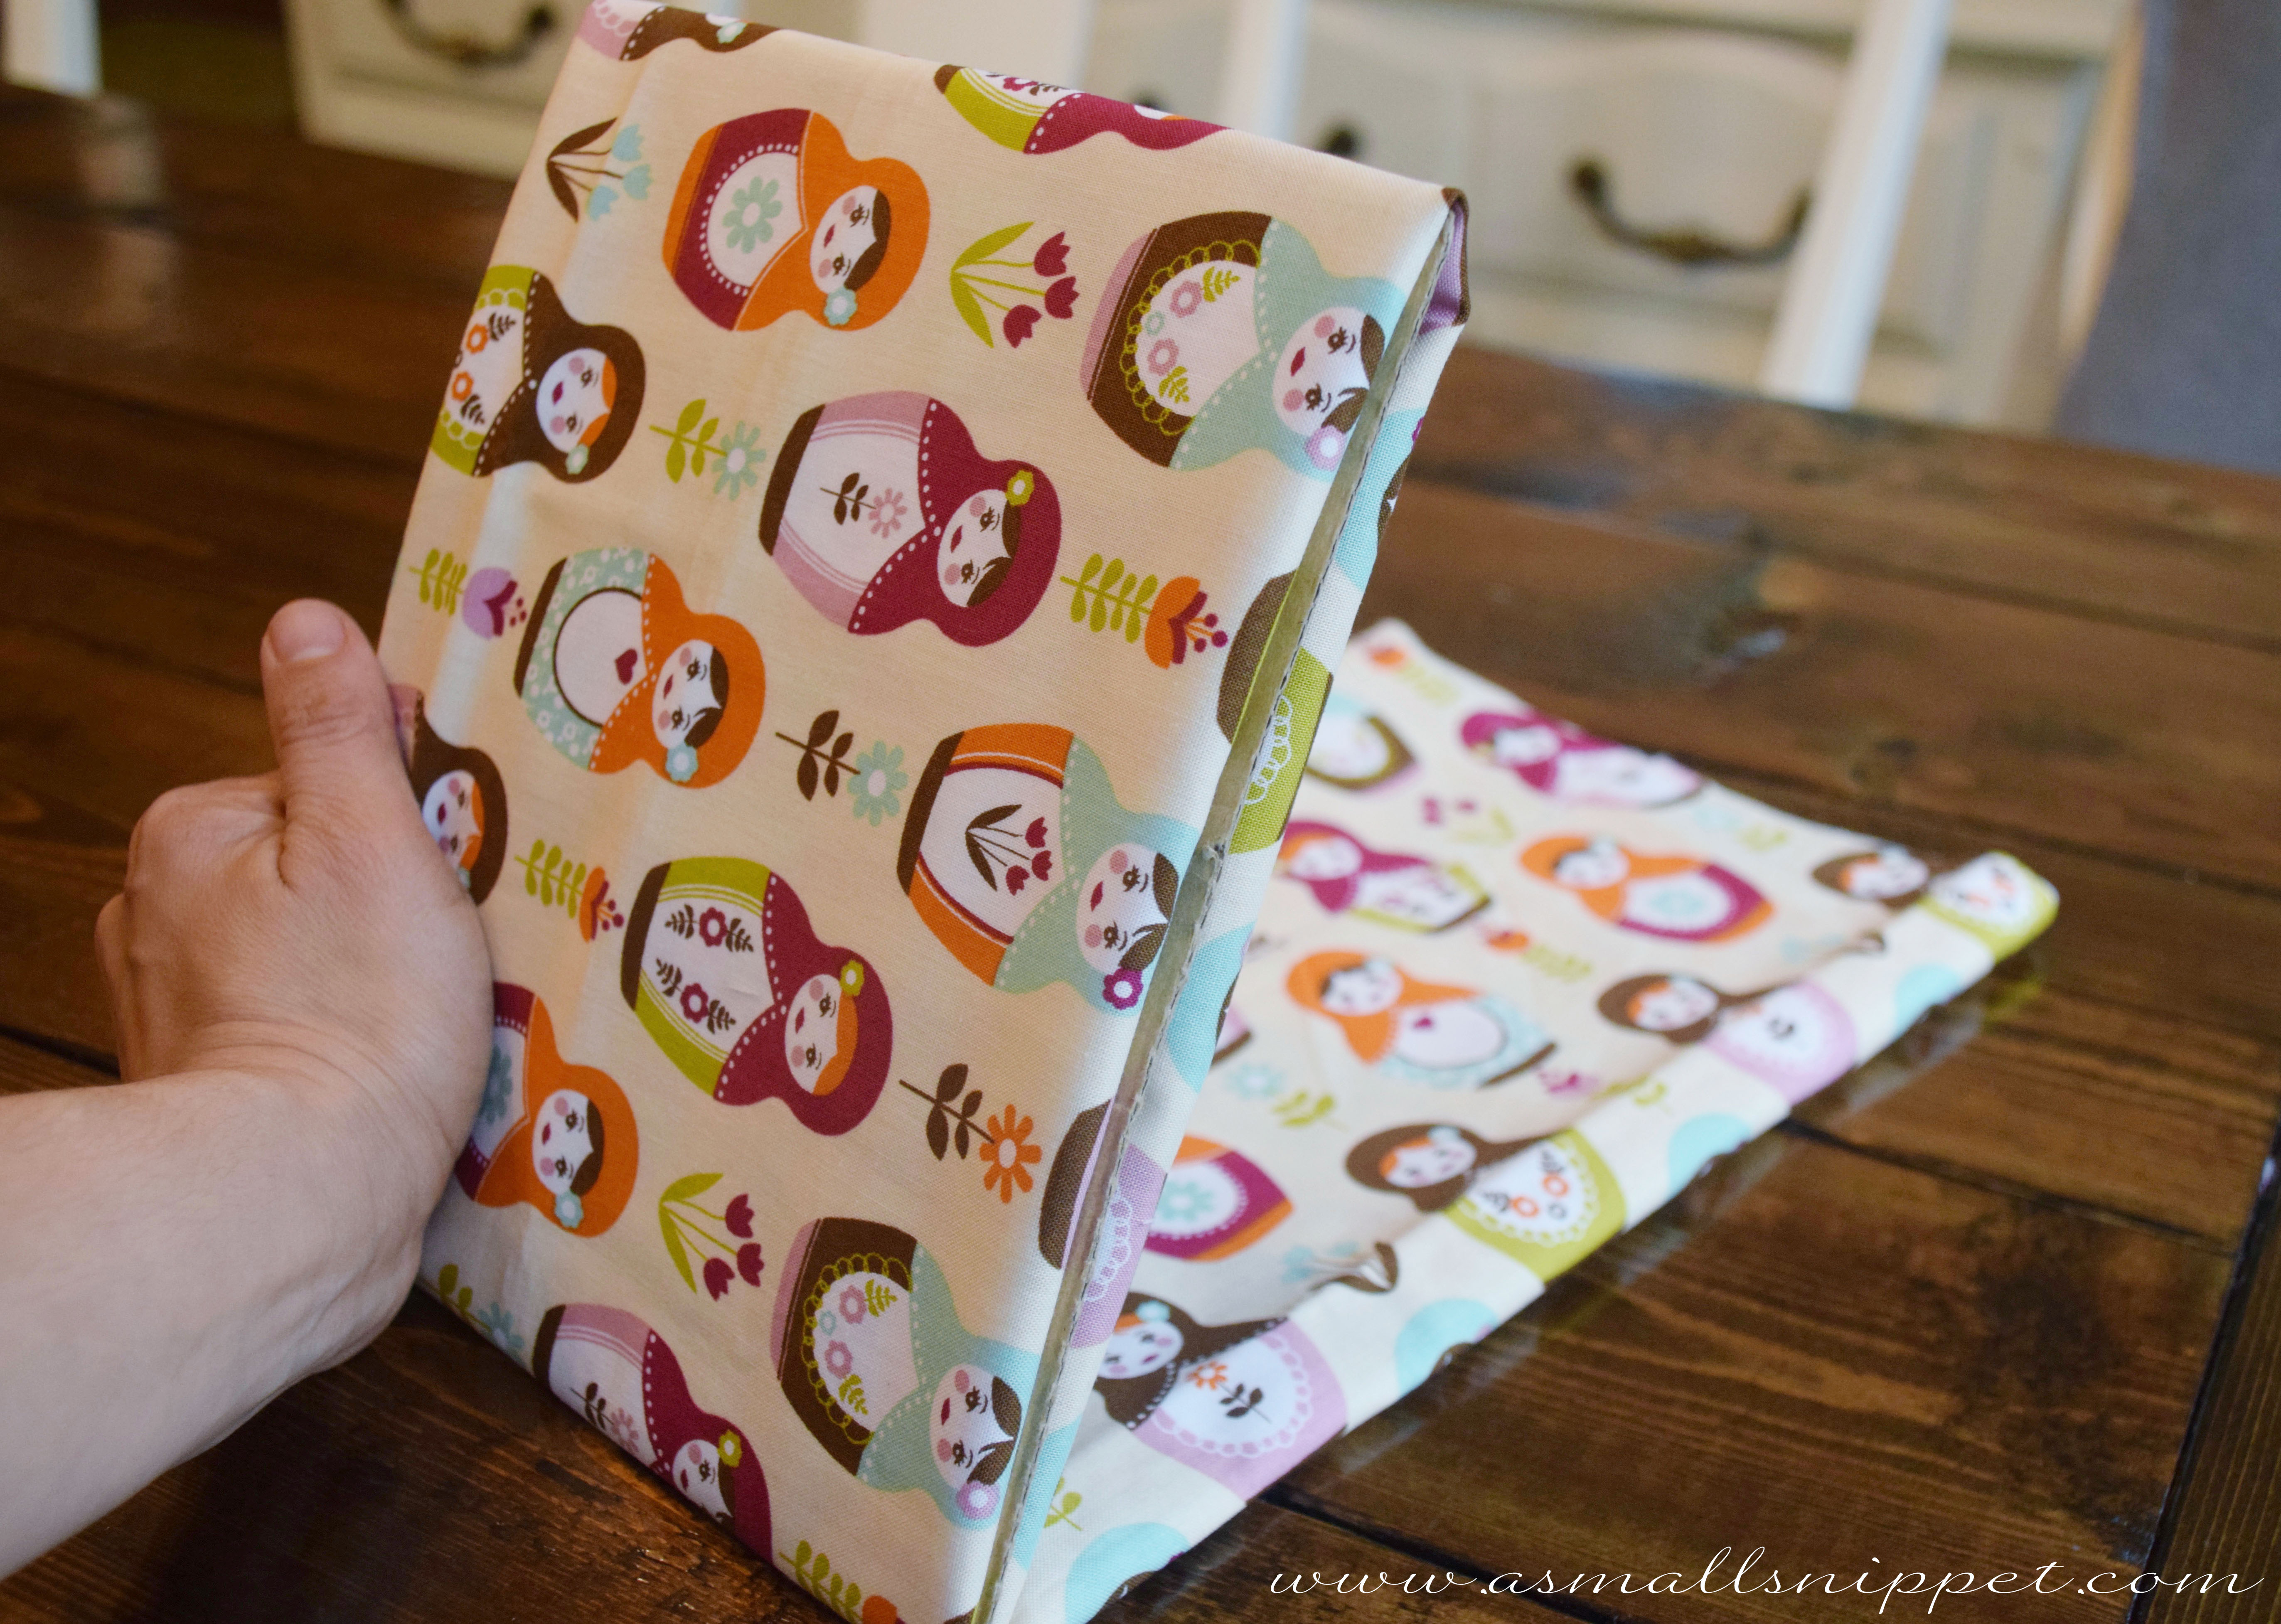
if you are left with some extra fabric that is not enough for a full fold:DSC_018 copy

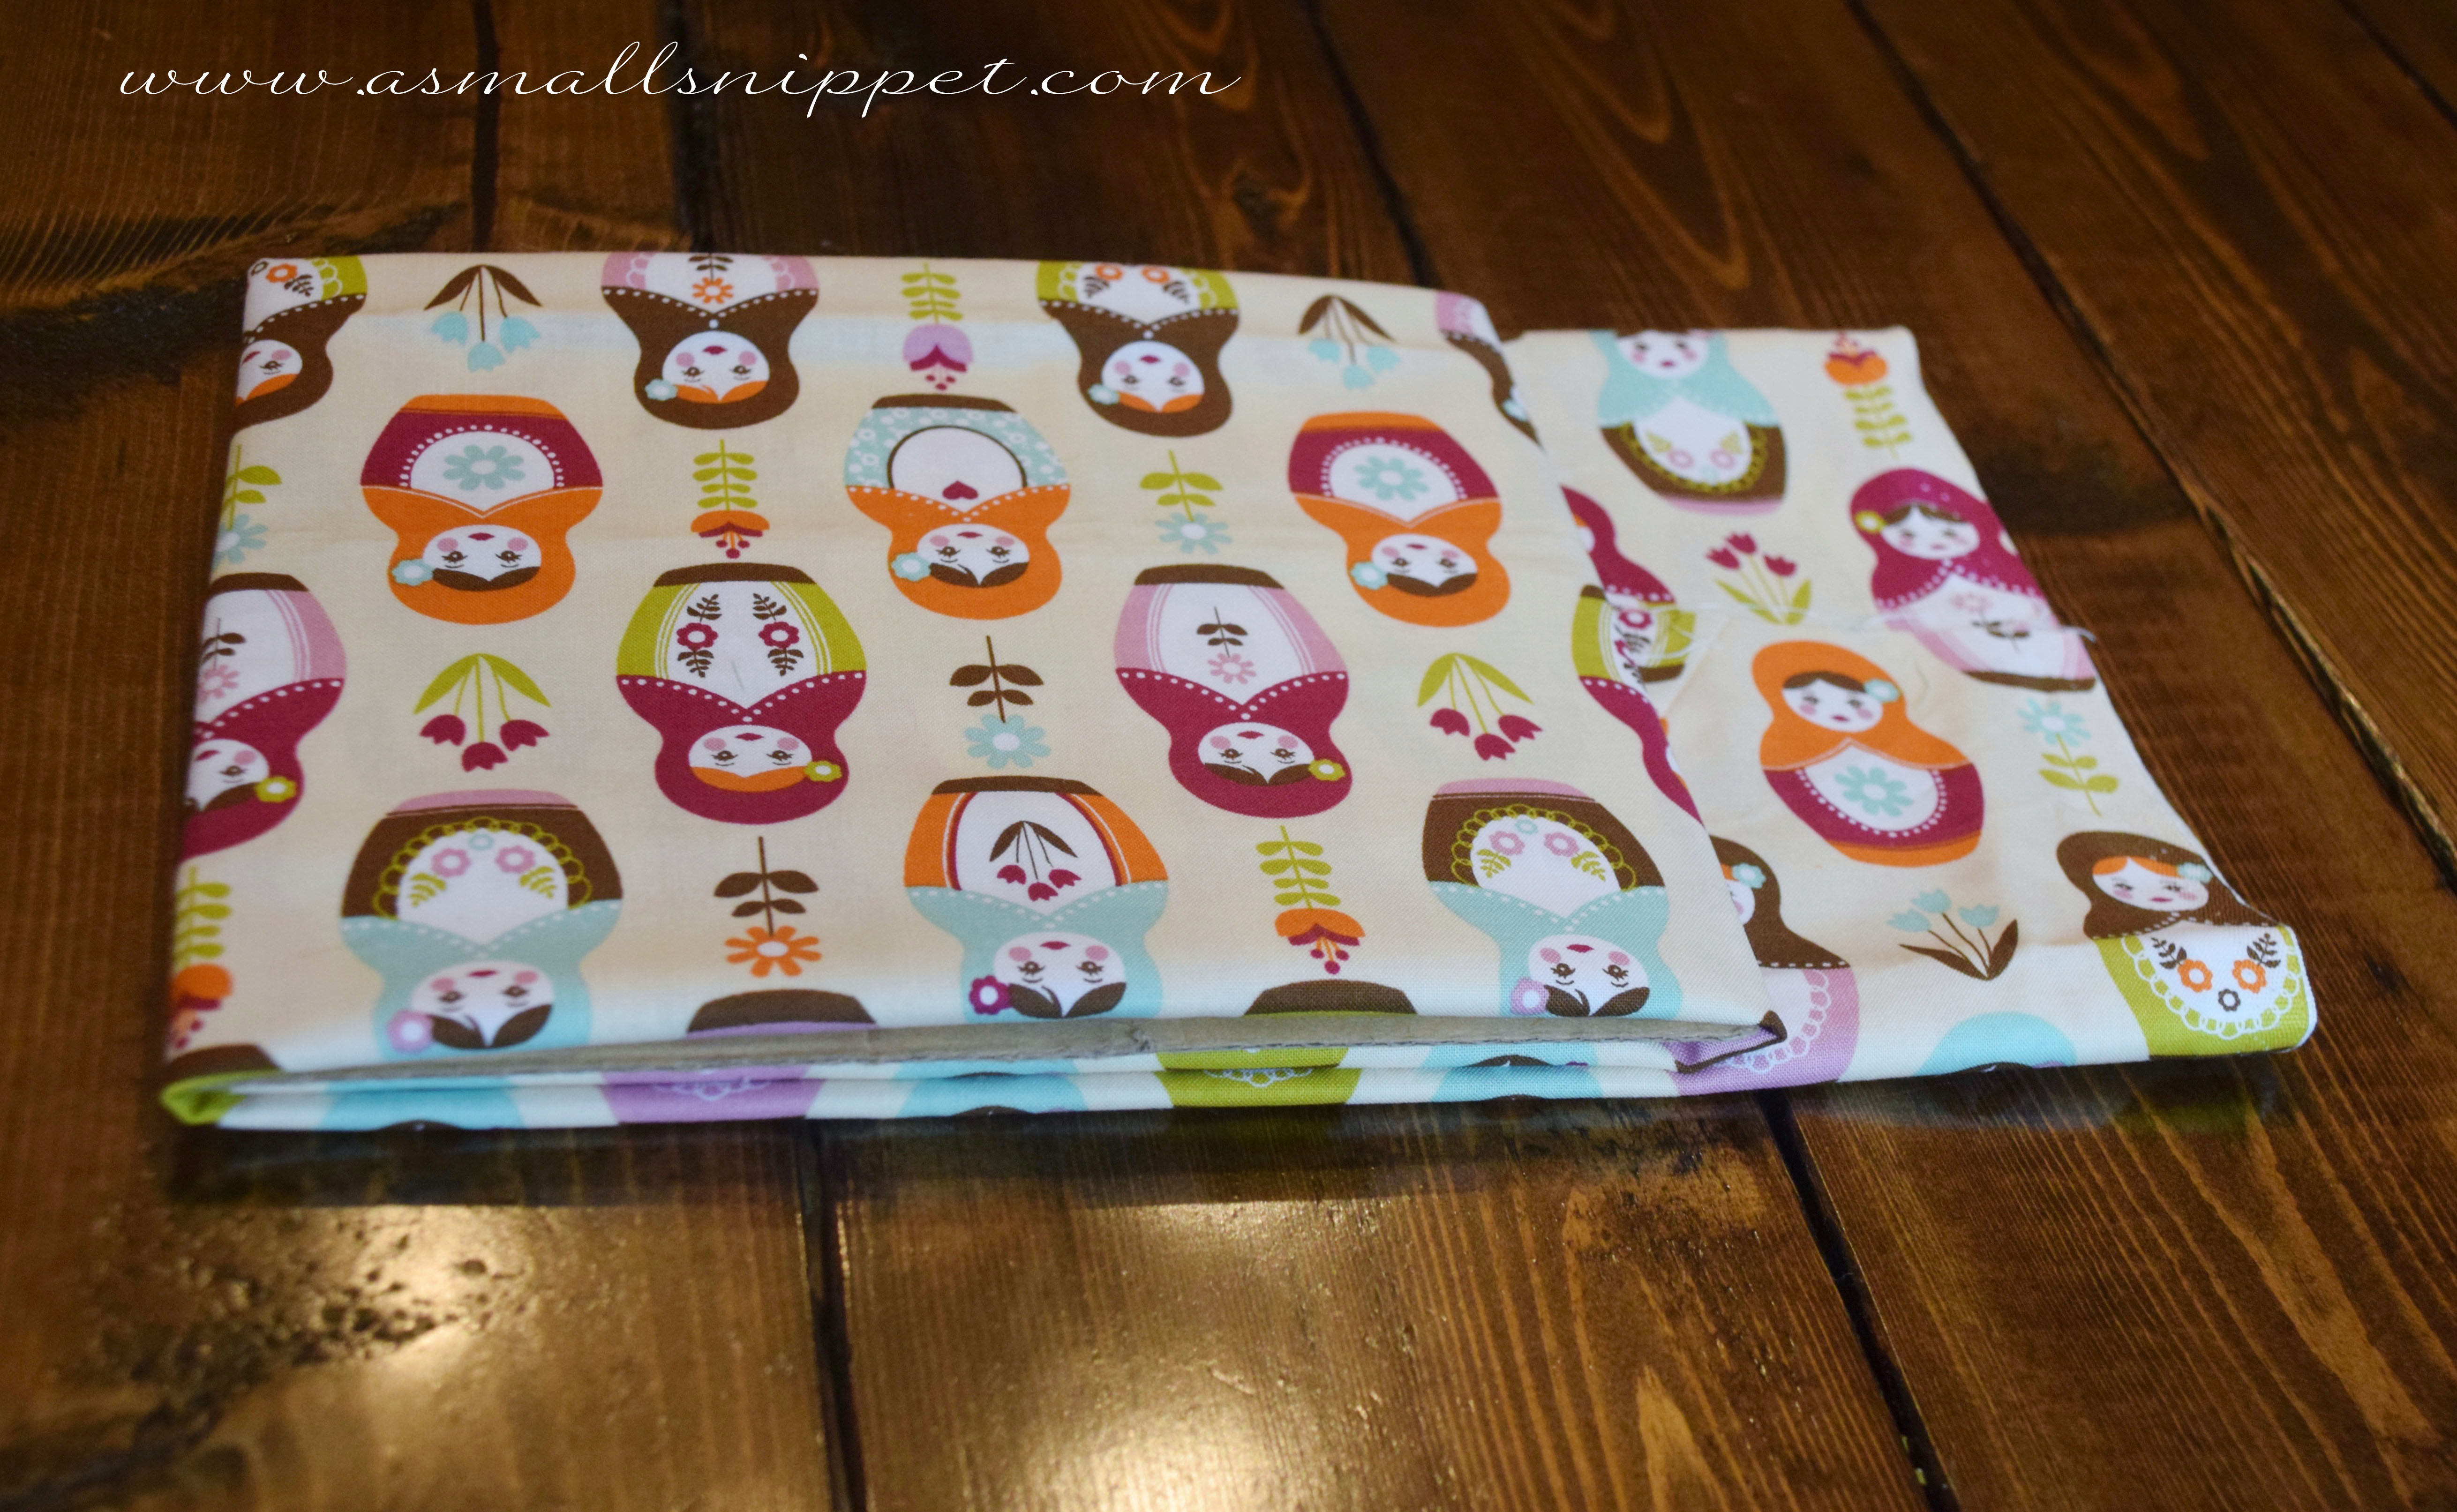
just fold the leftover on top:DSC_019

and then flip the entire piece so that the extra piece is folded underneath, on the bottom:DSC_020 copy

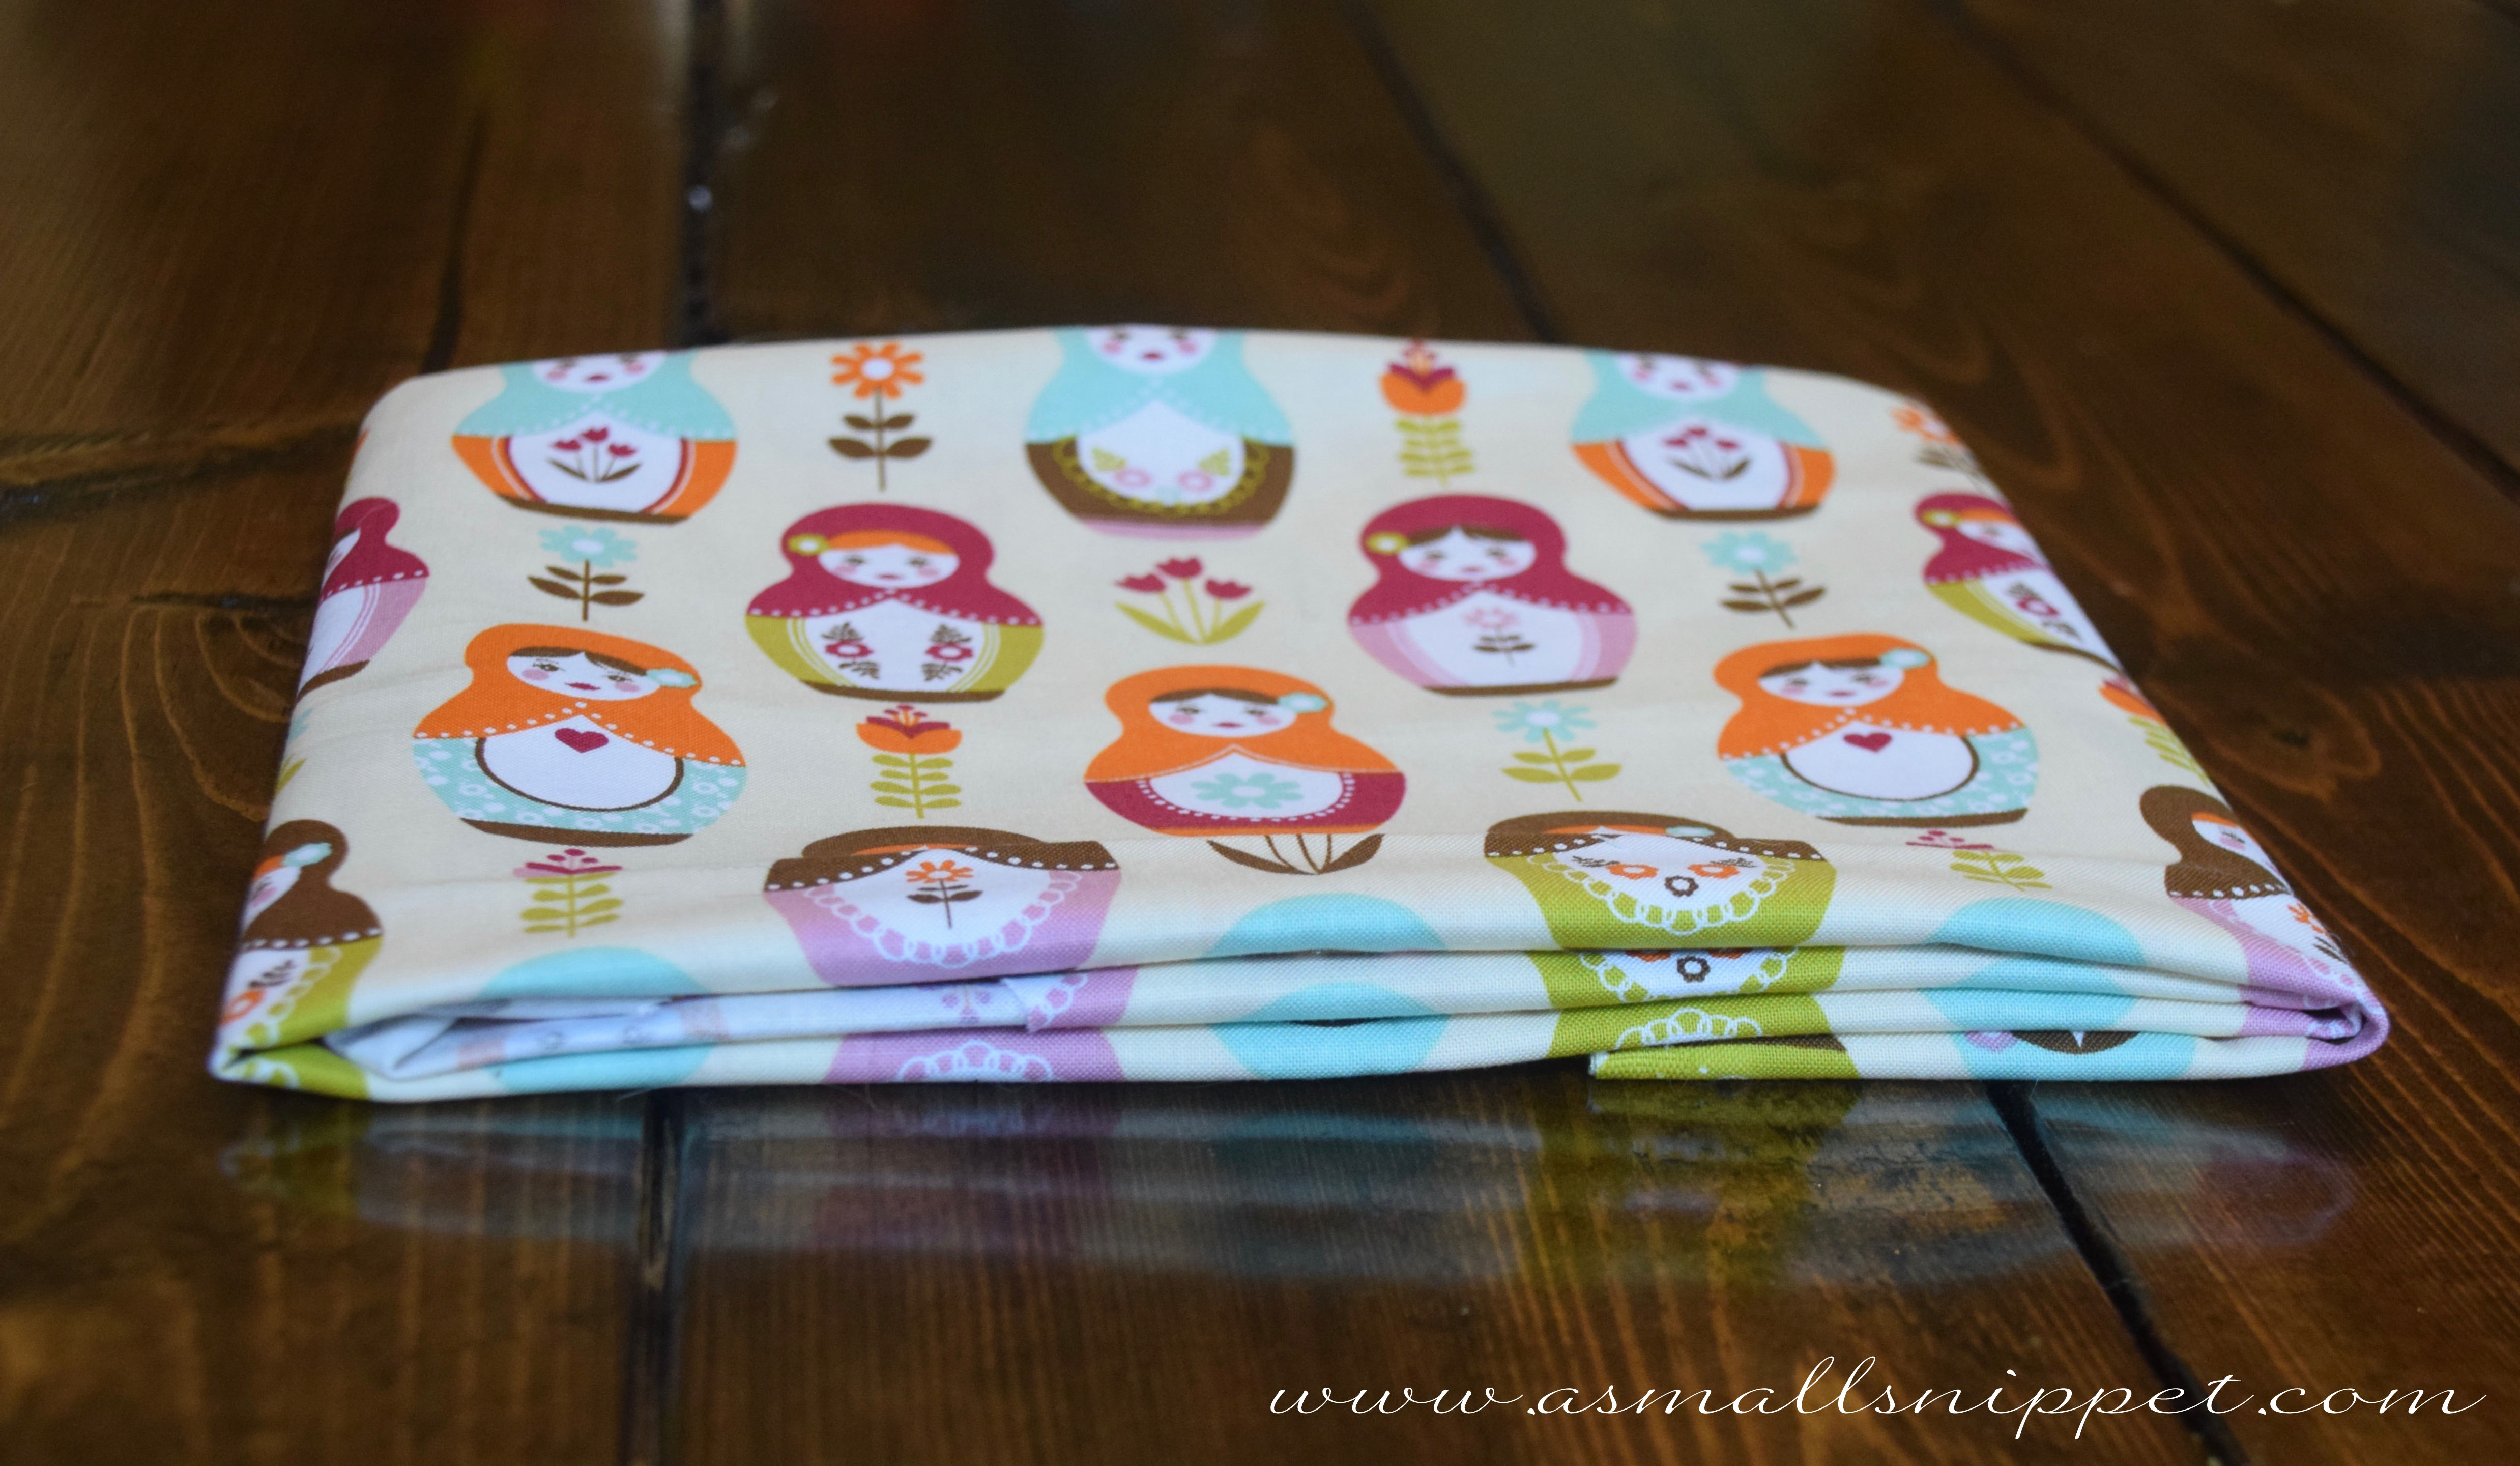
slide your template out, then stack them up!  because each piece of fabric is a different size to begin with, and some styles of fabric are thicker than others, they will not look perfect, but because they are all relatively the same width and height, they stack nicely:DSC_021

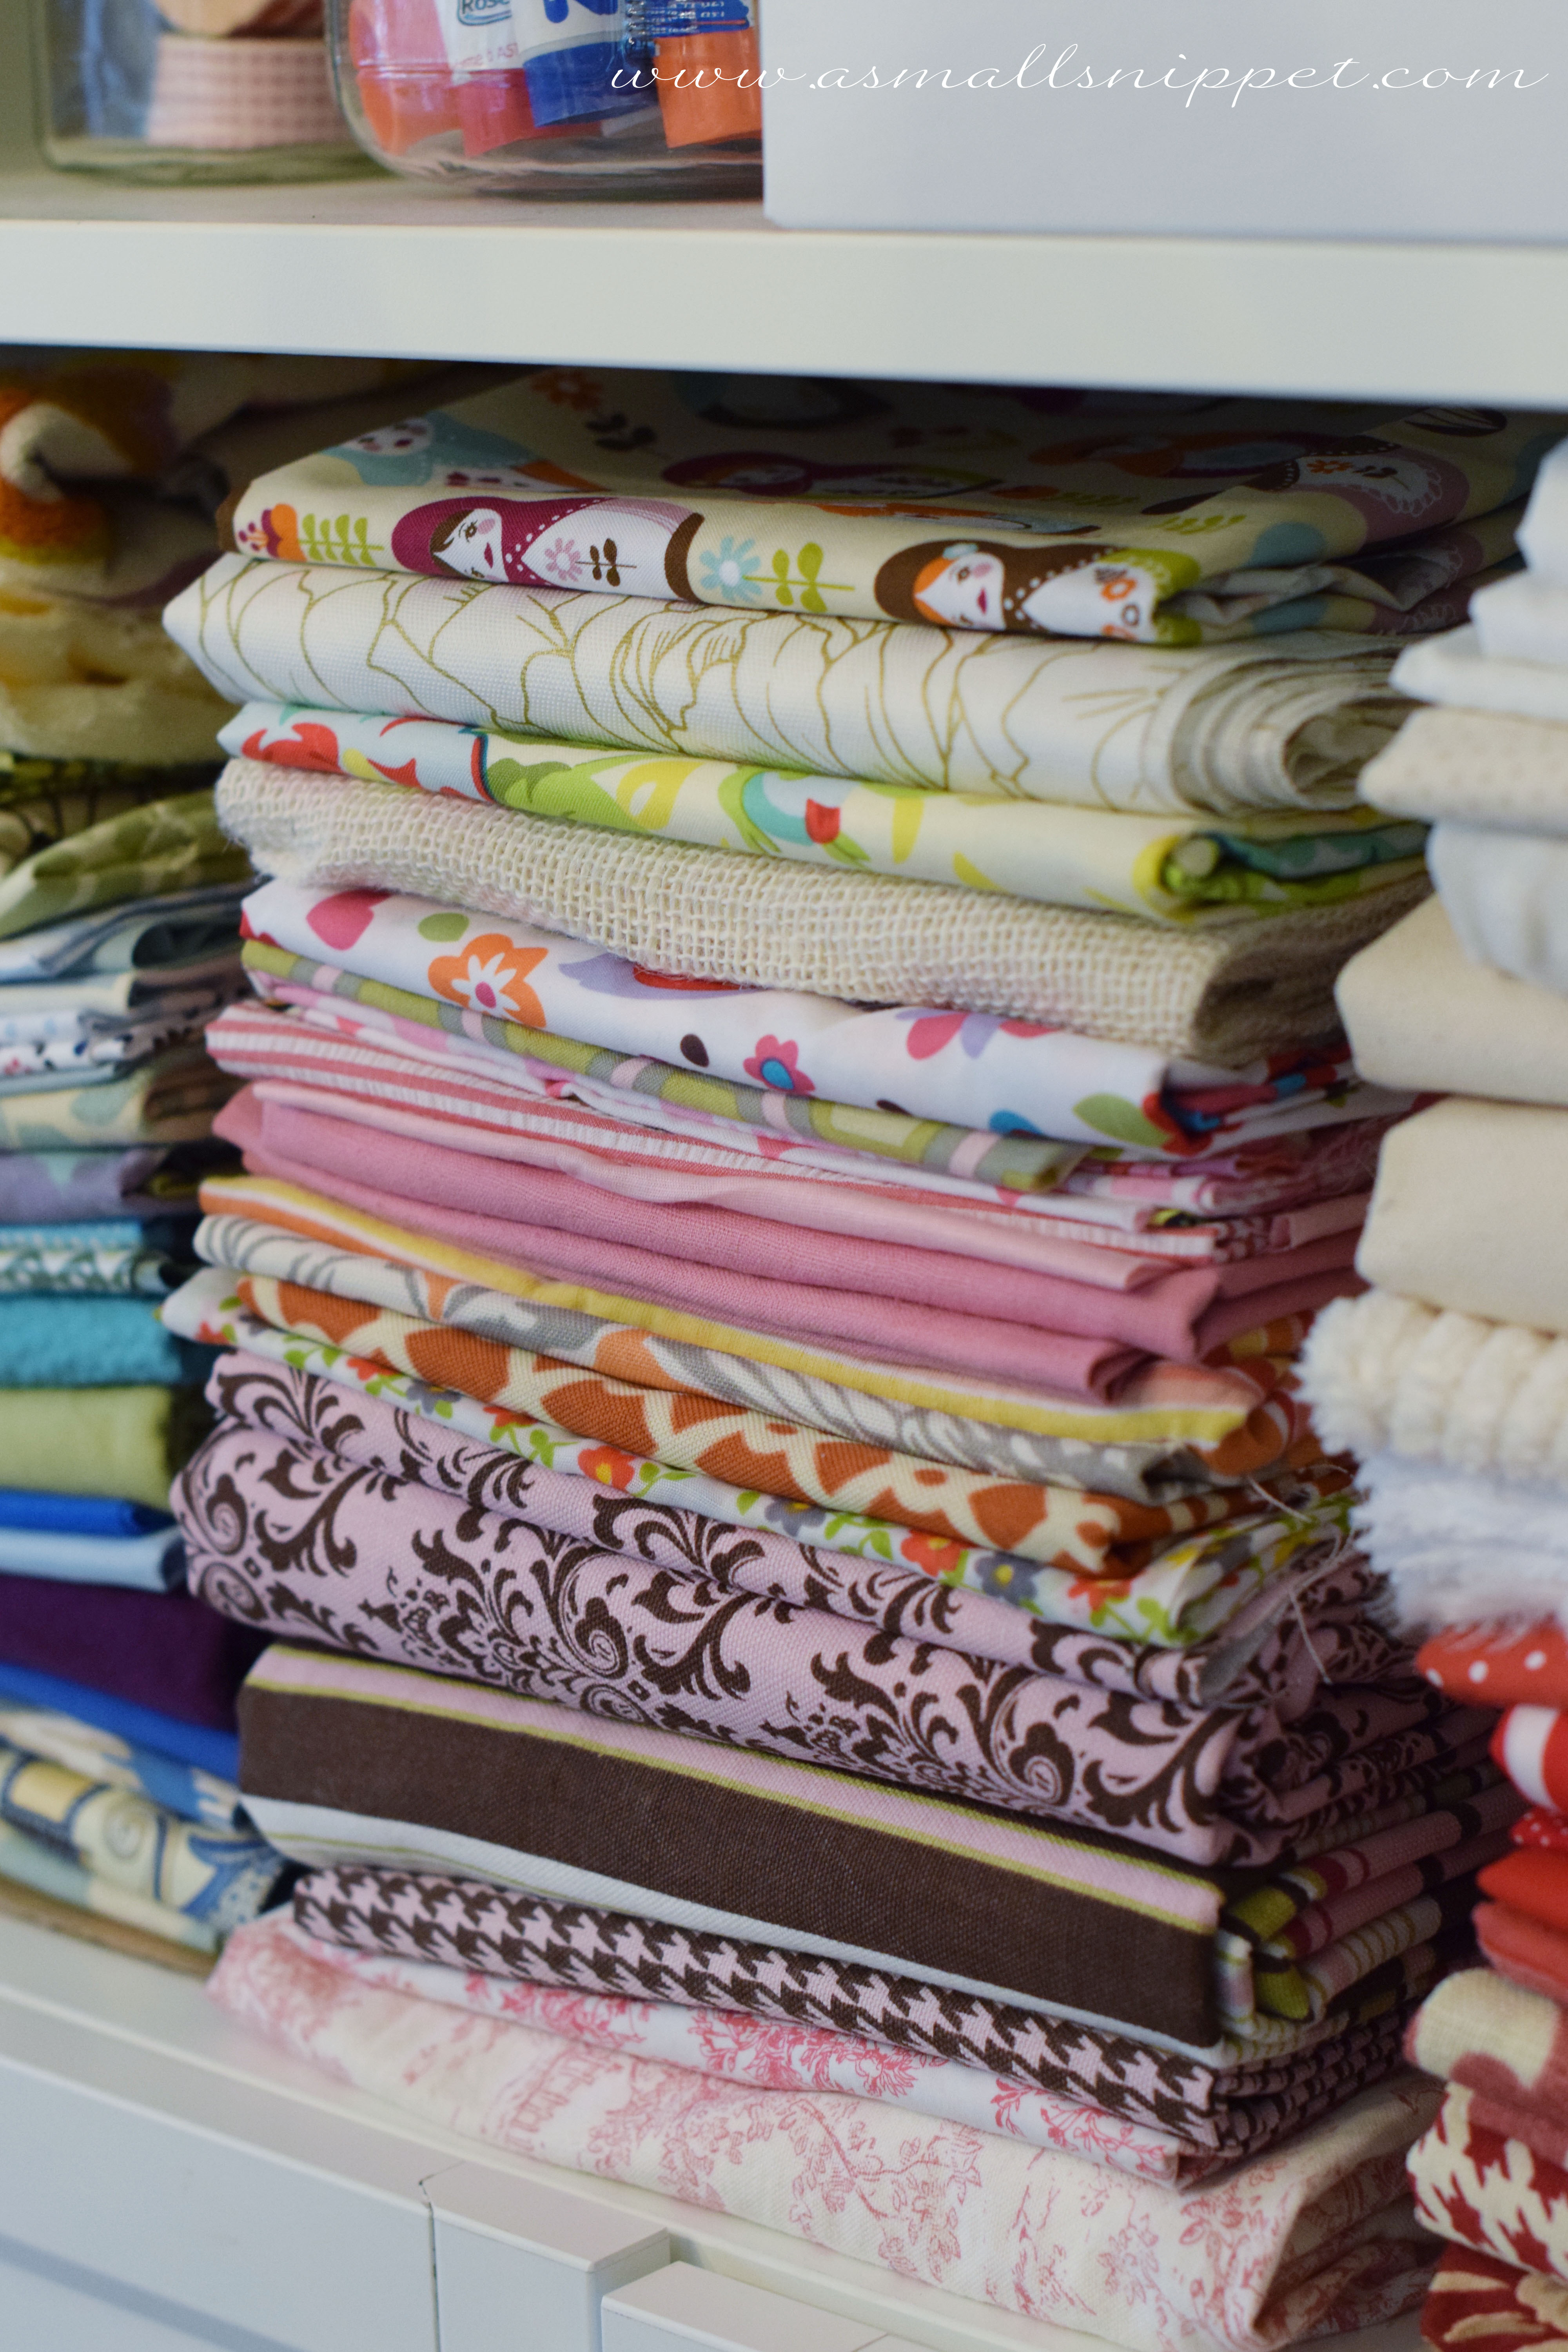
i keep my template on the bottom of one of my stacks so that i always have it on hand to refold if needed:DSC_022

having my fabric organized and out in the open has been a game-changer for me!

aside from my fabric always being a mess, my ribbon storage in the past has completely driven me crazy.  i used to have them stored in a big plastic container in my garage, and as hard as i tried, they would just end up all tangled and bunched up.  i just couldn’t ever figure out a good system for them.  and therefore, i never ended up using my ribbons, because they were hard to access.  but i saw this idea, and knew that it was the perfect solution:

DSC_003

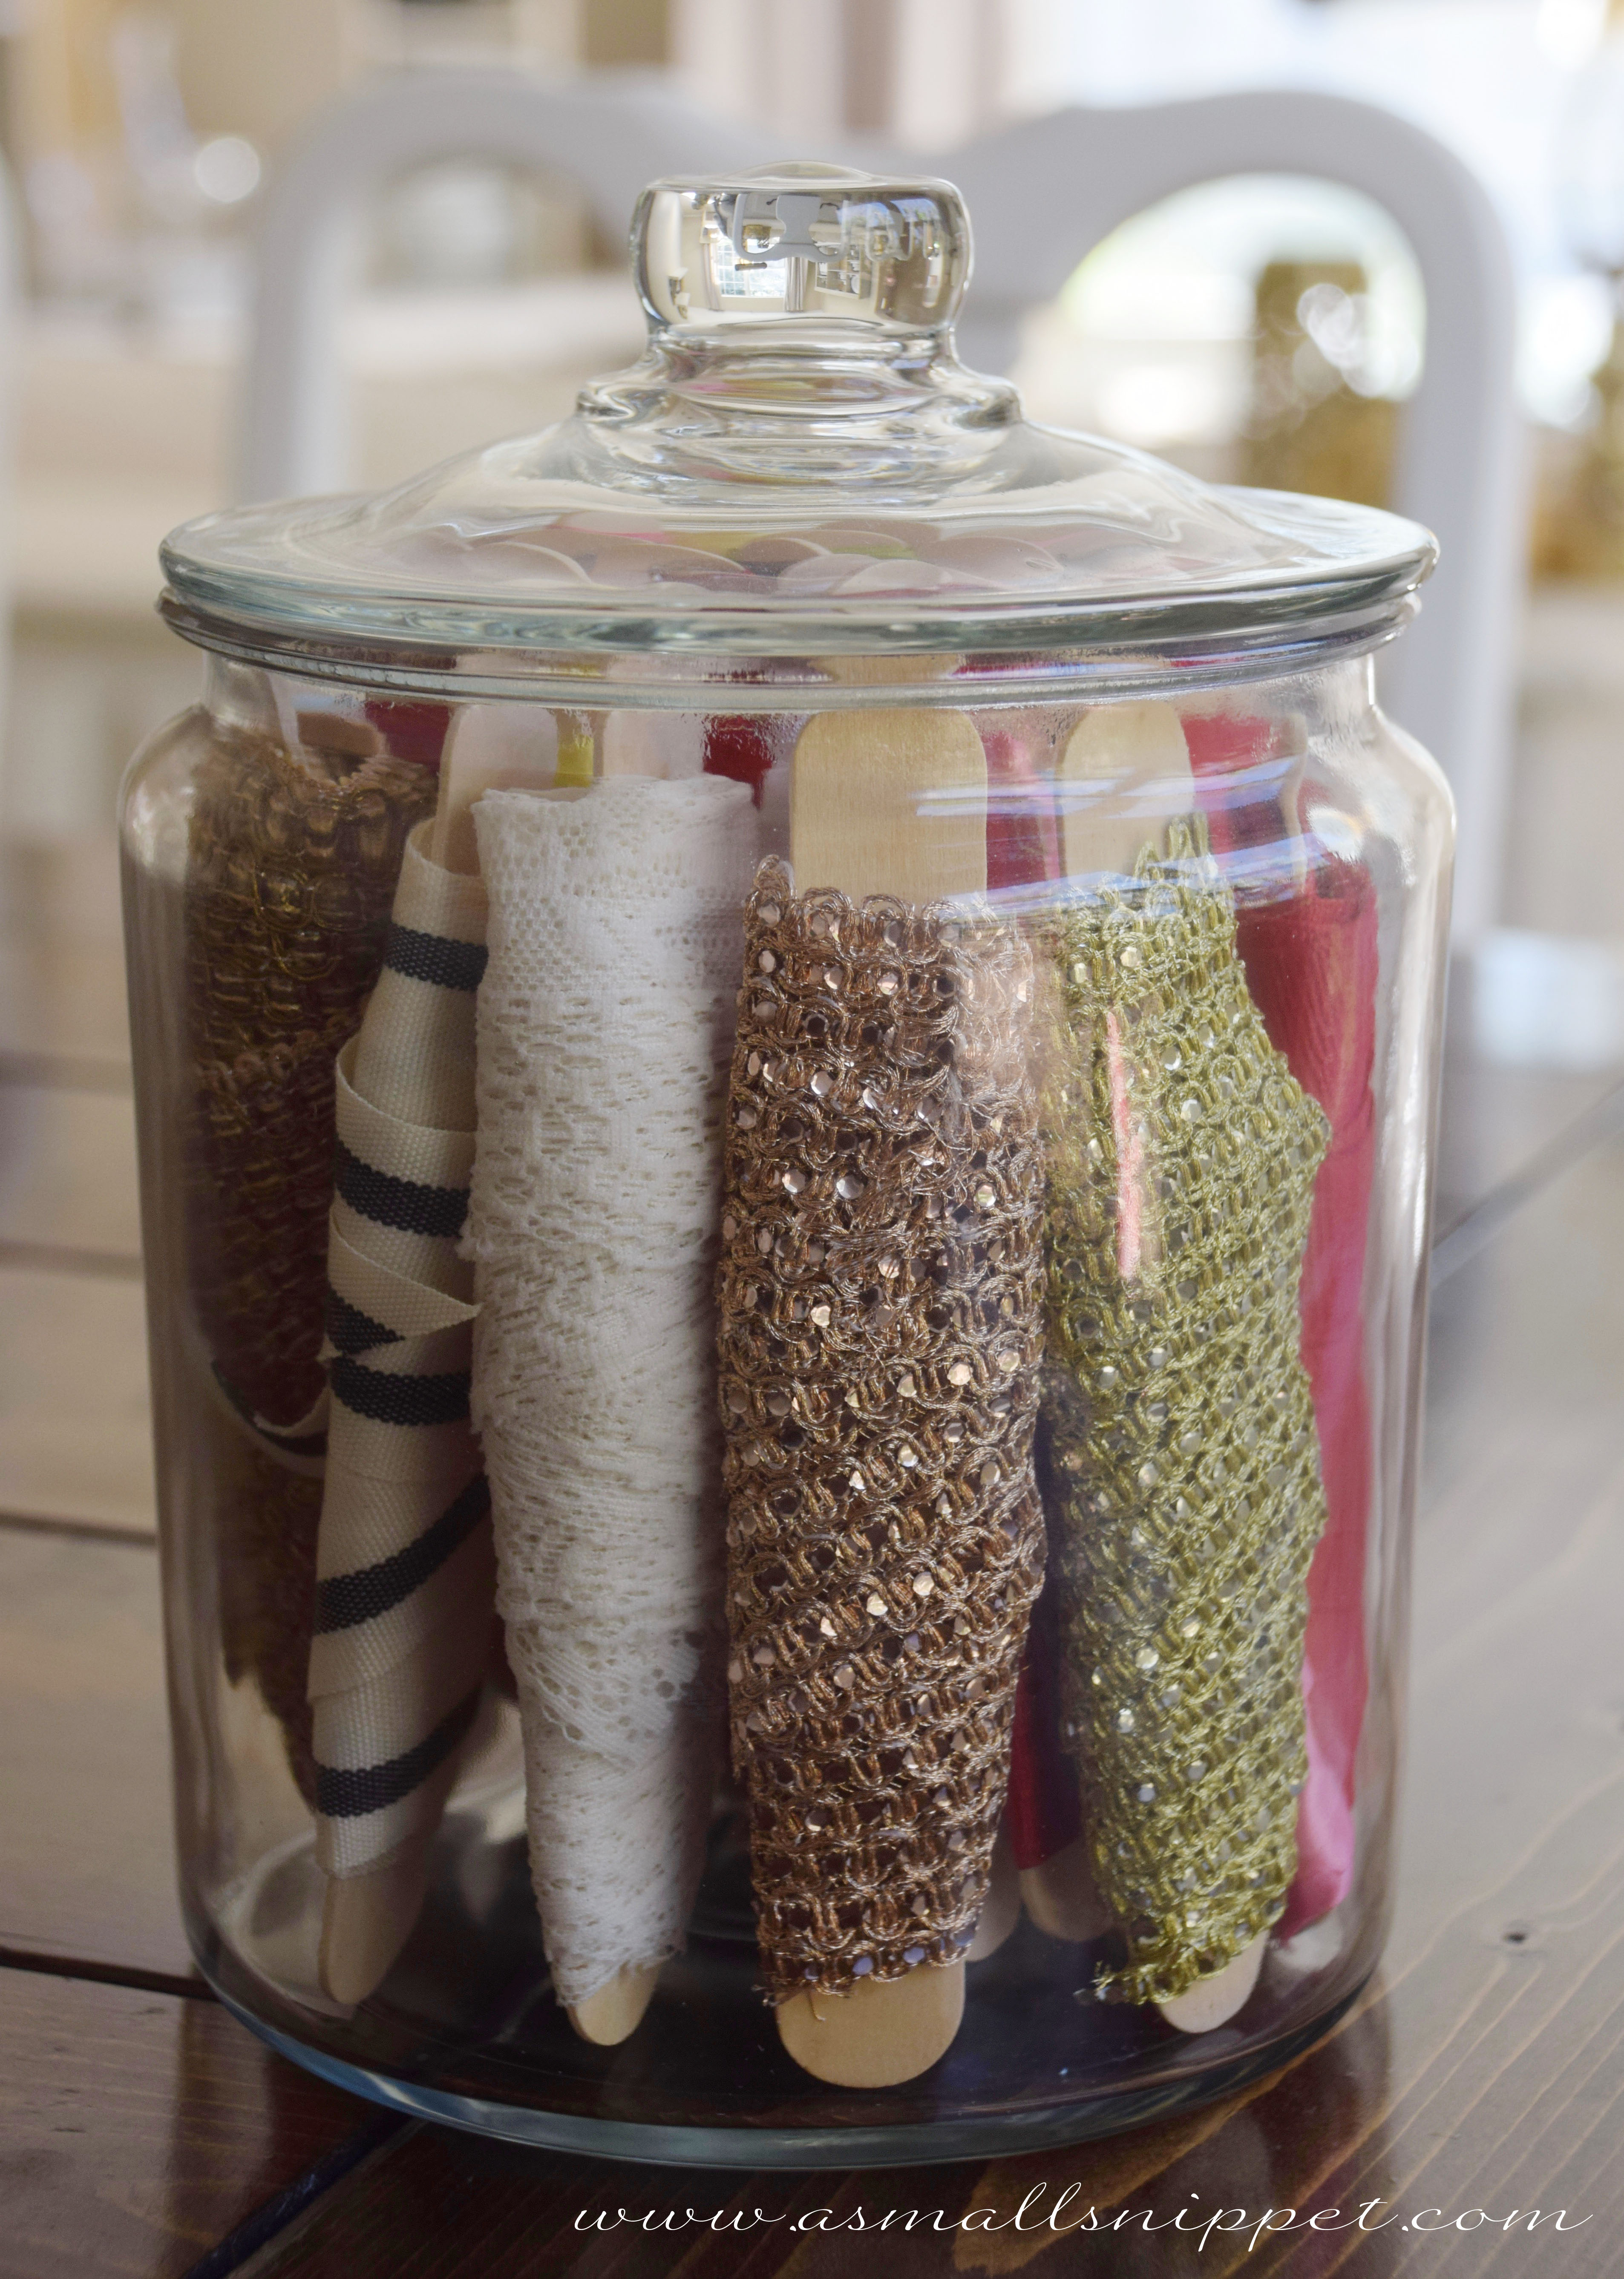
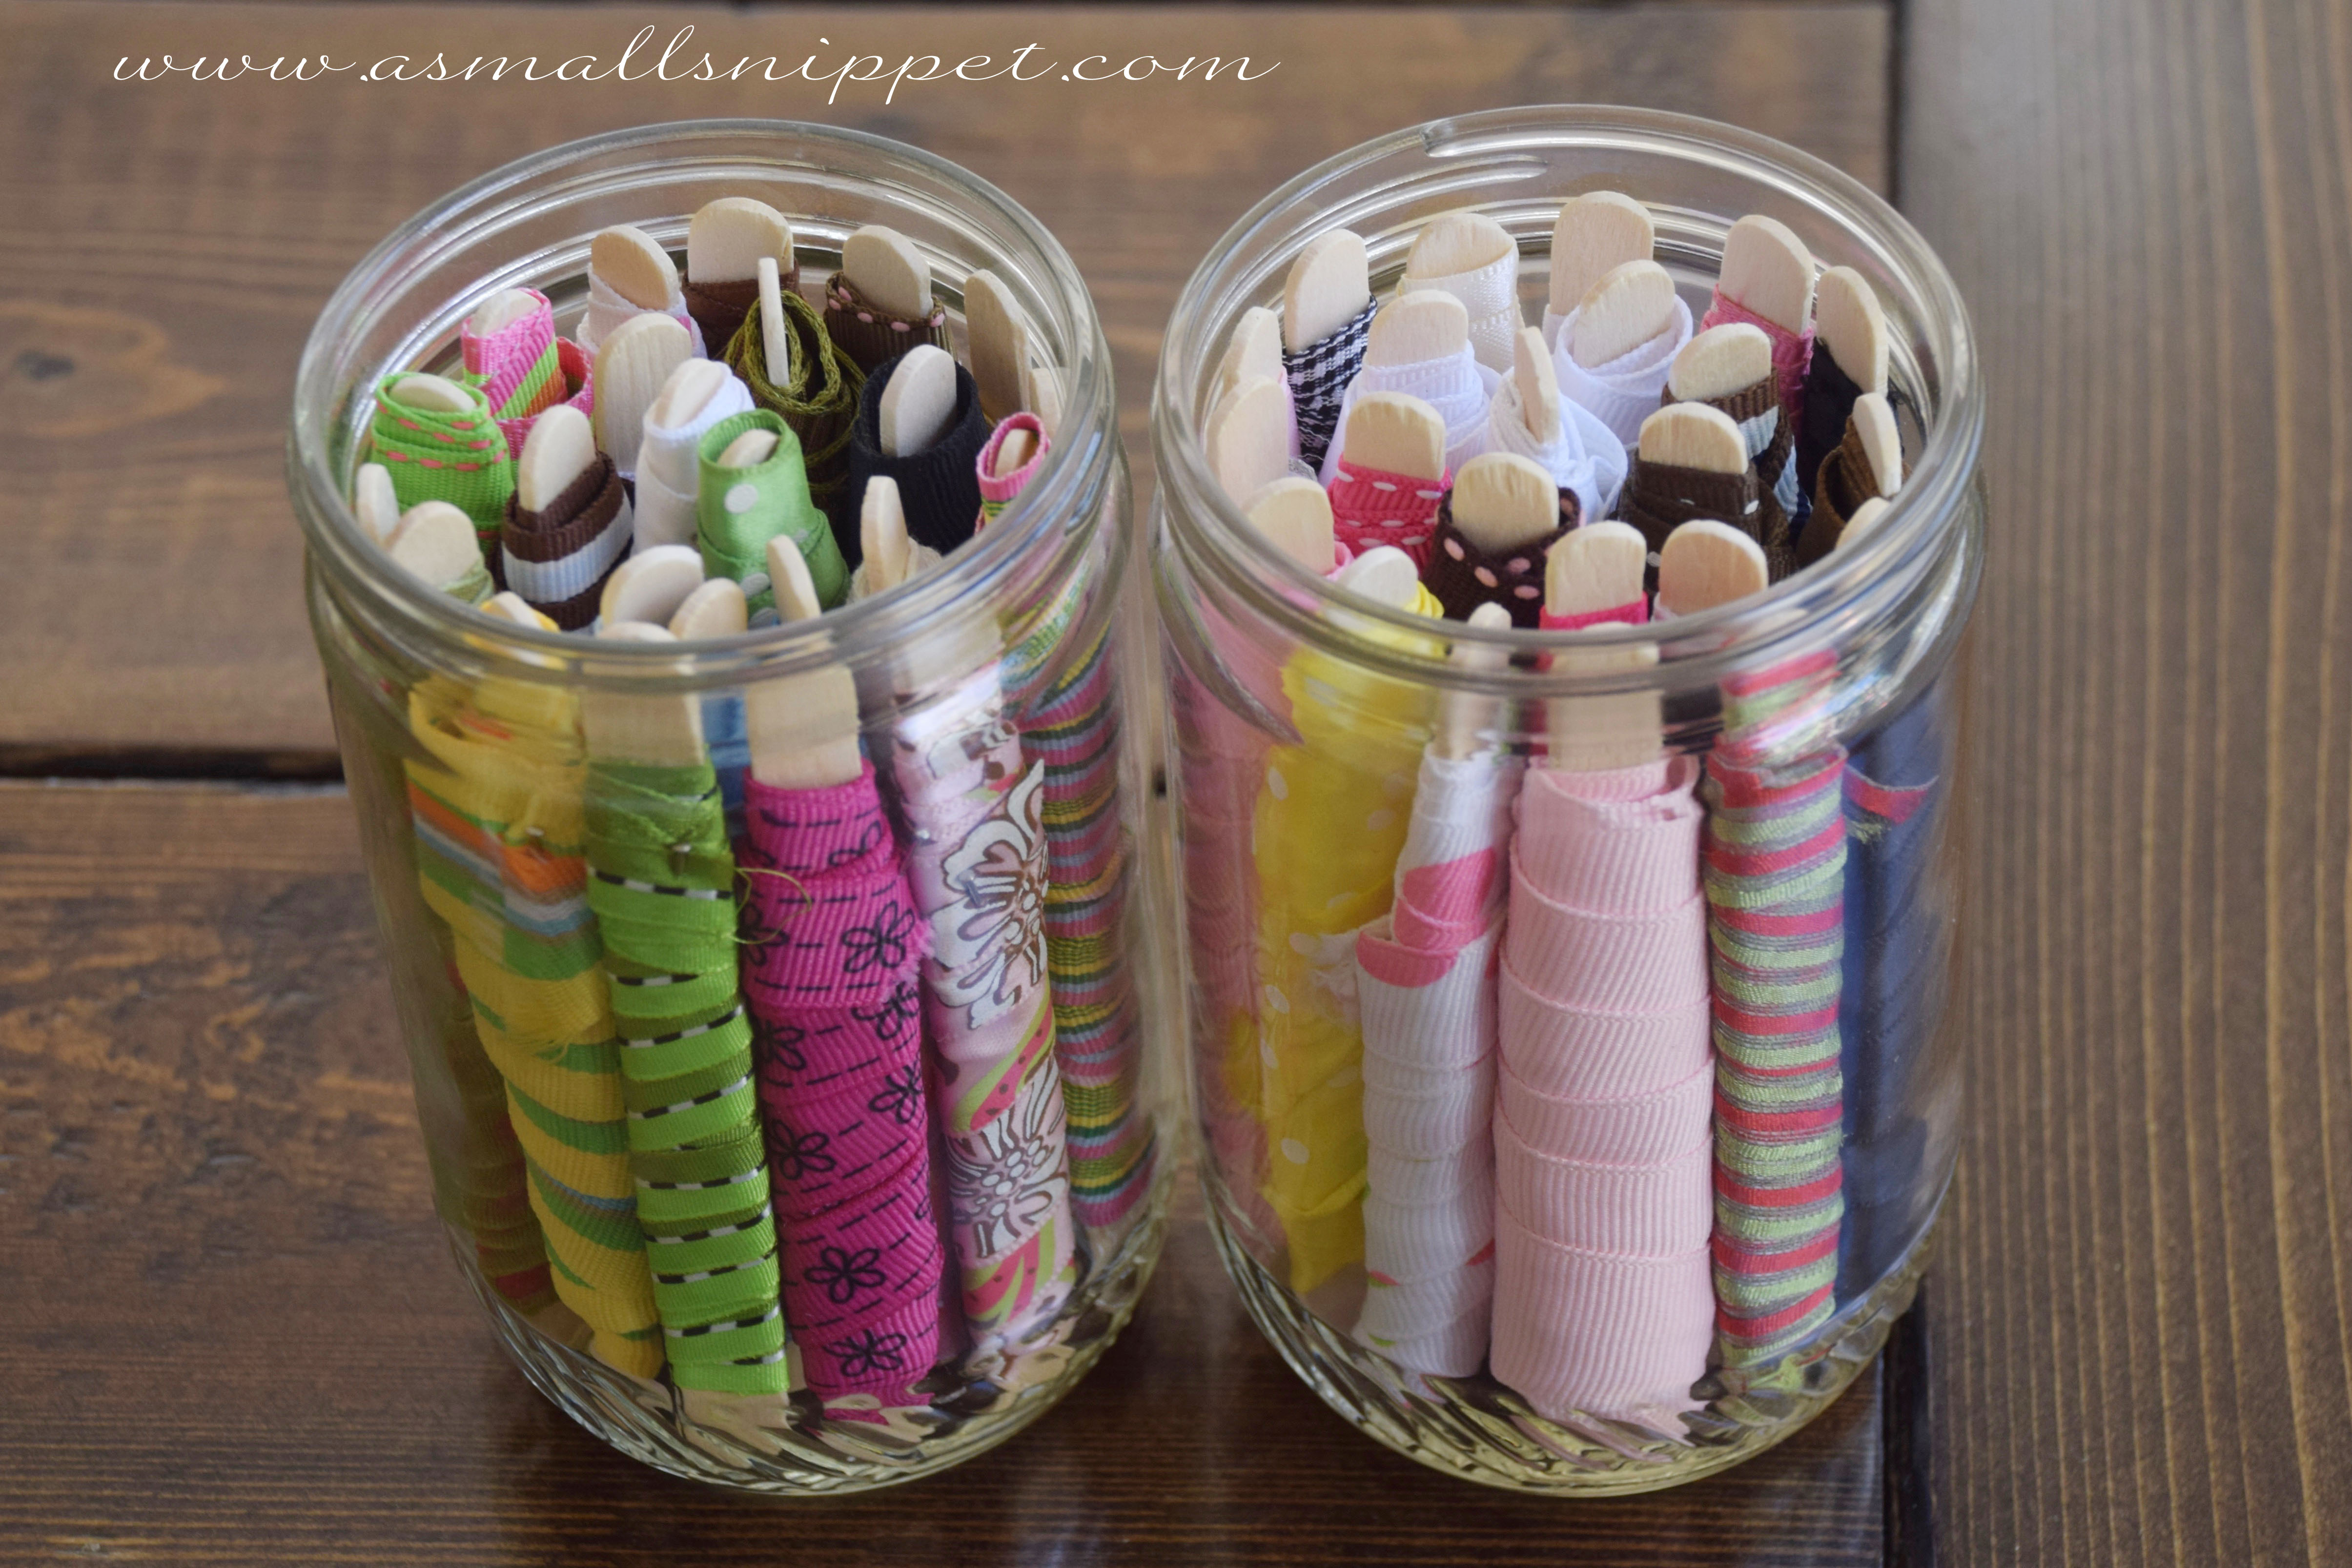
all i did was wrap each individual ribbon around a wooden popsicle stick, and when i got to the end, i used a straight pin to hold the end in place.  i used large sticks for my wider ribbons:

DSC_004

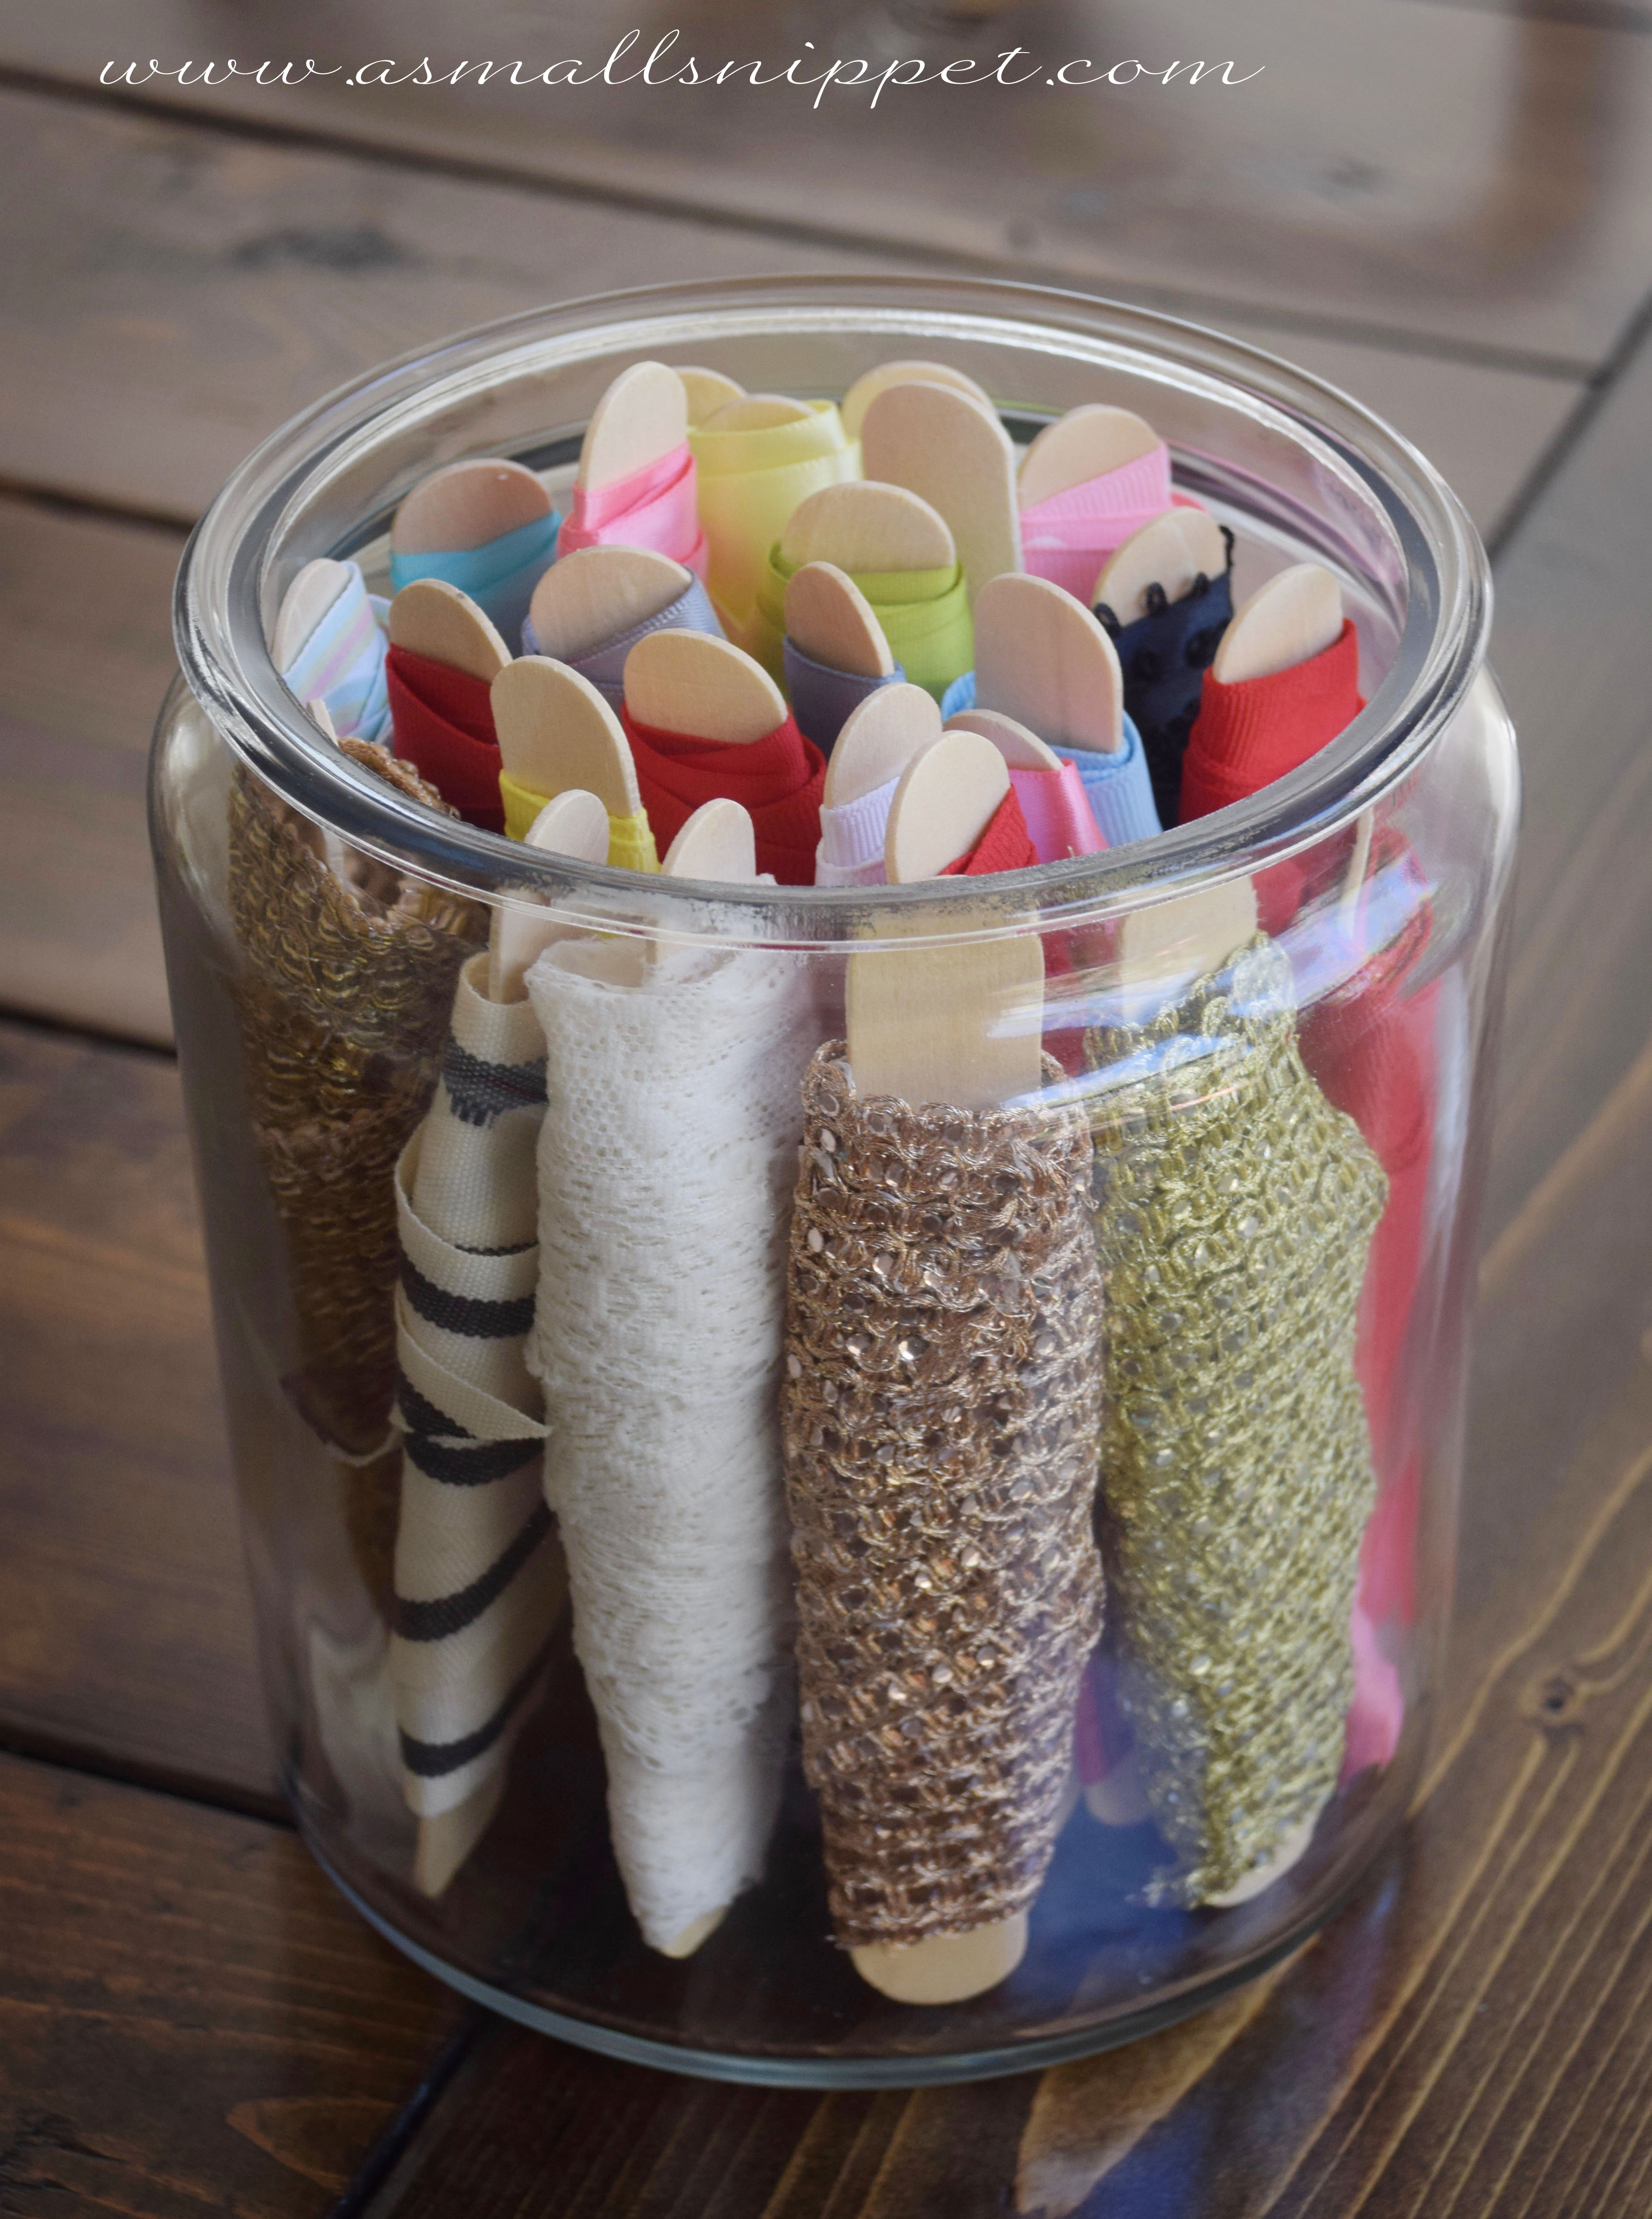
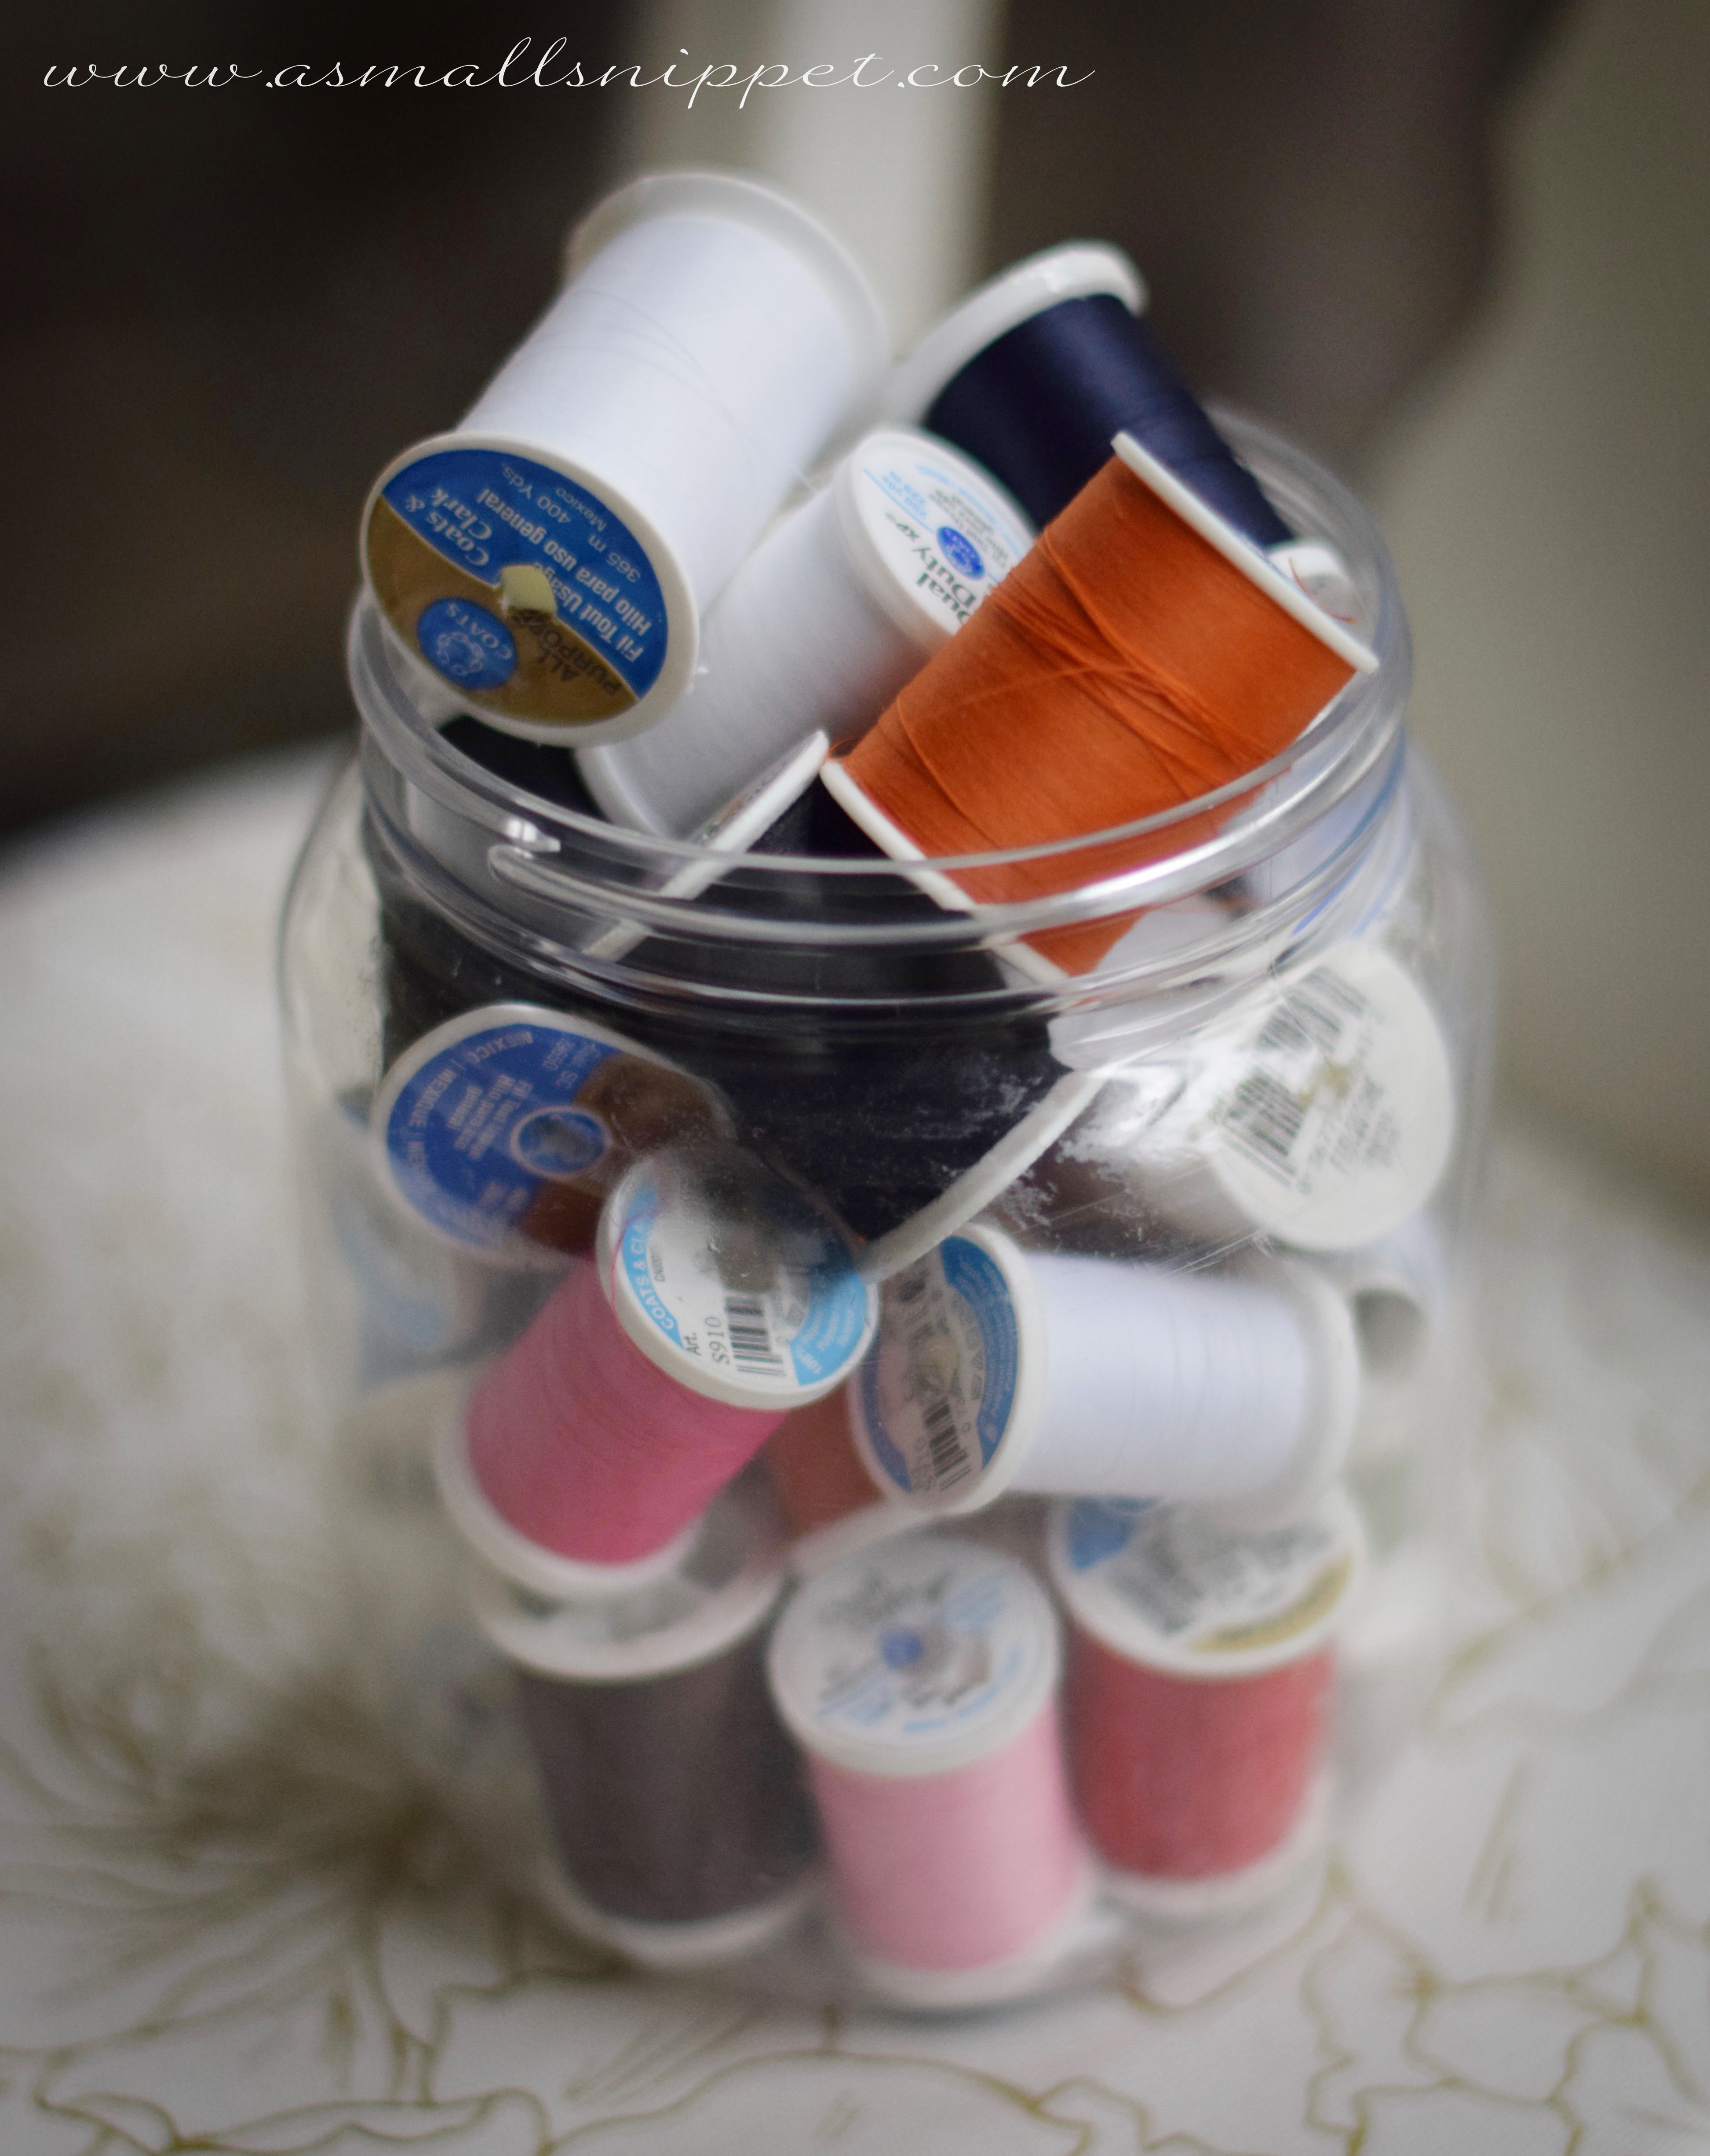
and regular sticks for the skinnier ribbons.  also, i am a hoarder of glass jars, and have a cabinet full until i can find a use for them, so the smaller ribbons are stored in old glass peanut butter jars:

DSC_005

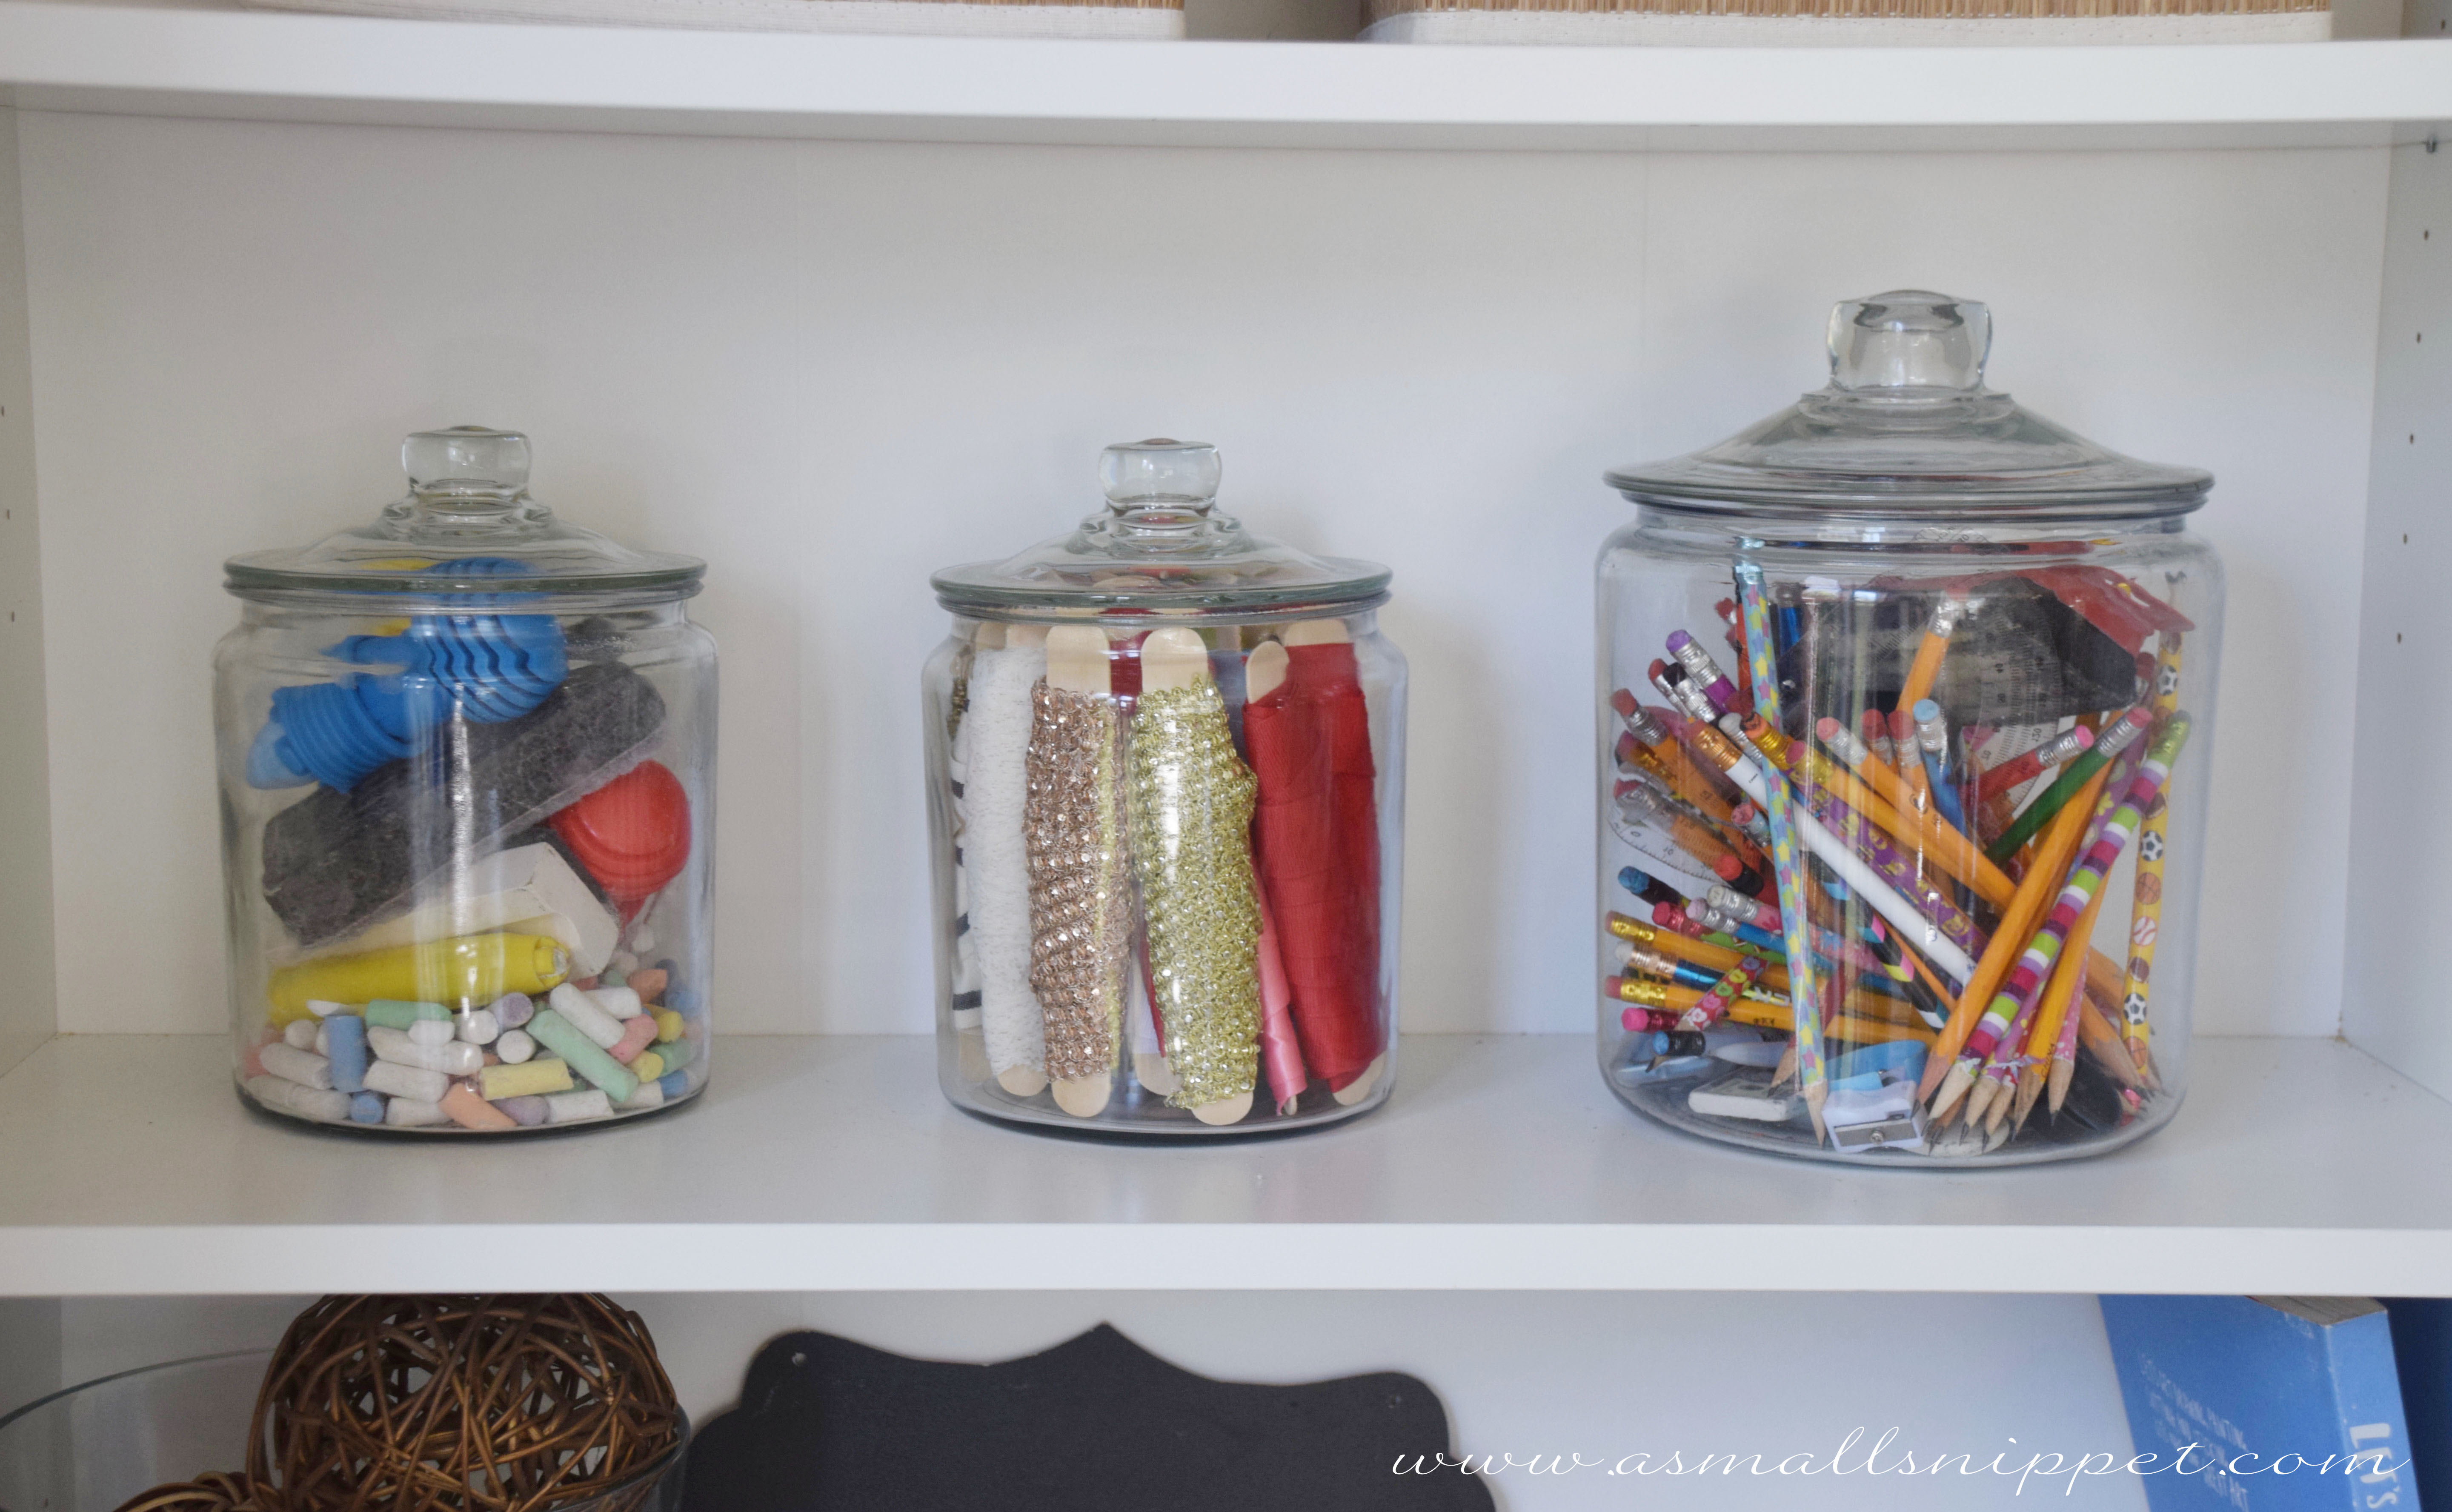
the larger ribbons are stored in these jars: Anchor Hocking 1-Gallon Glass Jar.  (although its cheaper to buy the larger ones in bundles if you need multiple. Anchor Hocking Glass Jar (Set of 2), 1 gallon). i bought 2 of the gallon sized and 4 of these half gallon sized: Anchor Hocking 1/2-Gallon Glass Jar.  they are super sturdy jars, made of thick glass, which seems less likely to break easily, which is great because my kids are always pulling them on and off the shelves.  the glass lid makes it easy for little hands to lift off and the wide opening is great for easy access to whatever is stored inside.

DSC_0526 copy
DSC_0527 copy

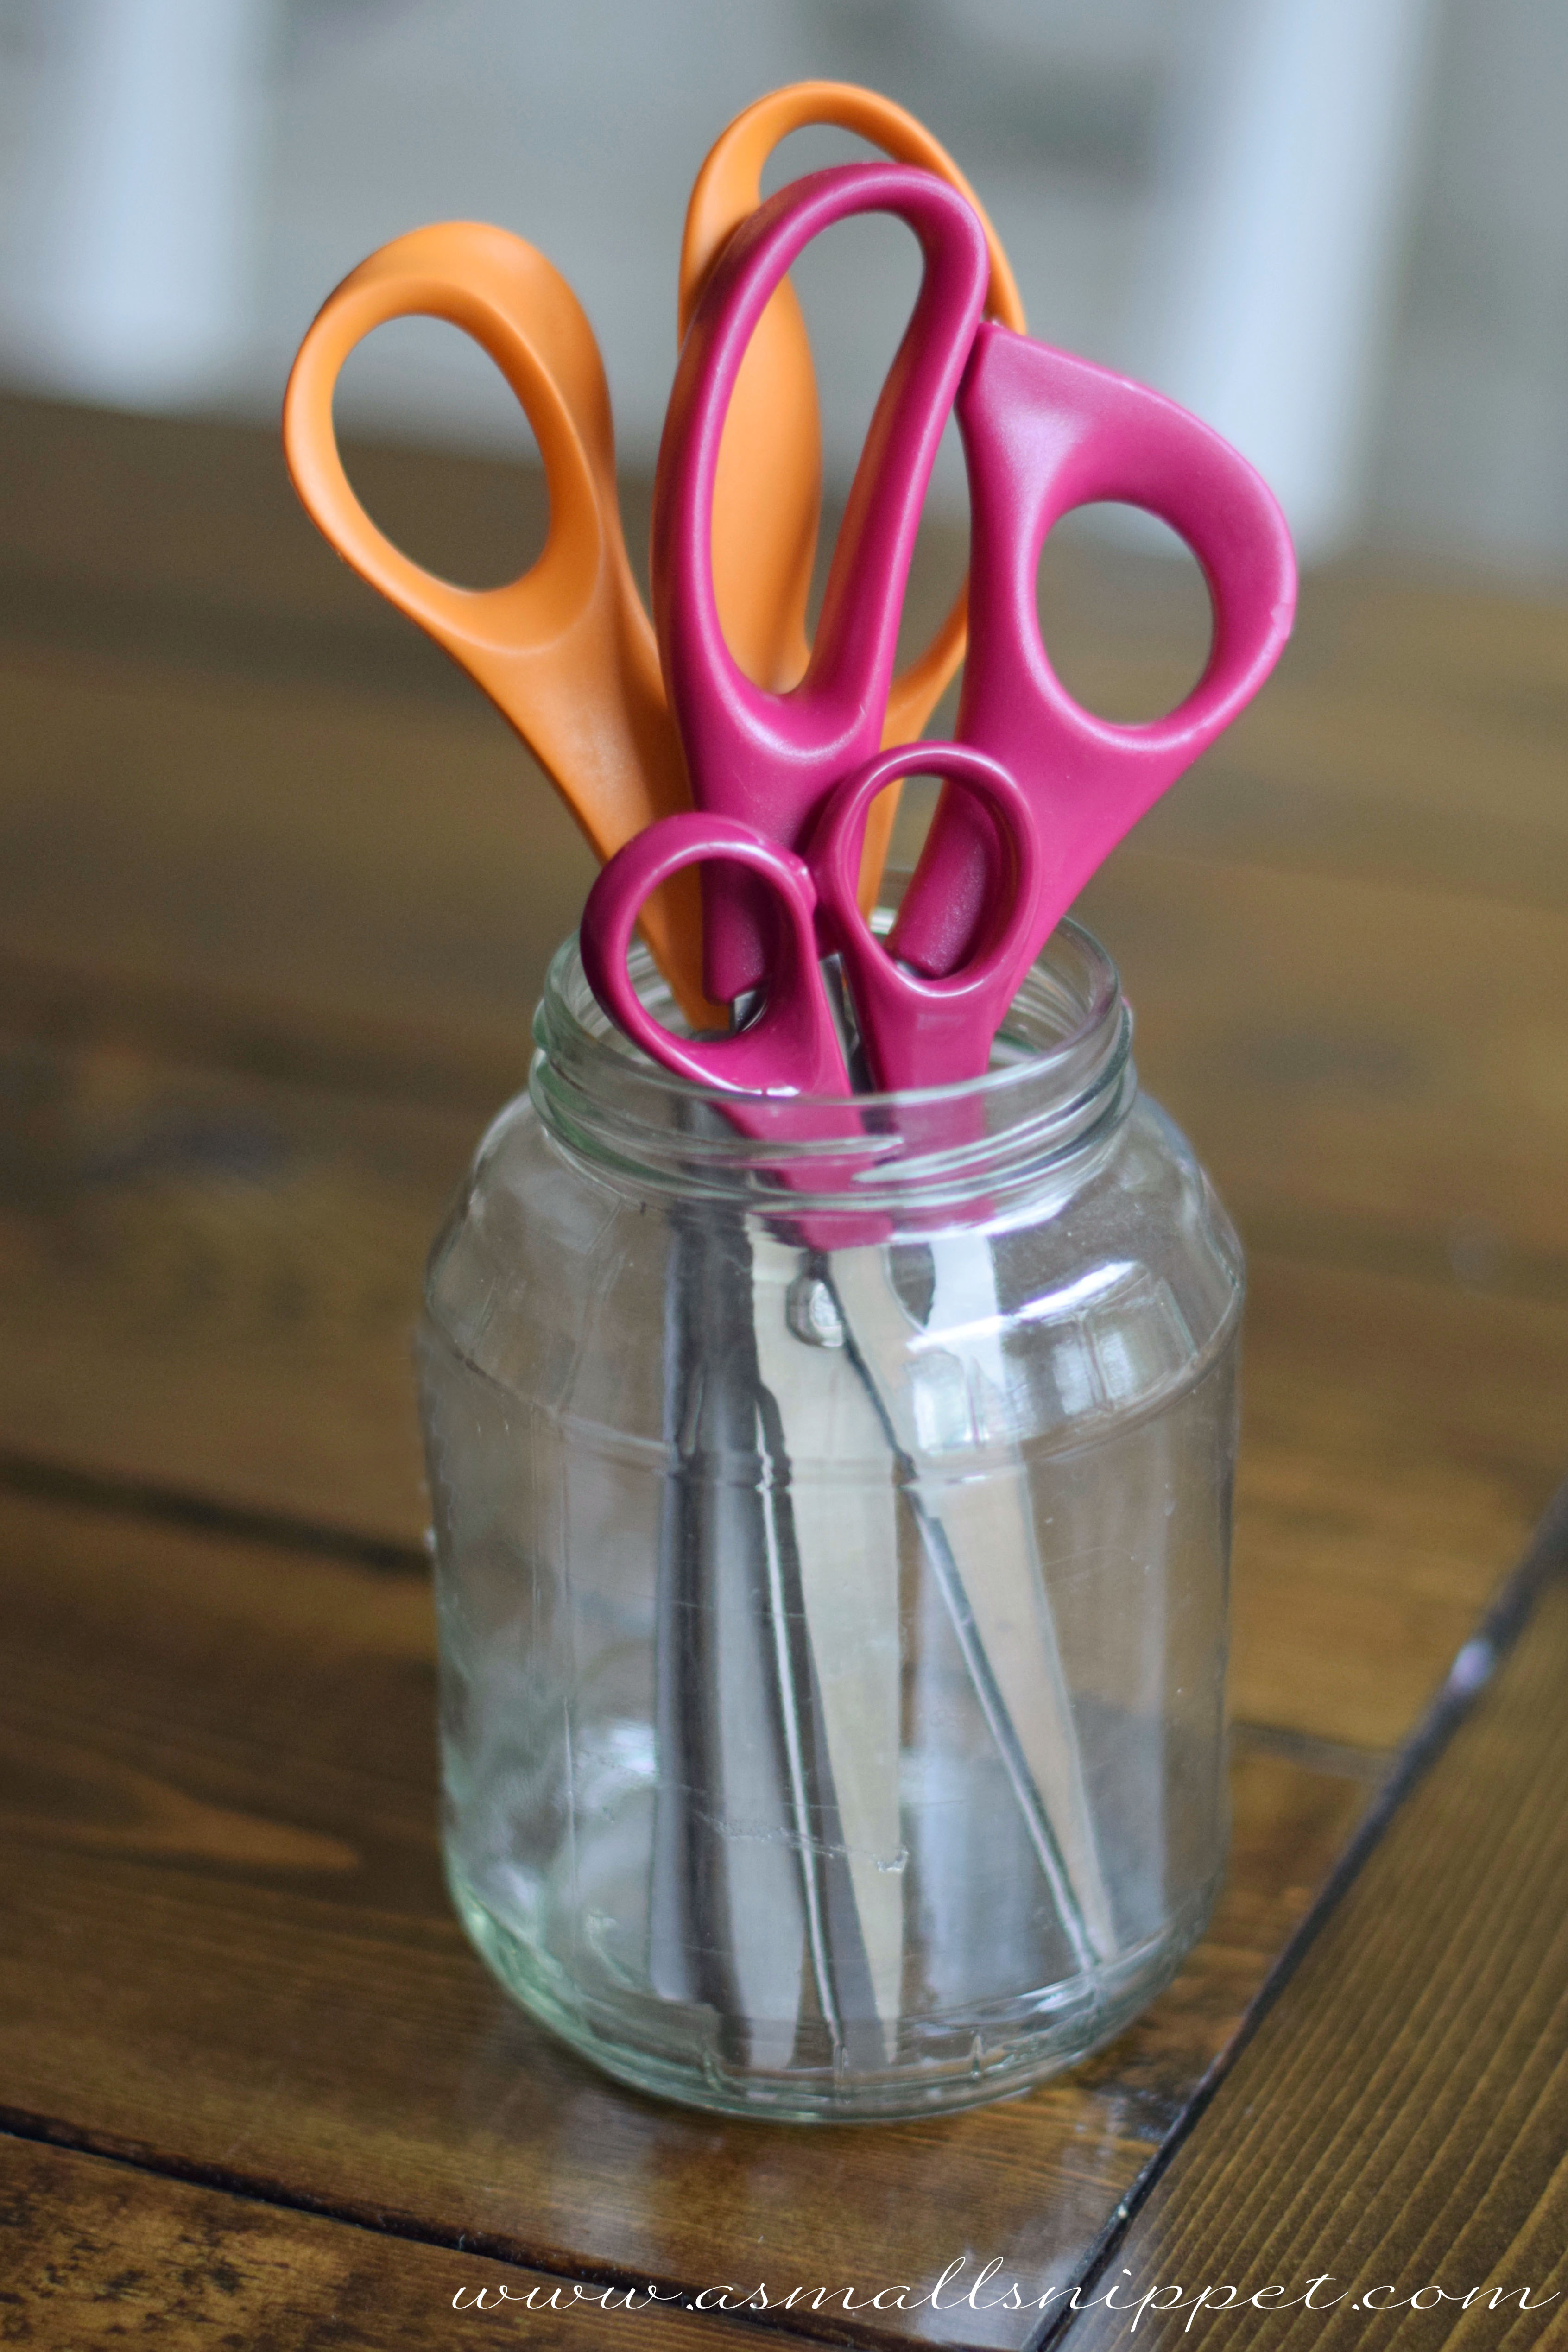
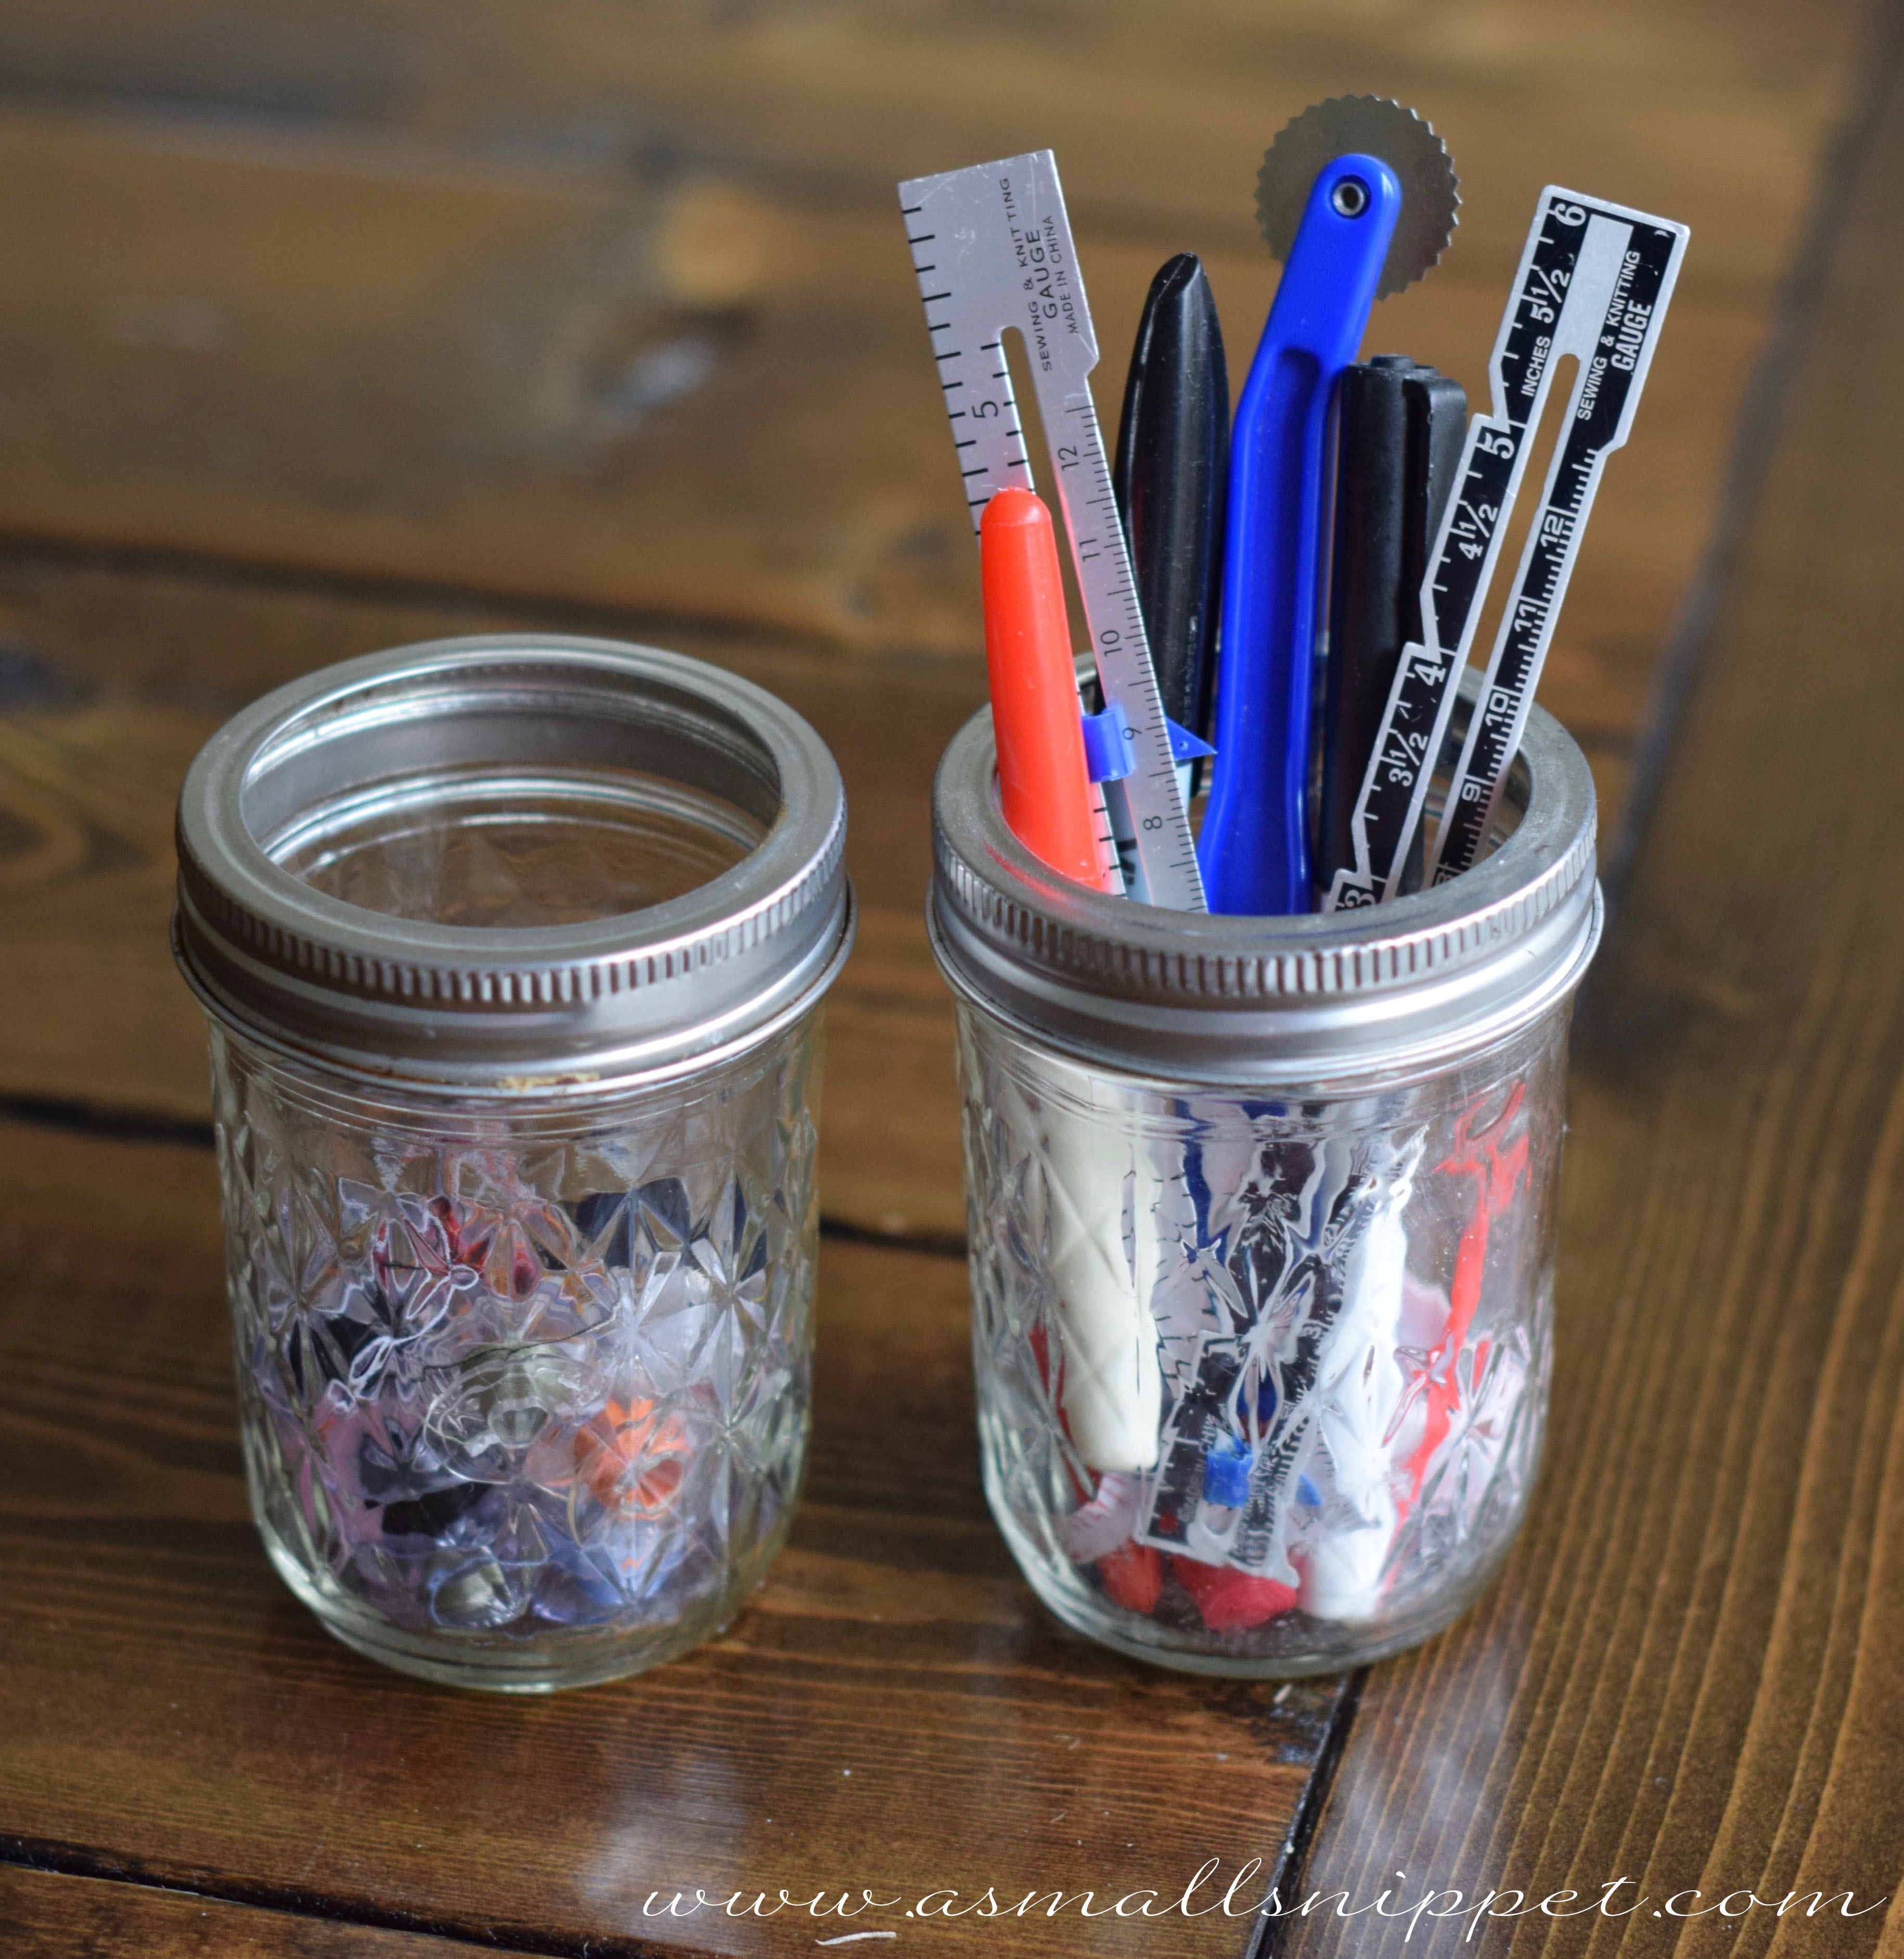
speaking of glass jars, be on the lookout as you are cooking for any jar that might be of use.  most of the ones i’m using on my shelves are those that i’ve pulled out of my pantry!

DSC_0485

DSC_0489 copy

DSC_0491

DSC_0506 copy

DSC_0486 copy

i also bought a few things when we were at IKEA that i thought would be useful to hold items, but also look pretty and decorative at the same time.

these were little planters that are the perfect size for paint brushes, scissors, and hole punches:

DSC_0245

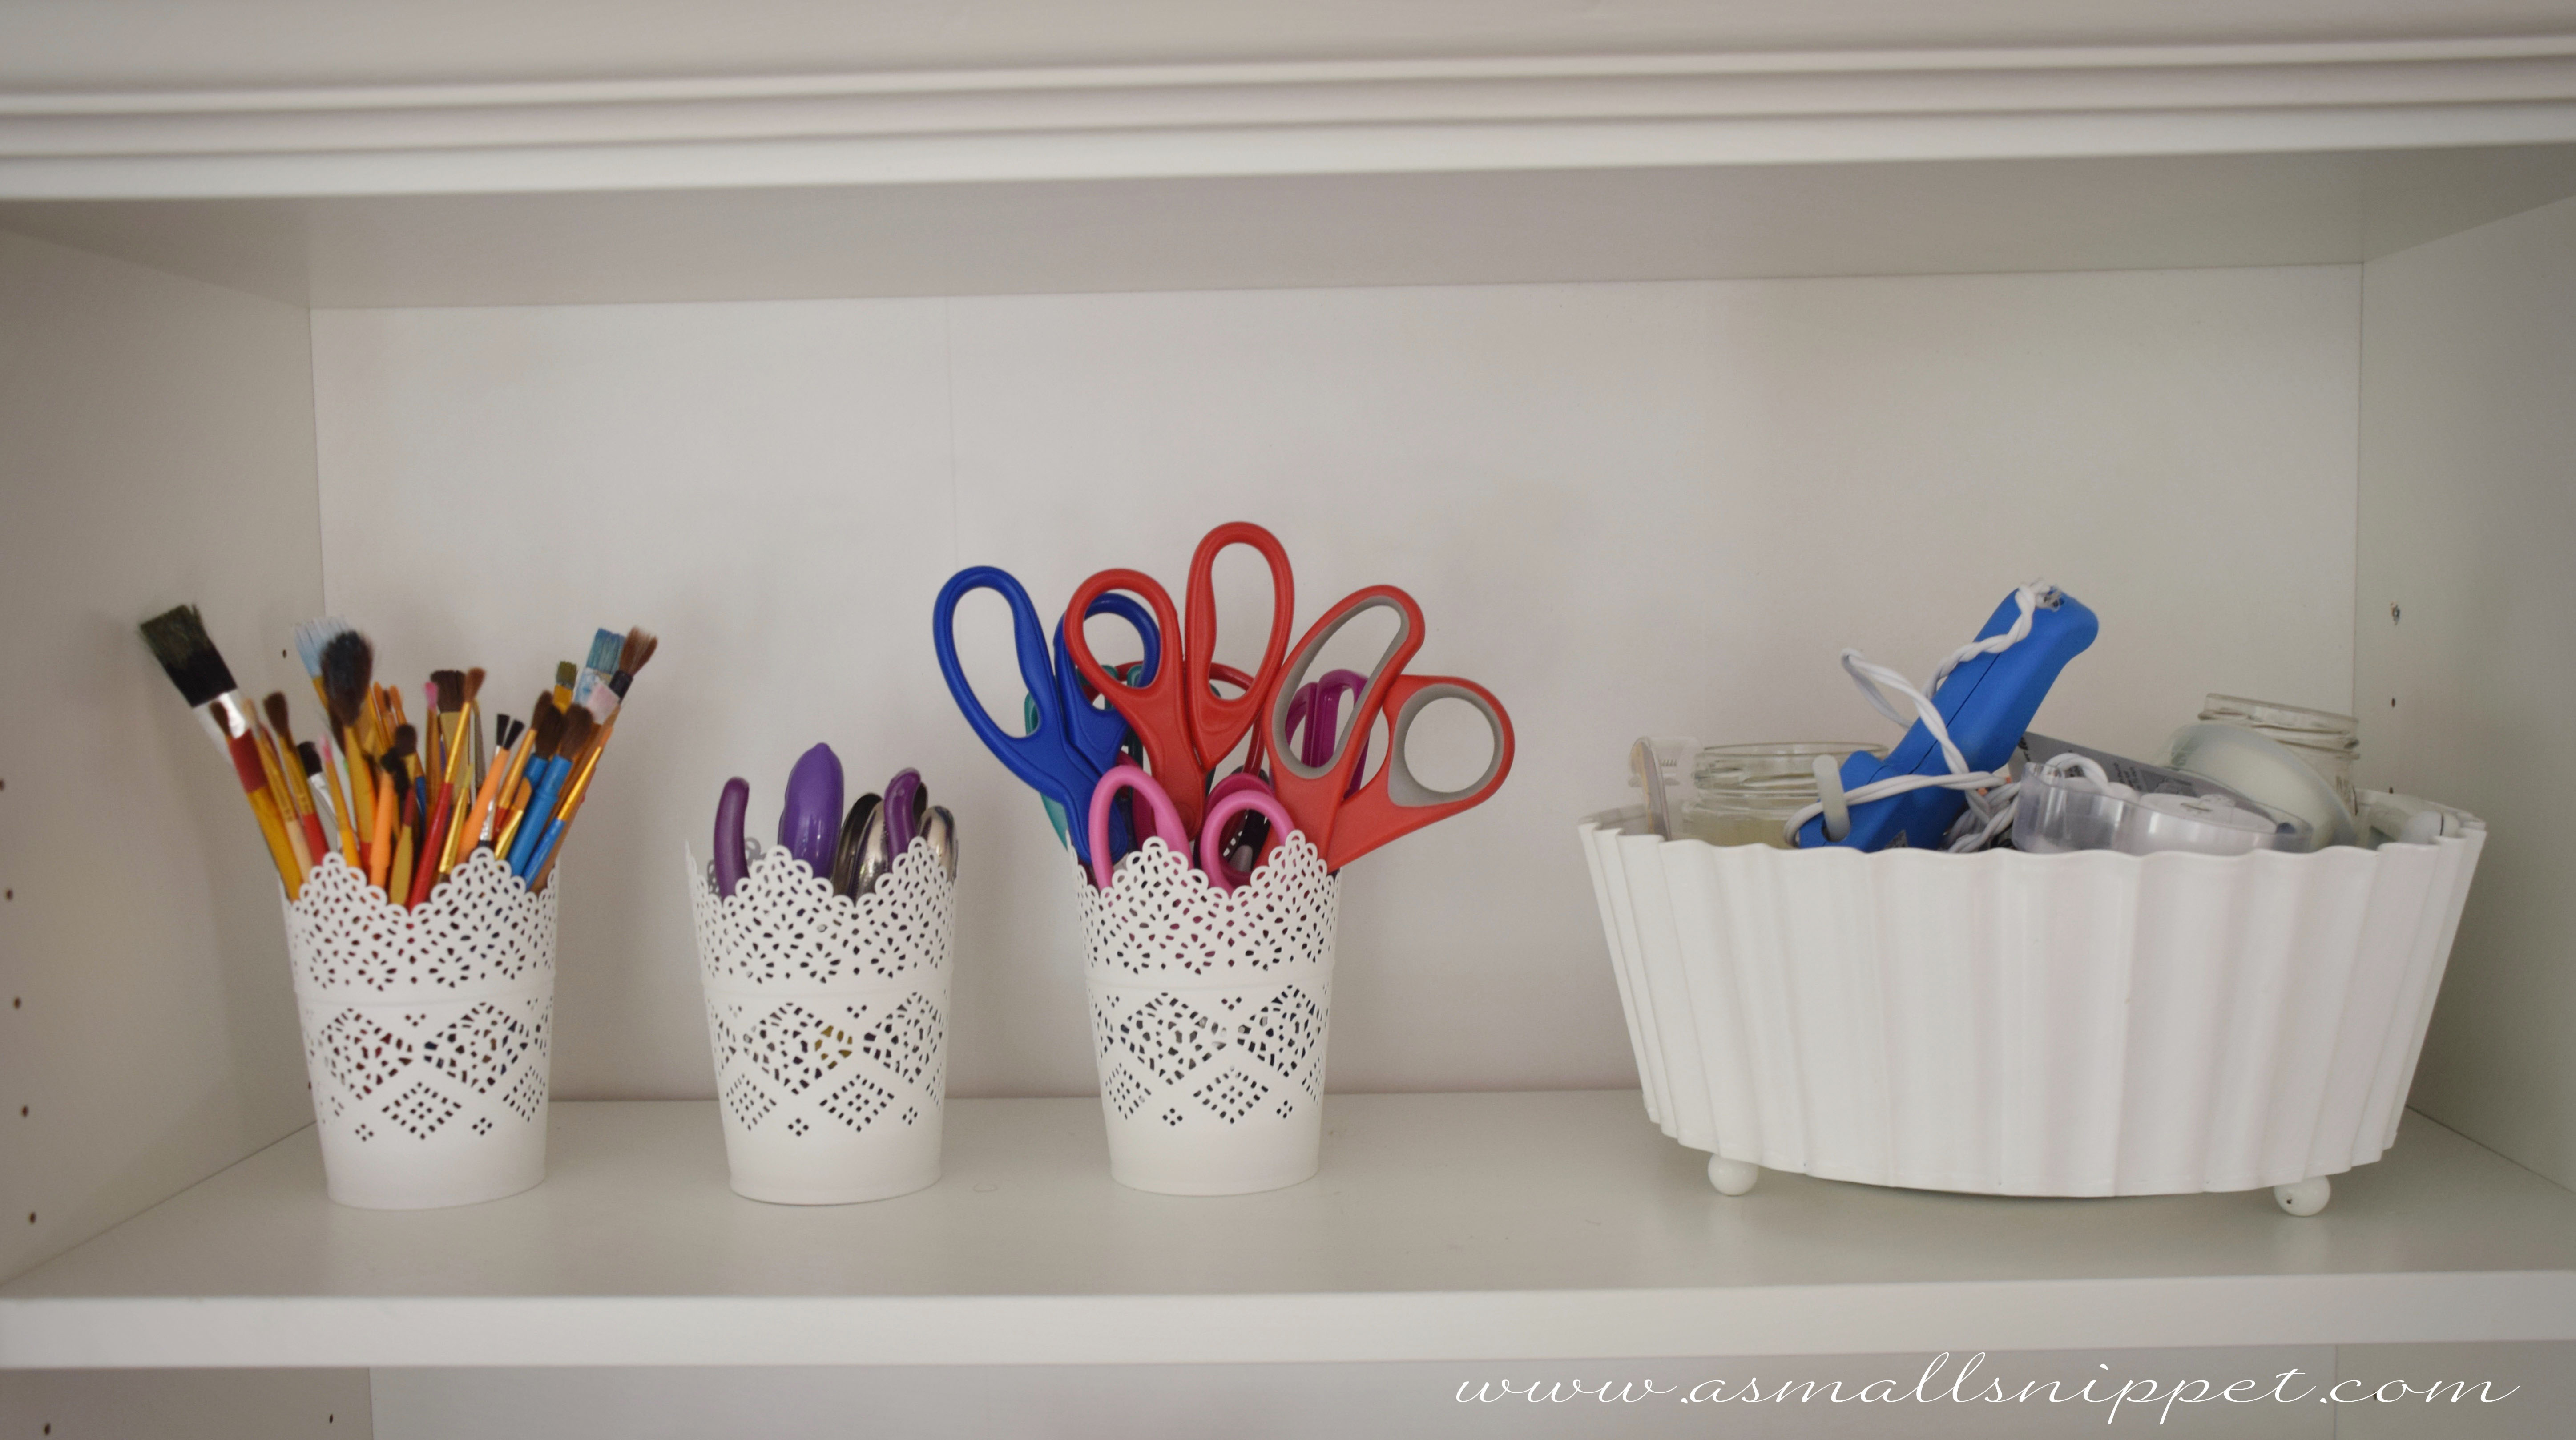
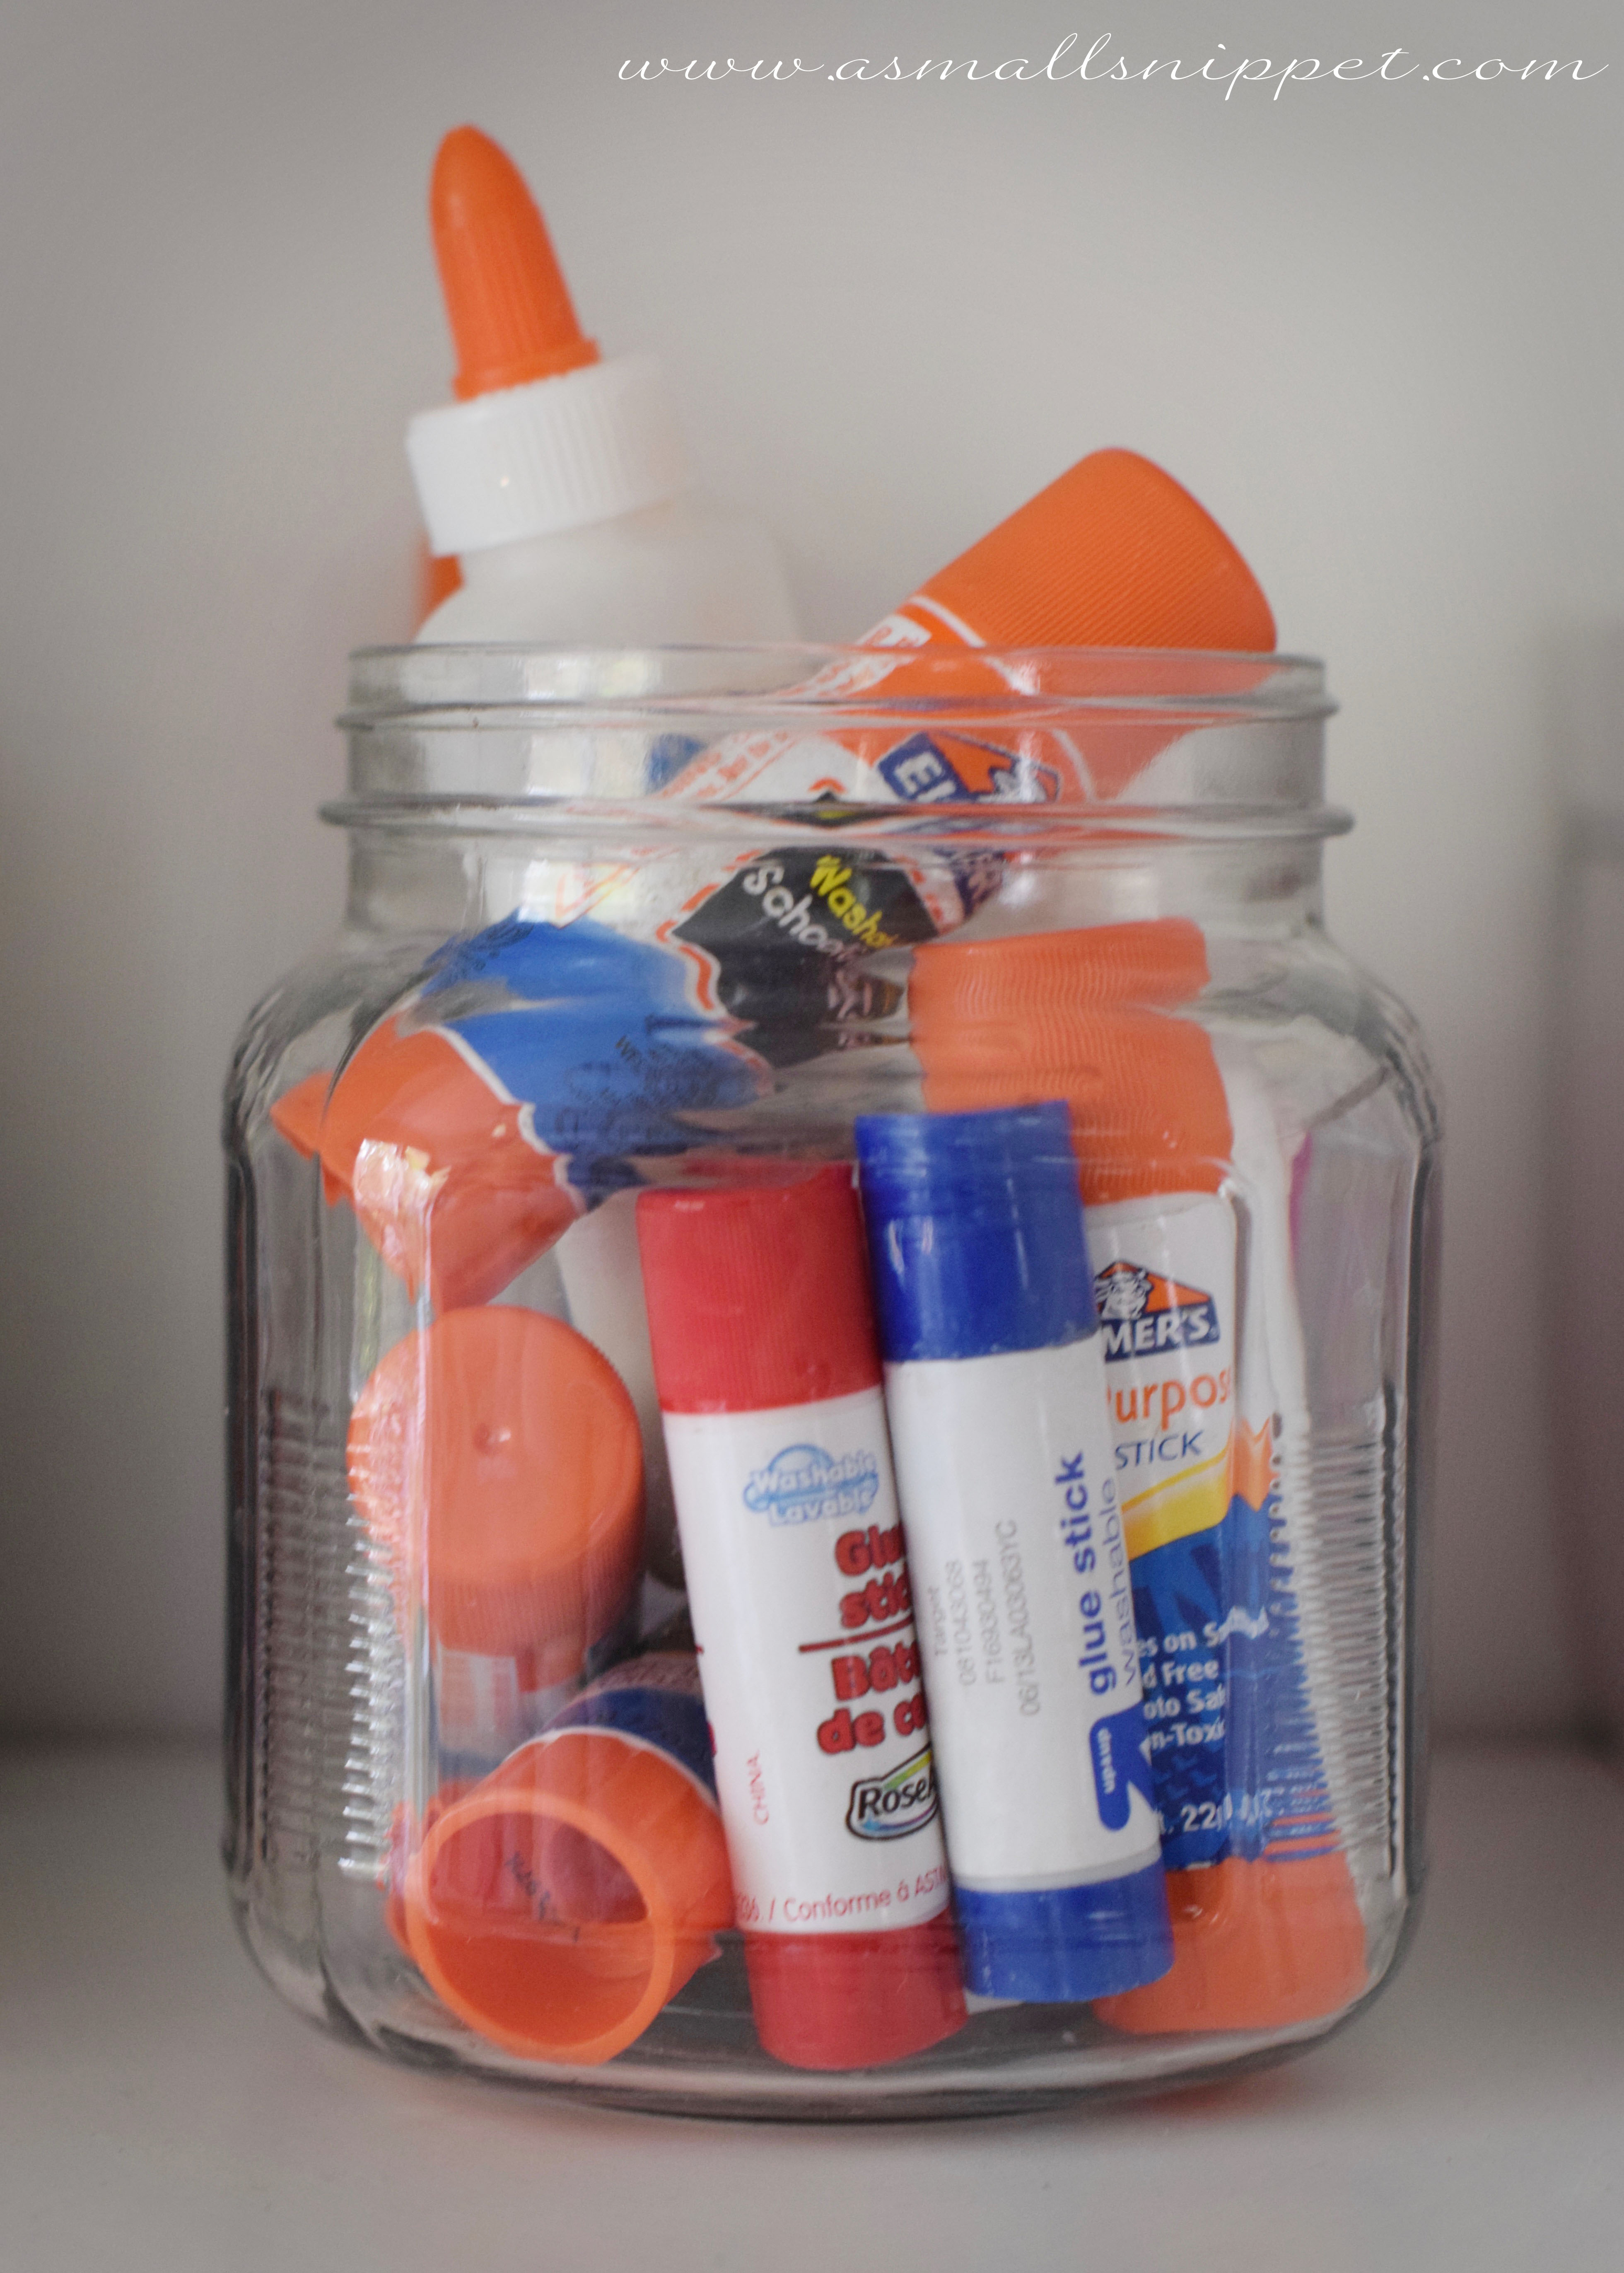
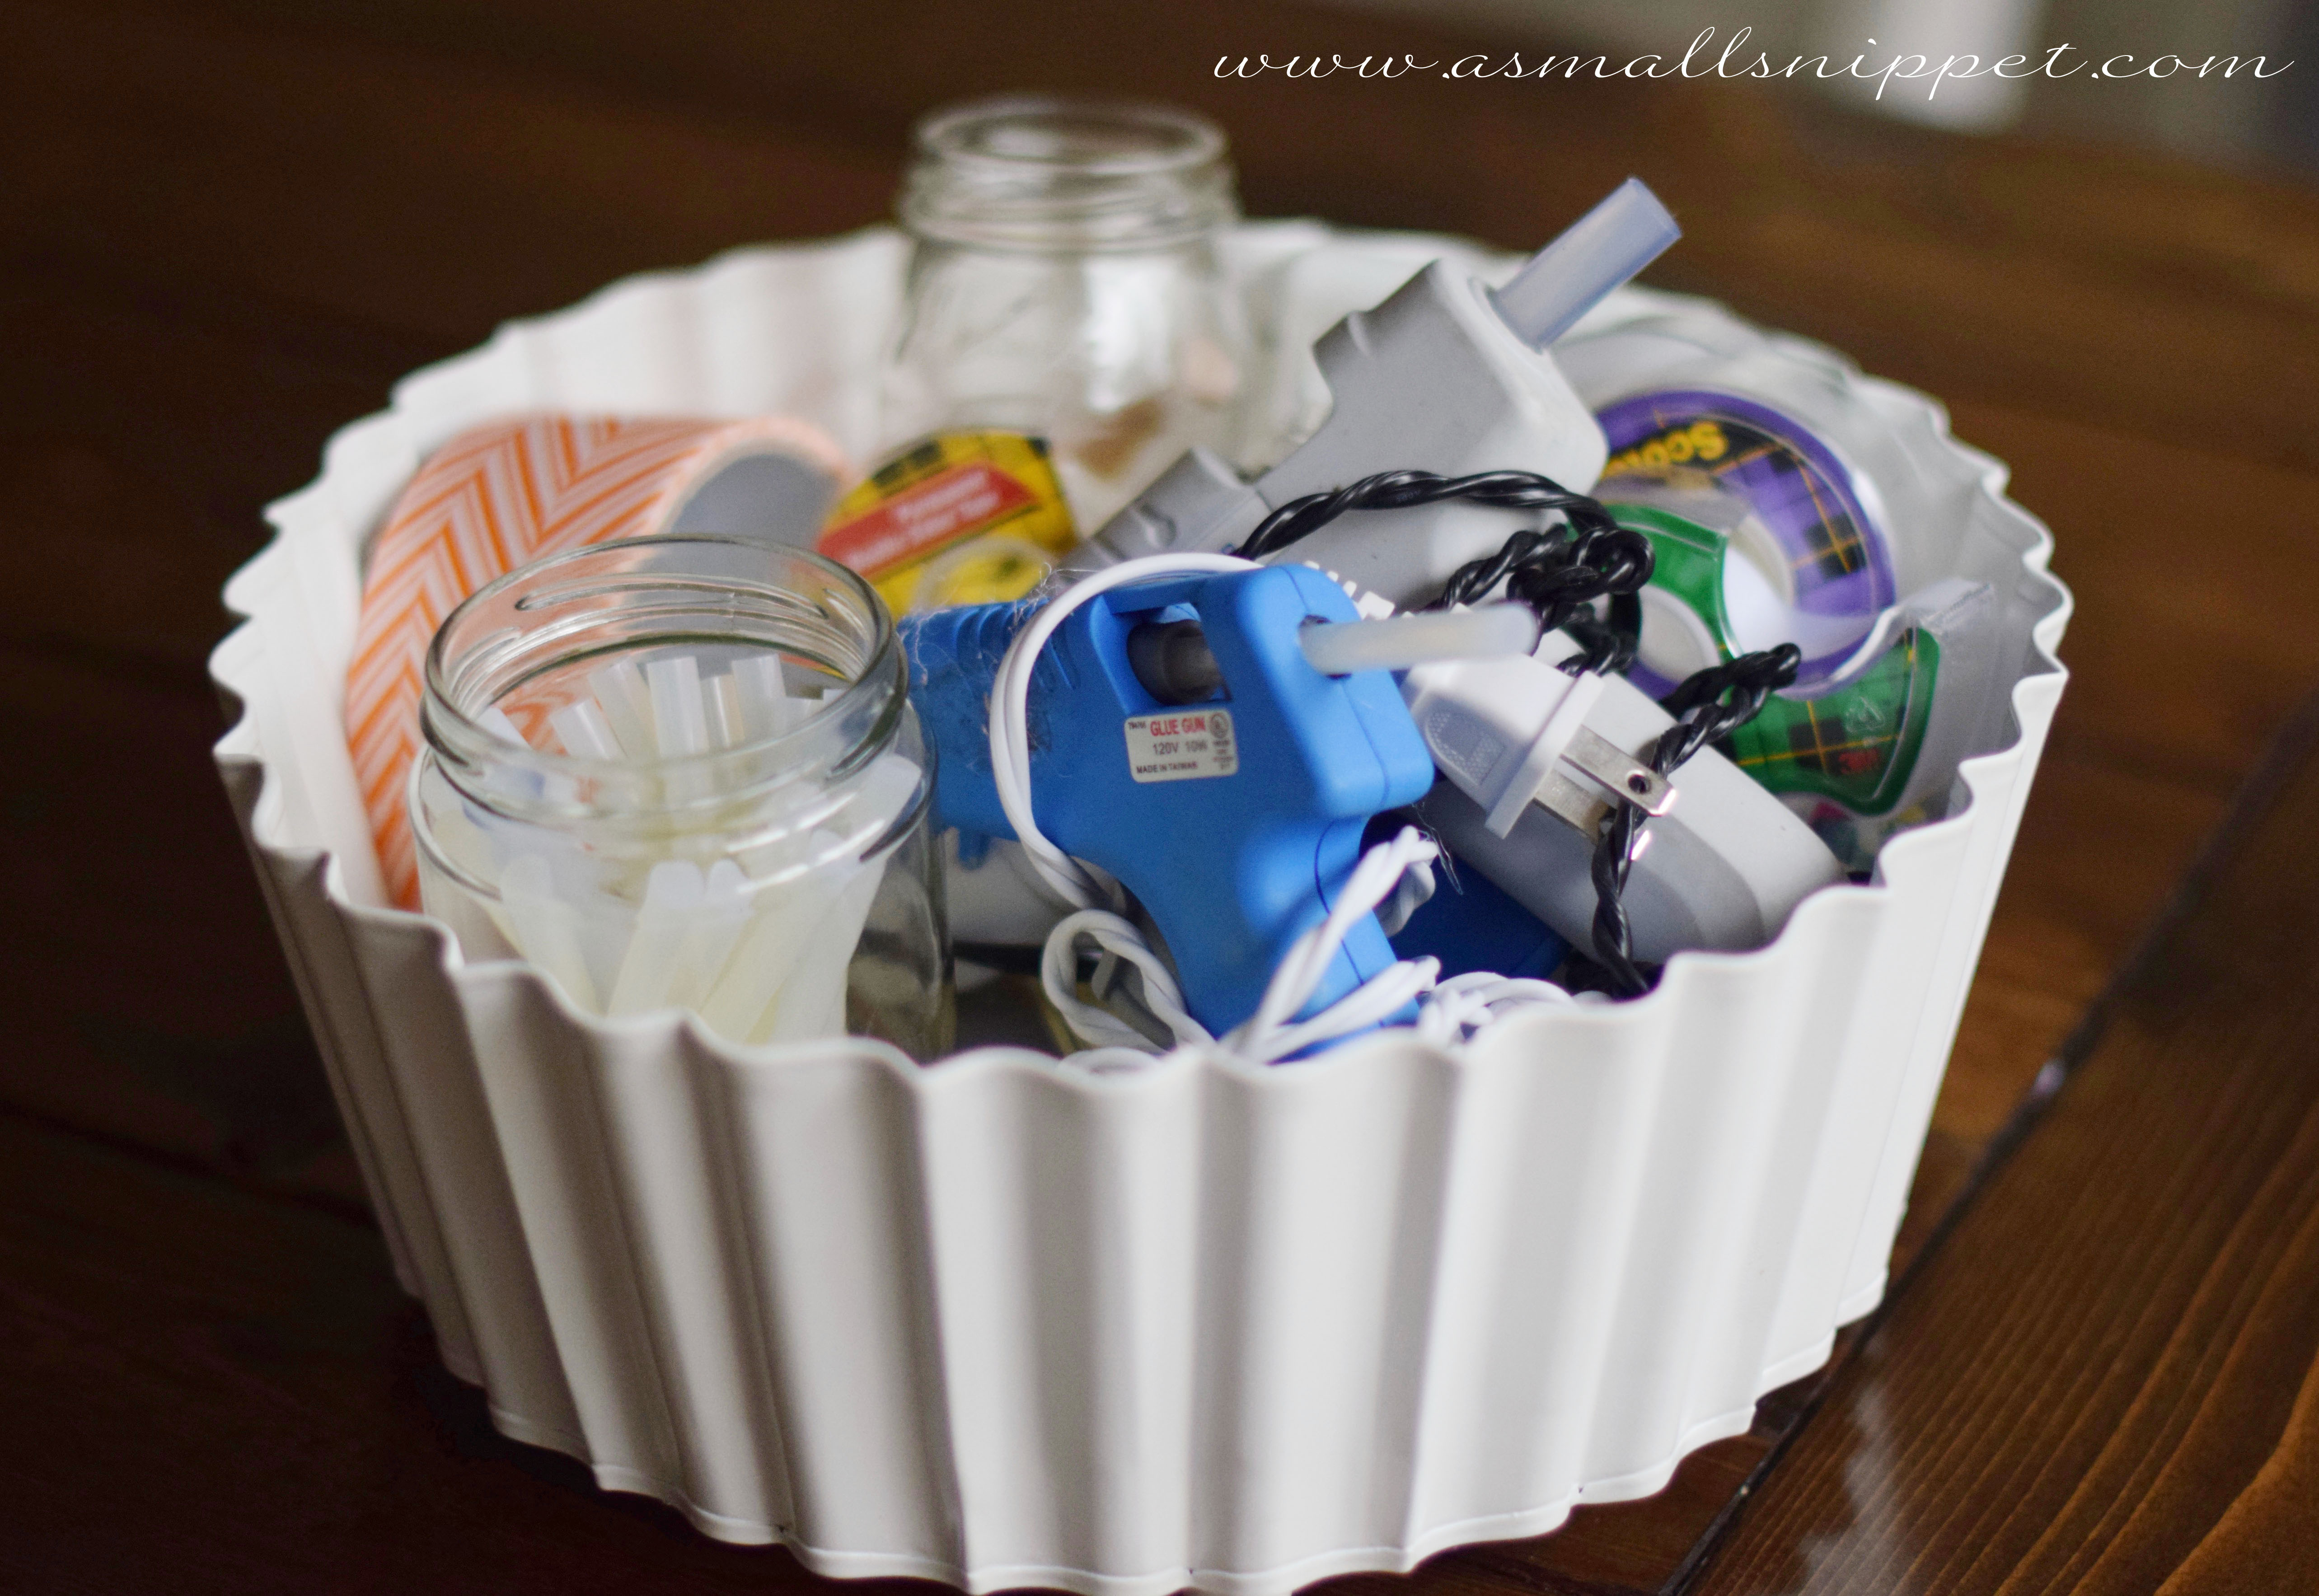
and this decorative bowl stores glue guns, glue sticks (organized into more empty food jars) and tape:
DSC_0494

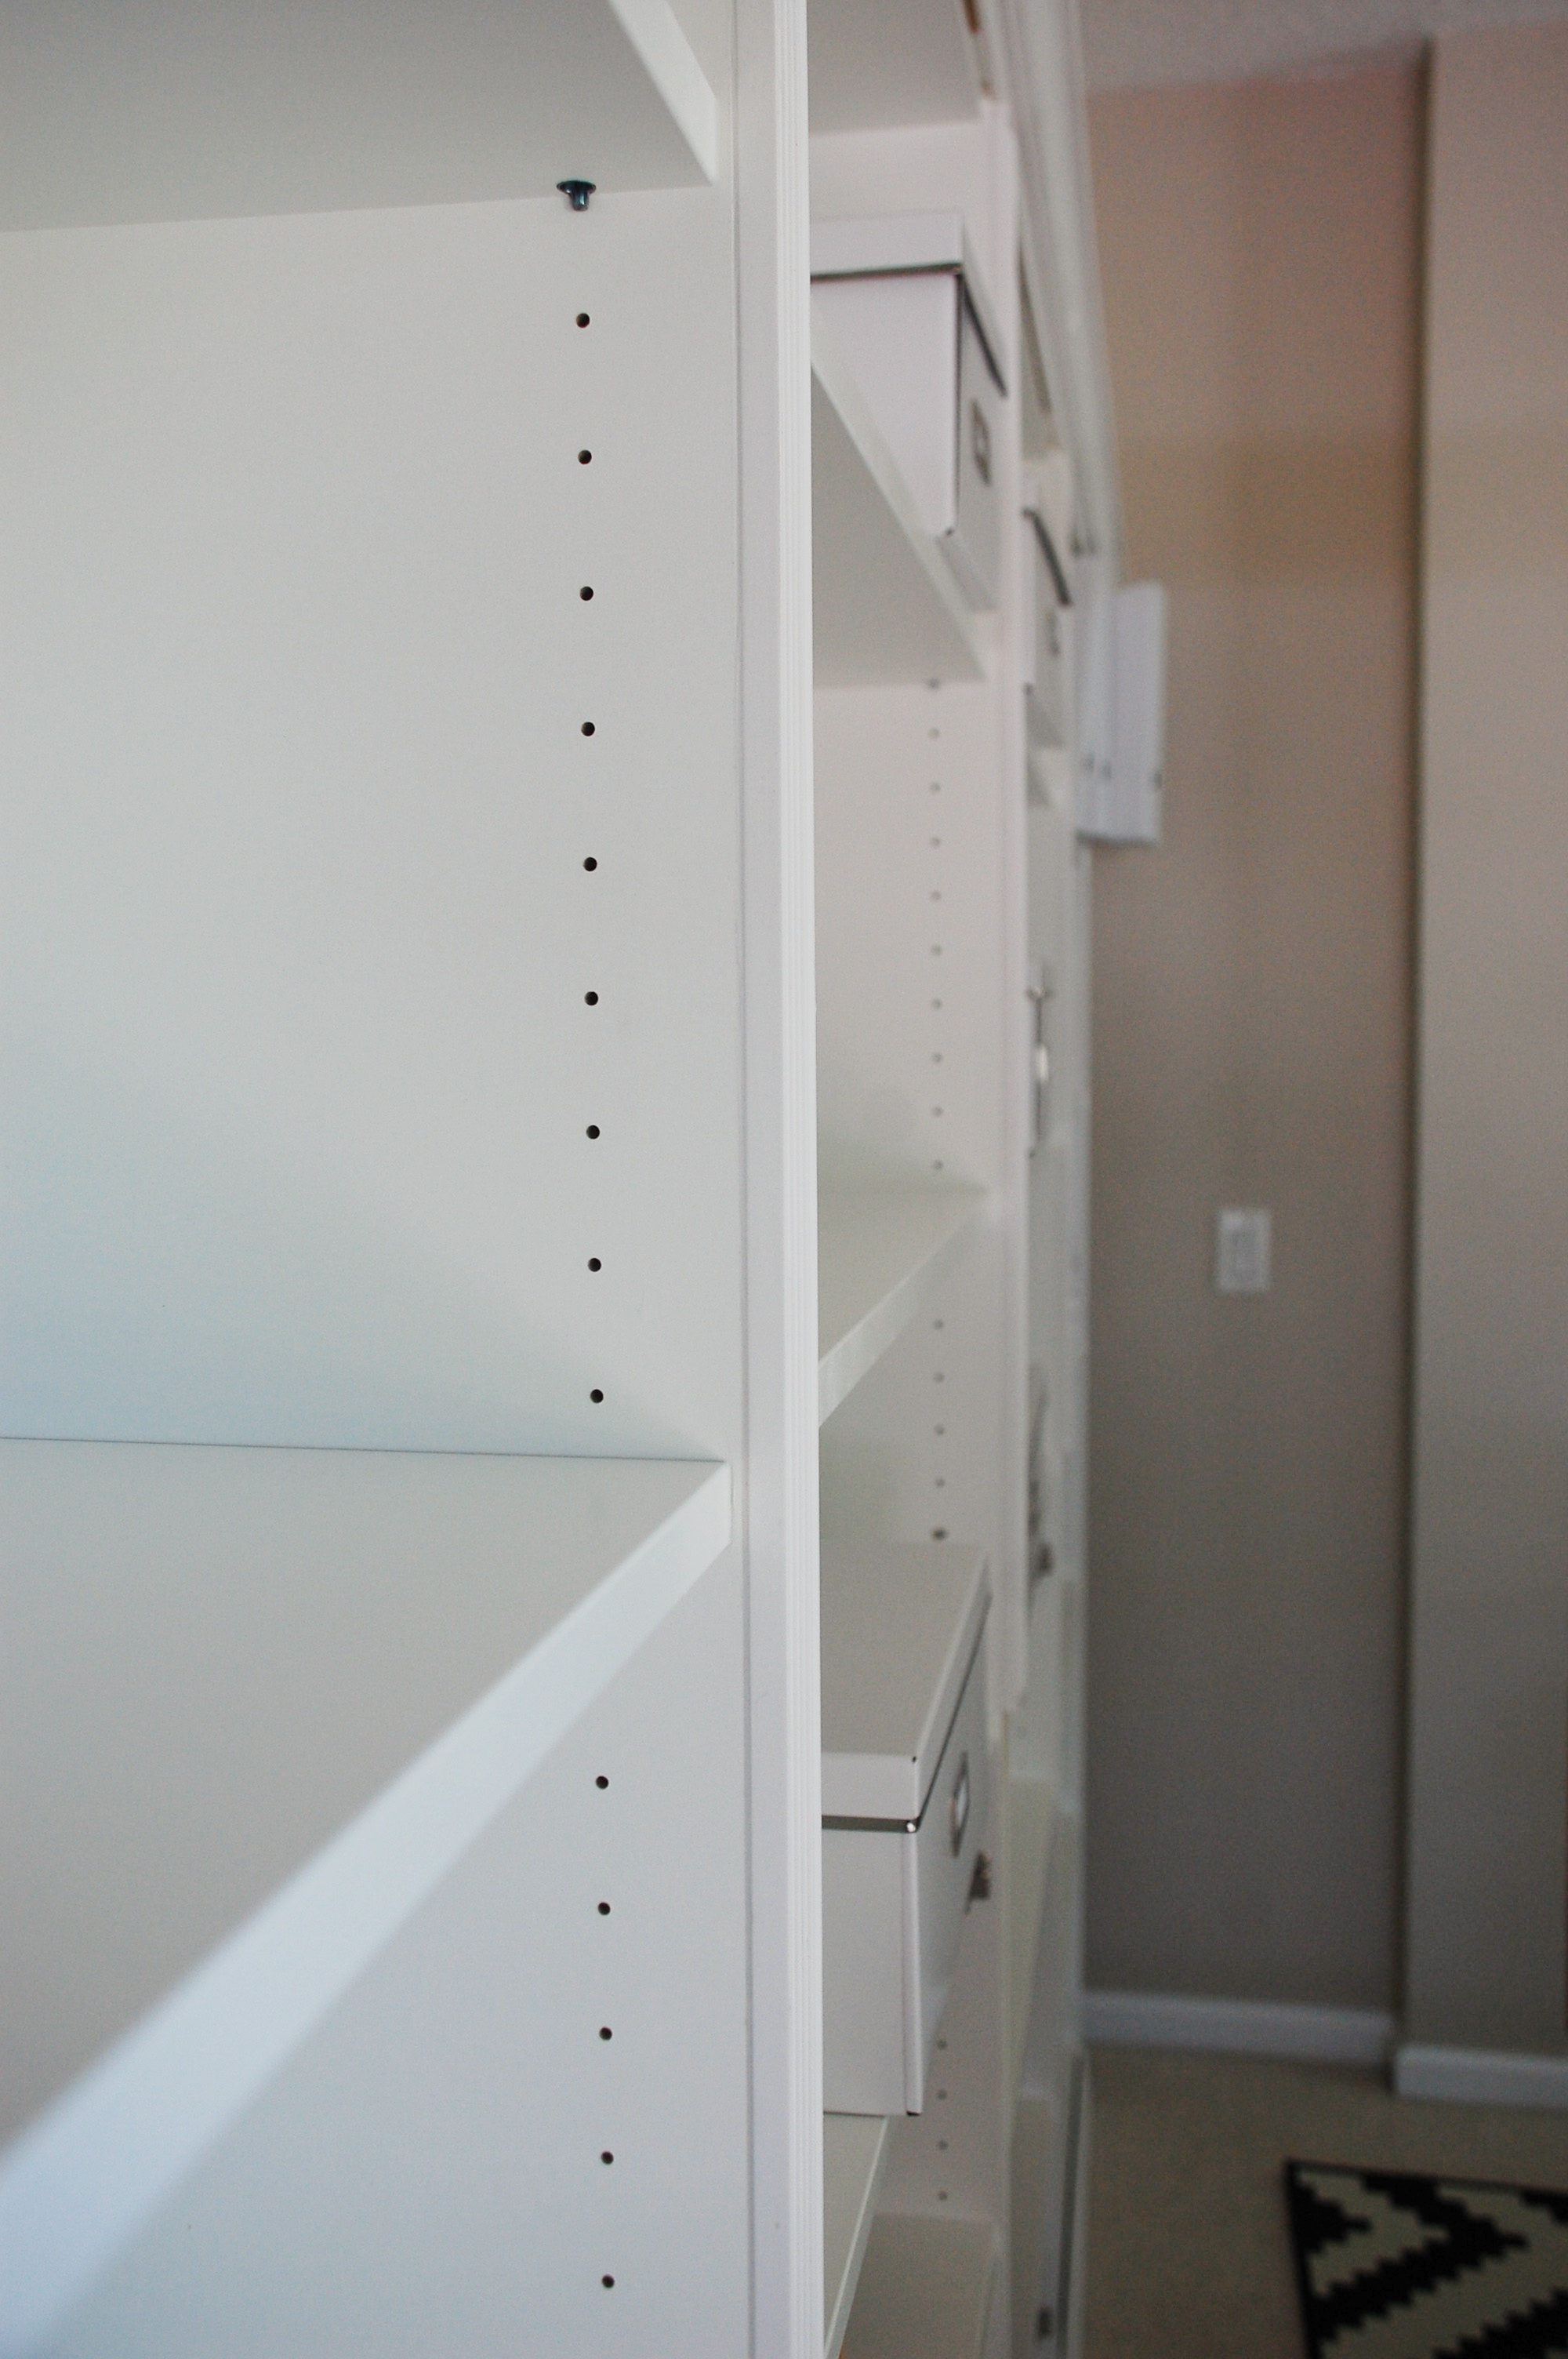
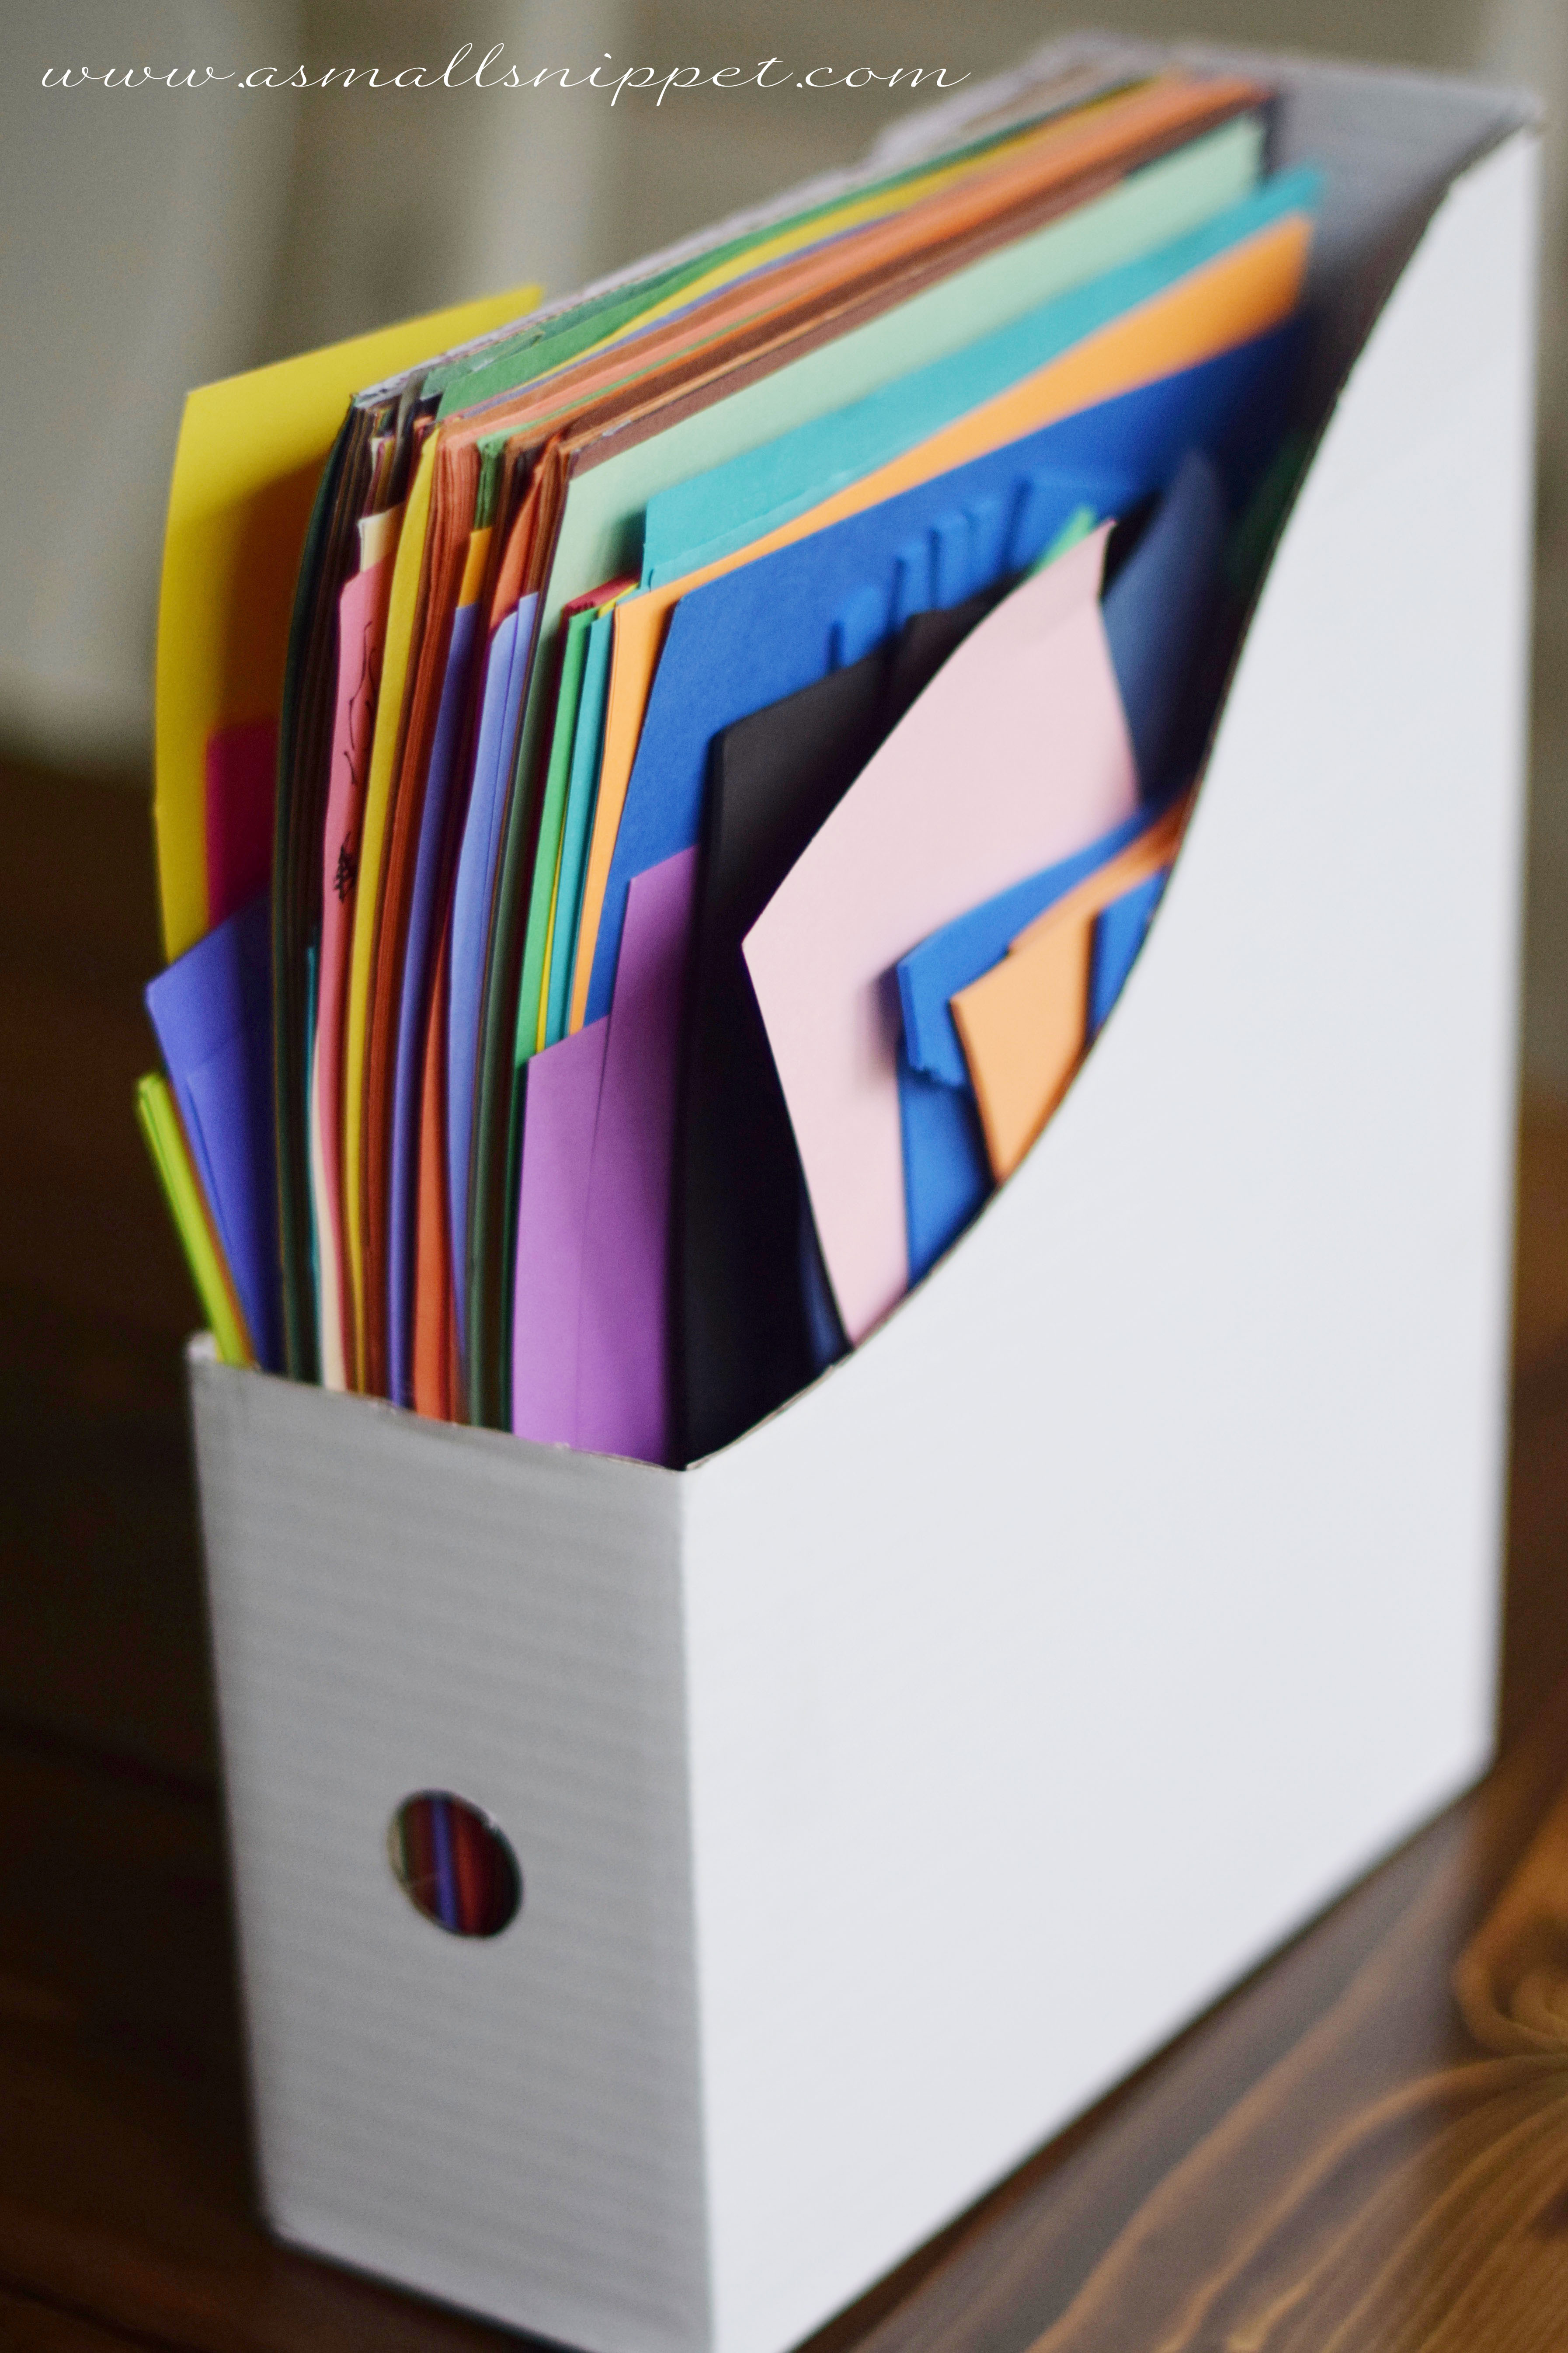
i also bought a number of these inexpensive magazine holders.  each one stores a different type of paper, keeping everything together but also easy to get to:

DSC_0492

i also bought photo storage boxes to hold different crafting supplies.  i try to group like items together so they are easier to label and find, like all paint supplies in one box:

DSC_0505 copy

i found some smaller inexpensive baskets, and used small chalkboard signs, like these: Mini Chalkboards, as labels.  i hung the signs from a small clothespin clipped to the top of the basket:
DSC_0498 copy

with everything labeled and everything in its place, i can quickly access whatever i need.
DSC_0247so truly, no matter your space, so many of these ideas can be implemented in various areas of your home.  i’m realizing that i didn’t need to wait until i had a craft room in order to have my supplies organized!

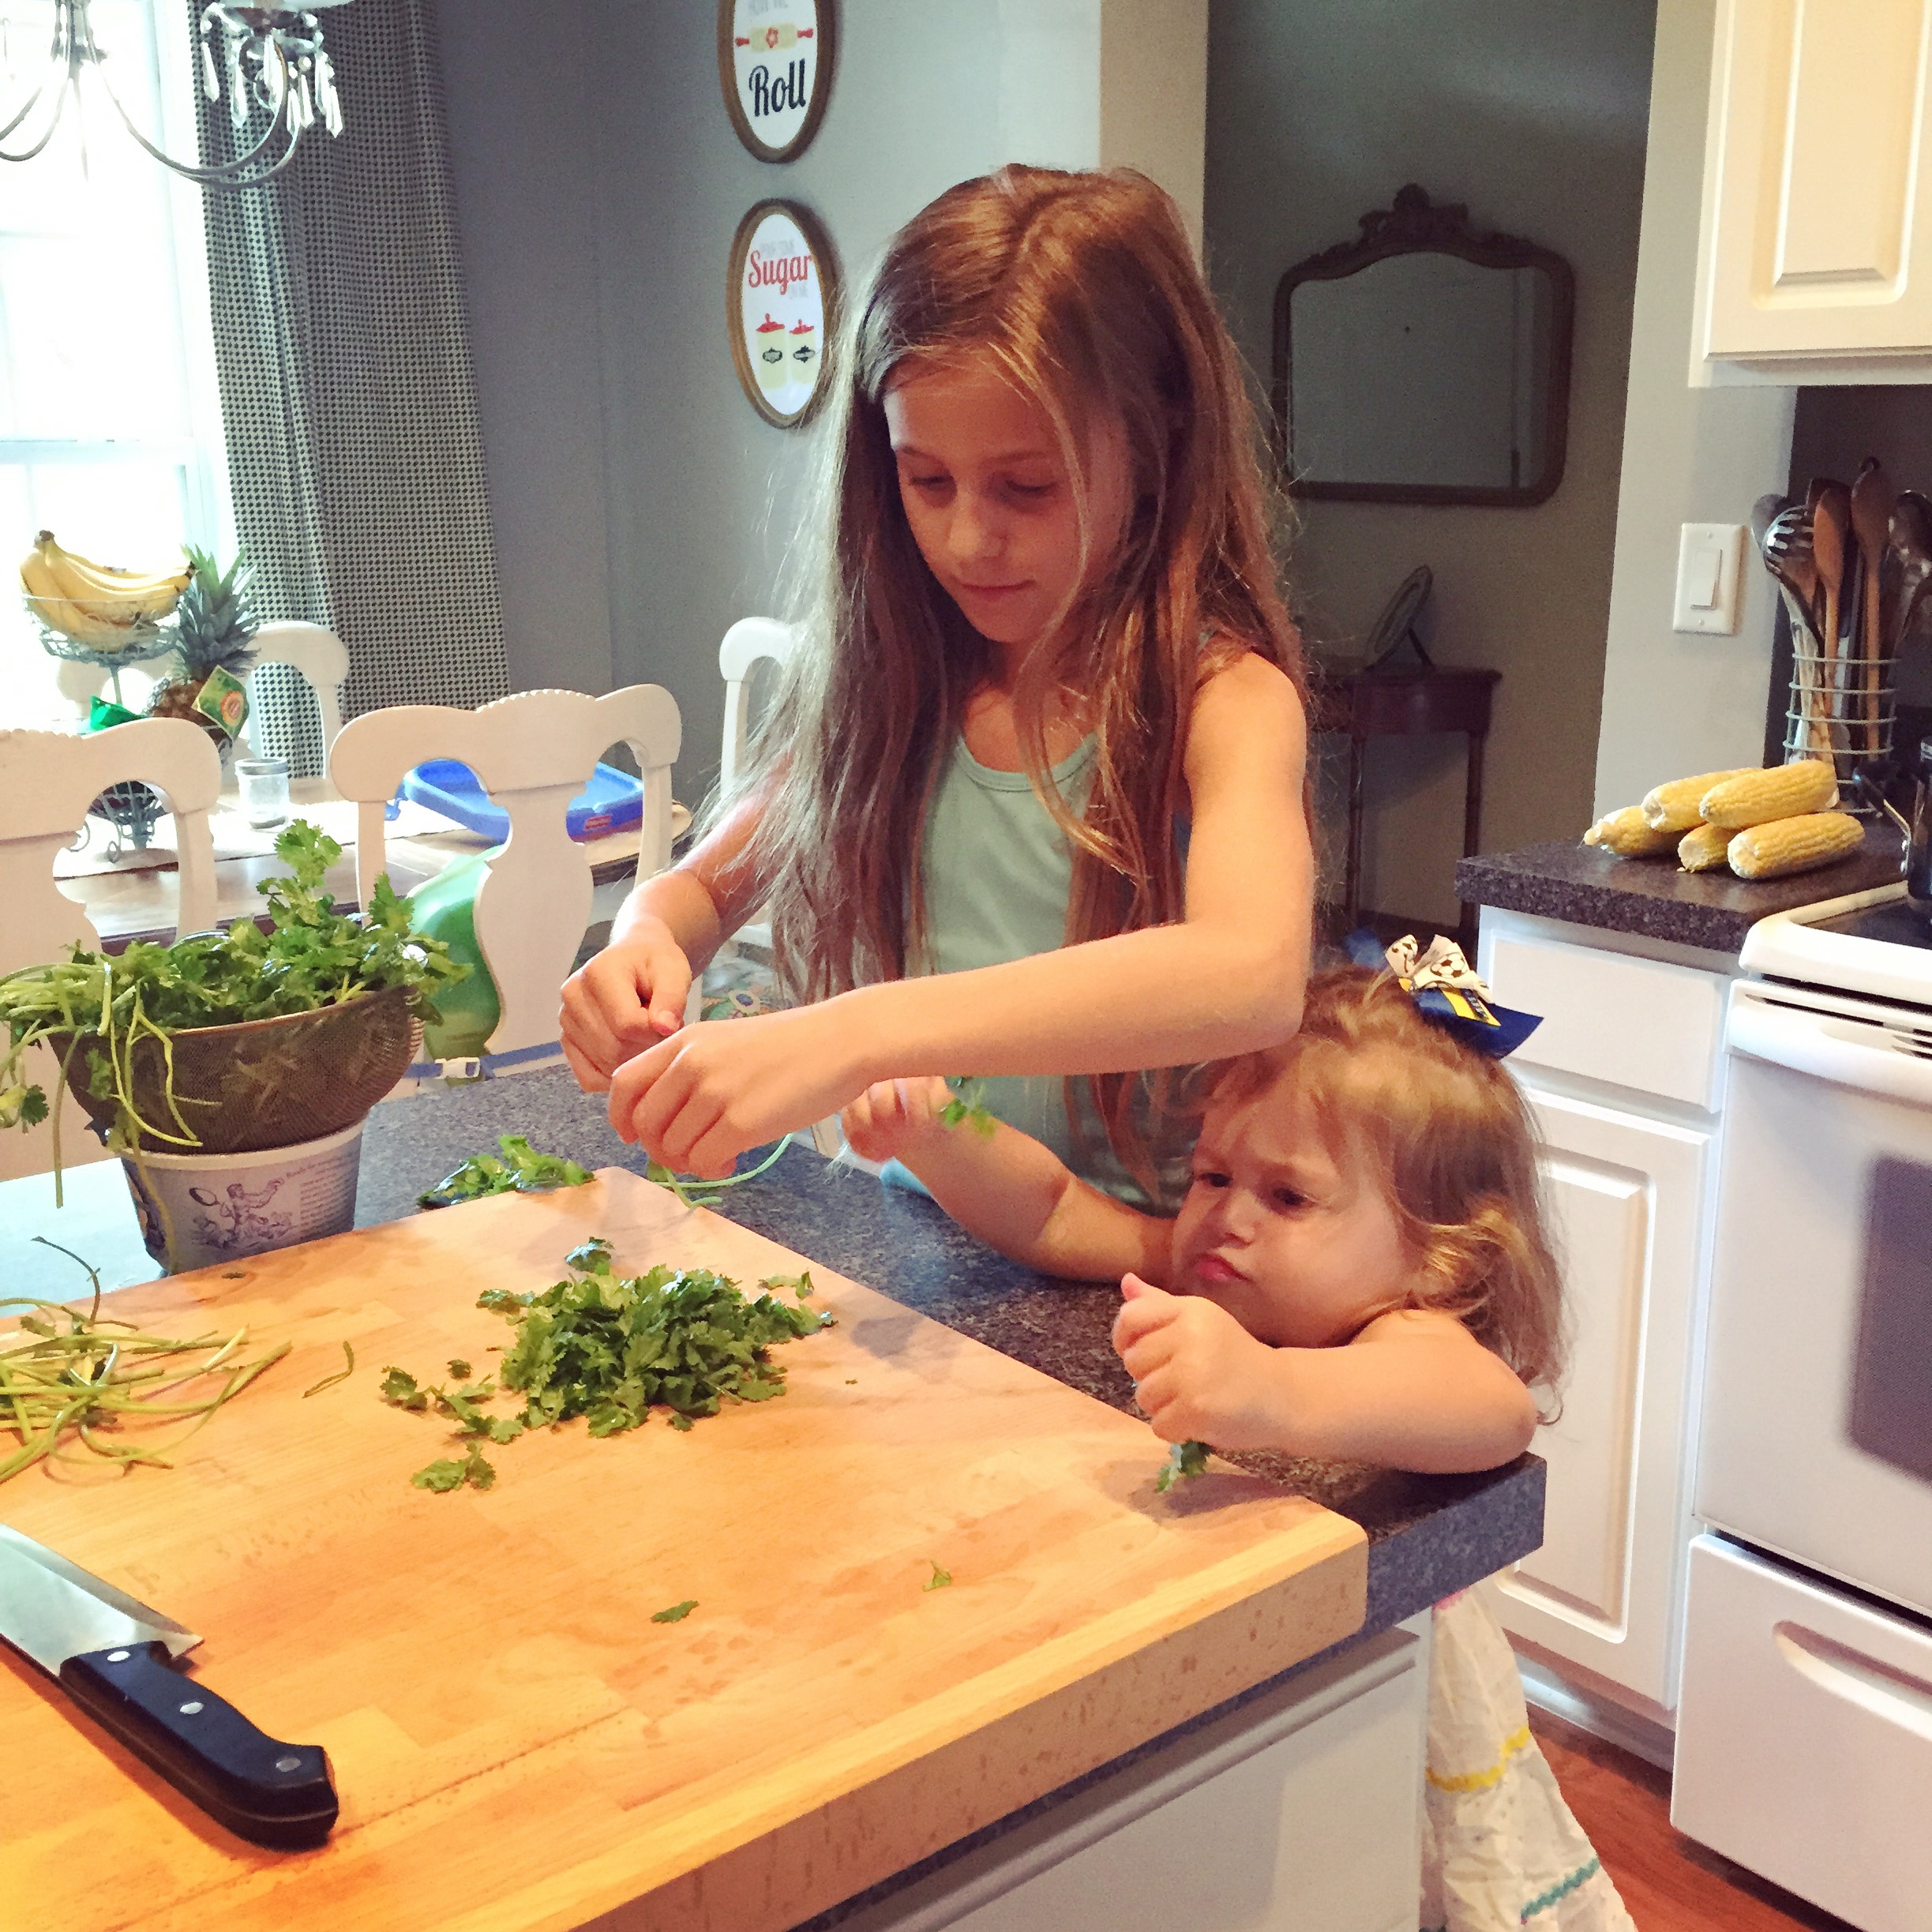
i’ve got a great and super super super easy recipe coming soon, that has become a family favorite!  until then…

19 Comments

Jan

19

Dining Room Makeover featuring IKEA Faux Built Ins

(FYI to my email subscribers:  i’m trying a few new things for my emails, so if it looks different, that’s why.)

Back in the summer, we turned our formal dining room into a multi-purpose activity room, and today i’m going to give you all the details, specifically how we used cheap IKEA bookcases to create a wall of faux built-ins for a fraction of the price.

000

to be honest, i’ve always disliked this room.  its connected to our formal living room, and if you know my family at all, then formal anything is just a waste of space.  😉  when Jake and i first built this house 14 years ago, as young newlyweds, we thought it was huge, all 1887 square feet of it.  and it was, to us.  but over the years, as we’ve added 3 more members to our family, the “huge” space we thought we once had has shrunk quite a bit!

i’ve become convinced over the years that if you make the best use of the space you have, you don’t need a huge house in order to be organized and content.  also, as the kids have gotten older, i am more and more convinced that a house needs to be as functional as possible, meaning that a formal dining room was just not functional for our family, especially since we most often eat at our kitchen table.  so i dreamed and planned, and sold LOTS of things, and saved the most money i’ve ever saved in cash, in a little tupperware in my desk drawer…and in stages finally got the activity room of my dreams!  (minus the lighting fixture, but someday…?)

DSC_0228

i envisioned a room with the biggest table i could fit in it, one that was sturdy and solid…where the kids could be one on end of the table working on homework, or coloring, and i could be on the other end, sewing or crafting.  i longed for a space to organize all of our crafty things, where it was easy to access them, and even would be inspiring just having them out in the open, instead of tucked away in drawers and closets.  because actual built-ins were way way way out of our budget, i researched multiple ideas, and finally settled on the most cost effective solution…inexpensive IKEA billy bookcases, with some moulding and trim attached to give them the look of real built-ins.

so we measured our space and decided that we could fit 4 (31.5 x 11 x 79.5 “) bookcases against our back wall, giving us tons of storage space.

(lots more pictures of the finished room are near the end of this post, along with details of the farmhouse table and the bench, so keep reading.)

so off Jake and I went to IKEA…and we came home with 4 Billy Bookcase, 4 cabinet doors, and lots of storage containers.   these are the bookcase we bought.  and at only $69.00 a piece, it was a steal.  these are the cabinet doors we bought, which weren’t much less then the bookcases themselves, but absolutely a necessity for me to be able to store some things behind closed doors.

001

i also bought some moulding and wood and a few other supplies at Home Depot (details below), so all together i spent:

$276 on the shelves
$160 on the cabinet doors
about $100 on wood, moulding and supplies

so total for a wall of built-ins =  $536.  not too bad!!

we began by putting all the bookcase together.  IKEA is known to be the pits when it comes to directions and assembly, but i did all 4 bookcases by myself in just under 2 hours with no problems.

002

at this point, you could totally leave it like this:

006

but i knew i wanted them to look more built-in, so i utilized my father in law’s mad carpentry skills, and he did the moulding and the trim.  (you might want to find someone who kinda knows what they are doing for this part, or who at least can follow directions and knows how to use different saws to cut wood.  this isn’t an easy DIY project if you don’t somewhat know what you are doing.  had i been on my own, i would’ve surely botched the entire thing!)

once we had all the bookcases assembled, we needed to attach them together.  we used 1 x 3 pieces of wood, (which is really only 3/4 inch thickness) in between each shelf.

0161

we attached them by screwing them into the sides of the shelf by going through one of the existing shelf holes:

008

think ahead and choose a hole that you don’t plan on using, because once the screw is in, you won’t be able to put the shelf peg in.  i put the shelves where i wanted them and then marked the holes the shelves were in to ensure that we weren’t screwing into a hole i would need.

0159

once that was done, and all of the shelves were attached to each other:

0163

we beveled 2 x 4’s at a 45 degree angle cut.  (if that sounds like i know what i’m talking about, its just because i’m repeating what my father in law said!  and if that sounds incorrect, its because i really do not understand what all that means! ?)

0165

we attached a few of those angled pieces onto the top of the shelves with screws, creating a ledge, so that we had something to attach the crown moulding to.

0167

once those were attached, we cut the crown moulding to the length we needed (our’s was around 128.25″ long), and then 2 more pieces of the crown moulding for the sides of the shelves, (so 3 pieces all together) all with a compound miter saw.

0169

we attached those crown moulding pieces to the angled pieces on the top of the shelves using a nail gun and small finishing nails.

0171

we attached the edge pieces by lining up the mitered corners and gluing them together, then finishing it off with some small nails.  later on, i filled in any gaps on the corners with caulk.

0173

this next step was a personal preference, as you could totally just caulk and paint over the wood in between the shelving, but i really loved the look of reeded moulding in between the shelving, so i bought some 2.25″ wide reeded moulding at Home Depot.  we cut that moulding to the correct length, and attached it in between each shelf using small finishing nails.

0175

if you are using cabinet doors, put those on for a few minutes because the reeded moulding will only need to be attached on the parts outside of the cabinet, if that makes sense.  so you want to make a straight cut so it hits just above the cabinet doors.

Version 2

in my case, since i was using doors on both middle shelves, i only used 3 pieces of reeded moulding halfway down on the top part of the shelves, between each shelf.  if you were not using cabinet doors, you would just run that reeded moulding all the way down to the bottom.

DSC_0228

the final moulding step was to attach the baseboard.  we cut it to the full length of the shelves, and attached it with small finishing nails to the wood that we had earlier put in between each shelf.  i did not put baseboard around the sides of the shelves, because you can’t see it, so the baseboard is just on the front.

0178

then i caulked in all the gaps using a paintable water based caulk so it would all look seamless and like one big piece all together.

0186

0180

0184

once that was sanded smooth, i painted all of the moulding.  i used Valspar’s Dove White Paint, which is a pretty close match.  (i researched this a lot, and this truly is the closet match, and looks pretty consistent once its all painted.)

0191

the next project to complete the room was to replace our table.  our original dining set was the first piece of furniture that jake and i bought together, using some money we got at our wedding.  we found it at a consignment shop, and we were pretty proud of it.  but…i kinda hated the finish on it after a few years, so it was time to move it along!  so i put the table up for sale, but kept the chairs, and after using a deglosser, (like this one: Klean-Strip Easy Liquid Sander Deglosser) to remove the glossy finish (which was SOO easy), i painted the chairs in that same Dove White and recovered the cushions in some fabric i found at JoAnn’s Fabrics.

DSC_0200

once the old table sold, i finally had saved enough money for my dream farmhouse table.

DSC_0202

we luckily have a friend who builds them, and i gave him the exact measurements that i wanted (8 feet long, 44 inches wide), and he custom built it for our space.  he stained it with 2 coats of Minwax Jacobean stain, and then a few coats of polyurethane.  i absolutely LOVE it!

DSC_0204

(if you are local and would like his info, email me and i’d be happy to pass it along to you.  he is crazily talented, and very reasonably priced.)

i knew that i wanted a bench, but had a very hard time finding one that would be the correct length since our table was so long.  so we found a queen size headboard at a flea market for $15, then took it to a local furniture builder, told him our budget, and he said he would cut it down and attach it to a bench seat for us.  all i had to do was paint it.  super inexpensive way to create a large bench:

DSC_0259

DSC_0263

we found the turned legs for the bench at Lowe’s and had him use those so it echoed the turned legs of the table.  its perfect, and can easily sit at least 4 people.  this is Berkeley’s seat of choice whenever she’s at the table.  and i love it, because even if she stands up and walks around on it, its large enough that it is difficult for her to fall off it.DSC_0265

what once was a room that we hardly ever used has now become a room that is always buzzing with activity!

DSC_0267

the kids use it for homework each afternoon, while Berkeley colors or plays with play dough:
DSC_0308

and whenever our family or friends are over, this room becomes the place for all activities, games, eating, chatting, etc:

DSC_0310

my favorite part of this makeover so far has been the amount of people we can fit at the table.  now when we have family or friends over, we can all, adults and kids alike, enjoy eating together.  we even hosted Thanksgiving and were able to fit all of the adults at the table comfortably:

DSC_0679

and just in case you were wondering…i had to keep my beloved $25 TV cabinet turned china cabinet (see more details here).  the amount of storage in that piece is unbelievable, and i couldn’t give it up.  so i just moved it to an empty wall in the living room.  i think it works perfectly in there!

DSC_0700

i know that was a lot of info, but i hope it inspires you to find a space in your own home to make more usable!

and in case you go this route and make your own built-ins with IKEA billy bookcases, this blog was a huge resource for me as i was doing this project.  we didn’t follow it exactly, but there were a few things that were super helpful, so in case you need more details, check it out.

in my next post, i’ll show you more specifically the way i organized the shelves, with a few tips and tricks that i think you will enjoy and find very easy to implement, no matter what kind of crafting or sewing space (or lack there of) you have!

its good to be back!

9 Comments

Jan

06

Hello…it’s me…

..i’ve been wondering if after all these “months” you’d like to…read?

_MG_0398edit

that’s my take on Adele’s new song, in regards to myself as a blogger…and you as my reader.  its been since May.  MAY!!!  sorry for my absence. the problem is, my kids just keep getting bigger:

DSC_0844

and busier, which in turn makes me busier…and as much as i try, i just can’t press the pause button on time.  so it just flies by, and before i know it…what once was May, has turned into January.  (insert my fave and most used emoji…the wide eyed face ?)

i feel like this past year has been a “settling” year for me.  i’m not one to adjust to change very quickly.  one of the wisest people i know called out 3 things about me the other day:

i feel things deeply

i’m highly sensitive

i don’t bounce back quickly

that’s a slightly scary combo.  (? insert emoji again.  see now why i use it the most?)

but i know its true.  and i’ve felt it this past year, with lots of new things:  new school for my kids, new activities, new schedules, new (and changing) friendships, new (and changing) purposes and roles, new(ish) neighborhood and community, new toddler to chase around…it has taken me awhile to get all acquainted with this kind-a new season.  so i’ll start with a little update…and then i just guess we’ll see where it all takes us!  cause truth is…when i’m not writing on here, or sharing projects, or recipes, or even the thoughts burning in my heart that i just want to tell the world…i feel like i’m deeply missing something.  i’ve struggled these past 6 months with feeling a little lost, purpose-wise.  and i think thats in large part to neglecting my Small Snippet of the world-wide-web.  so i hope you will welcome me back.

first things first…my baby turned 2:
berk2

and just in case you are not aware of what having a 2 year old entails, let me just give you some visuals:

DSC_0163 copy

DSC_0299

DSC_0595

yogurt

FC0C9F67-E7F1-44EE-A9D6-50D559A81A43i’m trying to think of a word to describe for you life with our spirited, loud, energetic, hysterical toddler, but all i can come up with is {?}!

i love her.  she is completely adored by every member of our family.  she gets funnier by the day, chats my ear off constantly, follows me around like a shadow and is my most cuddly and affectionate baby.  and…she makes me Oh.So.Very.Tired.  and sometimes, when i get the hair-brained idea that i could possibly get some work done when she’s awake, like say, maybe a blog post, this typically happens:

4756B02D-A873-491C-9C23-BB08107C8988 (1)


but the days are long and the years are short, and i just want to soak up every single second because i KNOW by experience that they don’t stay little for long.

because just yesterday, the oldest crazies were her age, and now one of them is almost as tall as me:
_MG_0417editand they just keep growing…not just in height, but in life.  like they are actual mini adults now, with their own passions and talents and work ethics:

DSC_0047

DSC_0009 copy 3

DSC_0619

IMG_0217 copy

Canaan is still playing competitive travel soccer and he made his Middle School team (yes…my baby is in middle school.  so yes, by default,  i am now old.  actually ancient, in his middle school eyes, apparently), so he’s been doubling up the past few months, and still can’t get enough.  i’m officially a Soccer Mom 4 Lyfe. (now imagine me saying that, while cocking my head to one side and throwing out some sort of peace-like sign with my fingers.)  i have the t-shirts and car magnets to prove it, but i might need that monogramed on one of those tumblers with a straw just to be sure.

and Bella started Competitive All-Star Cheerleading this year.  and if you thought soccer was expensive and time-consuming and the parents were nutso, just triple that and then multiply it by a billion, and there you have the world of All-Star Cheerleading, which will seriously make you question your career path and wonder in complete awe why you didn’t go into the business of competitive cheer.  or at least competitive cheer uniforms.  or heck, just cheer bows, for that matter!

bella

DSC_1450

Version 2

DSC_1456

DSC_0856

but man on man…to get to experience your kid share in your own passions from your former glory days (just kidding.  i had no cheerleading glory days.  at all.  and if i ever for even a second thought that i did, i have been greatly proven wrong because at only 8 years of age, my child has FAR and AWAY surpassed even my dreamiest of dreams when it comes to my cheerleading skills, or better yet…my GREAT lack there of…)

and because Berkeley will start dance this year too {?} and come next December, she will be able to join her sister in the Nutcracker, we are hanging onto ballet by a thread until they can do it together, but we made it through another Nutcracker (#6), and i don’t regret it for one second:

DSC_0948

DSC_1568

DSC_1603

one day i want to write about kids activities and why we invest so much time and money into our kids passions.  its so worthwhile!!  and sometimes as parents i think we need to hear that and remember that we are investing into the lives and hearts of our most treasured assets, all the while preparing those mini-adults to become real, big adults.  but that’s for another day…

the older crazies are continuing to prove their mini-adult status by making their own big-important-adultlike decisions:

CanaanBaptism

CanaanBaptism2

BellaBaptism

BellaBaptism2

i’ve been dreaming about that day for as long as they have been alive…and let me tell you…it did not disappoint!

okay okay okay.  that’s enough of my children.

there’s so much more i want to tell you:  like the details of how we transformed our formal dining room into a craft/activity/multi-purpose room…on a budget.

DSC_0625and some new recipes to share, and an update on realistic Clean(ish) Eating with a busy family of five:

513326AE-937C-4B94-99AC-06C2822C04AF

and my favorite Halloween costumes of all time:

DSC_0653

or a Rainbow themed 2 year old’s birthday party:

DSC_0170

but i’ll stop for tonight.  after all, my girls are in bed, my boys are at church, and i haven’t watched the premier of The Bachelor yet from 2 nights ago.  not to mention…there is a pile of 3 loads of clean laundry that has just been mounding up, so i guess i should probably go take care of some business. ?

until next time, where i promise you something more fun than pics of my kiddos, because although they are adorable…i get it.  😉

18 Comments