Photography 101 {Part 3: Lighting & Composition}
hope you’ve found Part 1 and Part 2 of the Photography 101 series to be helpful for you!
i’m back today for Part 3, to talk all about Lighting and Composition. this is where a good picture starts before you even press the button!
again…all of these tips are my opinions, and what has worked for me. it’s based on the style of photography that i like. but i hope you find them interesting and helpful and easy to understand. i’m especially excited today to give you some very practical tips that take minimal effort or skill, but that will transform the look of your pictures.
so let’s start with LIGHTING. i LOVE natural light photography. what do i mean by natural light photography? basically, using natural, available light to capture an image. even more simply…not using a flash! i have very very few pictures that i love where i used a flash. (now…i’m sure if you have fancy flash equipment and know how to use it, then you are probably able to get great looking shots while using a flash.) but for the kind of natural looking photography that i love, the sun is my BFF.
so here’s a challenge for you…turn off your flash, utilize the sun, and see what a difference it makes in your photography. Using a flash creates harsh, unnatural looking light, and shadows. but if you take pictures in natural light…near a window or outside, you end up with a more natural looking photo.
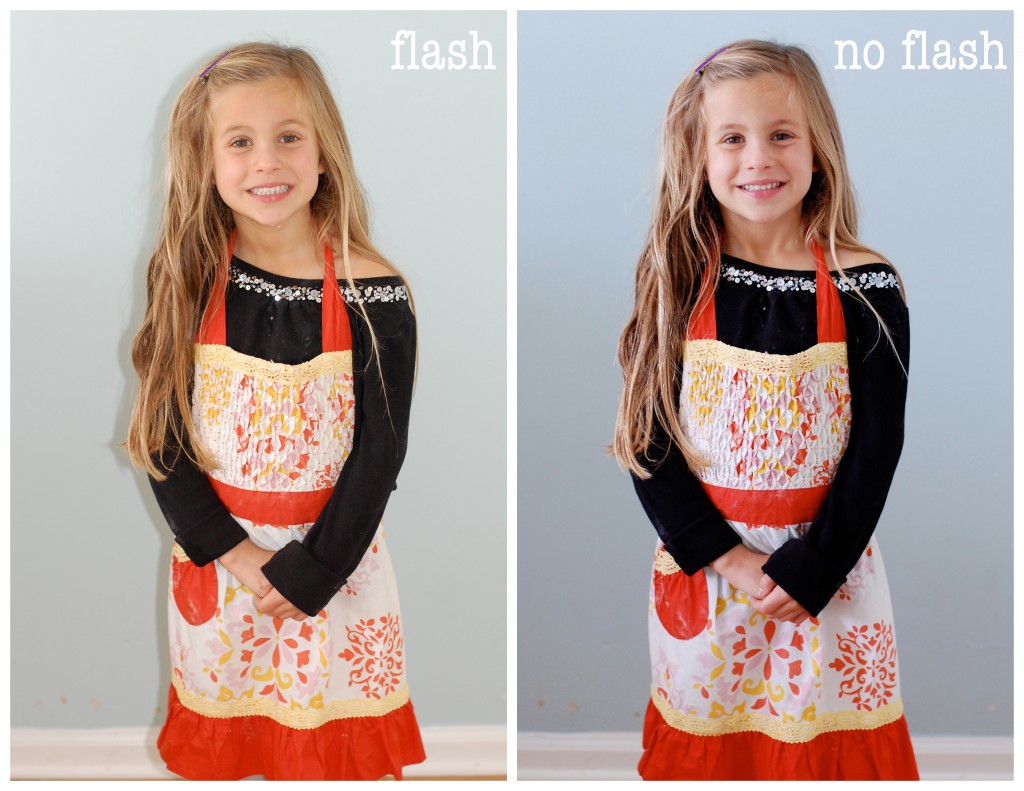
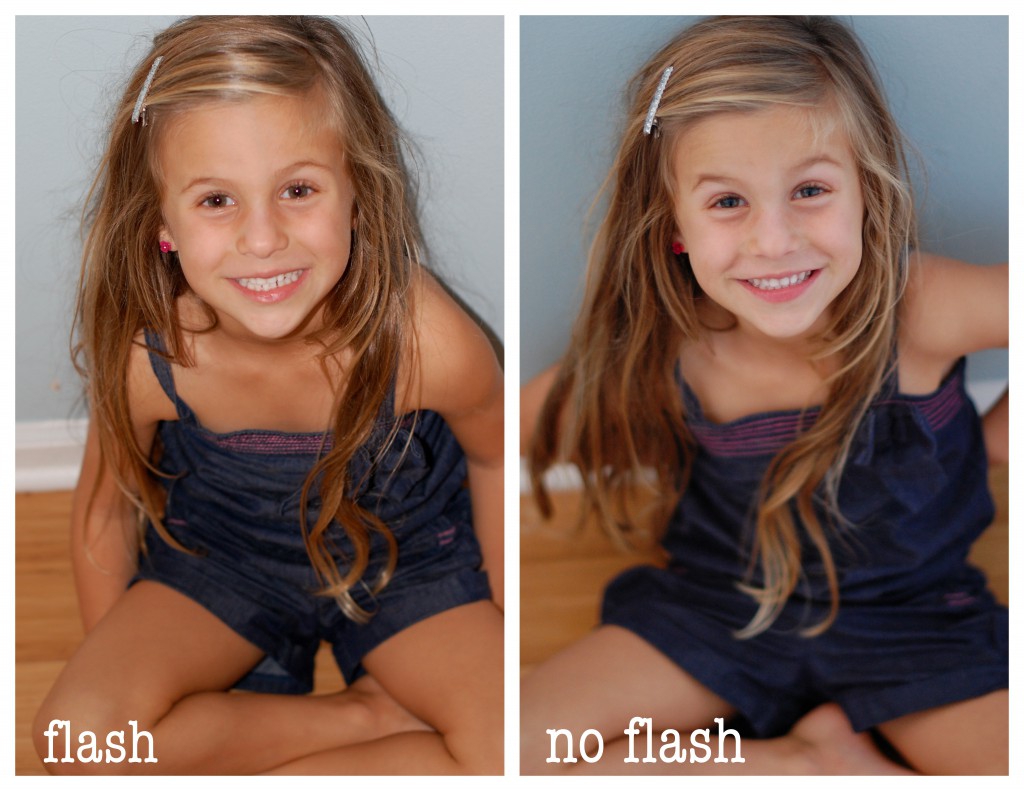
i tried taking a few photos with and without a flash to show you the difference, but i found that task kinda tricky. however, you can see in the following photos that there is a softness and more natural look to those taken without a flash.
these pictures were taken in the same location of my kids’ room, one right after the other. the photos on the left were taken with a flash, and the photos on the right were taken by just utilizing the natural light. the photos taken with a flash yield harsh shadows and light, and unnatural coloring. the photos on the right look more natural, and the coloring is more true to life.
so if you are gonna turn off your flash, then you need to think about where your light is going to come from in order to get a proper exposure. we talked in Part 2 about how to set your camera to allow the best light into your camera, but we need a light source in order to do that. i utilize the sun whenever possible…whether that’s taking pictures outdoors, or inside near a window or door.
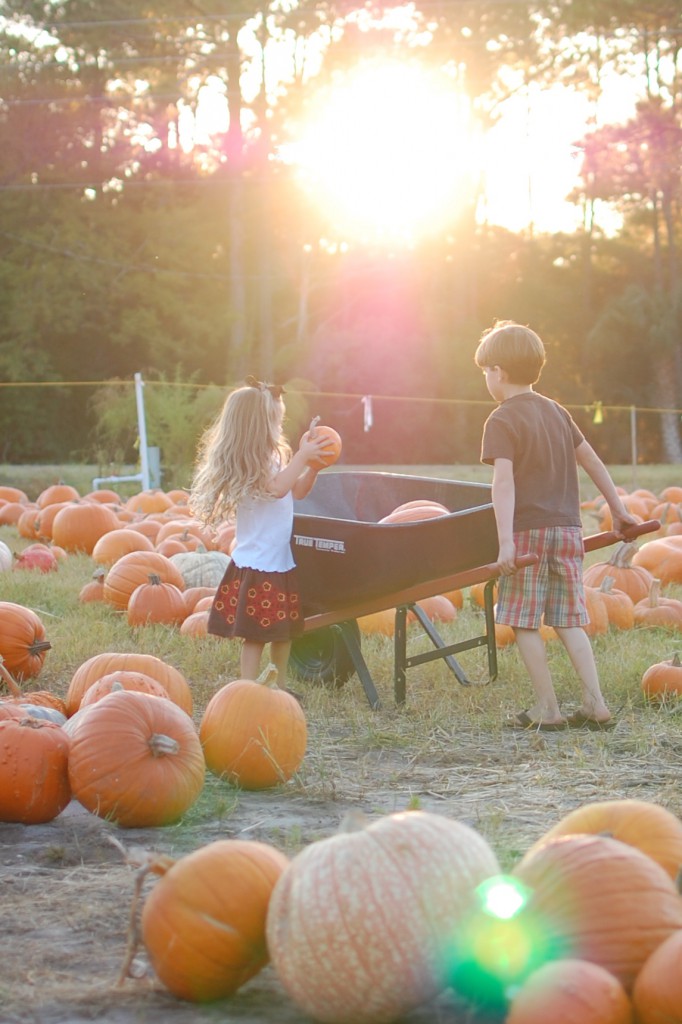
When thinking about a light source, you typically don’t want your subject to be directly in front of the light source. A good rule of thumb is to have the light source behind you as the photographer, or somewhat off to the side. you just don’t want the sun directly behind your subject. that way, the light can shine onto your subject, brightening them and enhancing all the details:
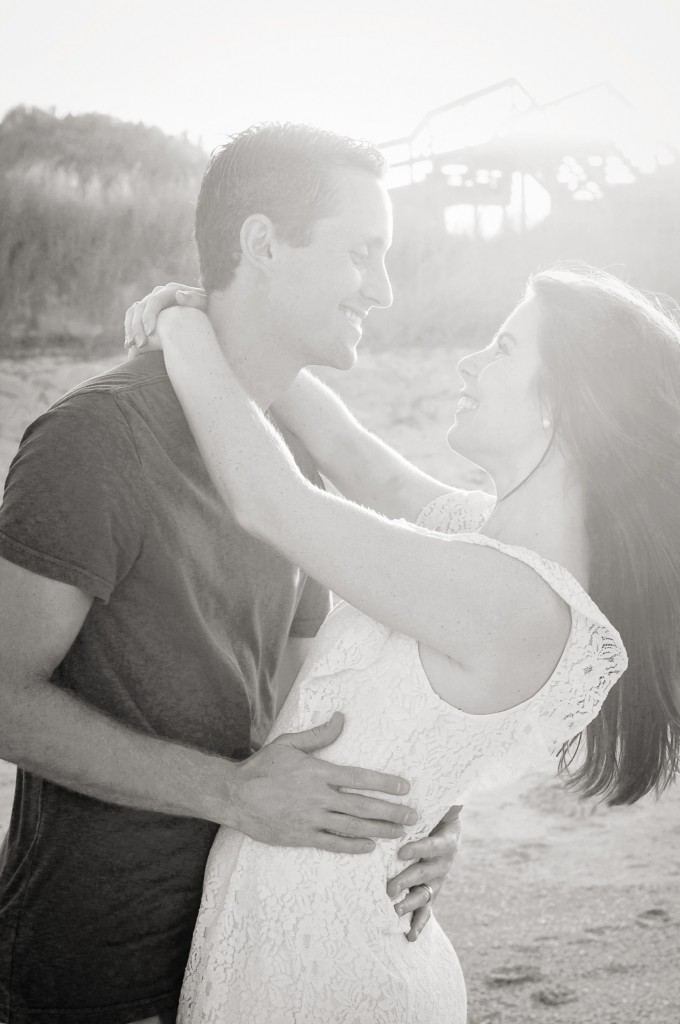
Although, you can get creative and utilize the light behind your subjects to give you a hazy look:
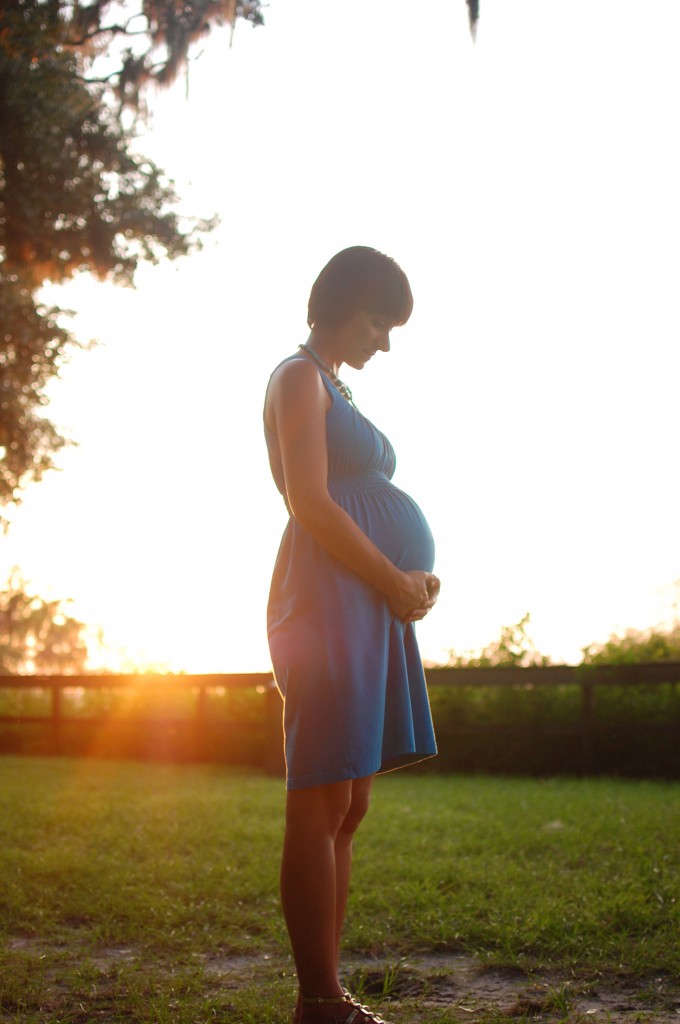
or even a silhouette-ish kind of look (which is ultra cute on a preggo belly!):
having the sun behind your subject does not usually yield sharp or crisp photos, but they can still be artistic and creative. however, for those crisp, bright photos you usually want the light source behind the camera.
another thing to think about when utilizing the sun is the time of day that you take photos. typically, i like to shoot outside not too long before sunset, when the sun is low, and no longer overhead, but still bright enough to give off enough light. if you are taking a photo during the bright hours of sunlight, while it is still overhead, then you are going to need to find a shady spot in order to diffuse some of the harsh light.
here’s an example of what i mean. i took these photos at the same time of day. this photo was taken out in the bright daylight, and you can see that the sun was still too bright, and too harsh, and that there was too much bright light in this picture, creating shadows across my subject:
but by moving my subject out of the direct light, and into the shade under the boardwalk, i ended up utilizing an appropriate amount of light, resulting in a much better photo:
now that we have lighting out of the way, let’s talk COMPOSITION.
the official definition of composition is the placement of ingredients in a work of art. the non-technical way to think about composition is how you set up your picture, or put your picture together.
So often, we forget this when we are snapping a photo, but composition can make or break your photo. so it’s worth it to take a few seconds to think about it before shooting.
here are some very practical things you can think about to compose a great shot:
– Check the Background:
Make sure you see and notice everything in the frame before taking the picture. If your child is sitting on the ground, but there is a big pole behind him, that can ruin your photo. People in the background have often ruined great photos! But if you adjust either yourself or your child slightly, that can be a dramatic change!
– Rule of thirds:
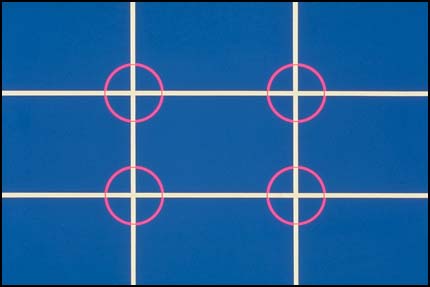
The Rule of Thirds is simple: when setting up your subject, divide your picture in your mind into thirds horizontally and vertically. Think of it as a tic tac toe grid.
(source)
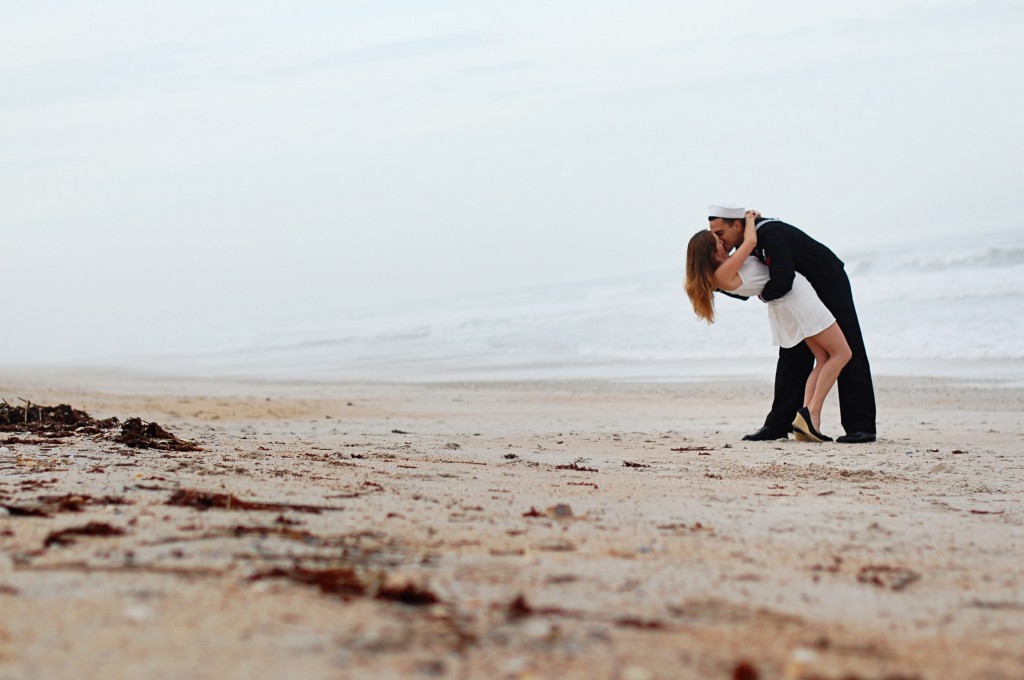
When setting up your picture, place your subject on one of the lines or intersections created by the thirds. This often times makes your photo more interesting for the eye to view.
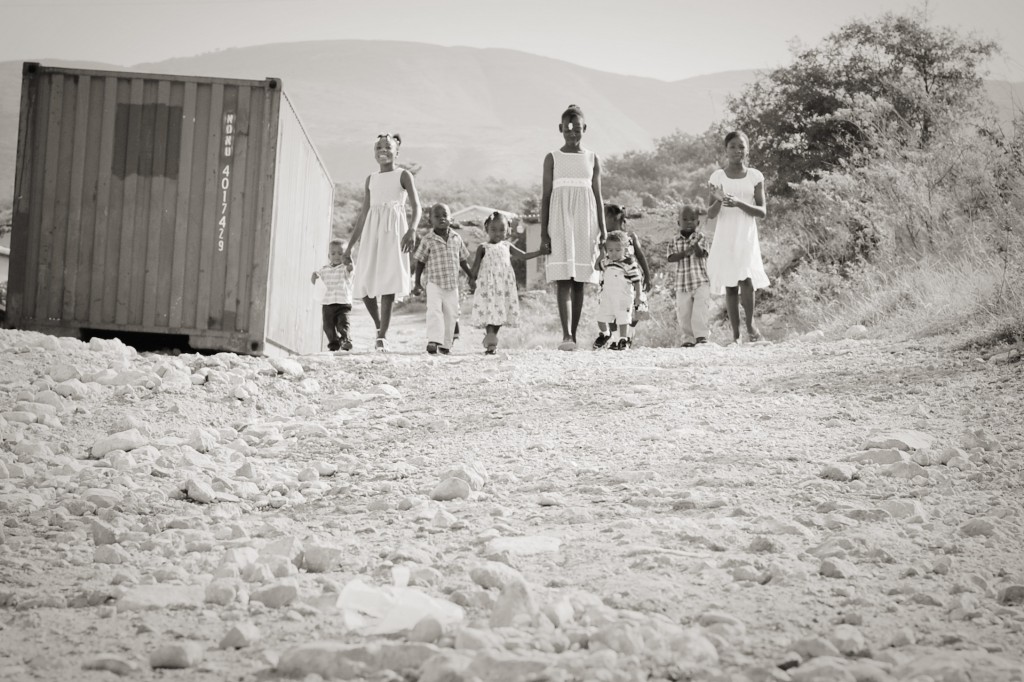
here are a few examples:
Often times we just try to line everything up in the middle, but if you adjust slightly to make the focal point of your picture on one of those lines or intersections, it can give you a more artistic, creative photo.
another thing to consider when you are setting up your shot is:
-Your position as the photographer when snapping the shot.
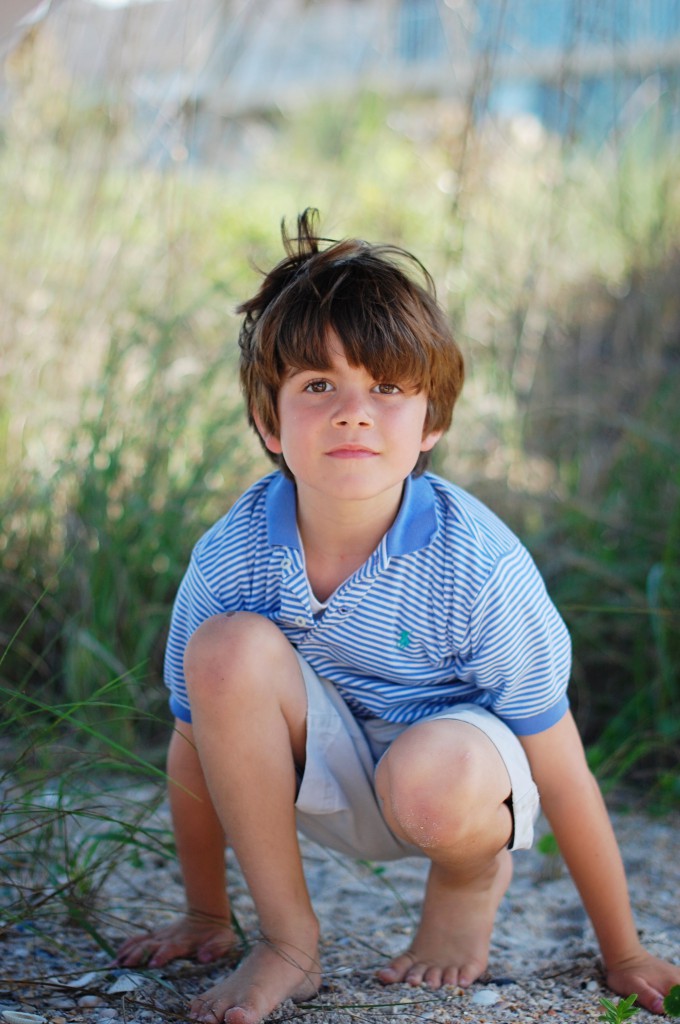
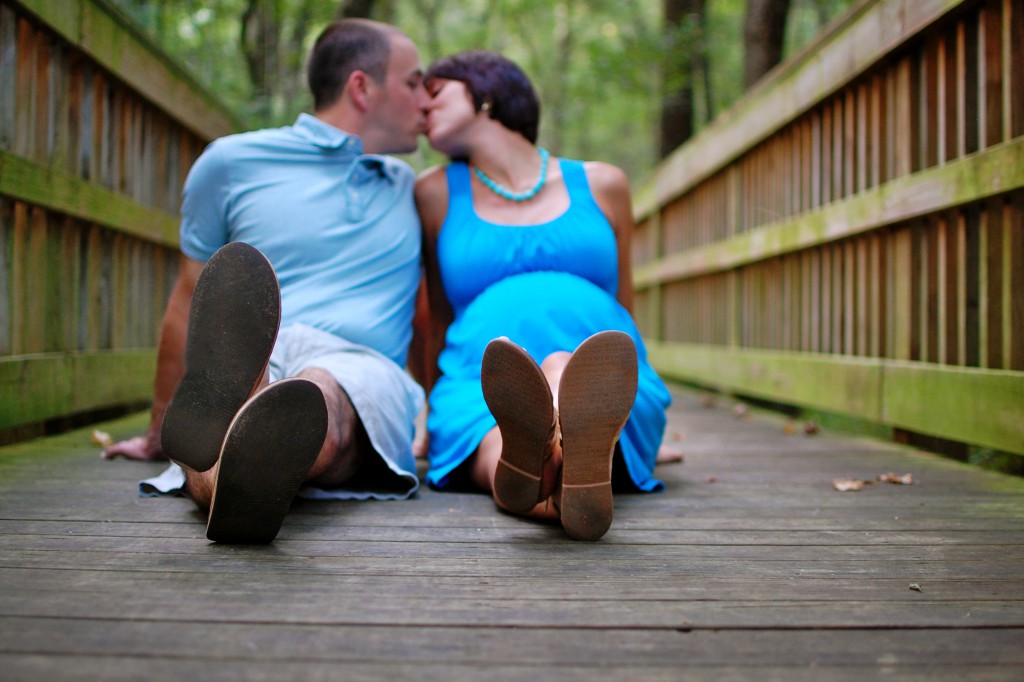
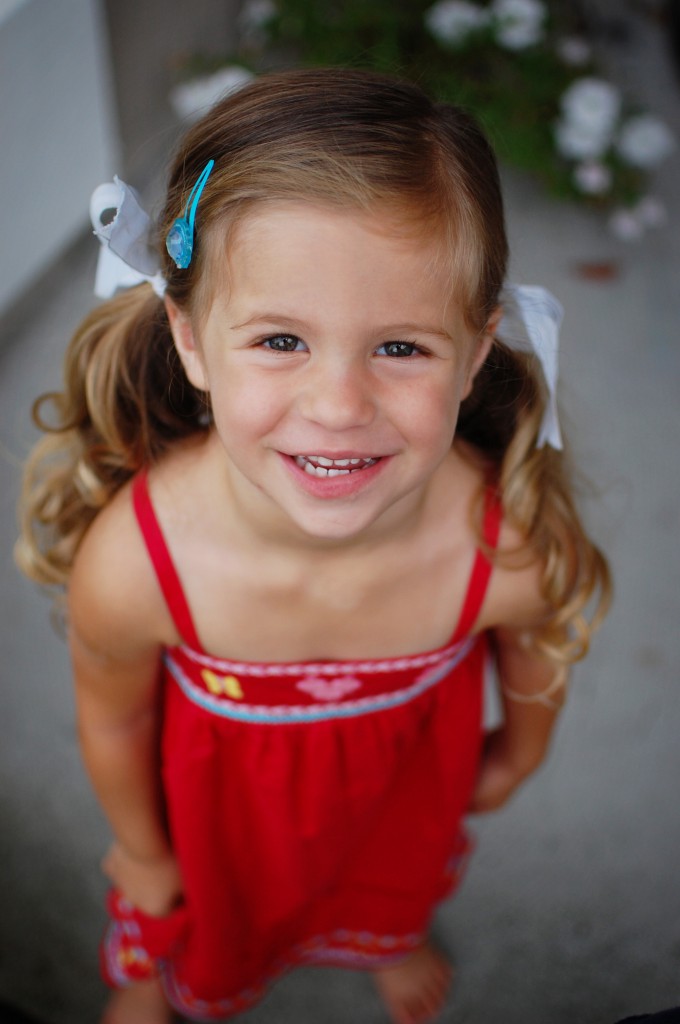
So often we just stand and shoot straight on. But don’t be afraid to get down and dirty! Most of my favorite shots are ones where i’ve gotten down at eye level with the subject. I’ve been known to literally lay on my stomach, stand on my tiptoes, squat, whatever necessary to get the shot I want.
positioning yourself creatively as opposed to just standing up and shooting gives the effect of actually being in the picture. standing straight on to capture these shots would’ve lost that effect.
along these same lines, here’s another thought:
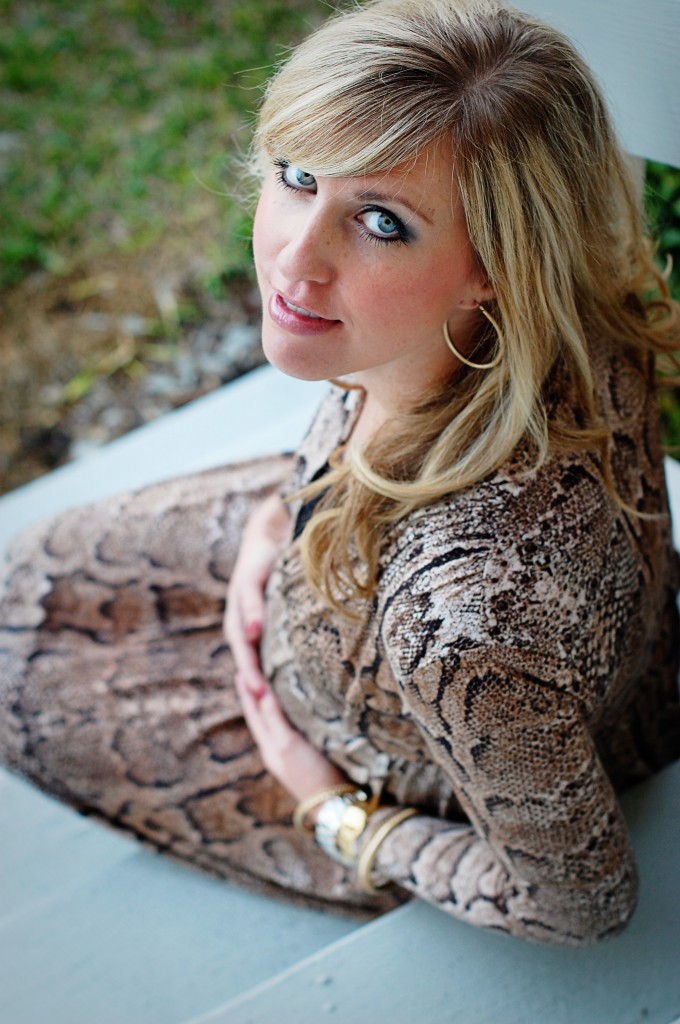
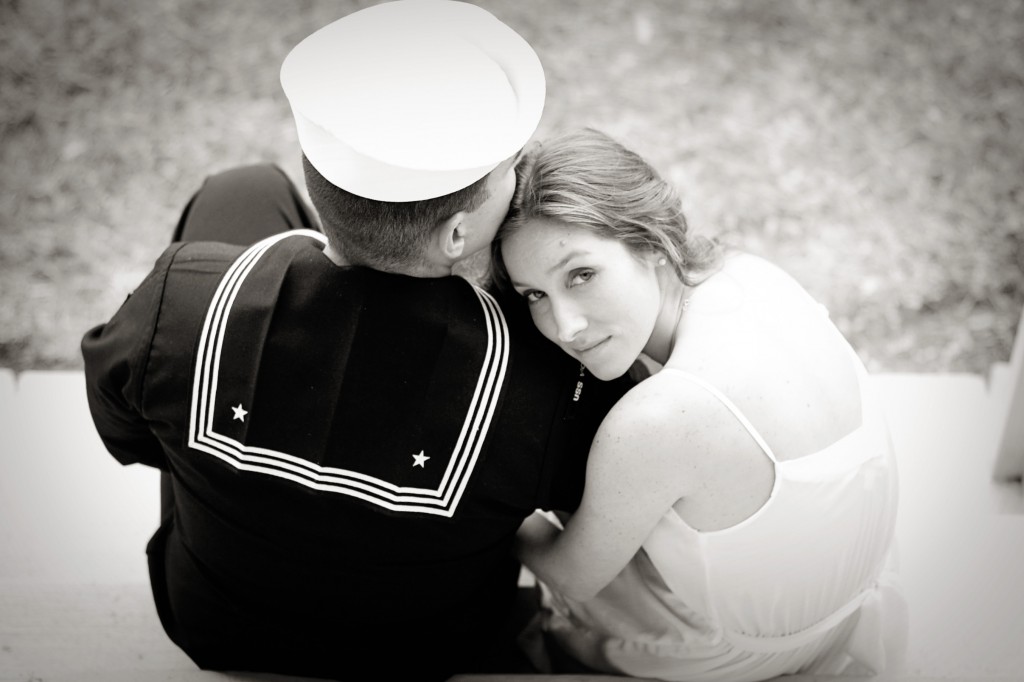
-Standing over your subject as you shoot. Totally changes the look of your photo.
a few more thoughts on composition:
– Fill the frame:
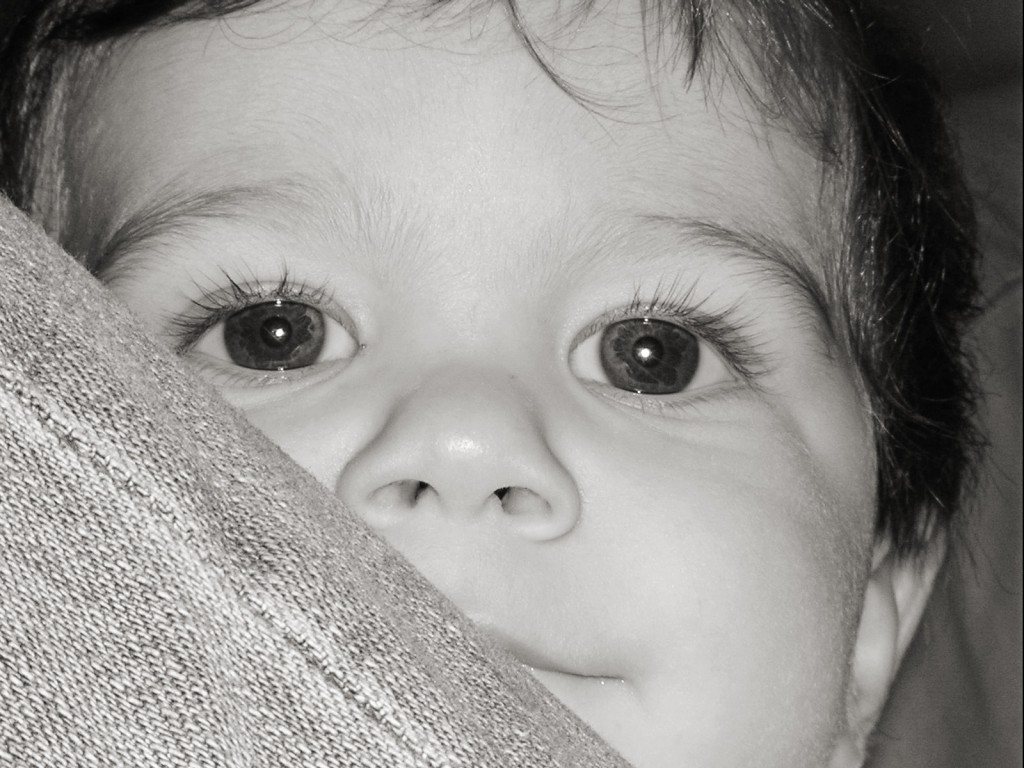
another way to get a great photo is to completely fill the frame with your subject. If you get closer, or zoom in, and eliminate as much background as possible, filling all the empty spaces with your subject, you might be pleased to find that you capture details that would otherwise be lost.
(just to note…both of these photos above were taken before i had my DSLR, and they are two of my favorite shots…even though they were taken with an inexpensive, simple point and shoot camera. proof that you can get shots you love without any kind of expensive equipment!)
keep in mind with filling the frame that sometimes you might want the background for context purposes in the photo, so think about what kind of shot you are going for.
one other thing to think about in terms of composition:
-Think about what you want the focus to be in your photo, and be aware of what is going on.
here are a few examples of what i mean:
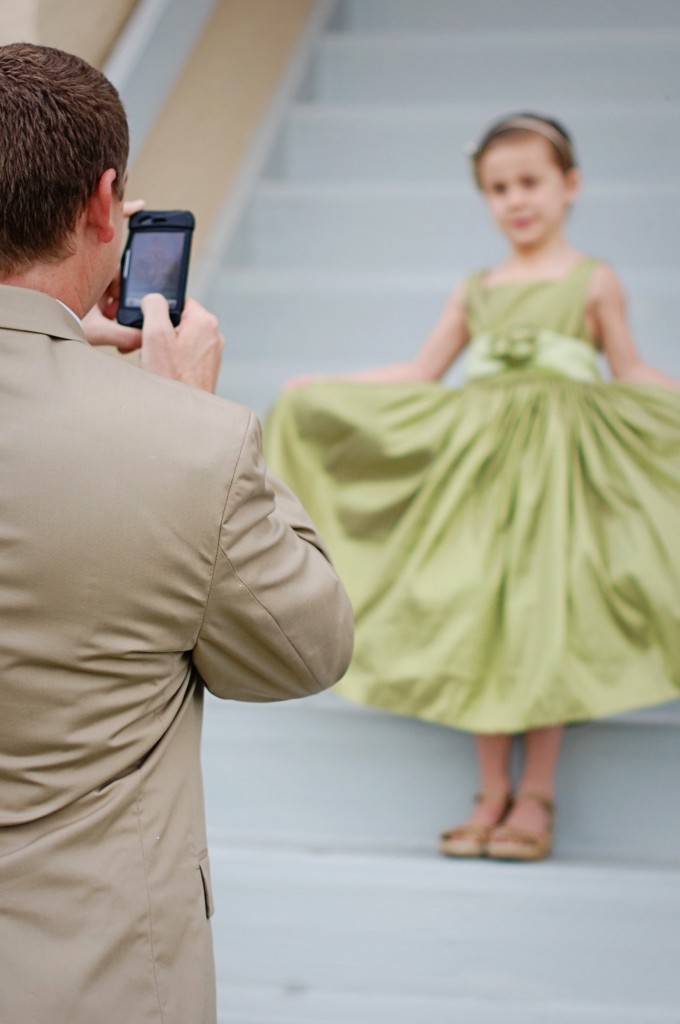
i was taking pictures of Bella before her daddy daughter dance, when i noticed Jake using his phone to take her picture. making a slight adjustment in the composition of this photo to make Jake the subject instead of Bella captured a sweet moment!
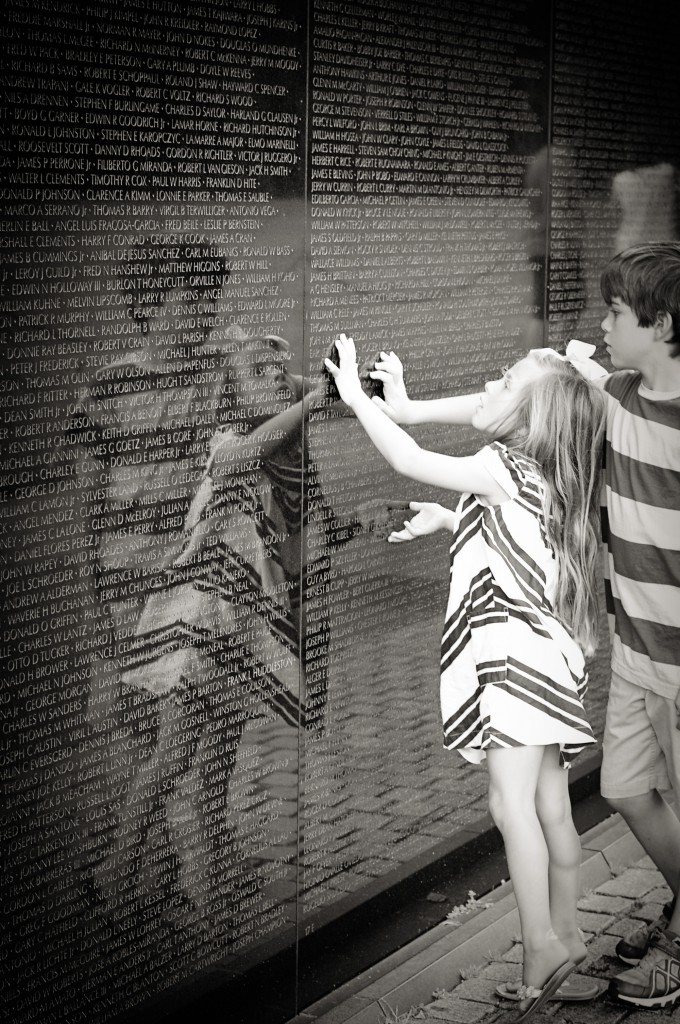
and slightly adjusting the focus in this picture to capture the kids reflections makes for a totally different kind of photo:
so when thinking about composition, take just a few seconds to think about what you want your final outcome to be, and adjust where needed to capture the shot you really want. that way, you are shooting purposefully, instead of just being trigger happy 
however, with all art, here’s something important to remember: Rules are meant to be broken!!!
for example:
sometimes you want the context of a subject within its background for the kind of photo you want. so then don’t fill the frame!
Sometimes you like the picture to be dead center. Break the rule of thirds!!
Be creative and figure out your own style. That took me a while, but once I got comfortable with knowing that I had my own style, and didn’t have to be or shoot or edit like anyone else, then I was freer to just do what I wanted to do in any given situation. But learning these basics has helped me think more about what and how I’m shooting.
On that note:
– Think outside the box, and shoot what looks great to you as the artist, even if it’s a different kind of shot:
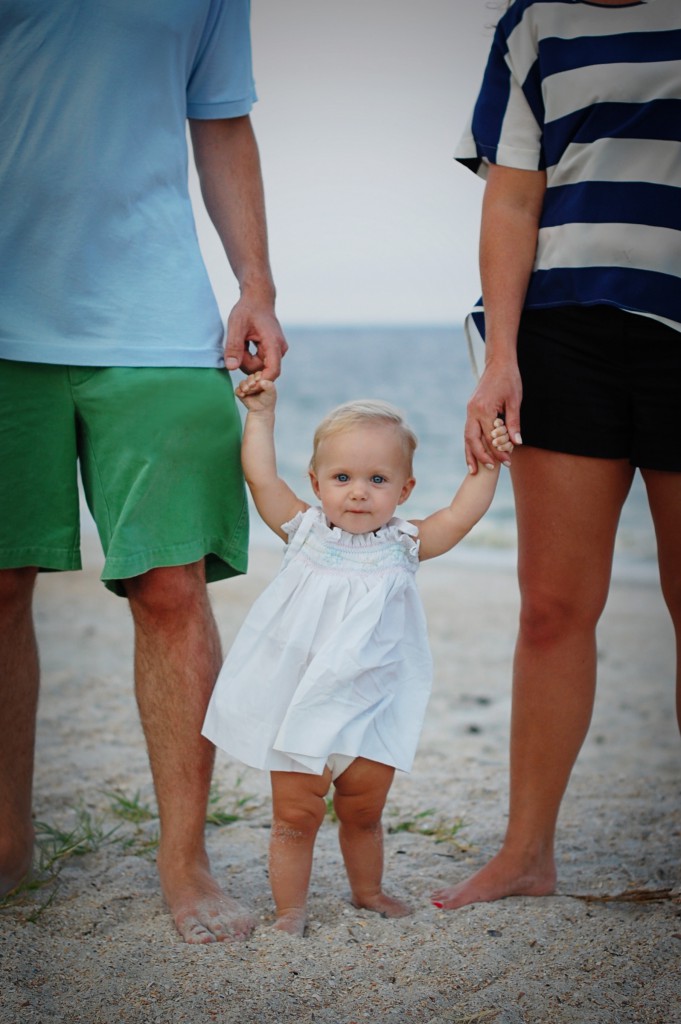
it might seem like cutting off the heads of the parents in this picture is breaking certain composition rules, but i loved how just their bodies frame their daughter:
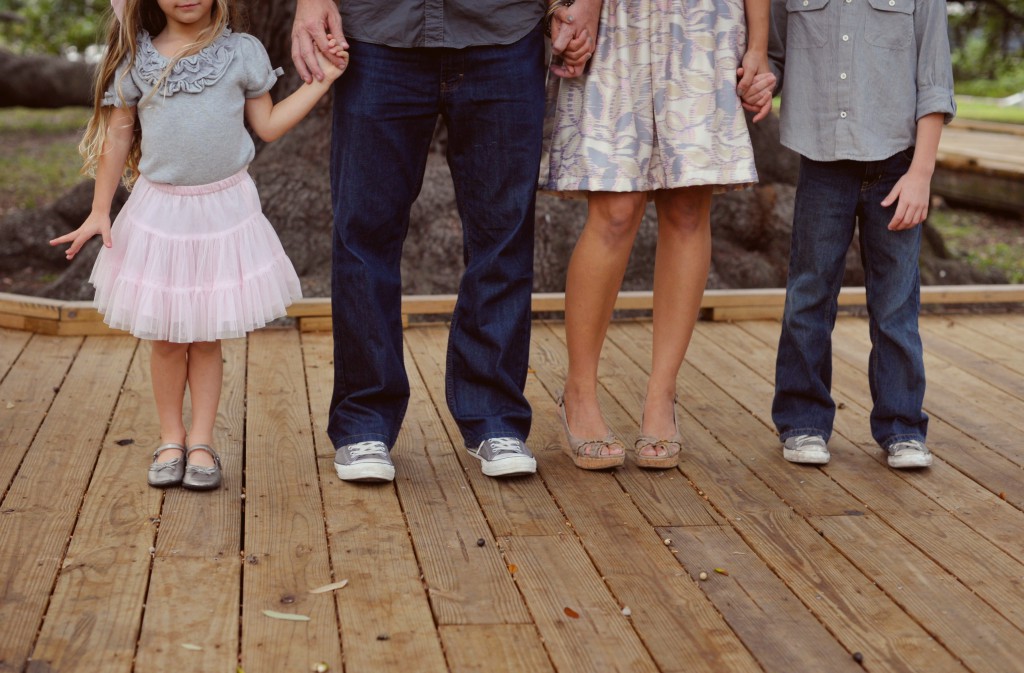
and this photo was taken of my family by Daisy Mai Photography. i have it framed in my living room, because even though it’s only the lower halves of our bodies, i feel like it’s very representative of who we are:
sometimes thinking outside the box and following through with your own style is what really makes you an artist!
alright….next up: Photography 101 {Part 4: Photo Shoots & Editing}
in the meantime, please share with me your own composition tips!
and in the spirit of the holidays, here’s a little Thanksgiving post for you from last year…my Favorite Thanksgiving of all time! you might just find some fun ideas that you can incorporate into your celebration this year. and here’s a post to the pie that i am in the process of making…but this time with homemade crust!
Happy Thanksgiving, friends!






 Follow
