Photography 101 {Part 1: Equipment}
i’m SUPER excited about this series i’m starting today:
if you are like me, then sometimes you are just looking for some simple, practical tips to take better pictures. when i first decided i wanted to really learn more about photography, i searched far and wide for very practical tips, in easy to understand language, that i could start doing right away that would help me get great results that i loved. i found it hard to come by practical tips that were written for a regular person like me. most things i found were super technical, or written by professionals, or cost money…
so my goal with this series is to inspire and encourage you with tips that are simple, doable, and understandable, but that will make a difference in your photography, no matter your skill level or experience.
my disclaimer…i am not a professional photographer. not even close. i’ve never taken a class or had any formal training whatsoever. so anything i know is just info i’ve picked up through research and trial and error along the way. so just know that the language i use may not be proper or technical, my pictures are very far from perfect, and if you happen to have had some formal training, you could do a much better job than me at writing this series!
but that’s why i’m excited to do this series, because you can be assured that its coming from someone most likely just like yourself…just a regular person who is interested in capturing great shots without needing to a be professional…or have professional training or equipment!
i’ve got lots of info prepared to share with you over the next few posts, so i’ve broken it down into parts. the posts to come are full of really practical tips, but today, i’ll start with talking equipment, because i get asked this question alot! (and because i think it will encourage you to know that i don’t own anything all that fancy!)
i’ll show you some photos along the way too, because i’m a visual learner, and i think that can be helpful. however, just like anything on this blog, you are only seeing a very small glimpse, so for every halfway decent photo i show you, there are 20+ more like this:
so just know that although i’ll be choosing somewhat good photos to use as examples, my iPhoto is full of crappy shots 
okay…onto equipment. i’m going to get specific about my equipment, because i get asked about it often, but just know that i’m only talking about what i know. i don’t think my equipment is the best or the only kind of equipment that can yield good photos. and i am not sponsored by Nikon in anyway, so this is purely my true and honest opinions!
I am a big believer in that you don’t have to fancy equipment to capture great memories. (keep reading to see what i mean.) I think its way more about what you as the photographer see and capture, then it is about what equipment you are using. (but more on that in part 2 and 3!)
however, having certain types of equipment may make it easier to capture the kinds of shots you want. My camera is a DSLR…Digital Single Lens Reflex. There are many reasons that DSLR’s are so popular, but the main reasons i switched about 4 years ago from a simple point and shoot digital camera to a DSLR are:
– DSLR’s take very quick shots. In other words, there is no delay when taking the photo…its instantaneous when the button is pressed. My kids move every milisecond, so that feature is priceless for me!
– You can change out your lenses. a huge bonus, because you can have different lenses for different kinds of photos you want to get. (and i think lenses are what allow you the opportunity to be creative.)
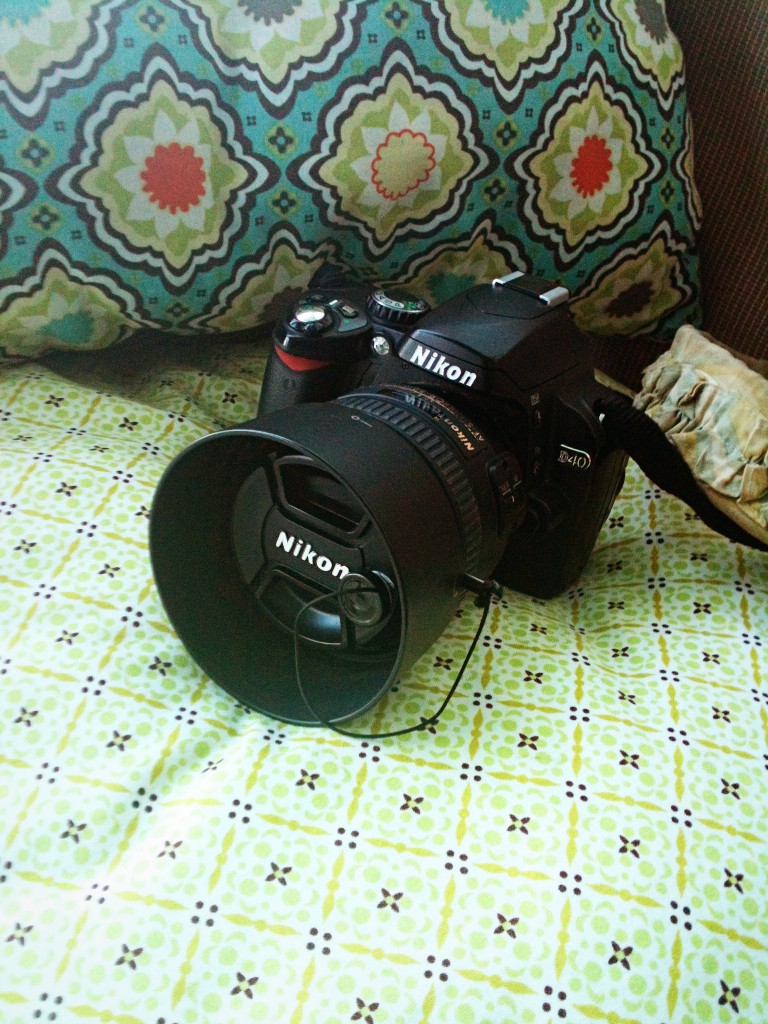
I shoot with a Nikon D40 camera body, which Nikon doesn’t actually make anymore, (but it can still be bought as just the body, used or refurbished.) or you can buy it new with a kit lens here: Nikon D40
.
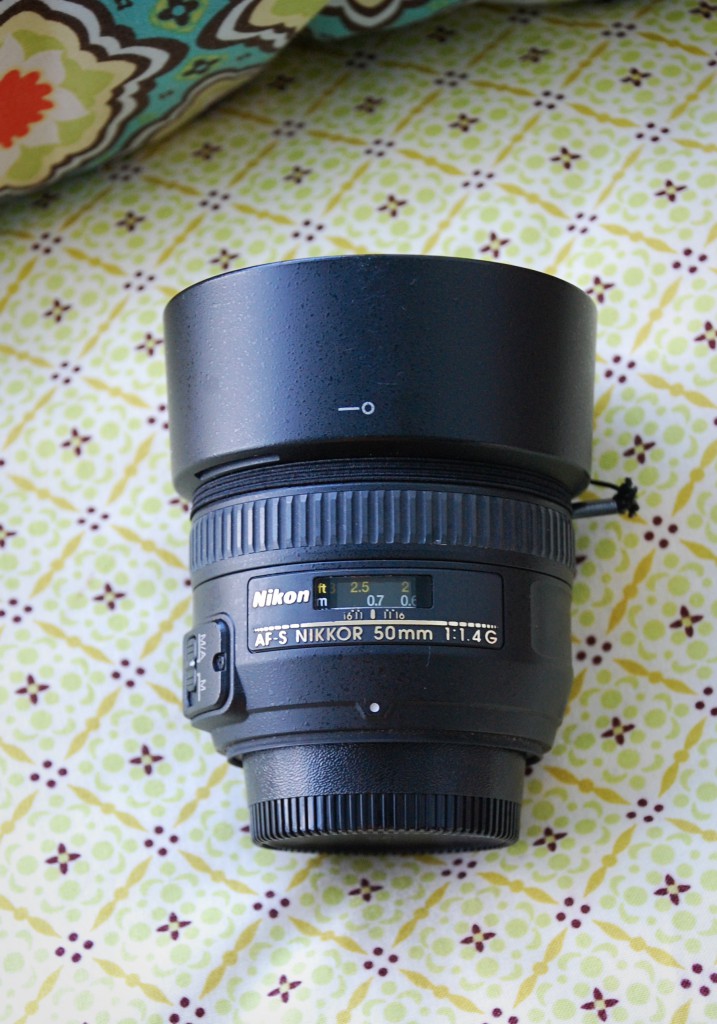
(since i can’t take a photo of my camera with my camera, an iPhone photo will have to do)
I think it might’ve been the best value camera Nikon ever made. In other words, it was the cheapest  it doesn’t have many bells or whistles, and is very simple to operate, but i’ve been so impressed by what i’ve been able to do with the least expensive Nikon DSLR, even with its low 6.1 megapixels. (low in comparison to the newer models on the market.)
(if you were in the market for a camera without spending massive bucks, i’ve heard great things about the Nikon D3100 . its better than my D40, but still not super expensive.)
in my opinion, the lens you use is much more important than the camera body you use. i have never actually used the classic kit lenses that most cameras come with. (the 18-55 mm and the 55-200 mm). i originally had only one lens…the Nikon 18-135mm f/3.5-5.6. it came with a body that my dad had bought a while back (so he got a great deal), and he gave it to me in exchange for my kit lenses that came with my Nikon D40, which was extremely generous! otherwise, i would not have that lens. its a great universal lens, with a vast zoom range, so i can use it in almost any situation. i used that lens solely for the first couple years, until i purchased my prime lens…which has totally changed the look of my photography.
if i had to only choose one lens to own, it would be the Nikon 50mm f/1.4. this is the lens that i currently use 95% of the time. it is a prime lens (a fixed lens, aka: a lens that does not zoom). it has a wide aperture. (the number after the “f” on the lens tells you the aperture…or how wide the lens can open. A lower number = a wider aperture = a wider opening = more light in….but more on that in Part 2.)
Why, you might ask, would one want a lens that doesn’t zoom?
In very basic, non-technical terms, prime lenses gives you:
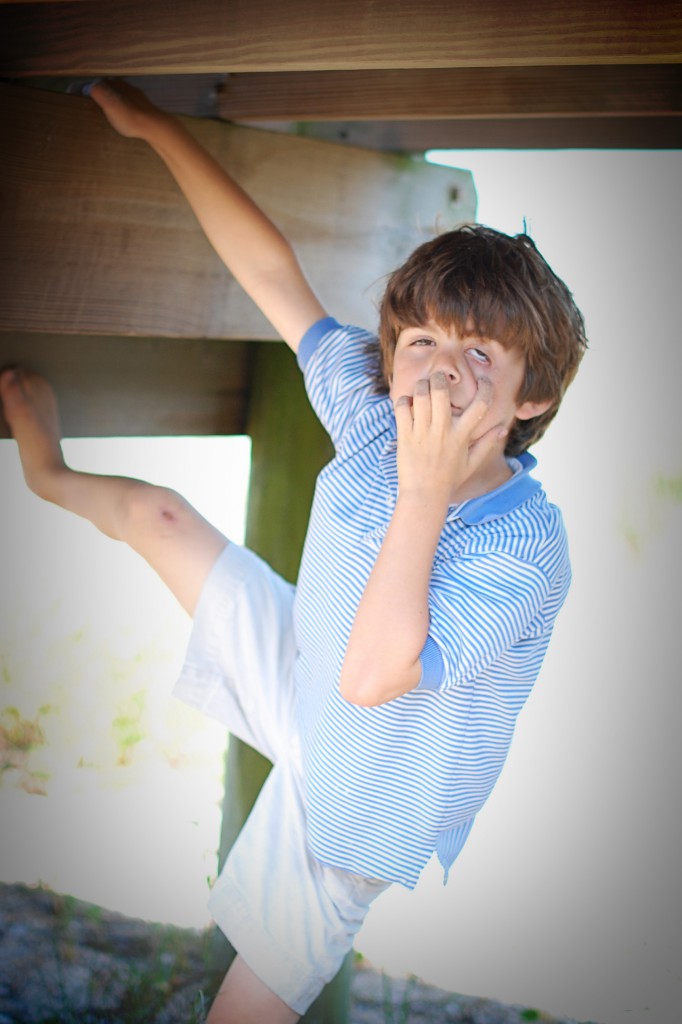
– sharper, more artistic, more natural photos by allowing more light into the camera, which in turn prevents a flash from having to be used (we’ll talk about that later too). this is great for portraits, where utilizing natural light gives you the most natural looking, professional quality picture. natural light portraits (no flash) are the main type of photos that i take:
the other great thing about a prime lens is that it gives you:
– the ability to blur out the background, making the focused image pop. there are technical terms for that (called bokeh, or depth of field… but lets just keep it simple :))
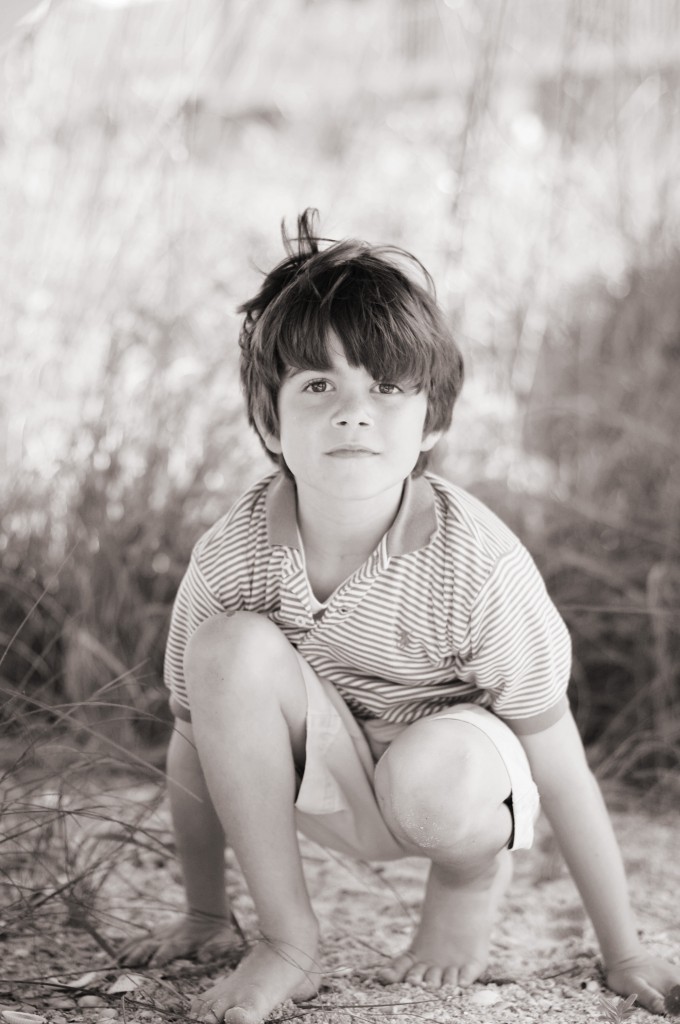
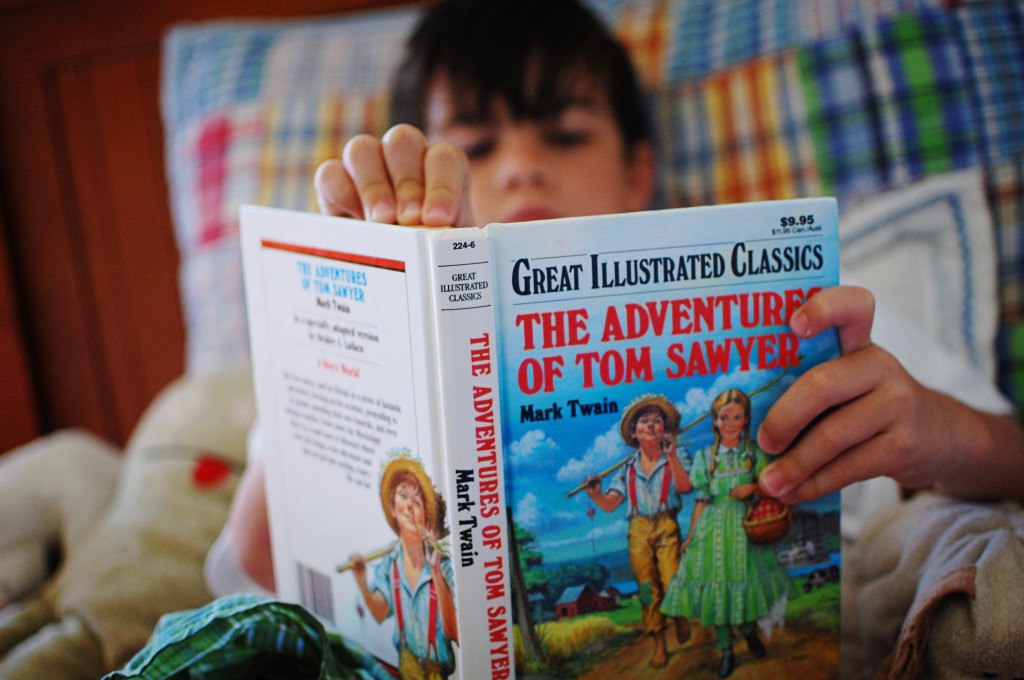
here are a few examples of the types of photos you can achieve with a prime lens:
you can see how the foreground image is sharp, but the background is blurred. prime lenses give you the capability to get those artistic, professional quality shots.
If you are considering upgrading your equipment, I don’t think you would be disappointed by a DSLR, and owning a prime lens will change the type of photos you get. if you are in the market for some equipment, my suggestion is to buy a camera body separately, avoiding the kit lenses, and buy your lenses separately.
Depending on the kind of camera body you have, a good basic prime lens can range anywhere from $99 to a few hundred dollars. i’ve heard amazing things about the Nikon 50mm f/1.8, which at times sells for under $100, and although that lens fits on my body, it does not autofocus on my specific camera body, so you’ll have to do a bit of research on the type of body you have and the type of lens you want.
Look for a lens with a wide aperture, which is signified by a low f-stop number. Aperture can determine the portion of your photo that is in focus. The wider the lens is open, the more blurred your background will be. i’ll talk about that in more detail in Part 2.
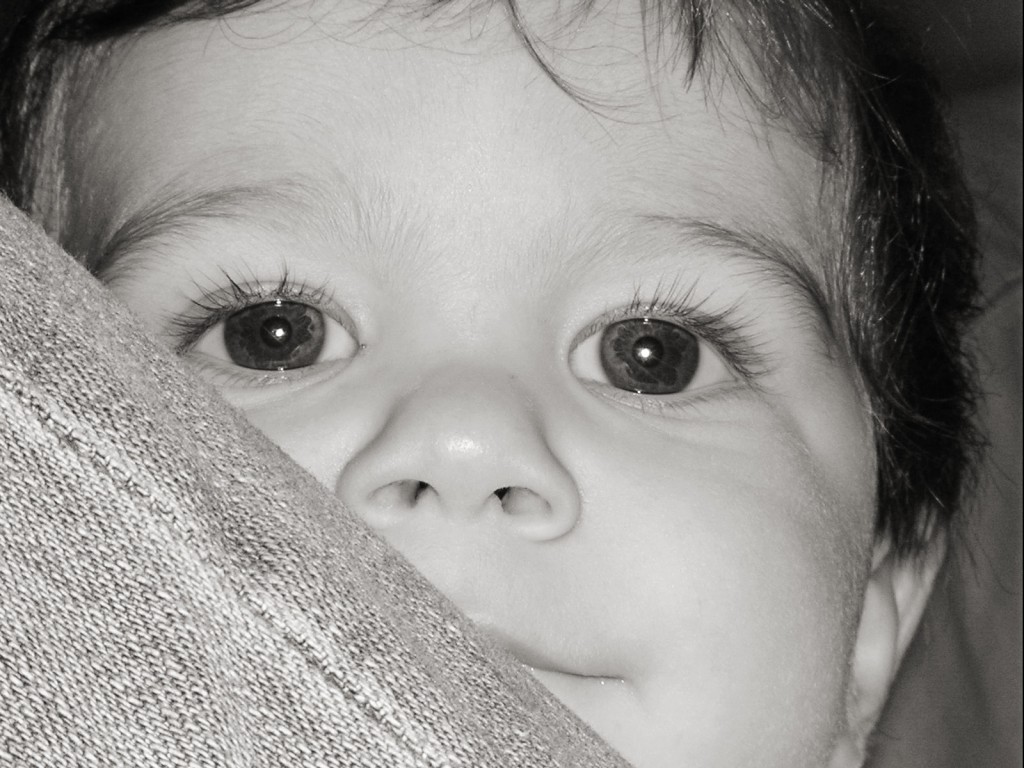
however, the tips I’m going to talk about in this series can be done no matter what kind of camera you own. So don’t feel like you can’t get great quality unless you spend lots of money. I don’t think that’s true. in fact, a few of my all time favorite shots were not taken with my DSLR, but just an inexpensive point and shoot, like this one:
while we are on the subject of equipment, no matter which camera you shoot with, your camera’s manuel can become your best friend. Once I learned that, I was able to get much more use out of the equipment that I had. It is loaded with helpful instruction for your specific camera, and my own manuel has taught me a lot about how to shoot in specific settings.
as for some of the extra equipment i have:
i use a UV Protection Filter on every lens, simply as an extra layer of protection. that way, if my lens happens to get scratched, its really only the filter that is scratched and much easier and cheaper to replace than the actual lens glass. and these Lens Leashes
have spared me a lost lens cap many many many times!
i also store and carry my camera, lenses, and all my equipment in this Camera Backpack .
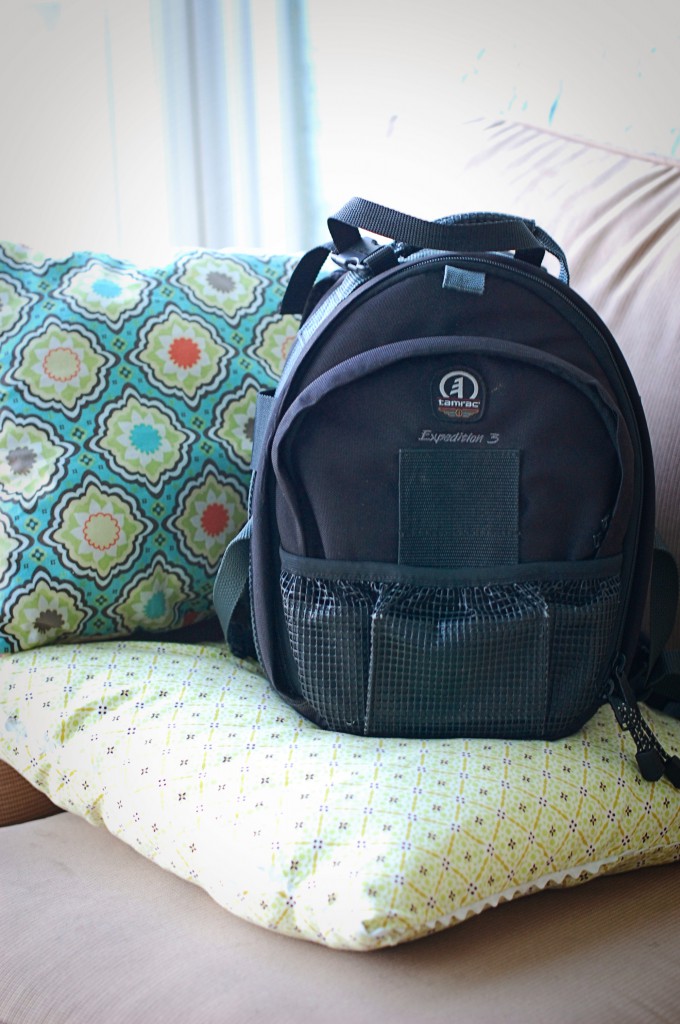 i love it, because its super durable, and padded in such a way that i really feel like my equipment is safe and protected, even while tossed around in the backseat on the way to a soccer game, hiking the rainforest of Costa Rica, or climbing a waterfall in Haiti. i would love to have one of these cutesy, chic, stylish camera bags (and one day maybe i will) but my backpack is much more practical.
alright…now that we have equipment out of the way, i’m excited to move onto actual shooting tips! so come back soon for Part 2…which will be all about the Photographic Triangle (in terminology that you can understand), and tips for moving out of automatic mode to having more control over your photography through manuel mode.
and…btw…all my pinterest pins are now working!! YAY! Aaron at Pinterest is my new best friend for working on getting those problems resolved for me. so this whole blogger to wordpress transfer is officially finished!!
check back for Photography 101 {Part 2} coming soon,







 Follow
