i am PUMPED today!
wanna know why?
cause i’m gonna show you how to make quick, easy, and inexpensive dresses just like these!
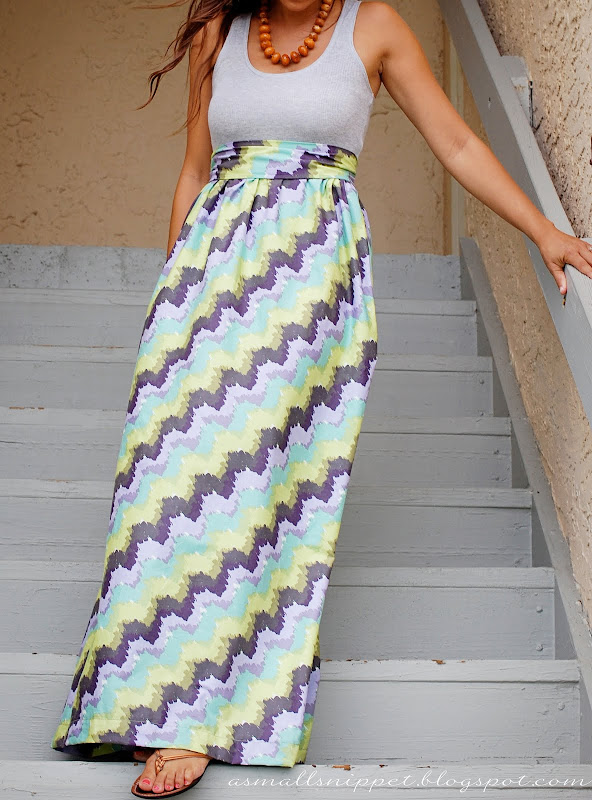

i know what y’all are thinking…no way that’s quick and easy.
oh…you are SO wrong. it really is! i might even venture to say that its one of the easiest sewing projects i’ve ever done.
go ahead…try it…and try to prove me wrong! you might just be very happily surprised!!
i orginally found this brilliant idea here and was instantly motivated to try it. i did, however, change up some things along the way, such as making a long maxi dress, and one other thing in particular that will prevent a massive headache, so i’ll go ahead and post a tutorial here for you to see.
i took the following pictures for the tutorial as i was sewing the long dress. i will make a note in each step where there is something different to do for the short dress.
first things first…gather your supplies.
all you need is a ribbed tank top and some coordinating fabric and thread. how cheap is that??
you’ll also need some elastic thread, but we’ll get to that.
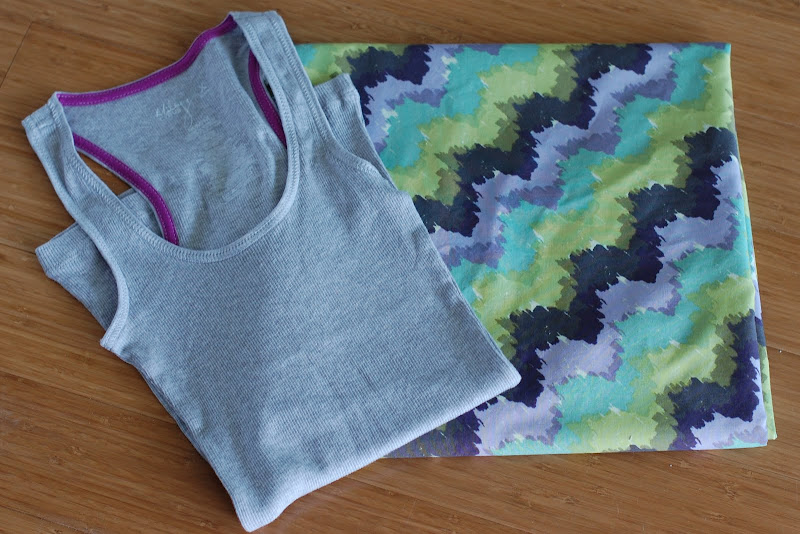
i bought my tank at WalMart for $3.50. i would’ve never bought it to wear for real, cause it came up too short and way too tight on my tummy, but it doesn’t matter cause you’ll only use the top. so in other words…you can buy an inexpensive tank…the kind that are cheap cause they don’t fit well. just make sure you like the way the very top fits!
the original tutorial called for 3 yards of fabric. i only used 2 yards with some left over when it was all said and done. the amount of fabric you need will depend on your sizing. you basically need to be able to wrap the fabric 1.5 times around your high waist. so just jump on into that fabric store, pick out your fabric, and wrap that junk around your waist, marking it at 1.5 times around, and then give yourself a little bit extra for a sash, and ask that cutting counter to cut that bad boy for ya right at that mark! you will need the same amount of fabric for a long dress and a short dress.
first step is to cut your tank. my final measurement was 15 3/4 inches from the top of one shoulder strap to my cut line. again…that measurement will depend on your sizing. cut about where you want the skirt to attach…in my case, it was my high waist. just leave a little room to sew the tank to the skirt.
(i actually cut it even shorter after taking this pic)

for the long dress:
unfold your fabric and wrap it 1 and 1/2 times around your waist where you want the skirt part of the dress to start. cut off the remaining fabric.
for the short dress:
keep your fabric folded in half longways (the way its folded when its on the bolt at the fabric store). still wrap it the same way and cut off the remaining fabric, keeping it folded.
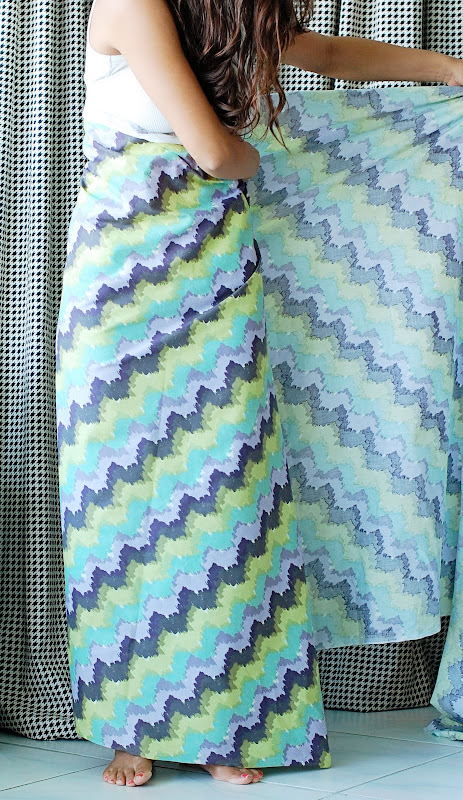 for the long dress:
fold the fabric in half, to begin creating the skirt, right sides together, and sew up the long side.
for the short dress:
since the fabric is already folded, both sides will be the right sides, so just fold in half again the other way and sew up side.
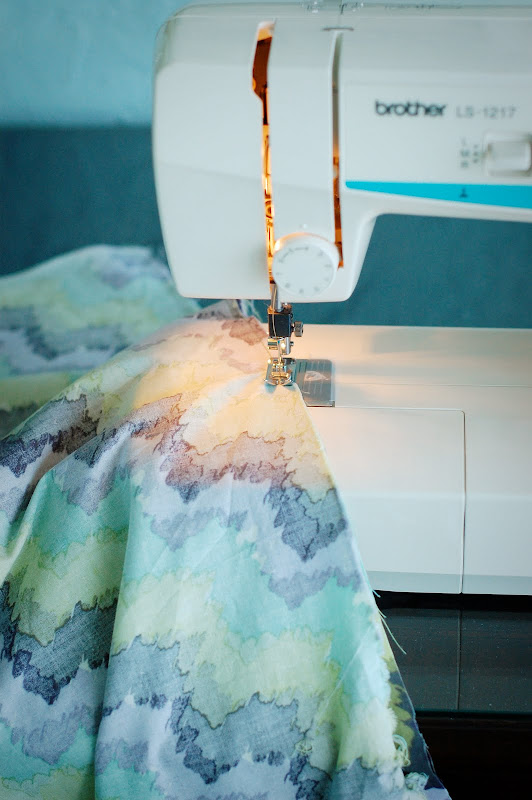 you will be left with a big box-y skirt.
 okay…let’s talk about Elastic Thread
 .
.
the original tutorial did not call for this, so i sewed this next step on my long dress first with regular thead. the result was that once it was finished, i could not fit the waist part of the dress over my chest, since my waist is smaller than my chest. so i tried going the other way and stepping into the dress, but lo and behold, my hips are also bigger than my waist, so that didn’t work either! i eventually weasled my way into the dress, but then it dawned on me that there had to be another way!
so i ventured out and bought Elastic Thread ! i tried using this Elastic Thread
 on the short dress for this next step, and it worked brilliantly!!
so this is a must!
(to note…don’t confuse Elastic Thread with elastic bands or elastic rope. you gotta get the thread!)
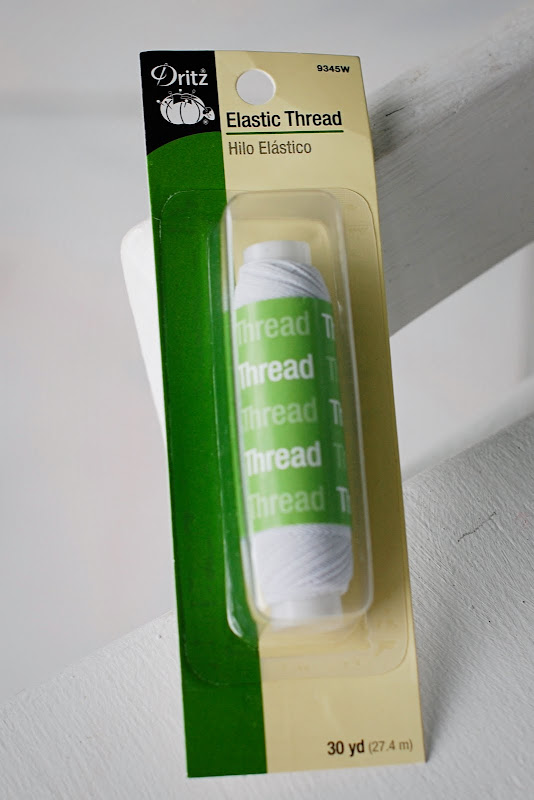 here’s the deal with elastic thread….you just need to thread your bobbin with it and use regular thread up top. and you thread your bobbin by hand, winding it around the bobbin, somewhat loosely. you just don’t want it tight.
now with the elastic bobbin in and your regular thread on top, sew with long stitches all the way around the top of your skirt.
for the short dress:
you’ll want to sew on the raw edge, or the side that is not folded. the folded side will be the bottom of your skirt…creating a bubble-like skirt)
as you sew, the fabric will be begin to ruffle. that’s good!!
 once its done, it will look like this and you should see the skirt taking shape.
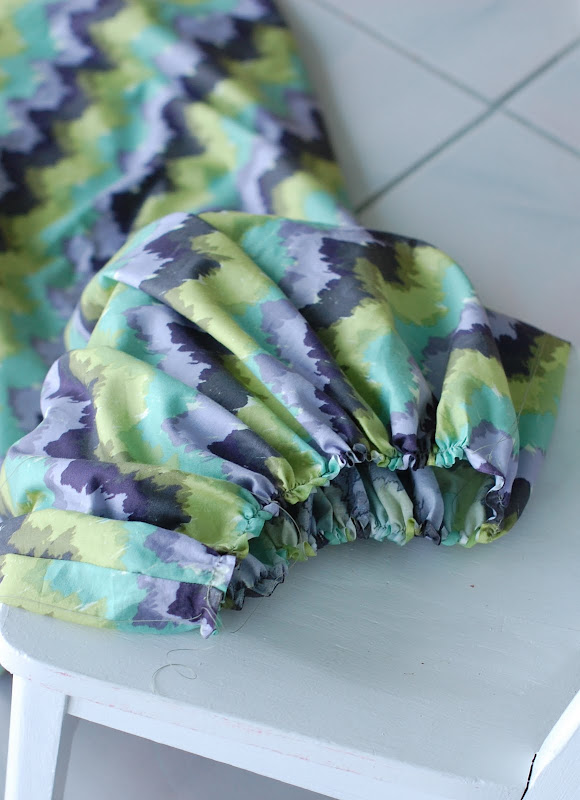 before this next step, for both dresses, turn inside out so the raw edge that you sewed in the first step is on the outside.
next, for both dresses, slide the tank top in the skirt, making sure the tank is right side out. you will slide it in top (straps) first, as pictured below:
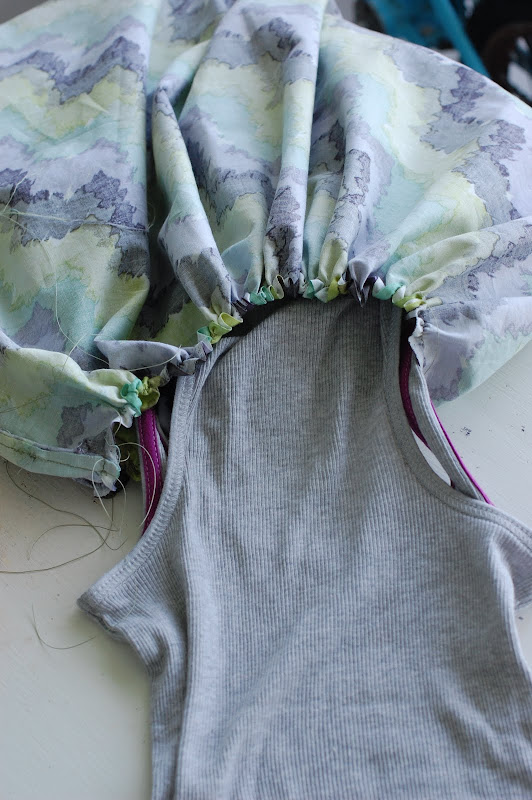 you’re gonna pin the cut edge of the tank to your ruffled skirt edge. make sure to line up your long seam on your skirt in the middle back of your tank, so that the seam will run down the back of your dress. i would suggest pinning in that spot first and then working your way around, spacing out the ruffles.
the good thing about working with ruffles/ruching is that it doesn’t have to be perfect!
 once you’ve pinned those pieces together, sew again with the elastic thread on the bottom and regular thread on top.
while its turned inside out, carefully trim the excess fabric at the waistband.
at this point, you can switch out your elastic thread for your regular threaded bobbin.
for the long dress:
hem up the bottom to your desired length
for the short dress:
you can leave the bottom as a bubble skirt. but i wanted mine a bit shorter than it turned out to be, so i just folded up the fold and sewed a hem.
and now your dress is finished!!
to make the sash to cover the seam, if desired, cut a long strip of fabric to your desired sash length. i had to piece two long strips together, so do that if necessary.
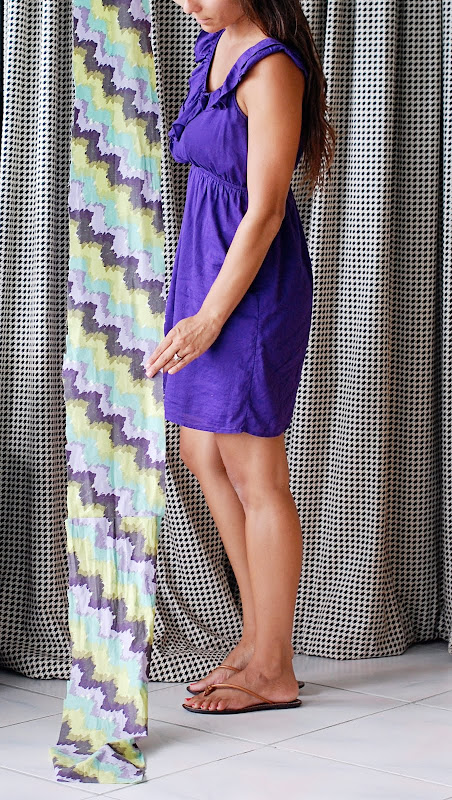 fold in half, right sides together, and sew up long side and one short side.
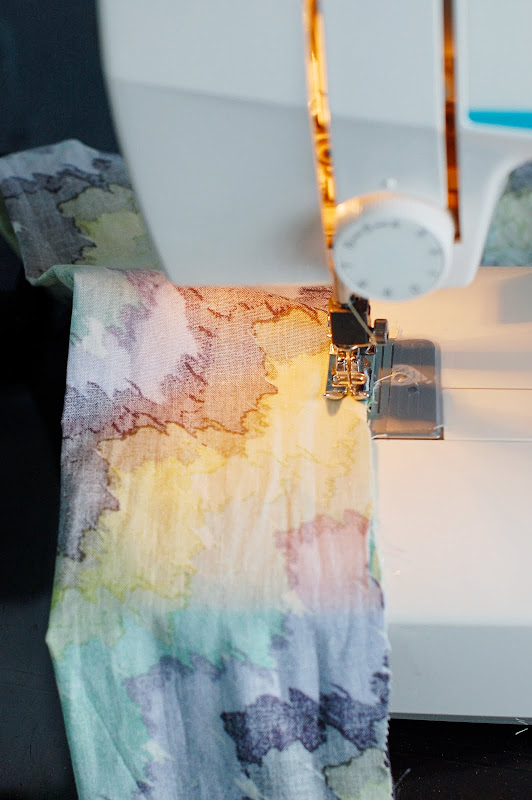 turn the sash right side out, and fold down raw edges on last side…
 tuck in and sew together, finishing your sash.
 tie around your waist, and enjoy your finished product!
Long Dress:
 you can scrap the sash and use a chunky belt too:
 Short Dress:
 add some tights, boots, and a sweater…and voila… fall/winter wear!
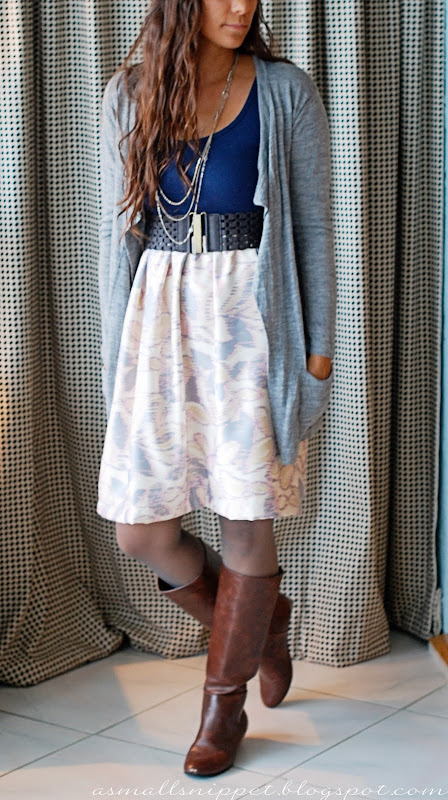 **i have to admit…having the hubs take these pics was embarrassing enough…posting them on this blog is almost too much to bear! but a picture of these dresses on a hanger just didn’t cut it. you have to see it on a real body to get the full effect :)**
a quick tip:
i wouldn’t hang this dress by the tank straps in your closet. the weight of the fabric will stretch out the tank.
i think i’ll be making more of these! my next attempt is to replicate this Anthro skirt using similar techniques as the dresses:

i’ll let you know how it goes.
please let me know if you attempt this and how it goes!
UPDATE:
a reader left a great tip that i wanted to share with everyone that might prevent some headaches along the way. apparently, if you have a machine that has a drop in bobbin, you should use the bobbin winder to wind your elastic thread, as opposed to winding it by hand. those with a bobbin case, like me, should wind by hand.
also…if you are having a problem getting your elastic to create a ruffle, try spritzing it with water and ironing it on a steam setting once its sewn. the elastic should scrunch up once the heat hits it.
and i know a couple of you have had issues with the bottom part of the maxi dress being too tight to walk. that might depend on the kind of fabric you are using, or if you have long legs and a long stride. if you are tall or using a stretchy fabric for the maxi dress, i would suggest giving yourself some extra room (wrap more than 1 1/2 times around your waist!)
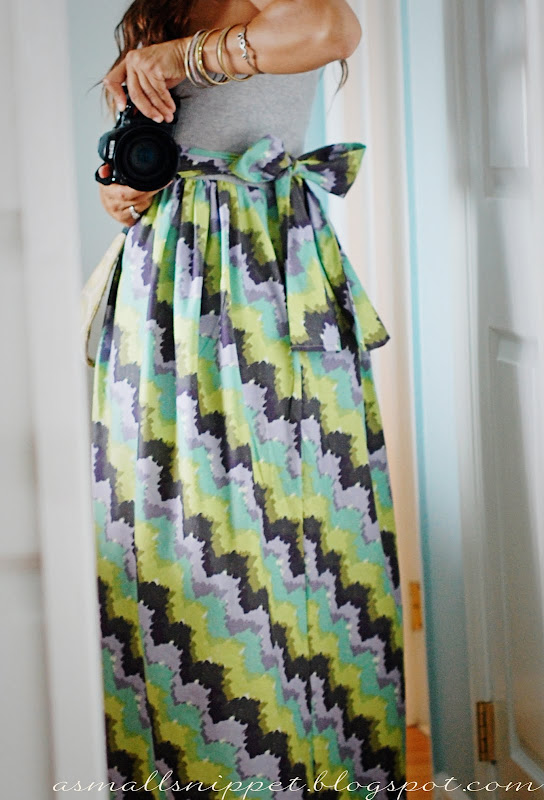
also…some of you have requested a picture of the back of the dress to see how i tie the sash. here you go…its the best i could do for now!
UPDATE AGAIN!!
a reader left a link to this website for those of you having problems with your elastic thread. it has great tips, especially for Brother machine users, to work out problems with elastic thread by adjusting your tension, with step by step pictures of what to do.
happy weekend!

 i was instantly smitten, and bookmarked that bad boy with a big “DO THIS!!!!” as the label. i decided that this could be a quick and simple project, and i had the perfect blank wall, so i got started right away.
 i created it by using different text boxes and moving them around until everything looked the way i wanted it to.

 i was instantly smitten, and bookmarked that bad boy with a big “DO THIS!!!!” as the label. i decided that this could be a quick and simple project, and i had the perfect blank wall, so i got started right away.
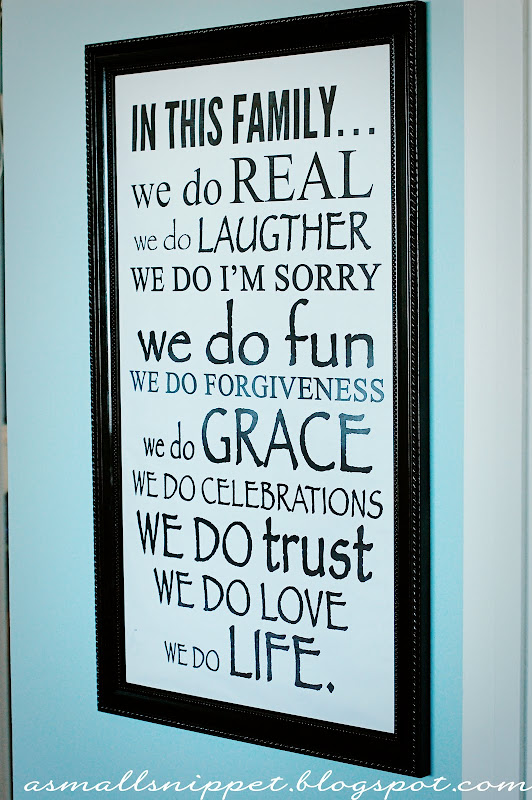
 i used $1.00 spray paint from Walmart to spiff it up a tad:
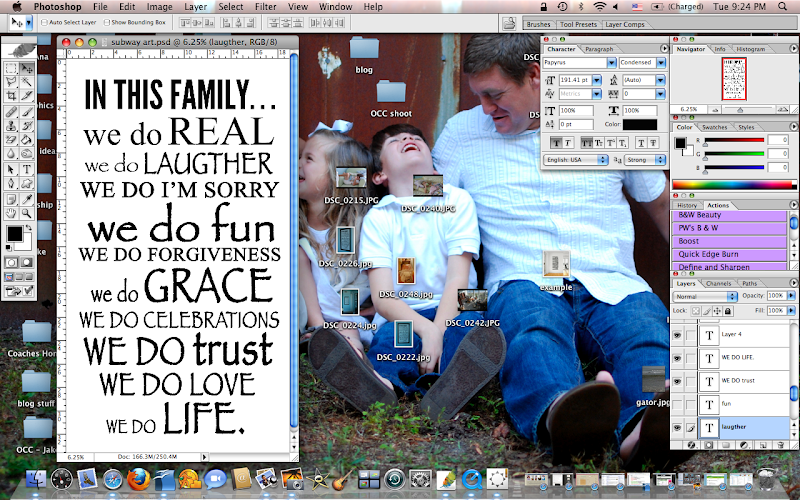
 then i headed on over to my computer and my handy dandy Photoshop to create my own personalized subway art:
 i created it by using different text boxes and moving them around until everything looked the way i wanted it to.
  and speaking of projects…
 and speaking of projects…
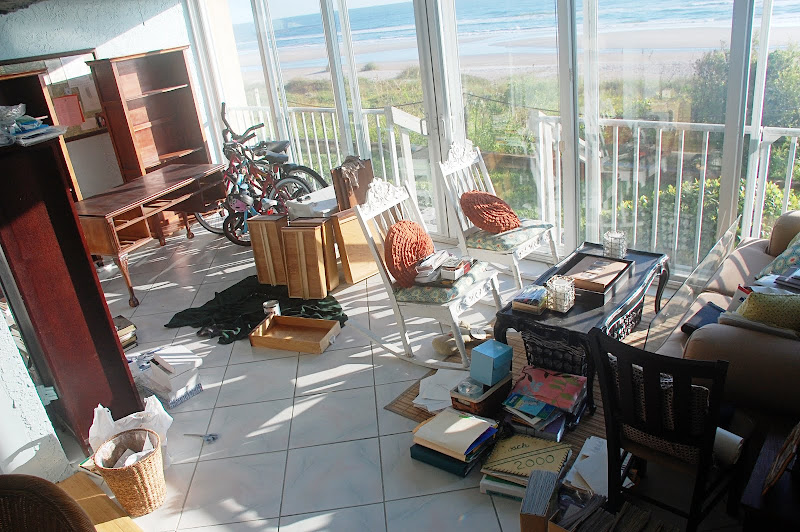 just the thought of it makes my skin crawl. but i better get used to it for awhile, cause i’m in the middle of a big project…one that will last all week…
 just the thought of it makes my skin crawl. but i better get used to it for awhile, cause i’m in the middle of a big project…one that will last all week…


 that’s really REAL LIFE!
 that’s really REAL LIFE!



 Follow


