Feb
20

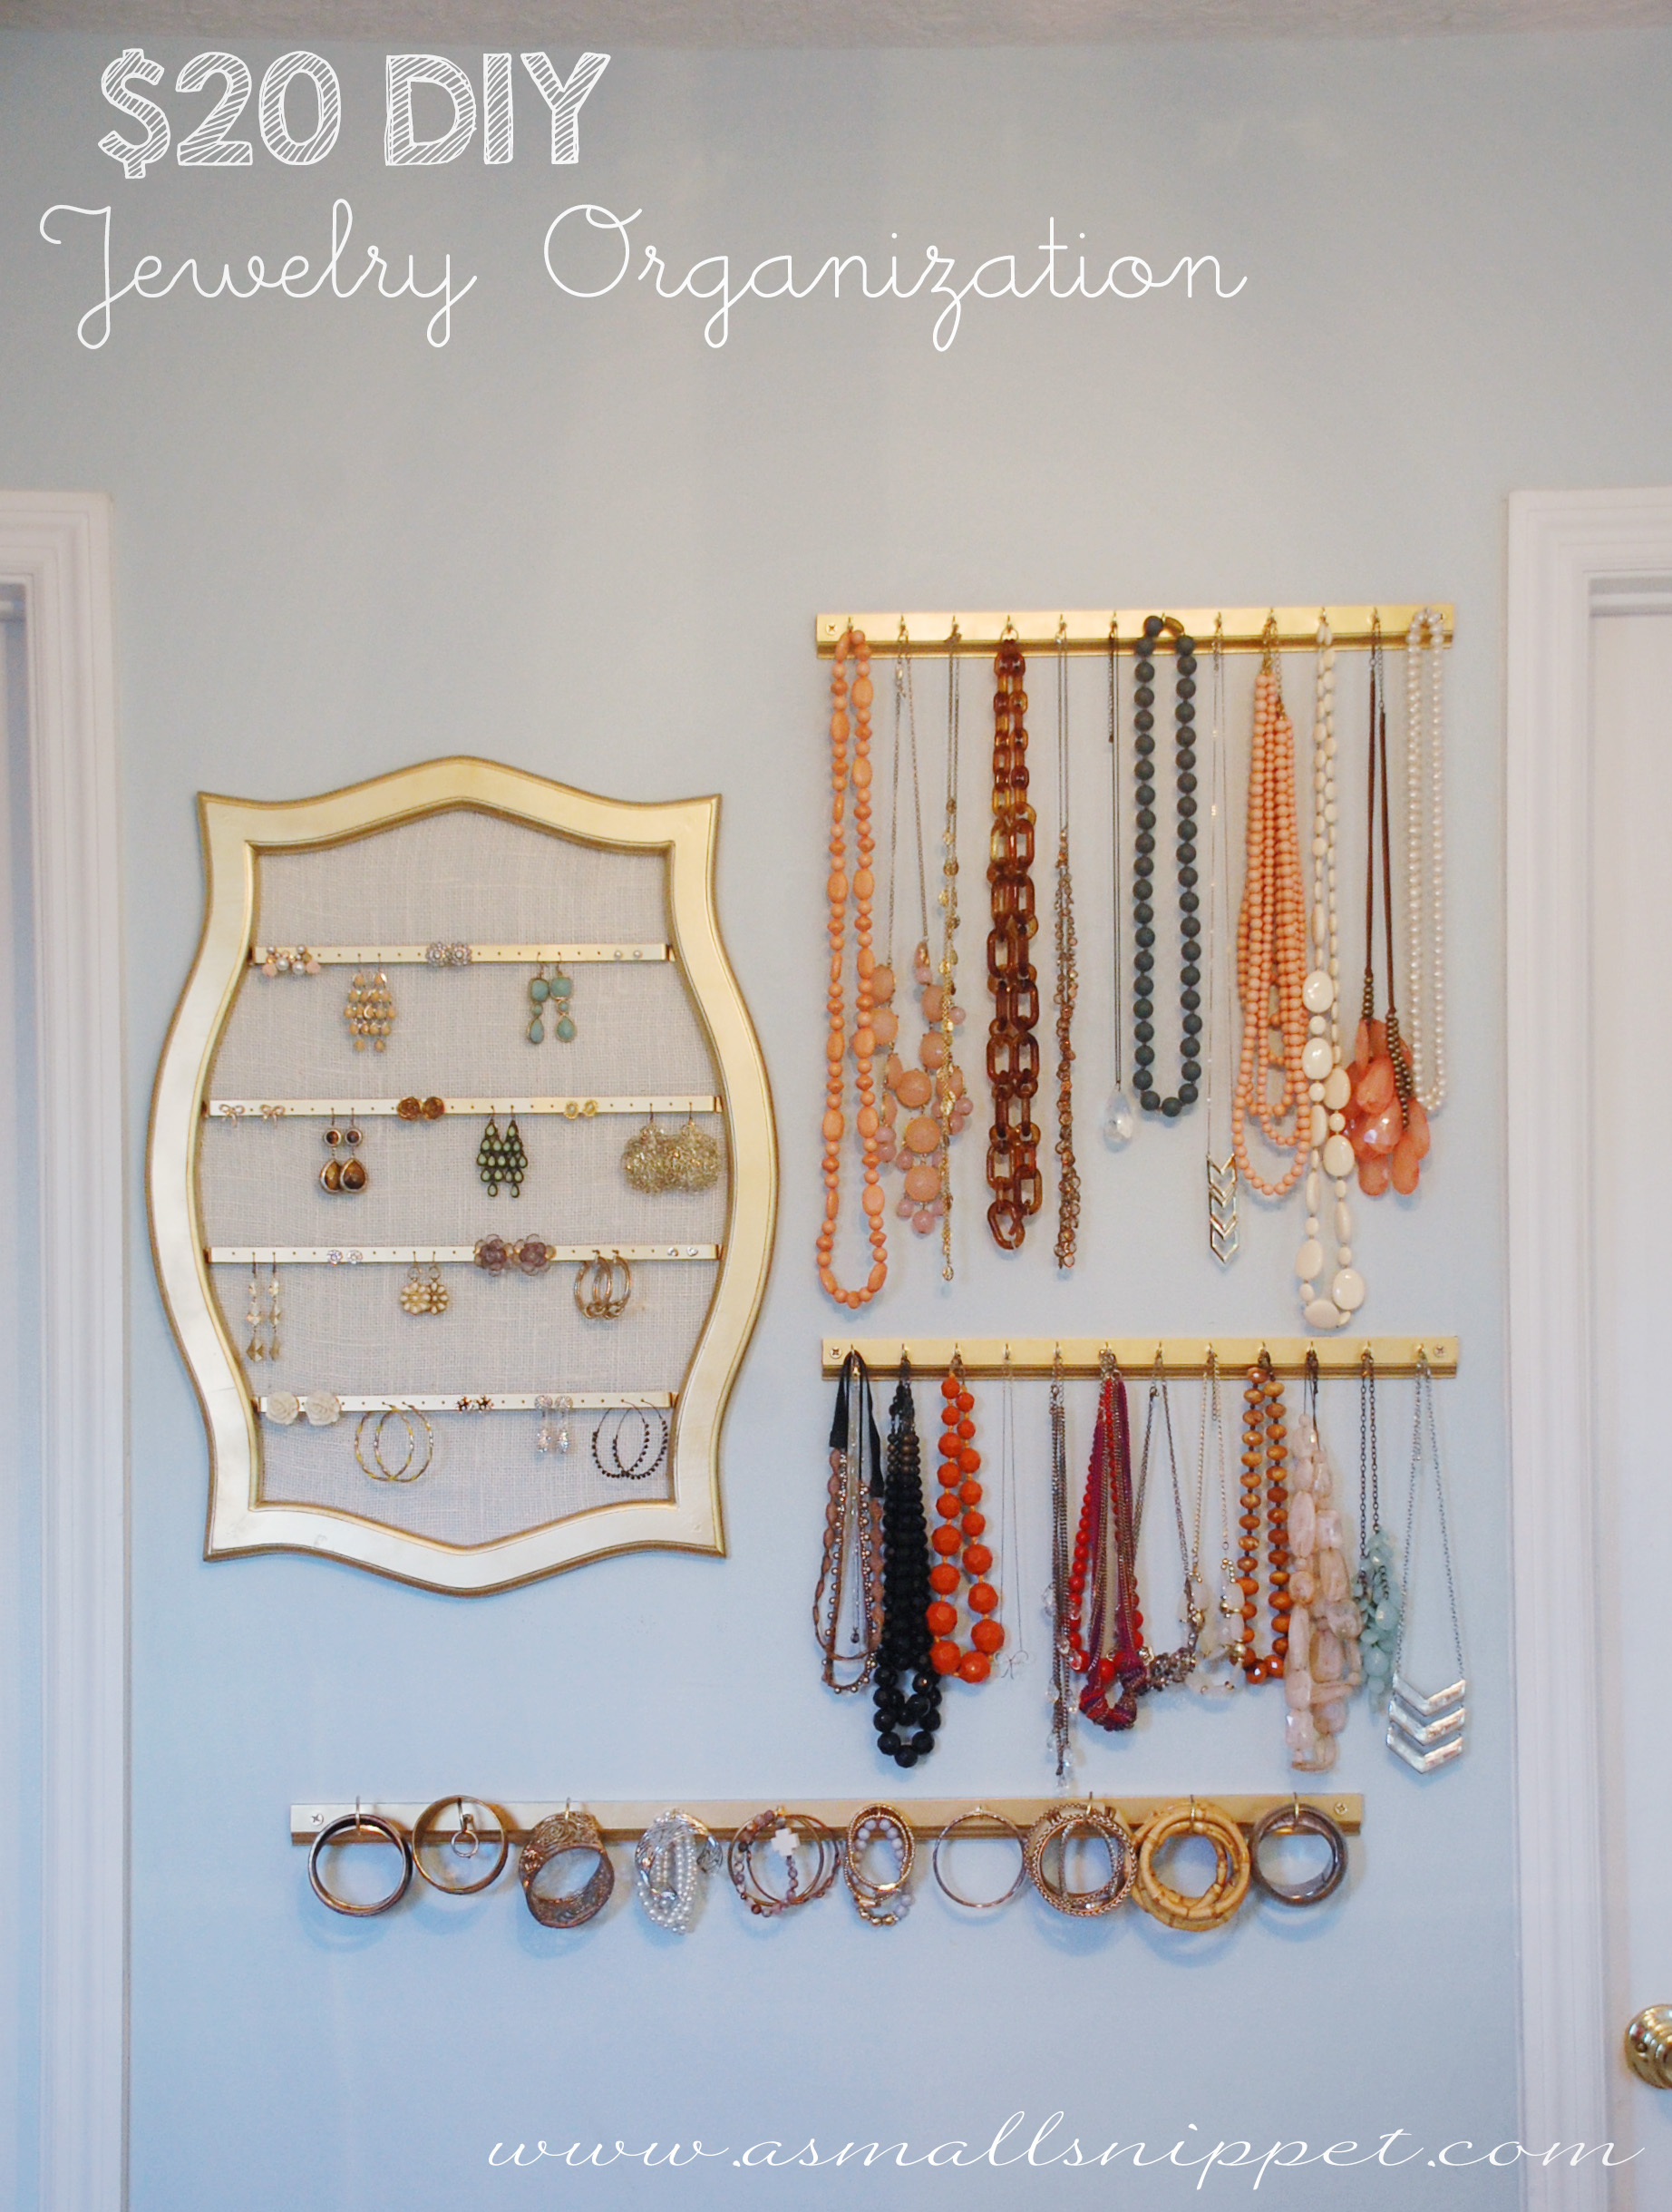
$20 DIY Jewelry Organization
if you happen to follow me on Pinterest, then you will know that i began pinning ideas for Jewelry Organization over 2 years ago. i have been thinking for so long about how exactly i wanted to organize my jewelry, what to use, how it should look, and then last week, i decided that i needed to just stop thinking, and just start doing. so i came up with this system along the way, and i’m really happy with how it all turned out. and best thing is…it only cost me around $20.
the initial inspiration came when i found this earring holder a few months ago at a garage sale. i think i paid $1.00 for it, and after a quick coat of spray paint, and some cream burlap attached to the back, it was as good as new.
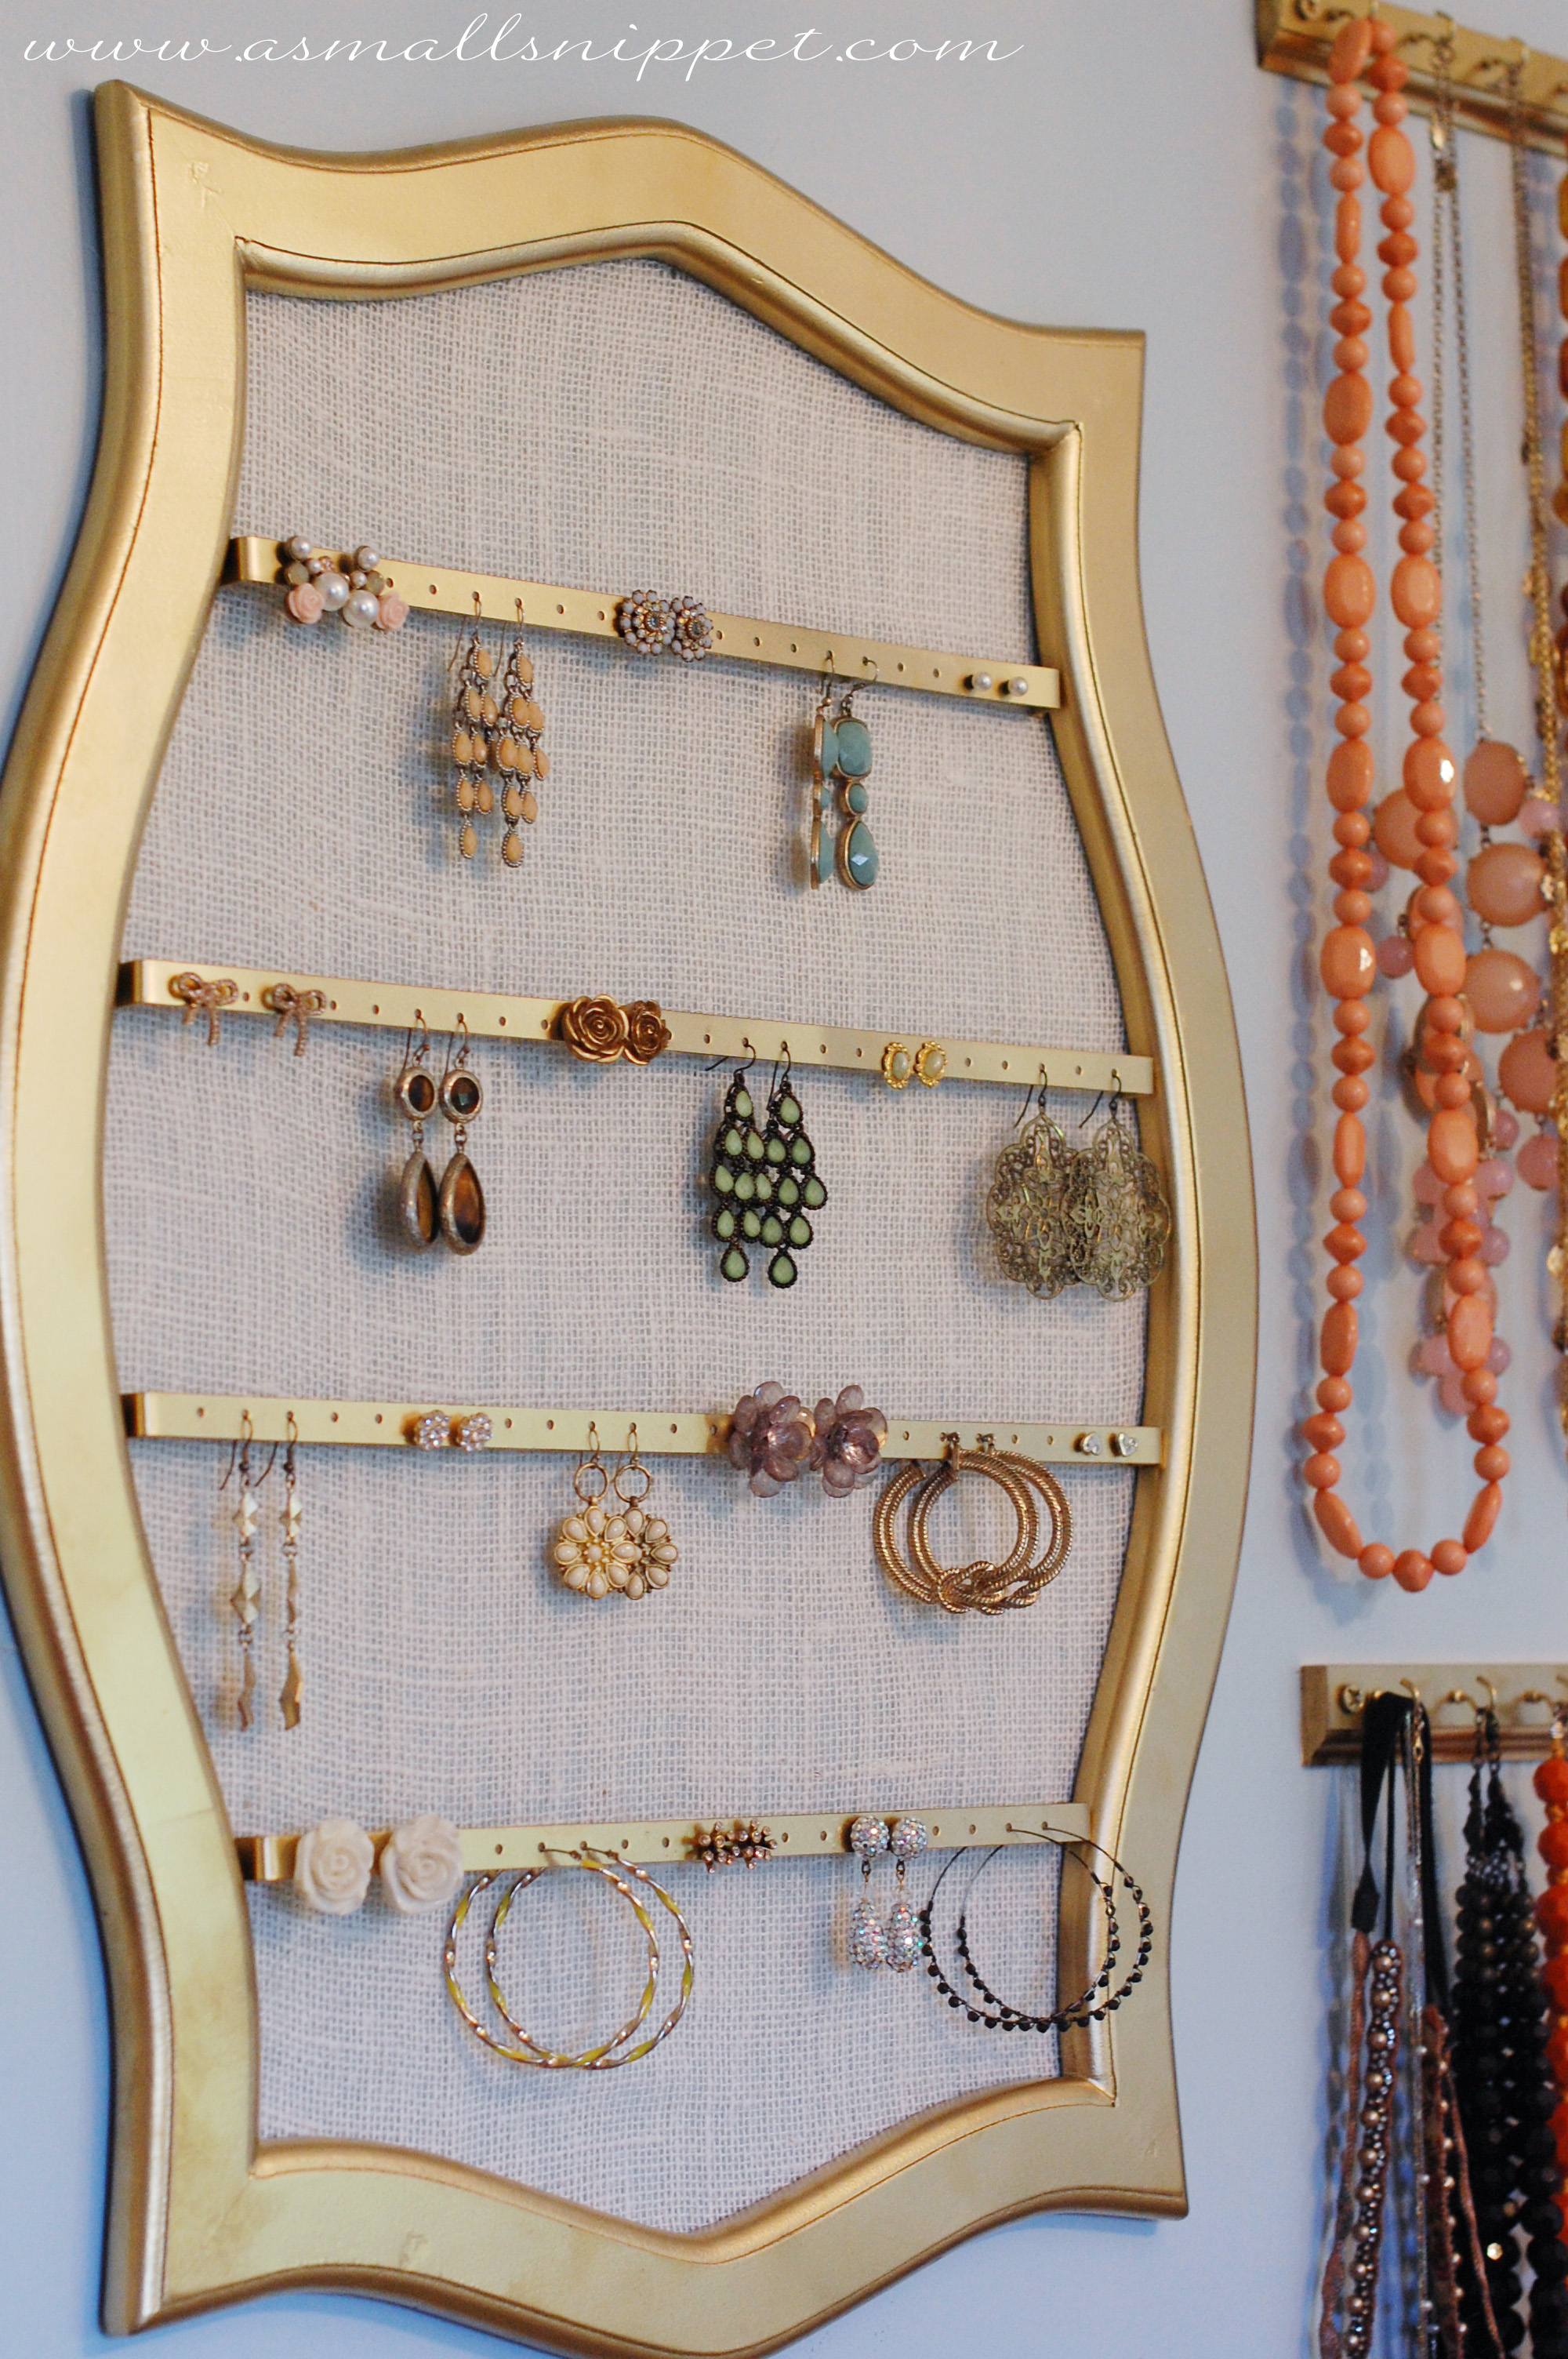
i have since searched for one like it so that i could link it for you, cause its pretty awesome, but i honestly have no clue where its from, or how to find one like it. however…i think it would be VERY easy to make something similar. i know that Hobby Lobby sells open frames (you know…the ones without glass), and with a coupon, it would not cost much at all. or even one like this could look amazing: 11×14 Barnwood Reclaimed Wood Open 11×14 Frame. you could attach metal strips or even easier, wood strips, running horizontally, and drill small holes in the strips to hold the earrings, and voila…a homemade earring holder just like this one.
if you didn’t want to bother with the strips, you could even just hang your earrings from the burlap, or use decorative Hobby & Craft Metal Sheets and hang your earrings from that. (if i were making one, i’d use the metal sheets. i love how those look, and its so simple!)
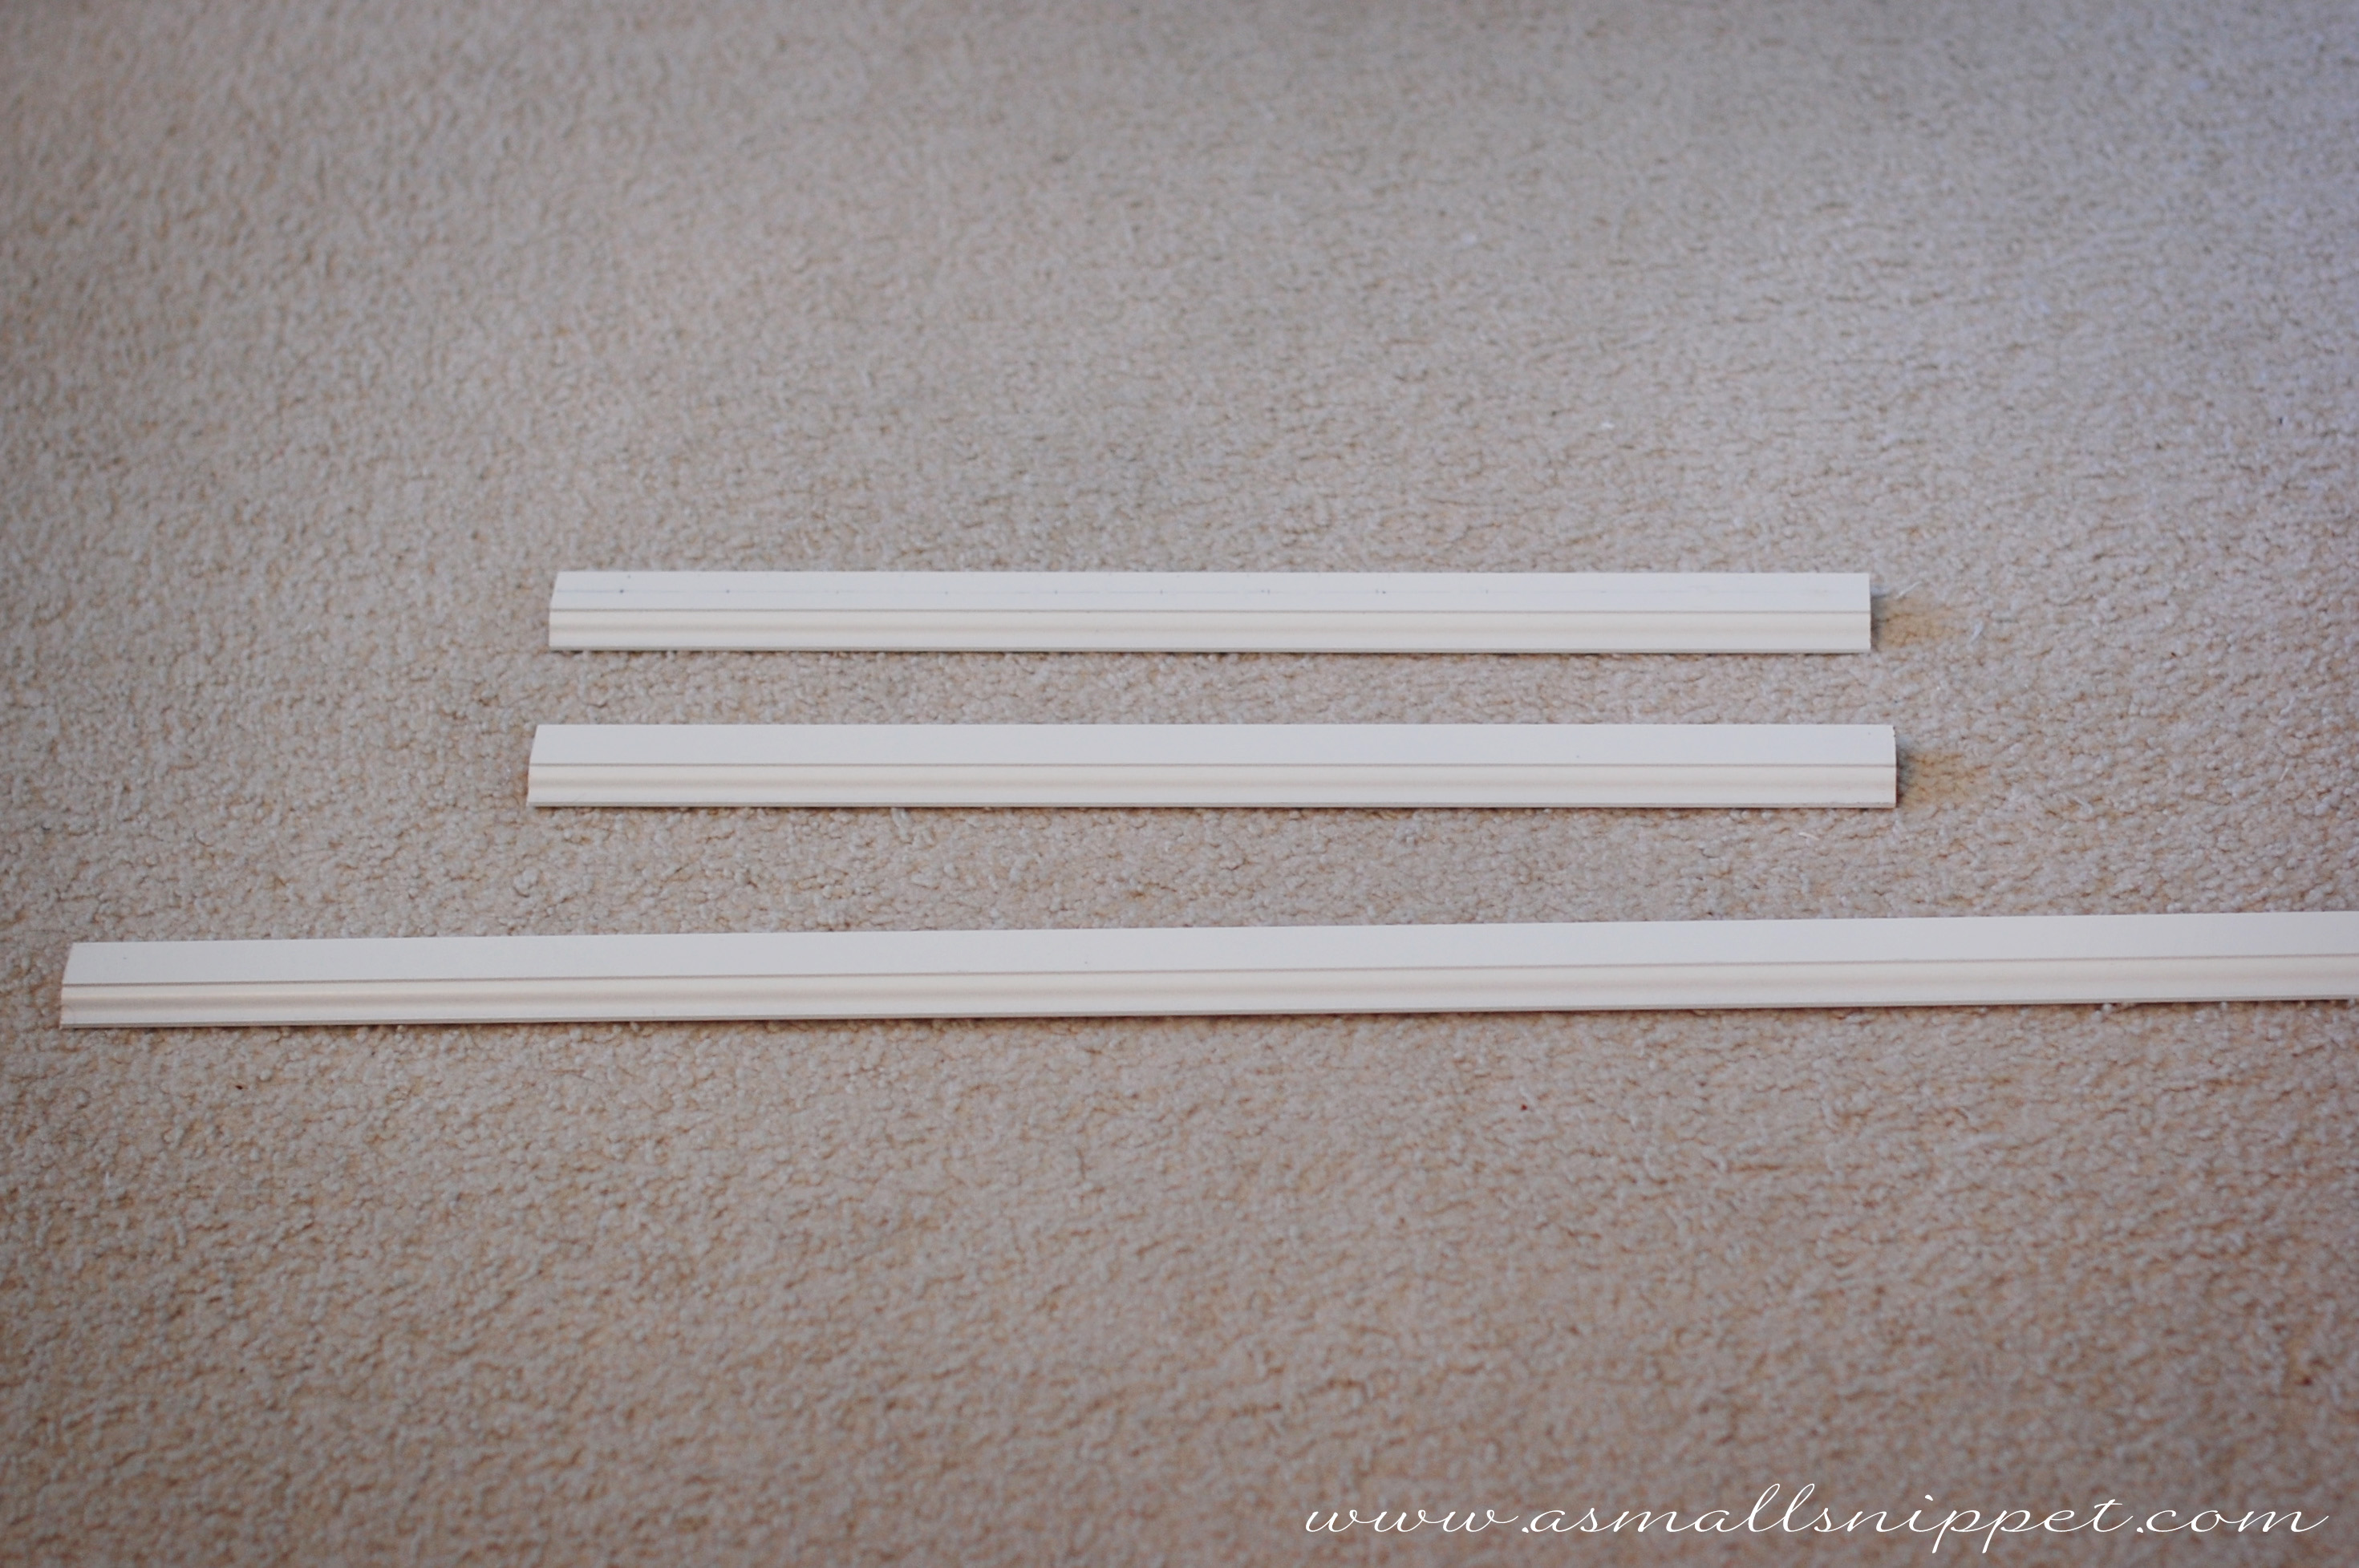
for the rest of the project, i went to Home Depot and bought 1.25 inch wide decorative moulding. you know, like the kind you find with the baseboards and crown moulding, in the really really long strips. the kind i picked is priced by the yard, so it cost me a total of $11.00, but i bet you could possibly find moulding that is even less expensive. i had the man at Home Depot cut it to the sizes i needed, eliminating a step in this project that i really didn’t want to do myself.
i had 2 pieces cut to 19 inches each, for my necklaces (which ended up being long enough for 12 hooks each, giving me room for a minimum of 24 necklaces) and one longer piece that measured 32 inches (long enough for 10 widely spaced hooks for bracelets.)
i also bought brass plated cup hooks in two different sizes. the smaller hooks were 5/8 inch, and i used those for all the necklaces and some of the bracelets. they came in a box of 100 for around $4.

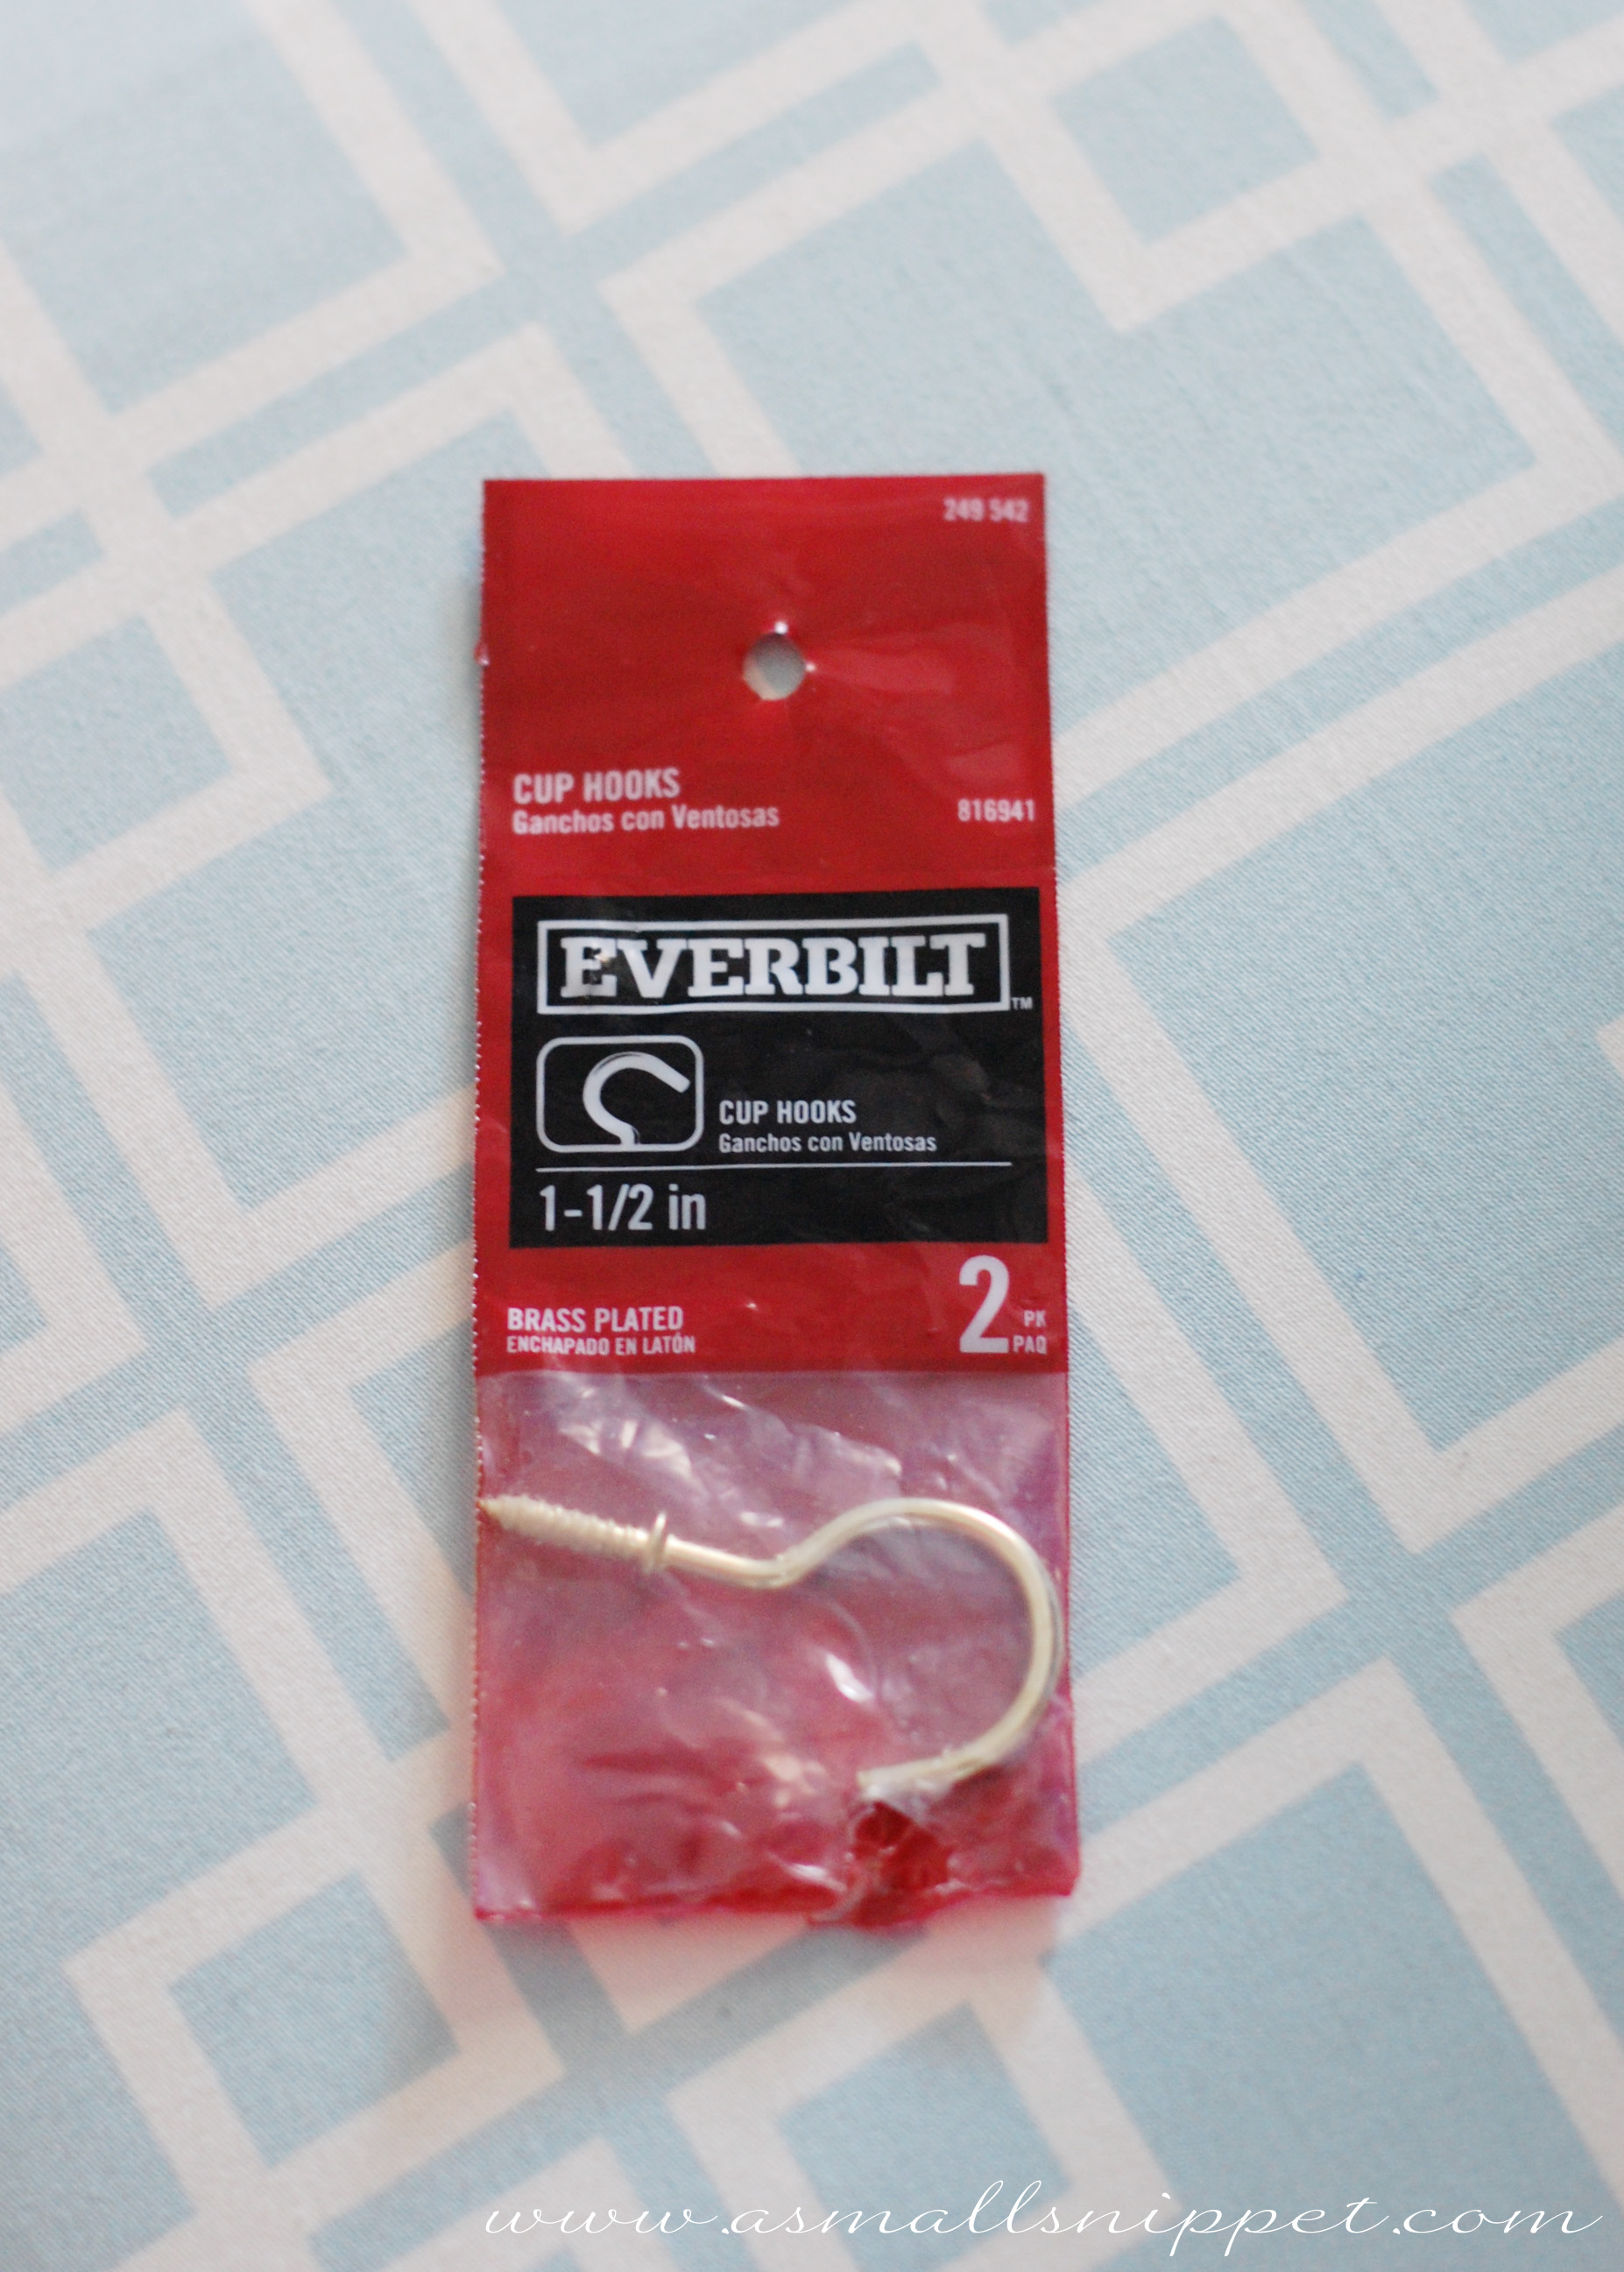
the ones i bought are very similar to these: 5/8 Inch Brass Cup Hooks, 100 Pack. the 6 bigger hooks were 1.5 inch, and those hold my wider, cuff style bracelets. i got 2 for $1.16 at Home Depot, but you can also buy them in bulk packs if you need more: 1-1/2-Inch Brass Cup Hooks
. i used a total of 6.
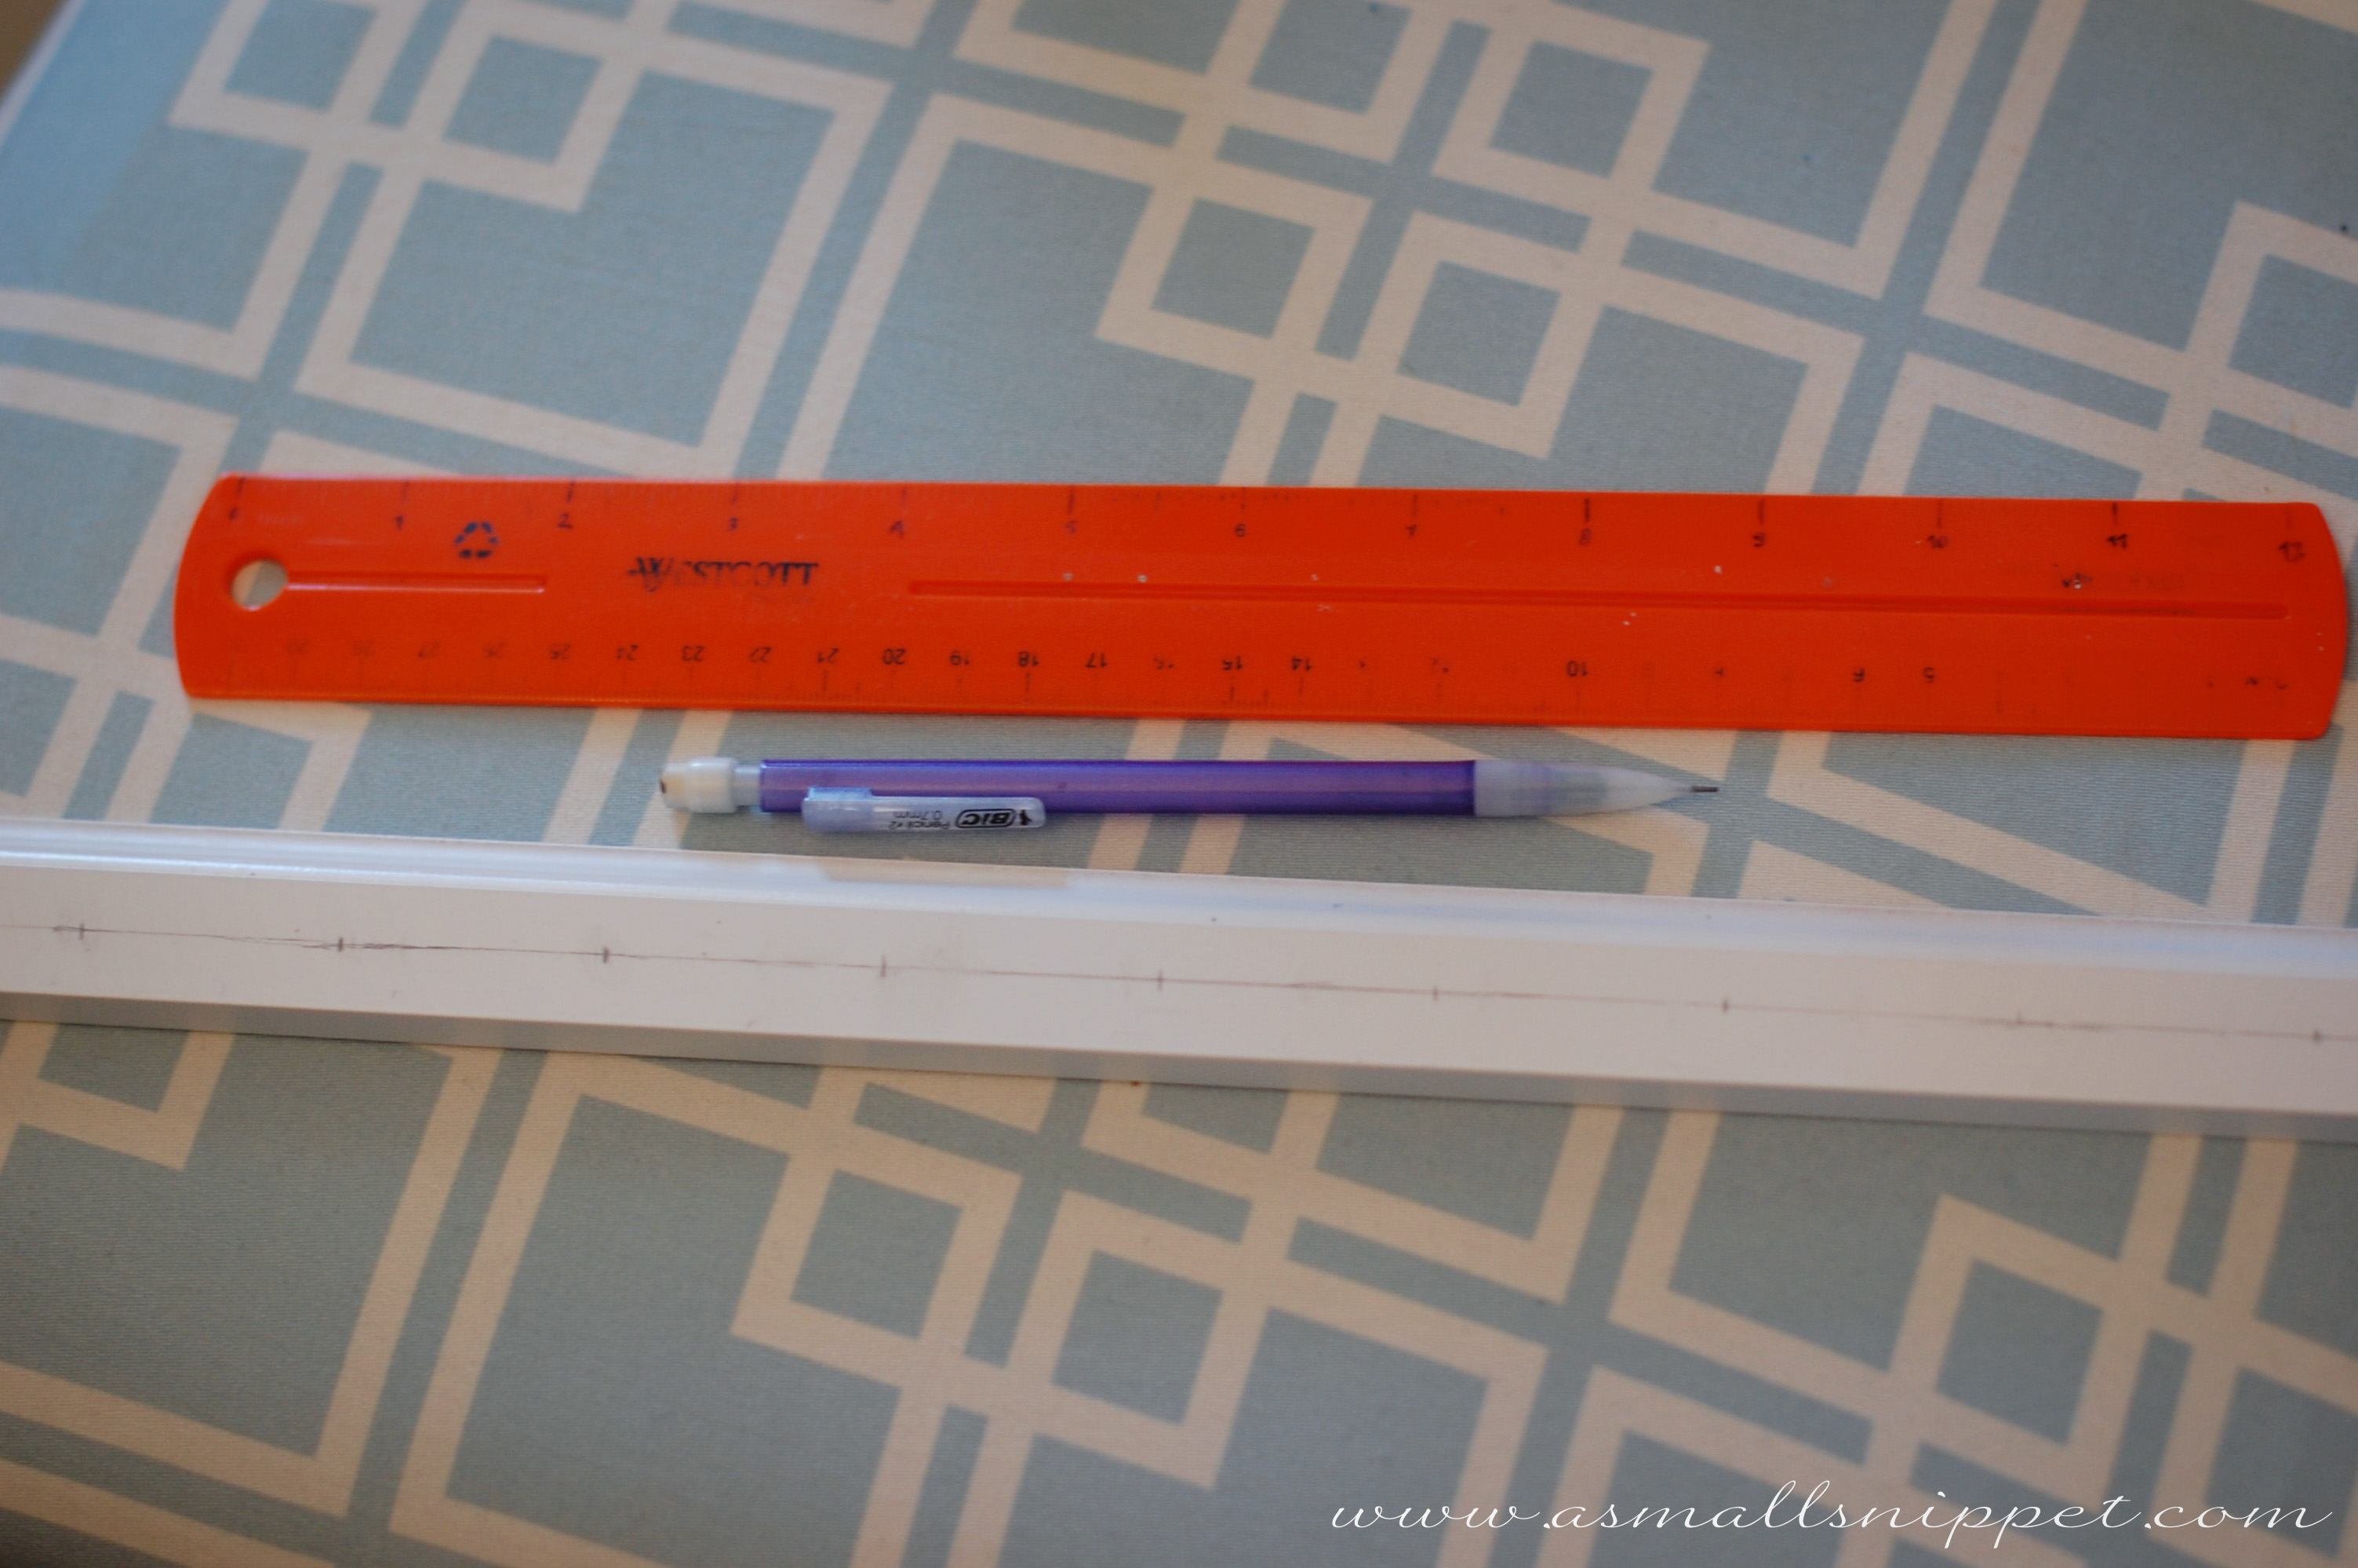
once i had all my supplies, the first thing i did was measure exactly where i wanted each hook. after a little bit of math and some playing around with my necklace sizes, i decided that i wanted each hook for my necklaces to be 1.5 inches apart. i began my row of hooks 1 inch in from each end, leaving room to place a screw later on to attach it to the wall. i also wanted the hooks running horizontally down the middle of the main part of my moulding (not including the decorative edge). that halfway point was at 3/8 inch from the top edge. so i ran a line at that mark horizontally, and then marked where each of my hooks were going to be on that line. i was able to fit 12 hooks on each short piece of moulding, giving me room for a minimum of 24 necklaces (not doubled).
i did the same thing for the long piece, except i placed the hooks 3 inches apart to account for the width of my bracelets, and left 2 inches on each end. i was able to fit 10 hooks on my long piece.
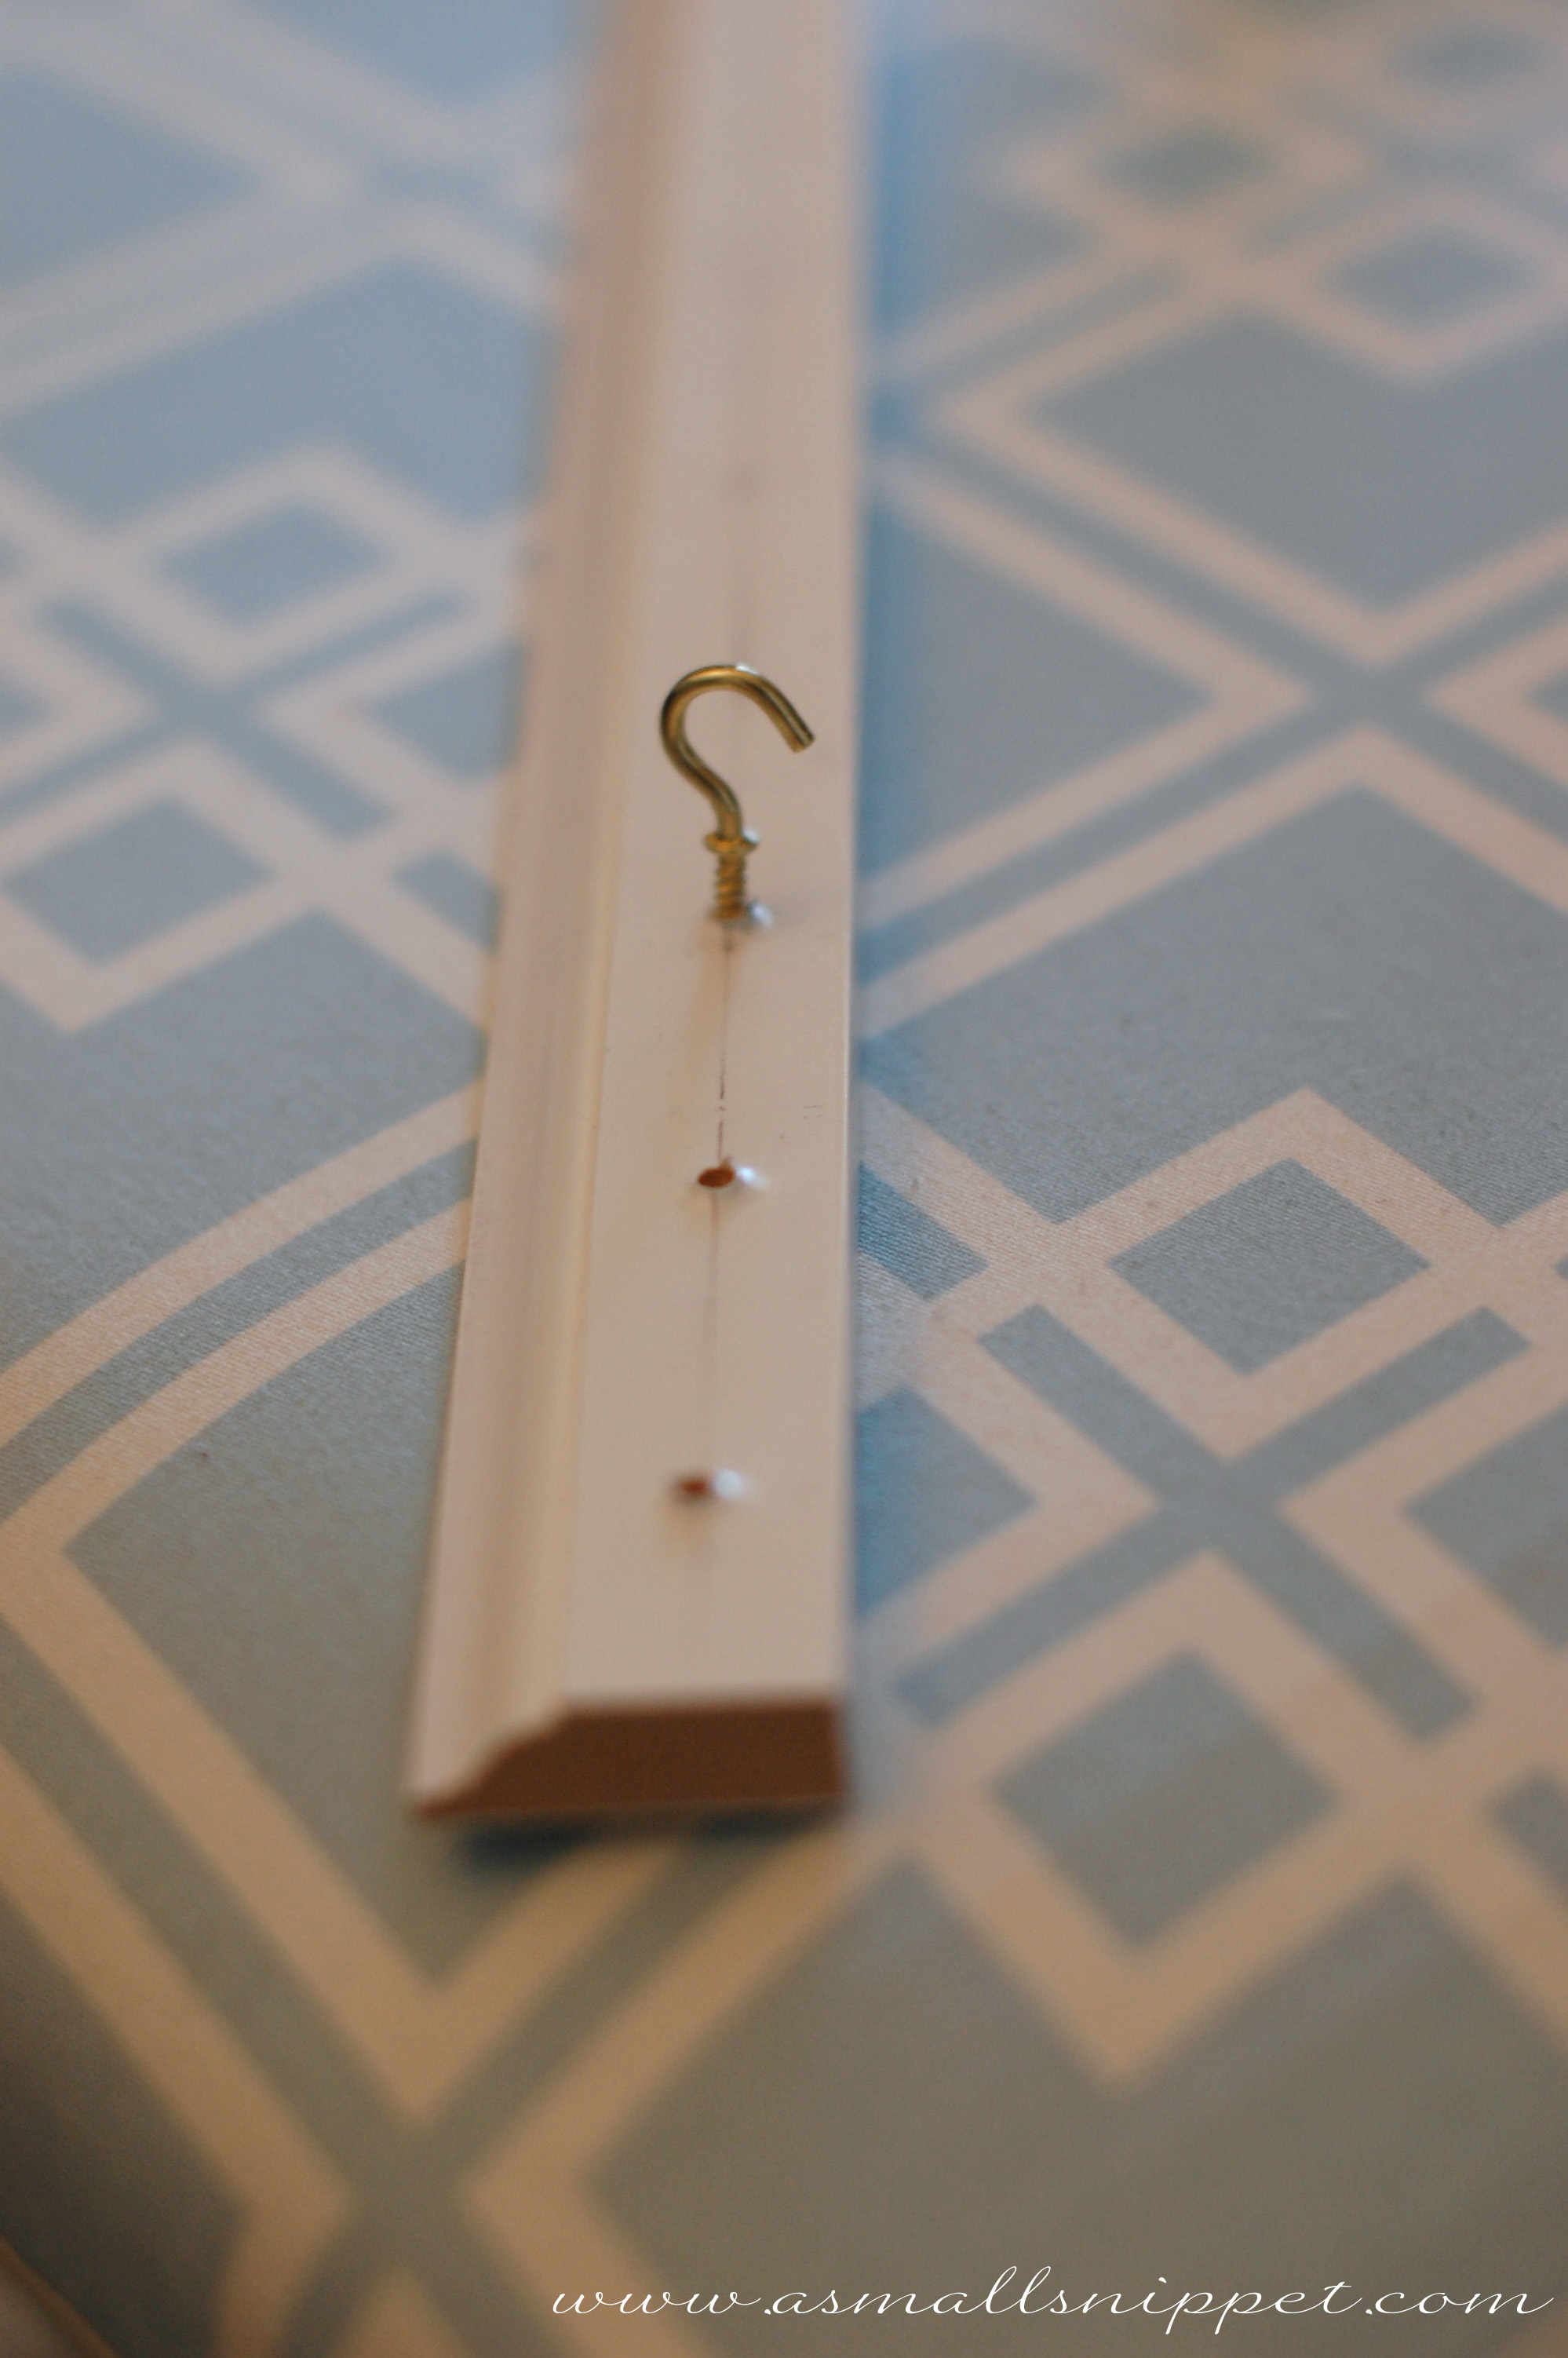
i began to screw in the hooks by hand so as to make the holes for each hook before spray painting. i considered using a drill, but i couldn’t find our’s, and i am not one who likes to just stop and wait and put a project to hold, so i just figured i’d power thru.
but…my skin was stripping and my fingers were killing me after just a few hooks…and they weren’t really going in as straight as i would’ve liked (although, once it was all said and done, you’d never notice that those first few hooks are a little off.)
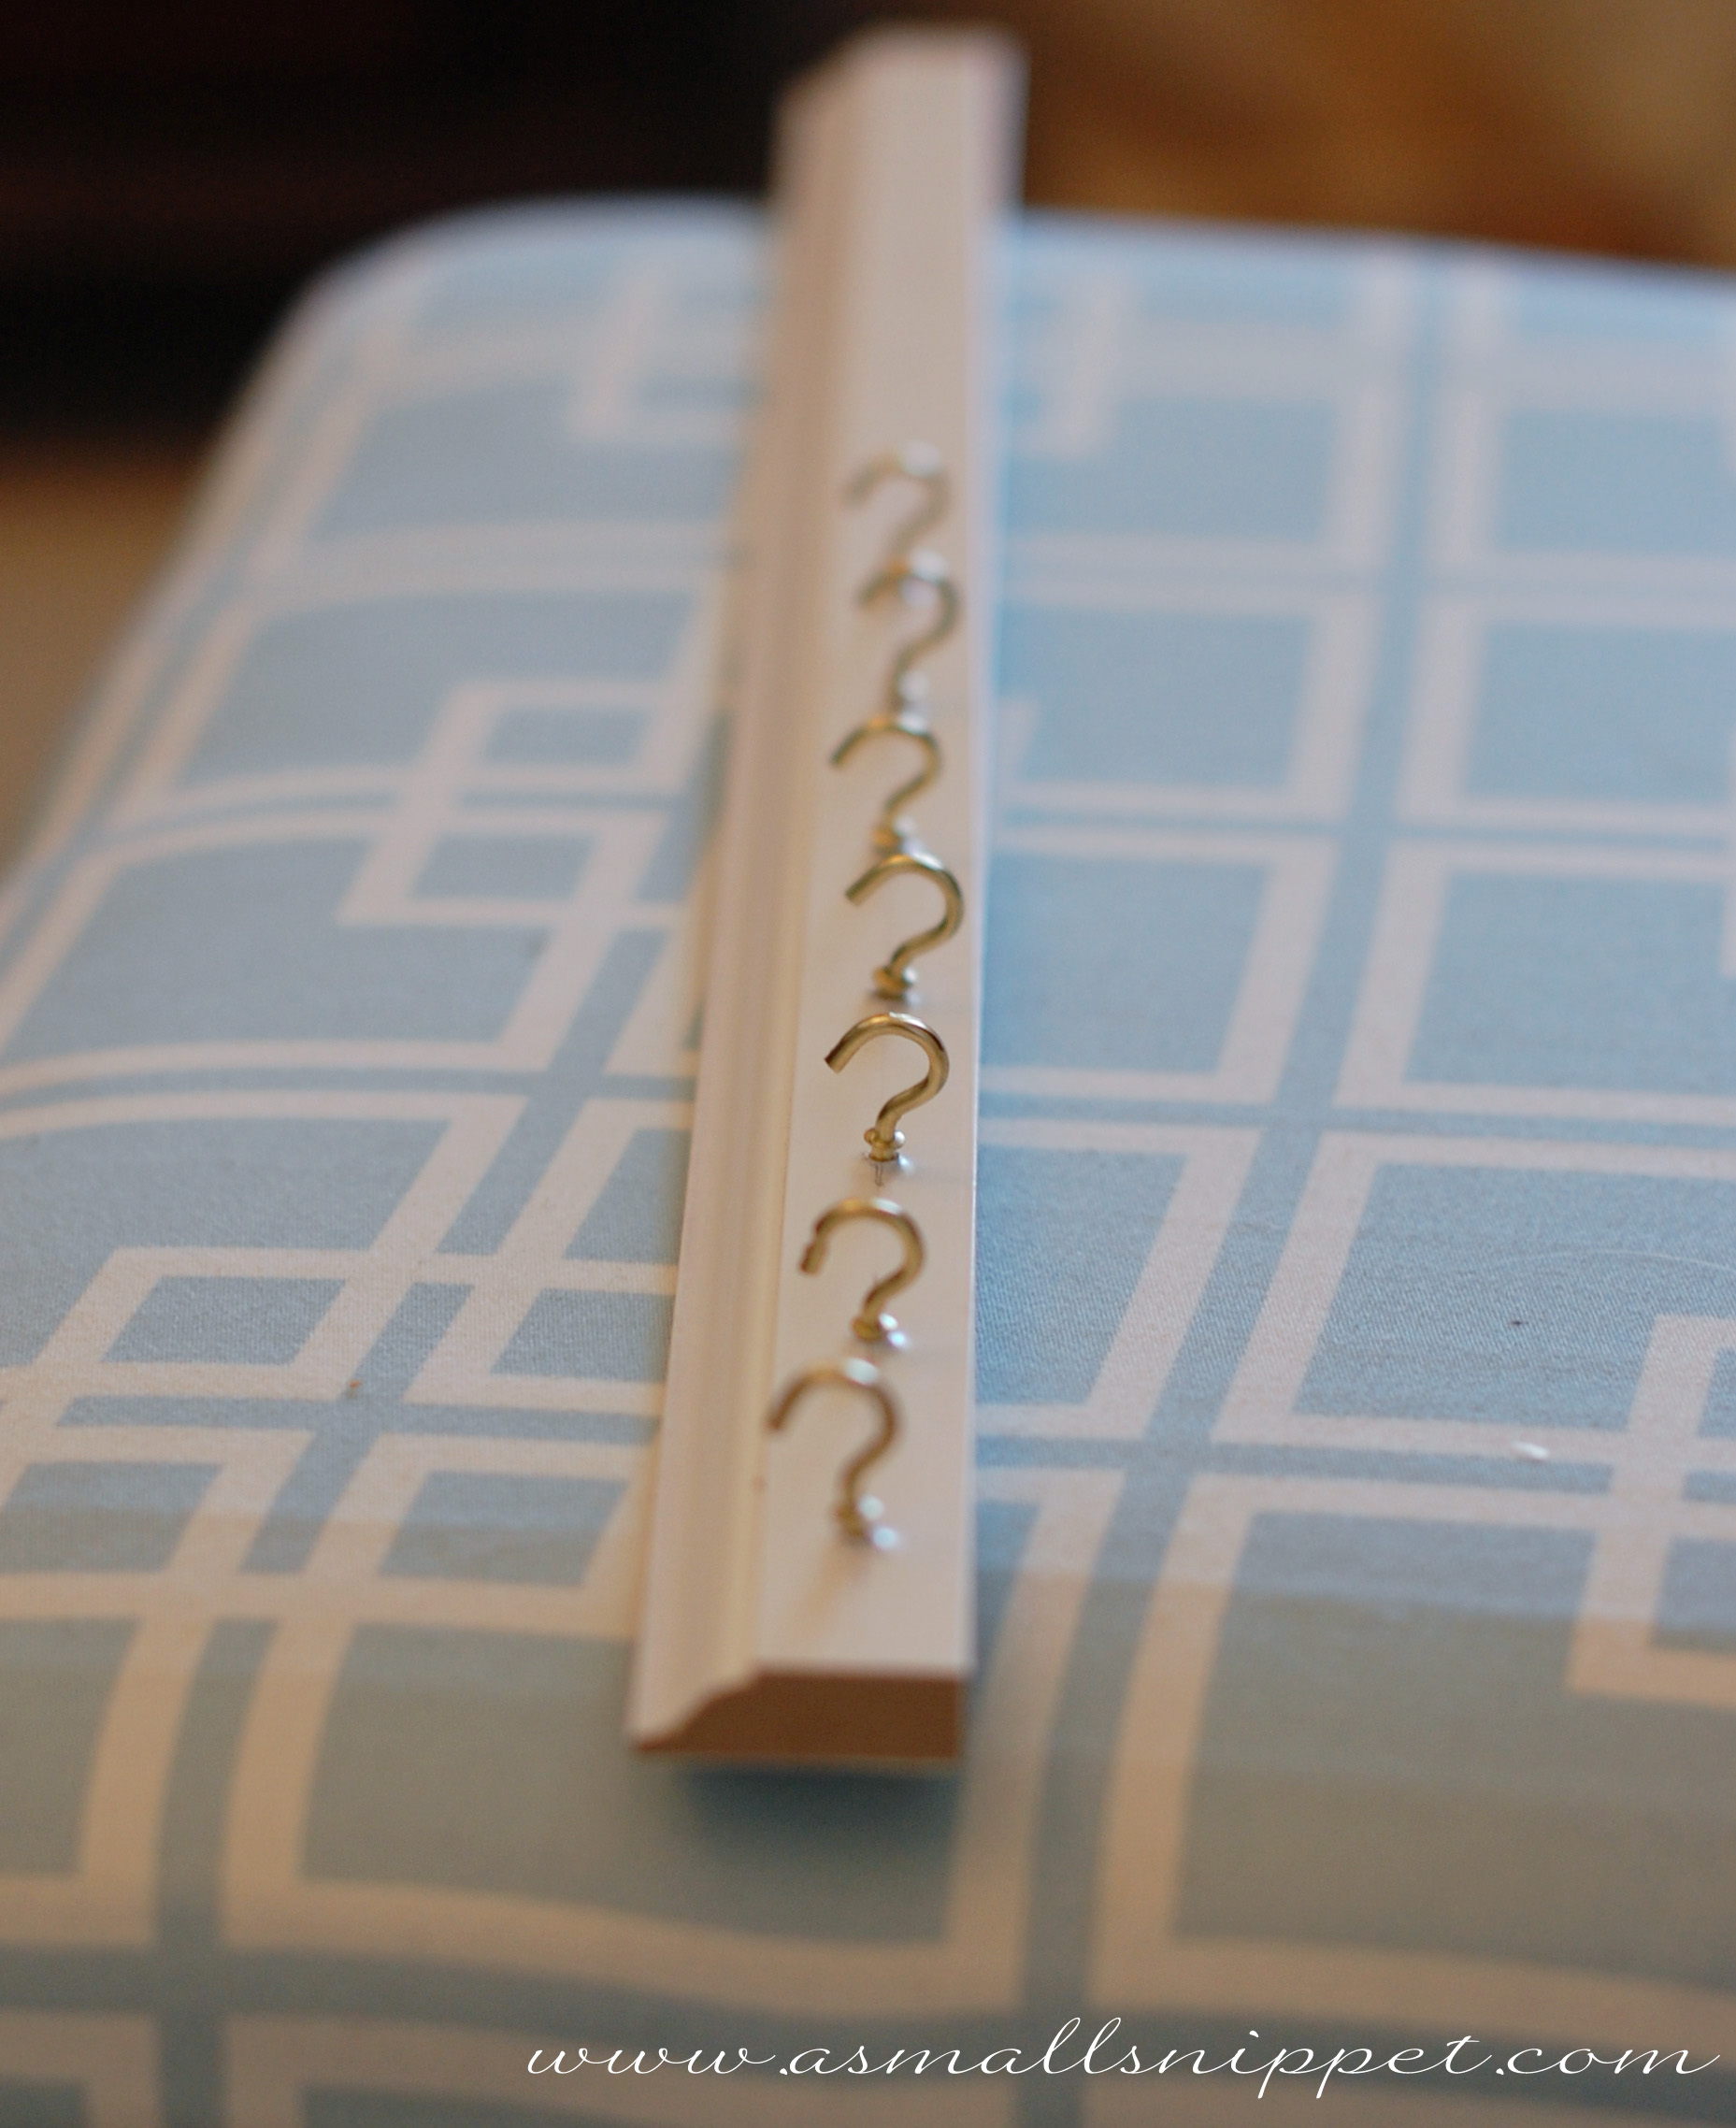
thankfully, the Hubs came home in the middle of my quest to make holes, found the drill, and in about 2 minutes flat had all the holes drilled for me. so…although totally possible to make all those holes by hand with the hooks, i would highly suggest using a drill if possible.
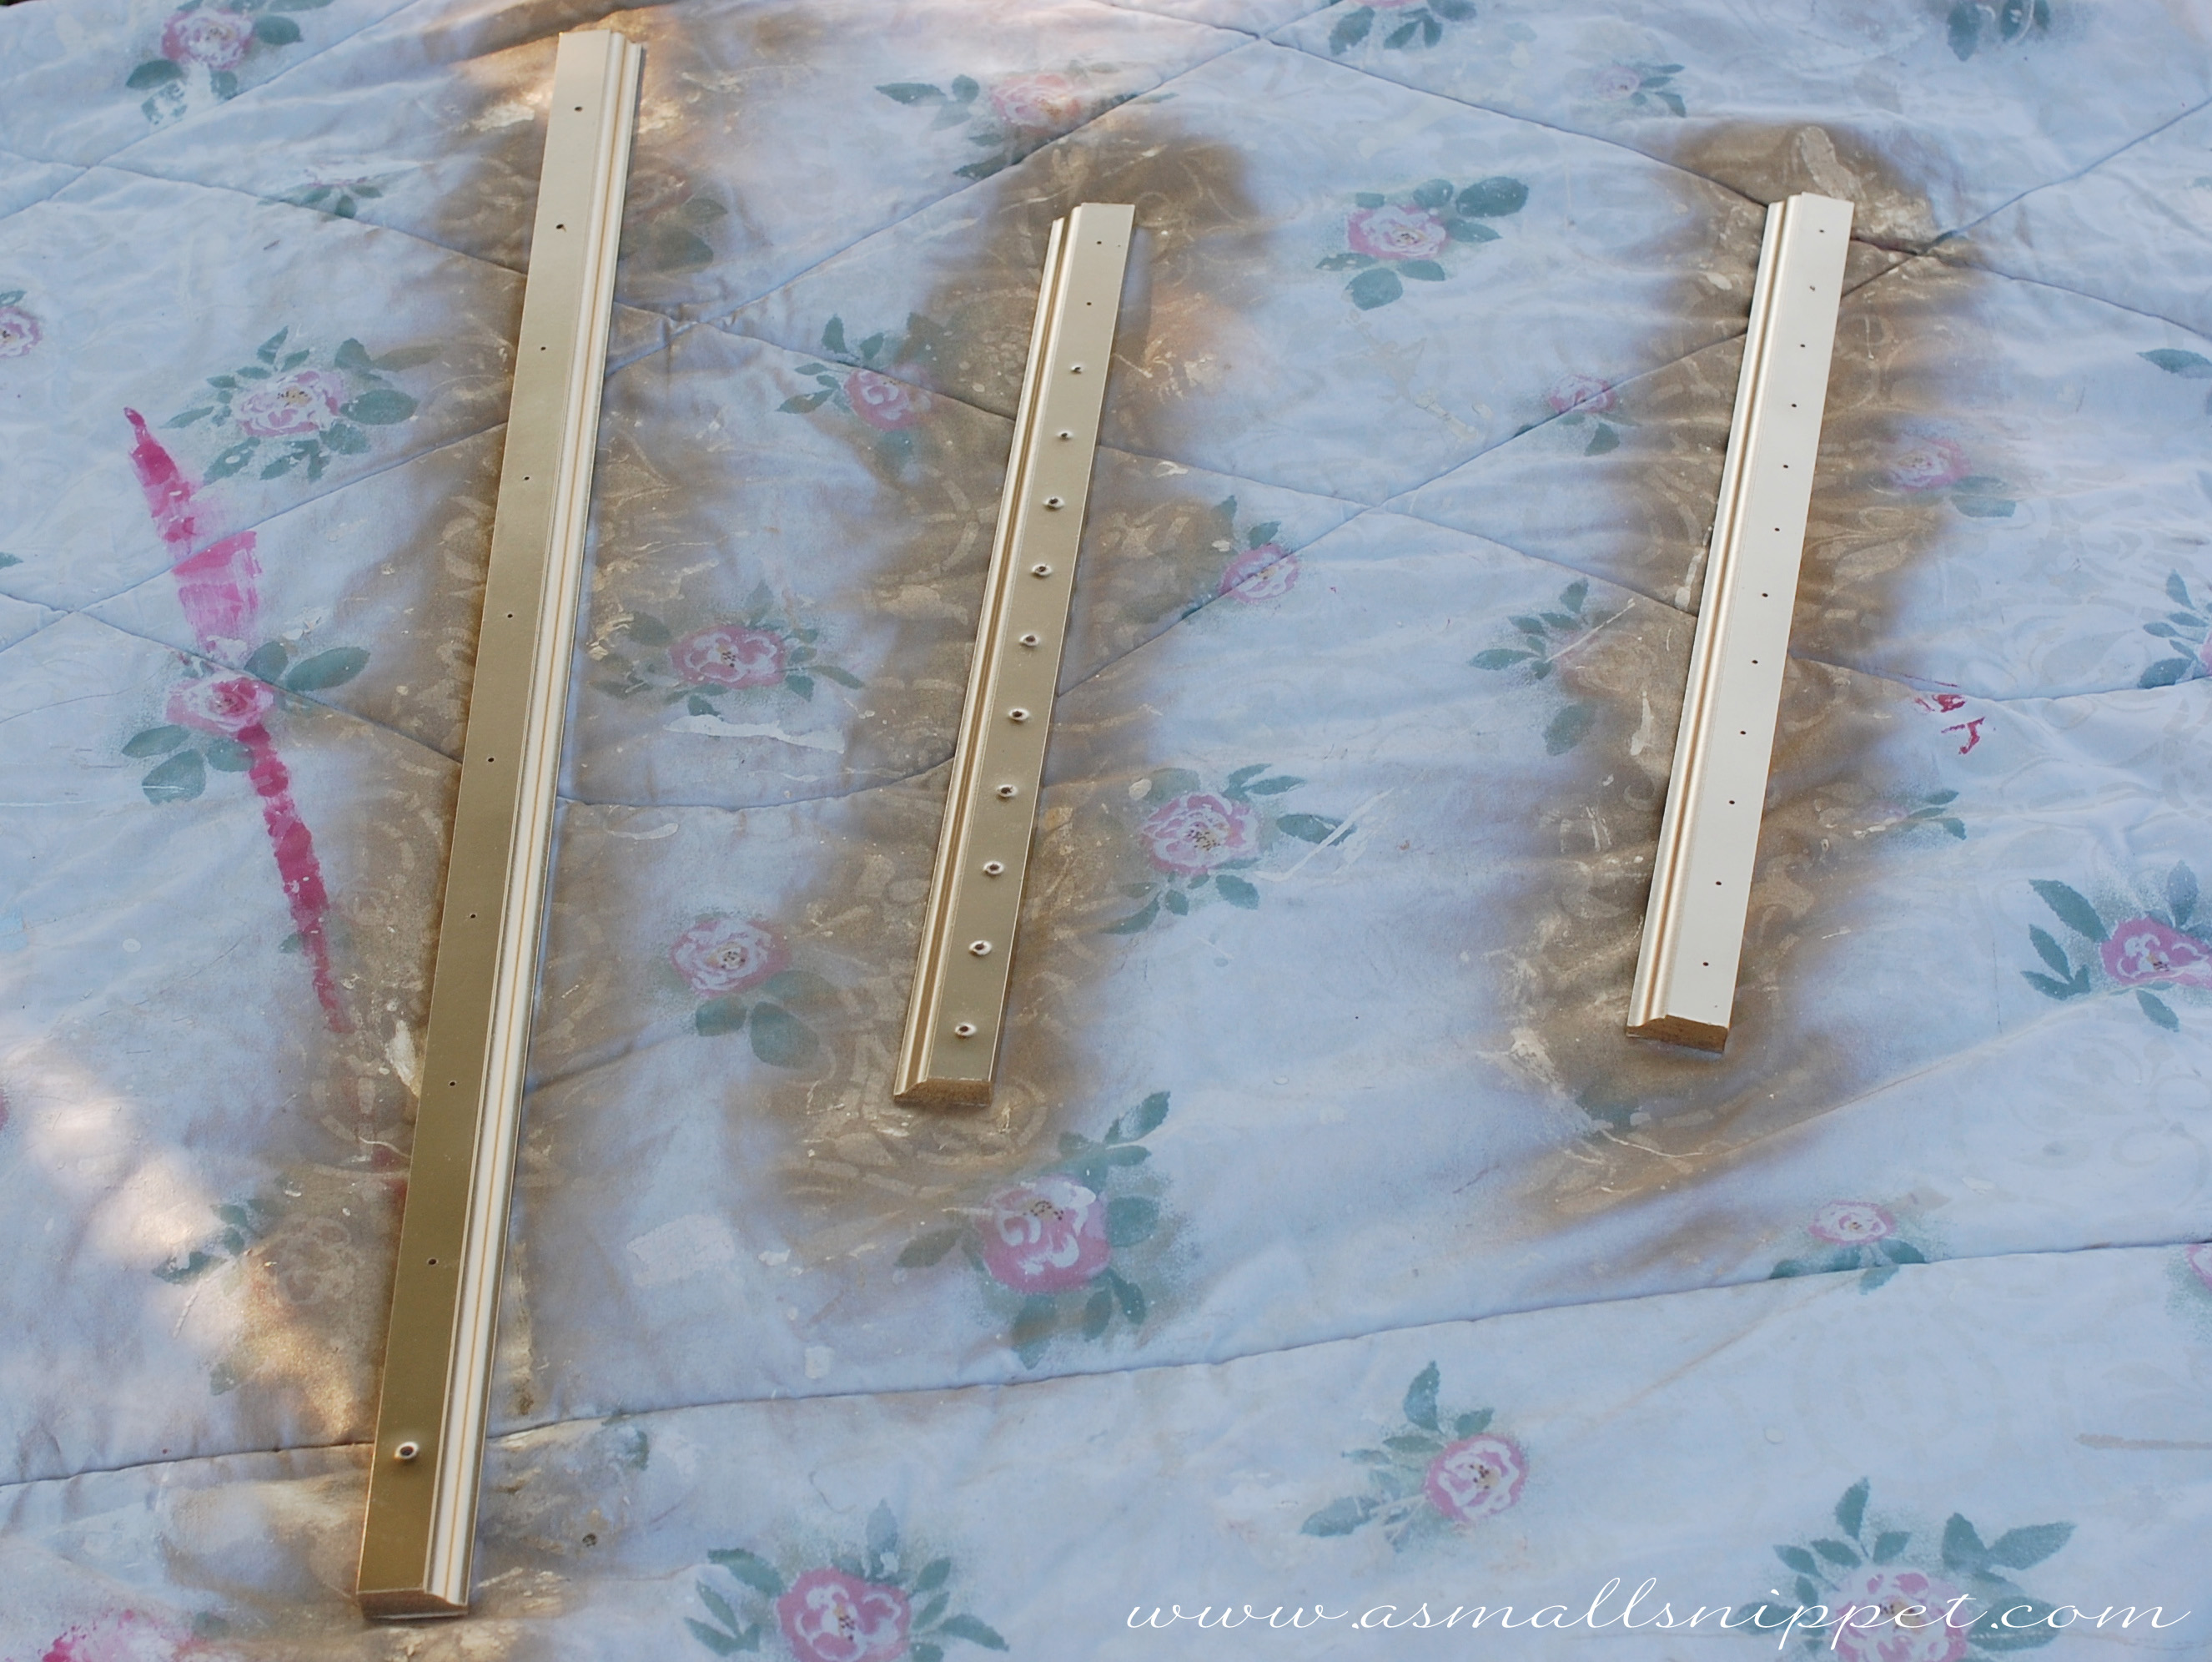
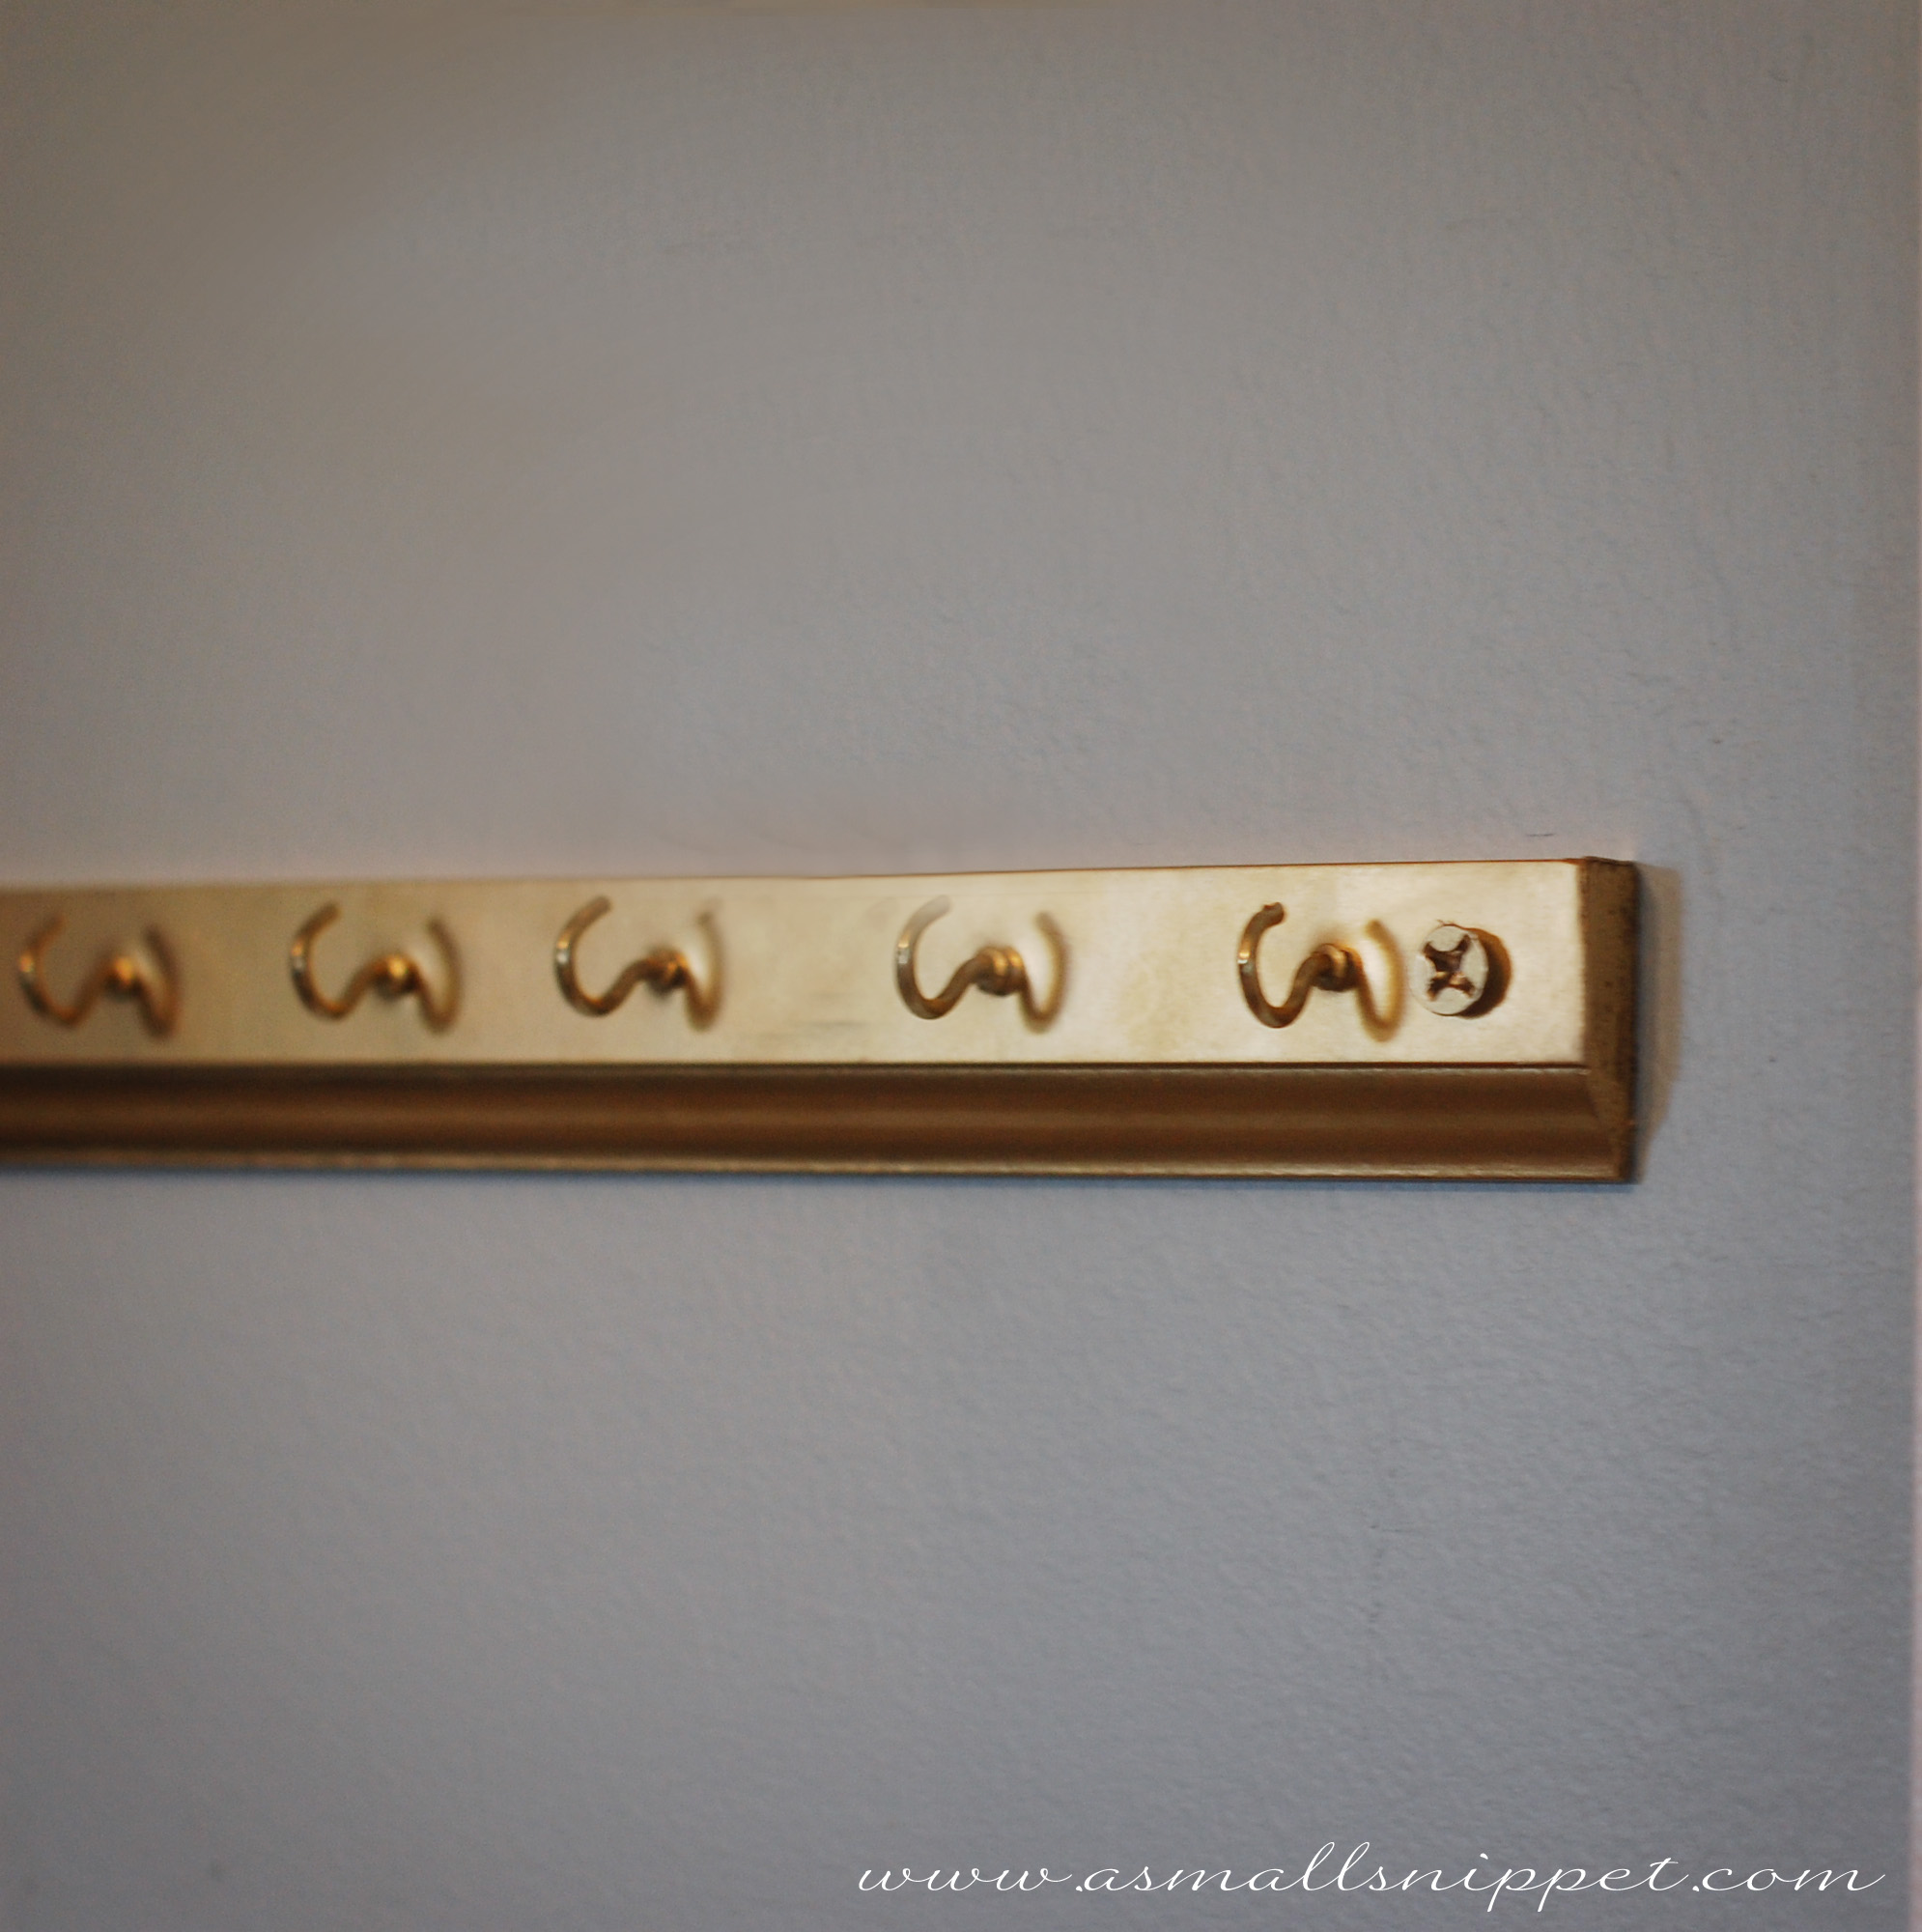
once the holes were drilled, i painted the moulding. i used my favorite gold spray paint, cause i happened to have it on hand, and i’m also on a gold kick and want to spray paint everything gold!
once they were dry, i screwed in all the hooks (much easier now that all the holes were drilled). one quick note about the hooks…because the depth of my moulding was very slightly smaller than the length of the hooks, i had to be careful when screwing them in that they didn’t pop thru the back of the moulding. so i didn’t quite tighten the hooks all the way, but it didn’t make one bit of difference in the way it looks or the way it functions to have the hooks not quite flush with the moulding. that will make sense to you if you are using moulding like mine.
to hang the moulding on the wall, we bought long drywall screws. i painted the heads of each screw in the same gold spray paint so they would blend in. (here’s a tip for painting screw heads. place a piece of newspaper on the grass, then stick your screws into the ground thru the newspaper. they stand upright, and the newspaper protects your grass from the paint.)
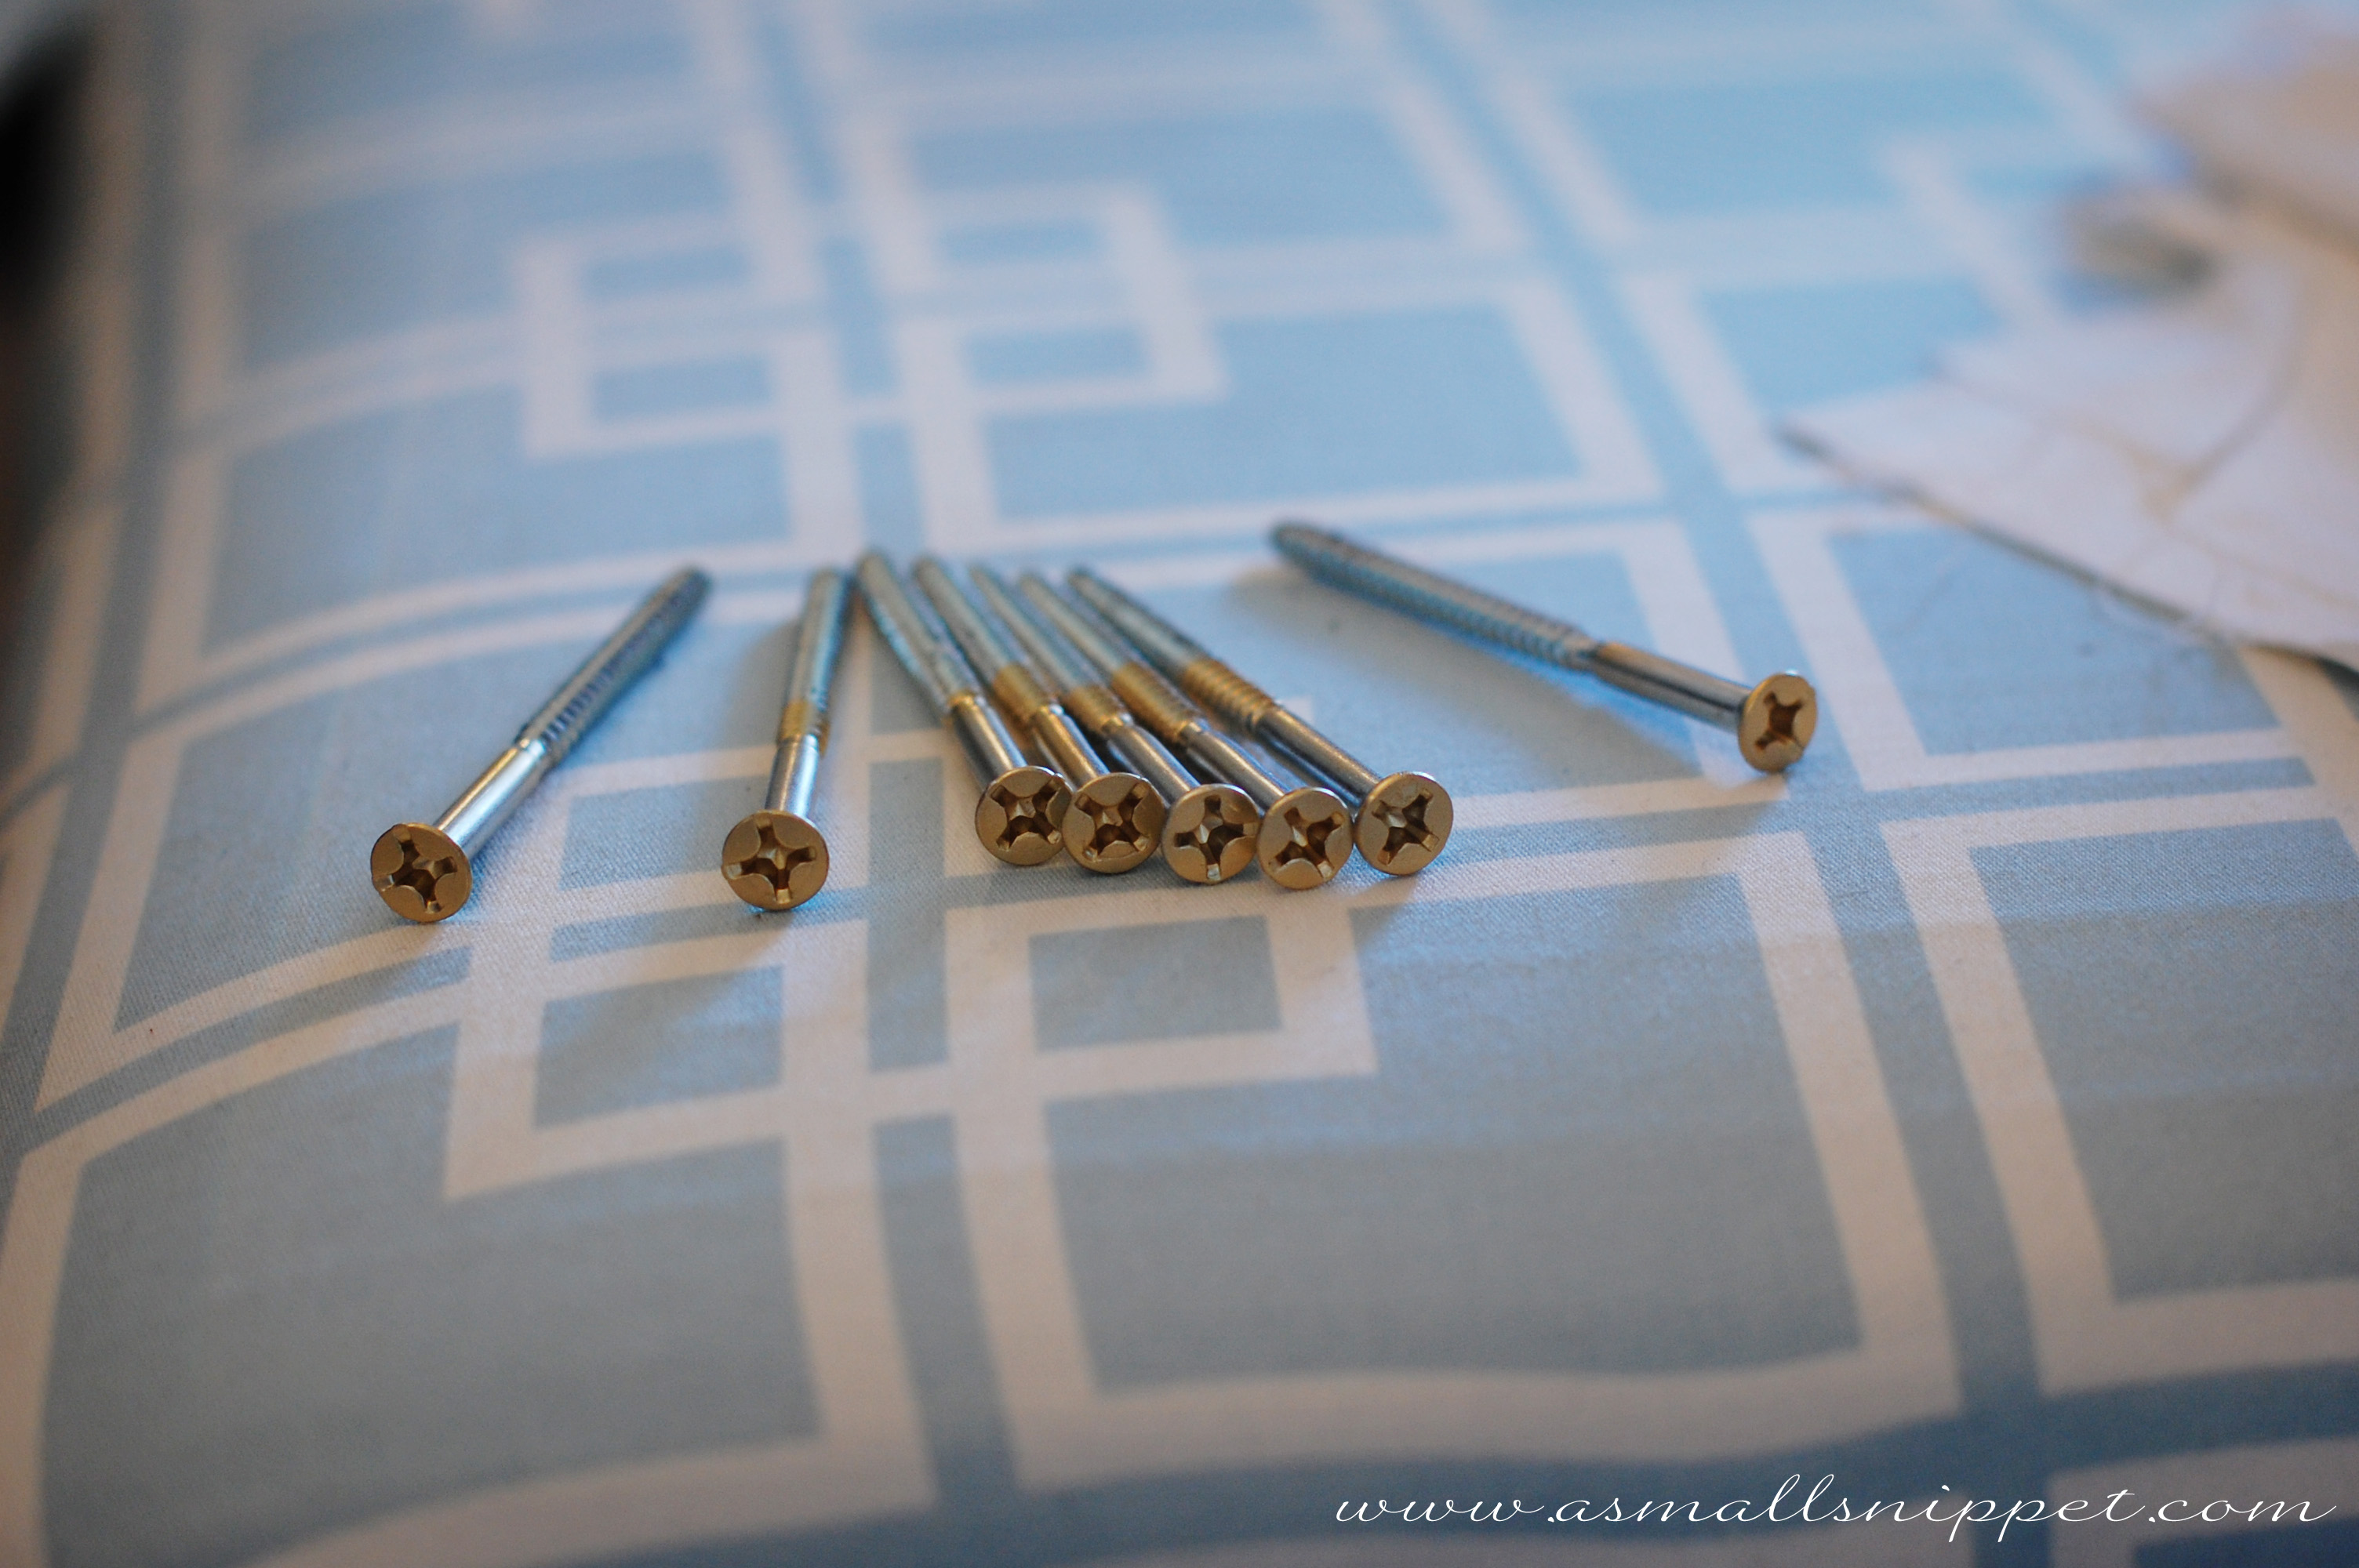
we used a screw on each end of the moulding to attach it to the wall.
i decided to hang my longer necklaces higher, and then my shorter necklaces right beneath them, and then the bracelets underneath the whole thing. make sure when you are figuring out where to hang your moulding, that you take into account the length of your longest necklaces.
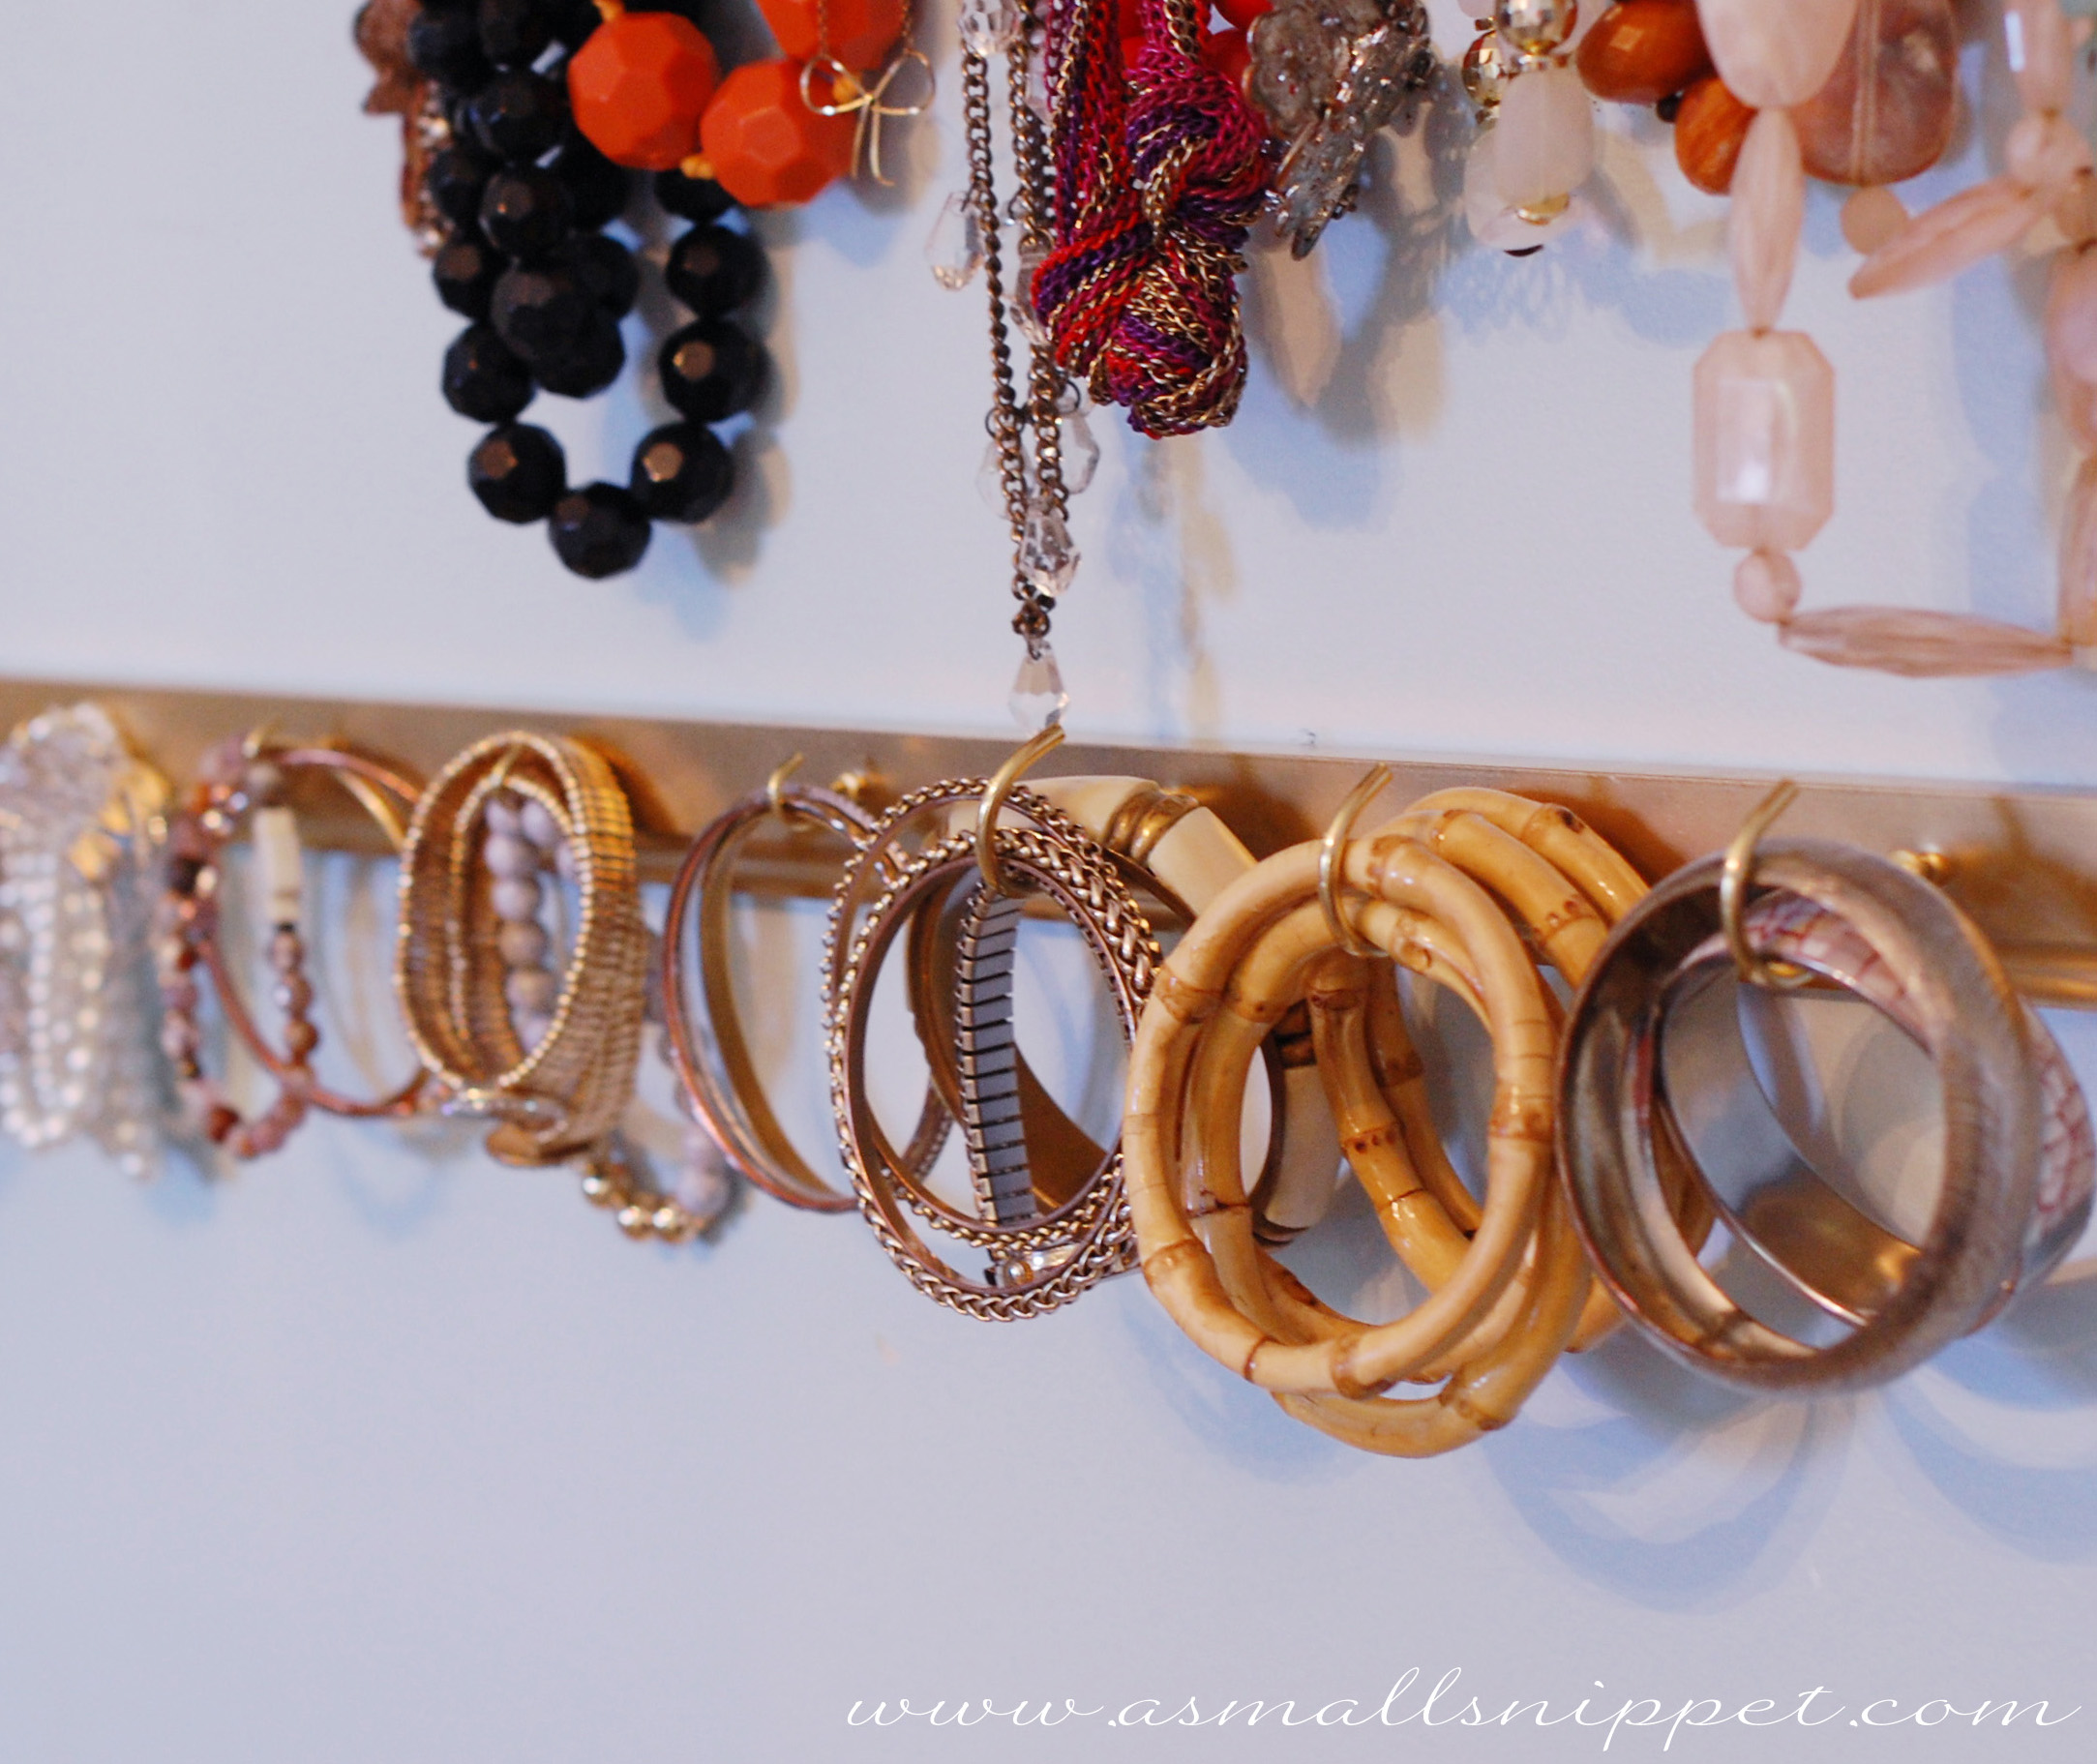
i realized after the project was completed that i probably could’ve used all larger hooks for the bracelets, instead of some smaller and some larger. it works for now, and i’ve doubled up a lot, even on the smaller hooks, but the larger hooks are probably better, since bracelets tend to be wide. you can see the difference in how much the larger hooks hold as opposed to the smaller hooks.
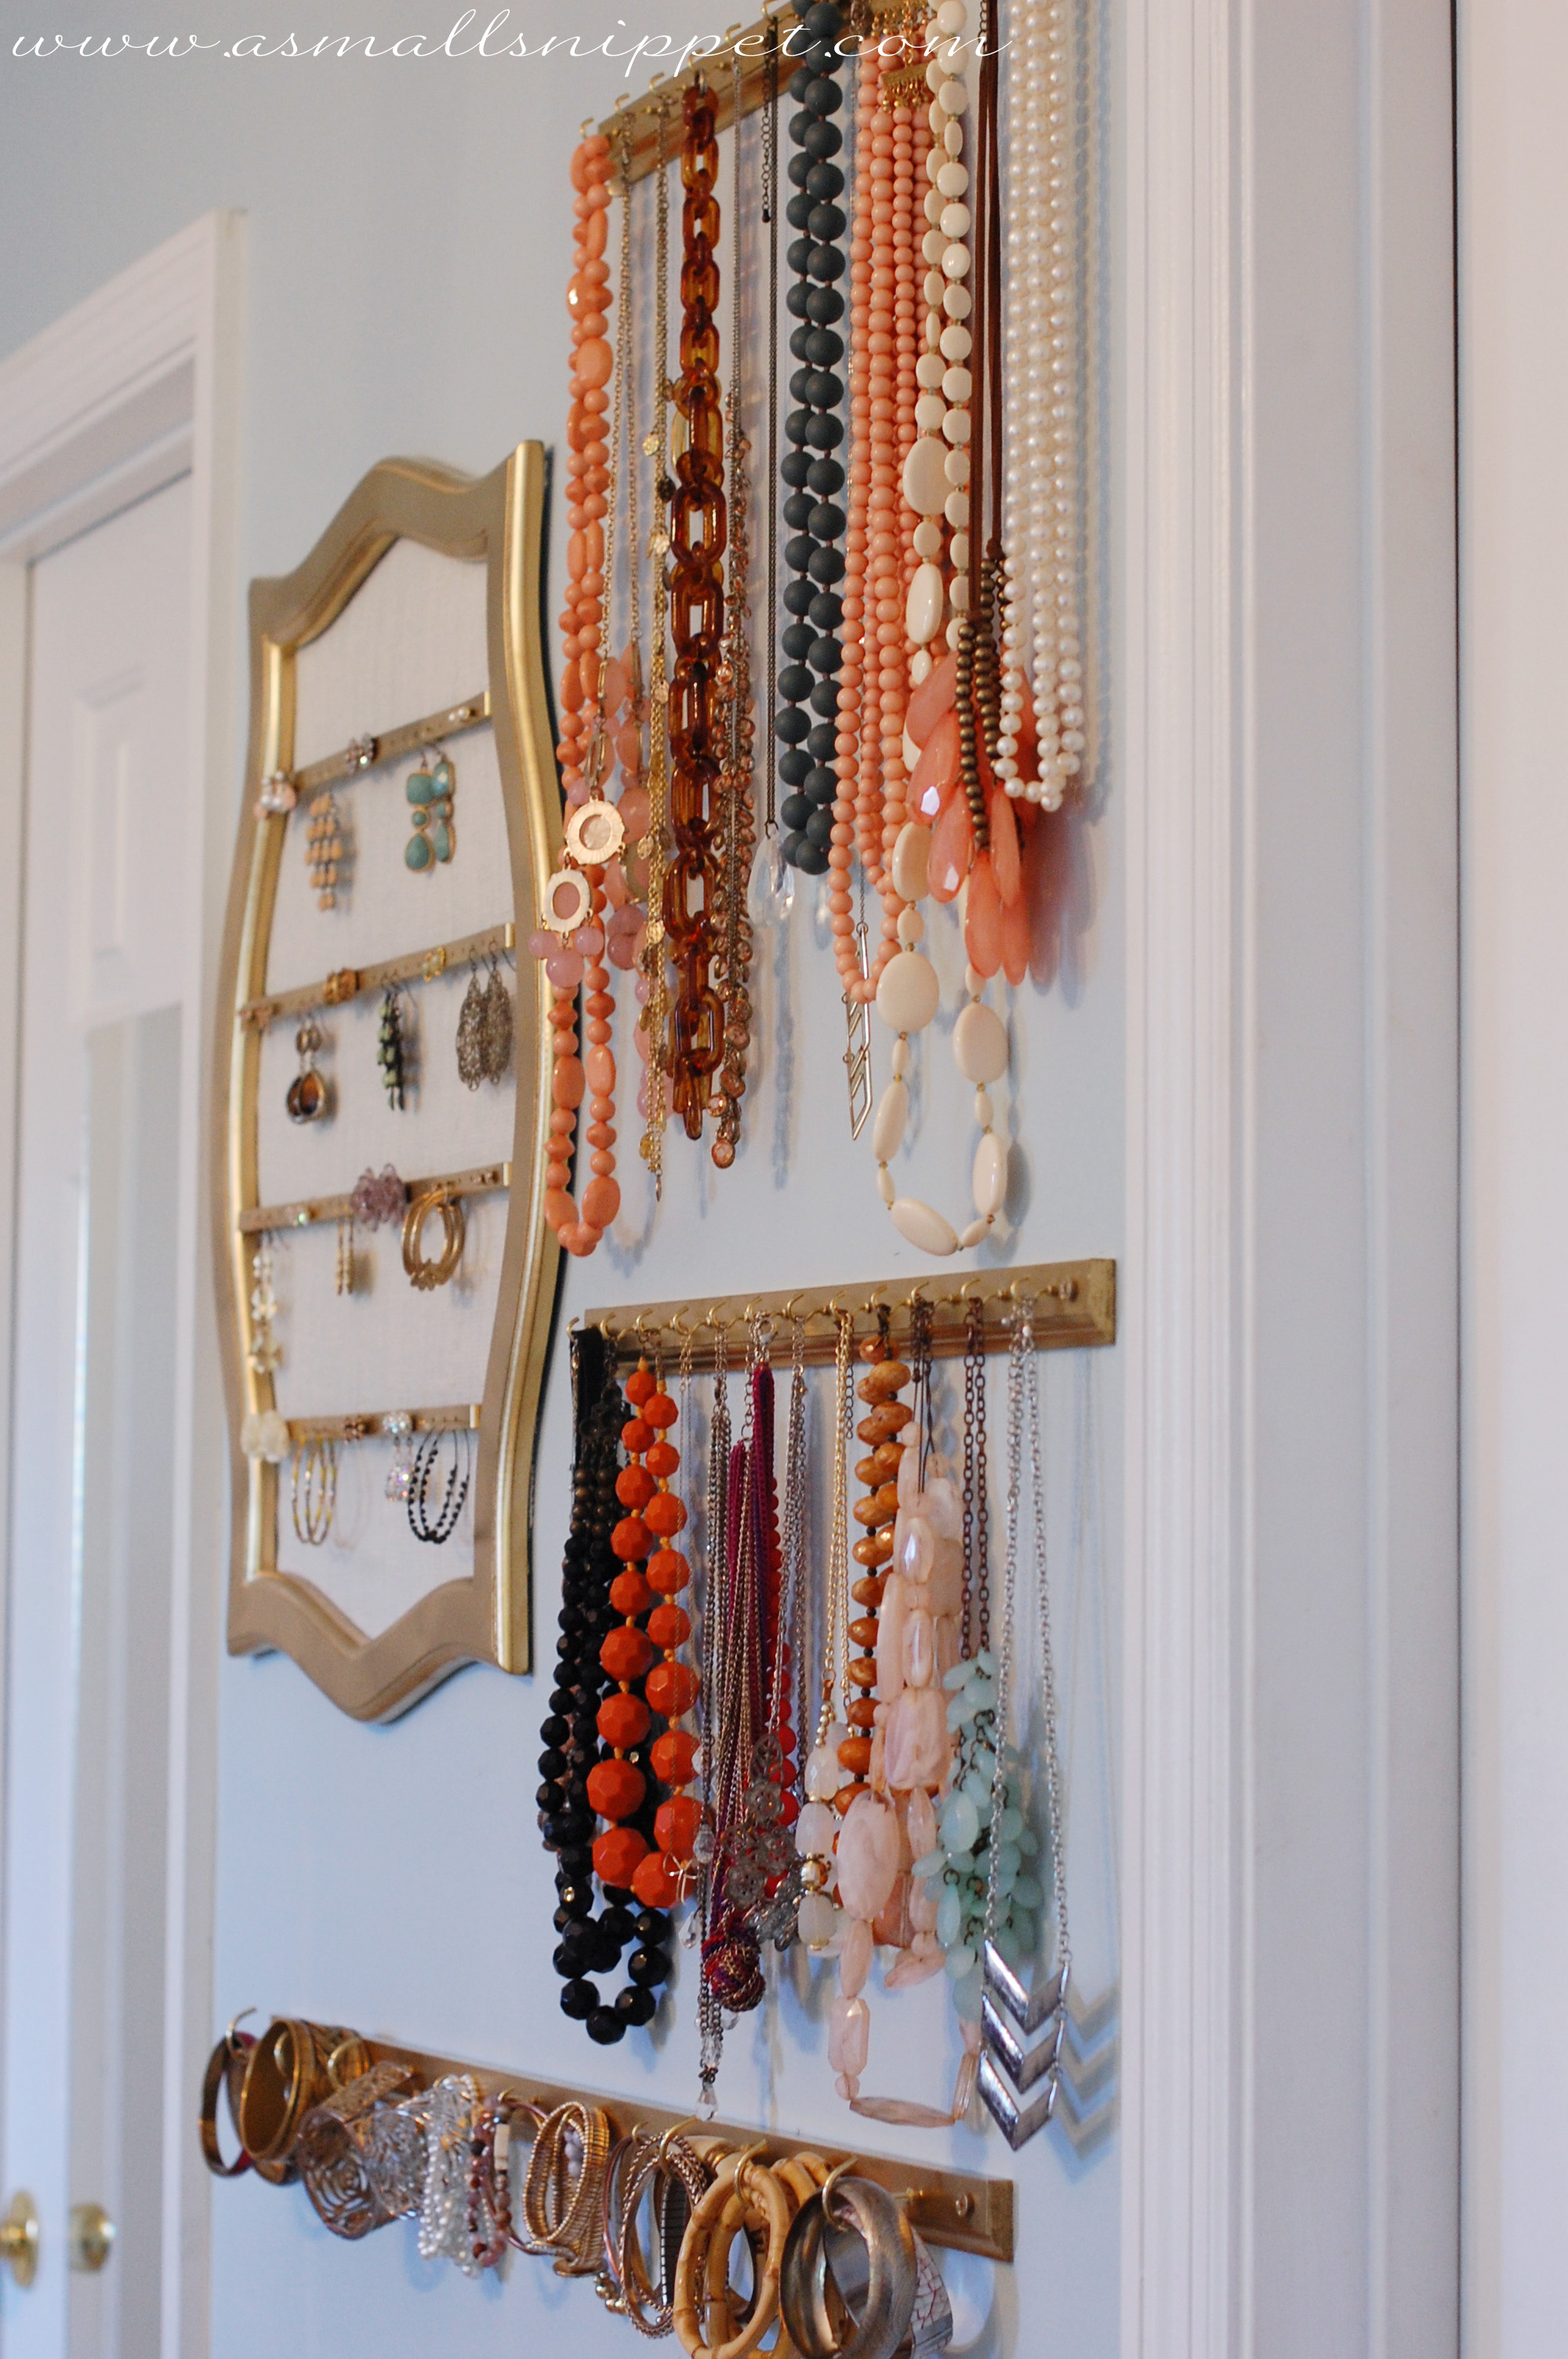
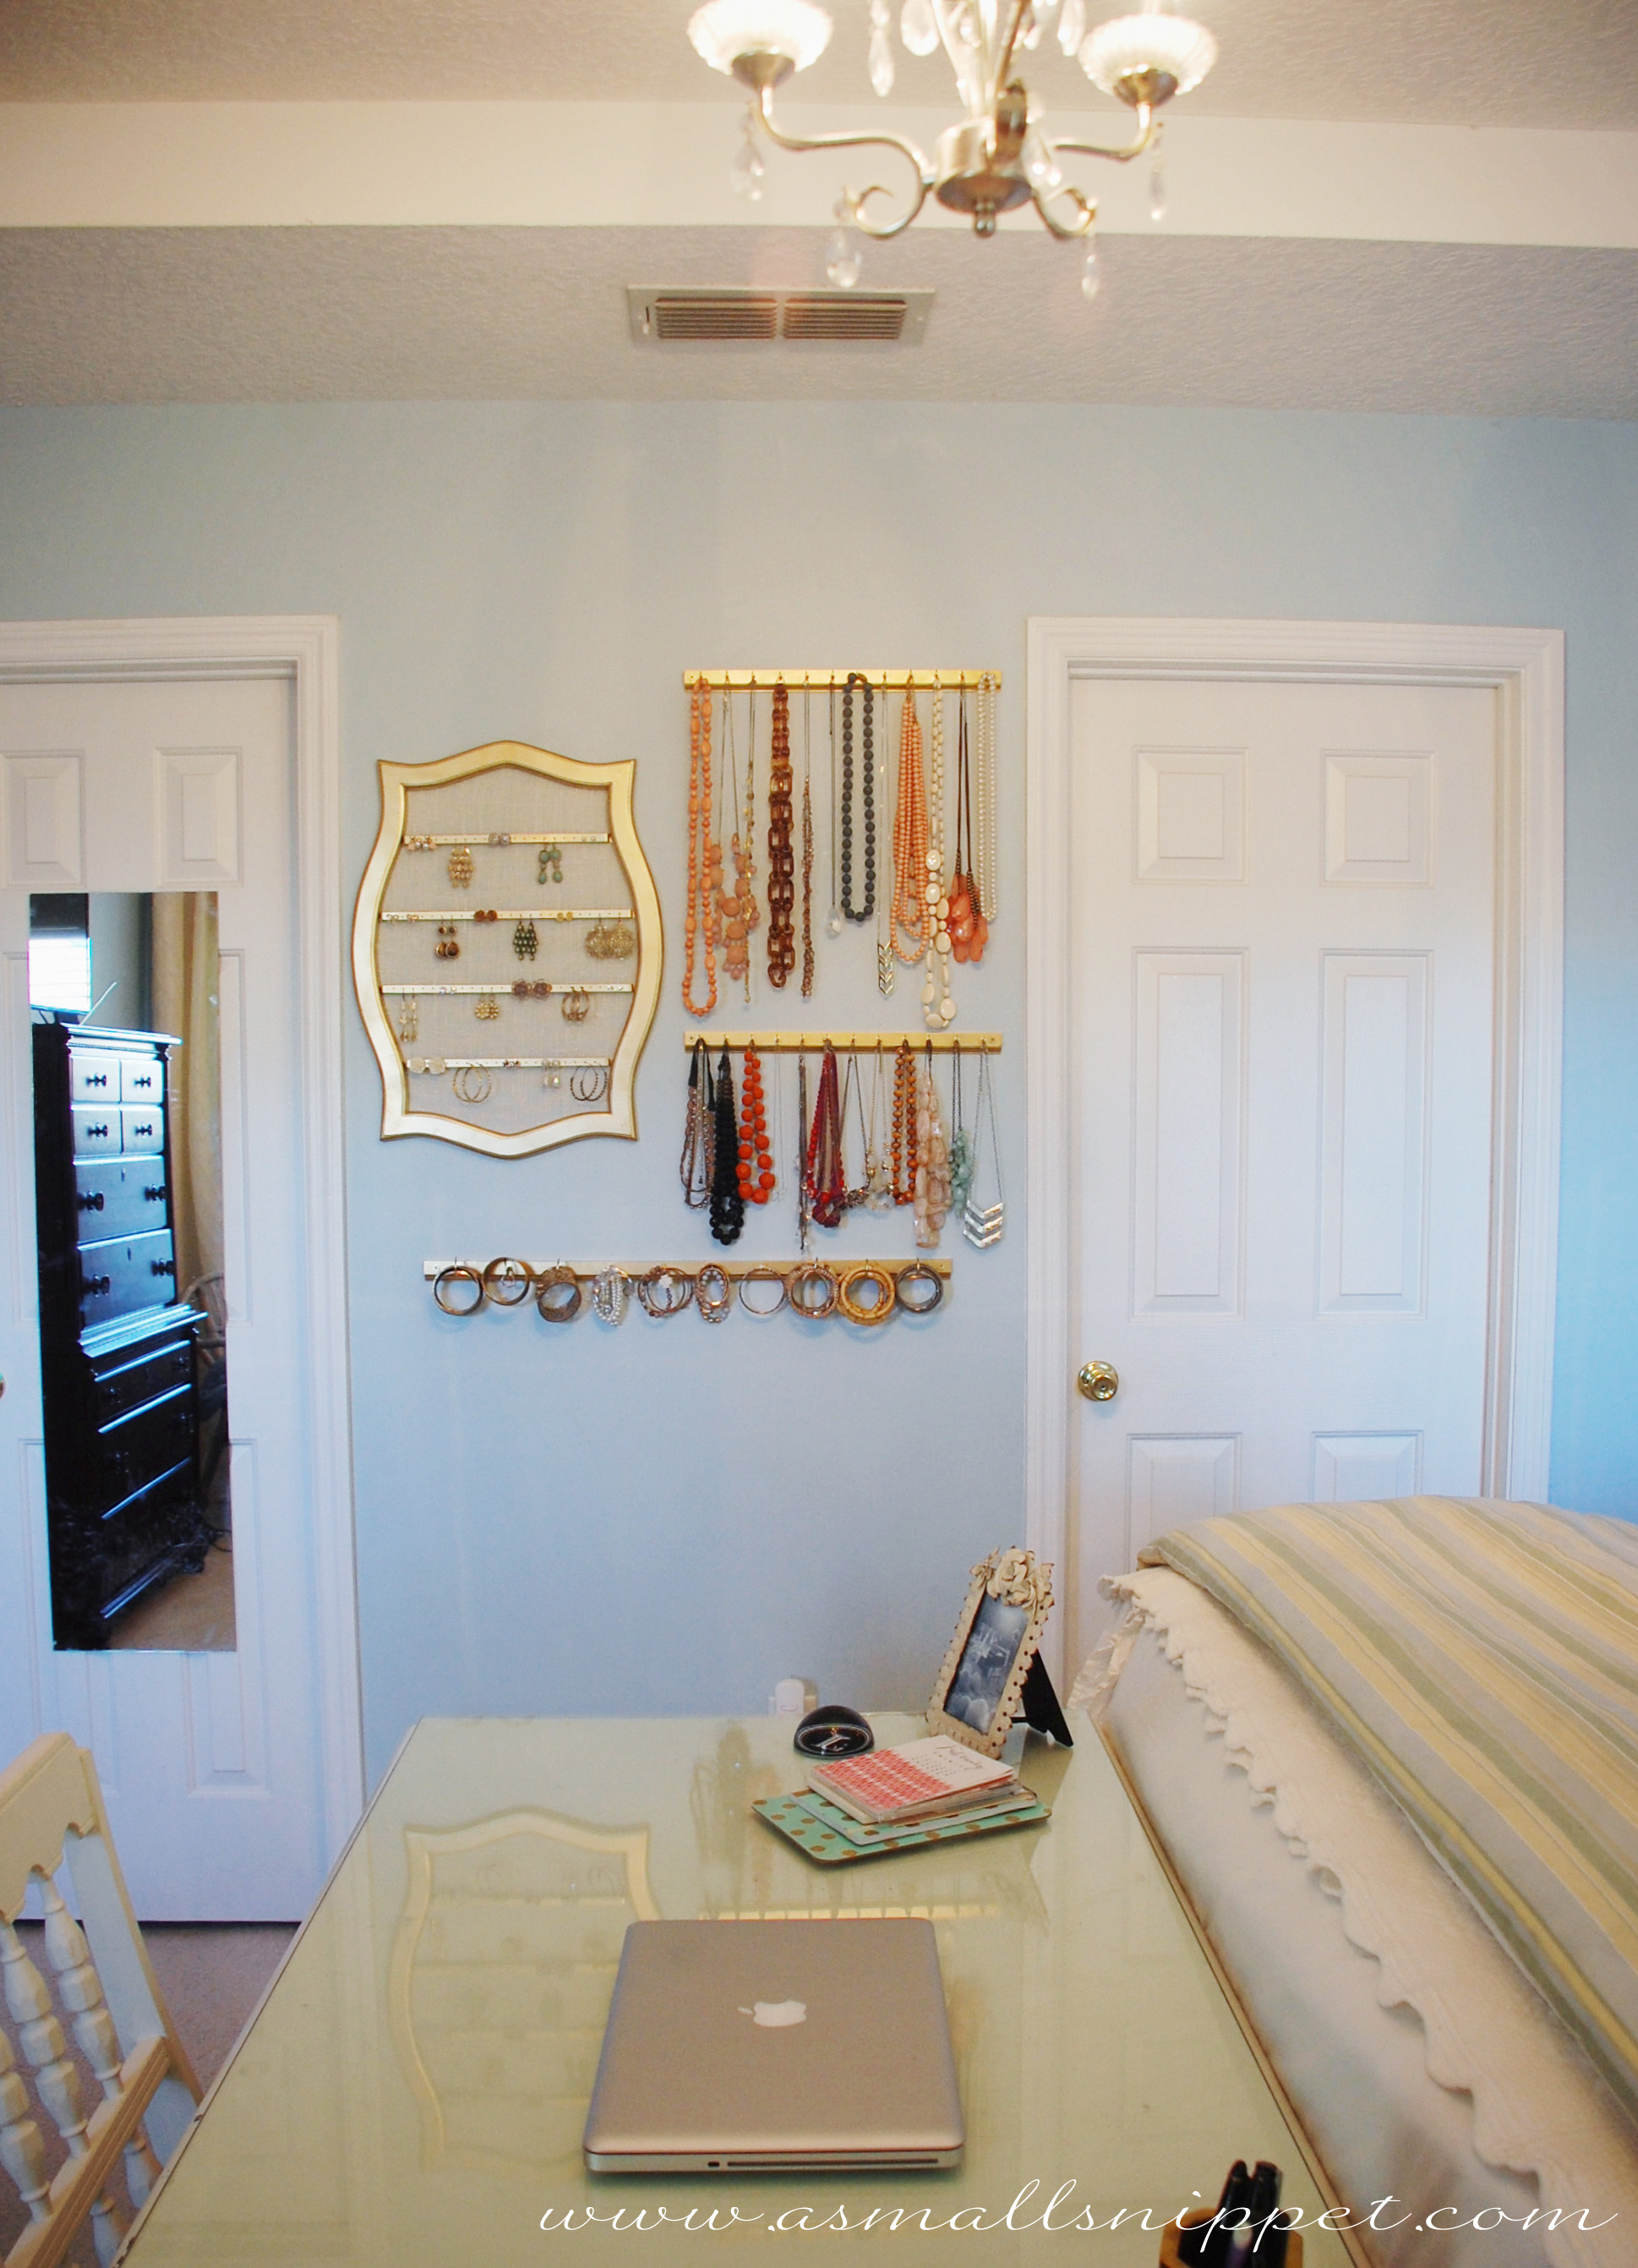
but for the necklaces, the smaller hooks are perfect, and there’s plenty of room to hang multiple necklaces from one hook: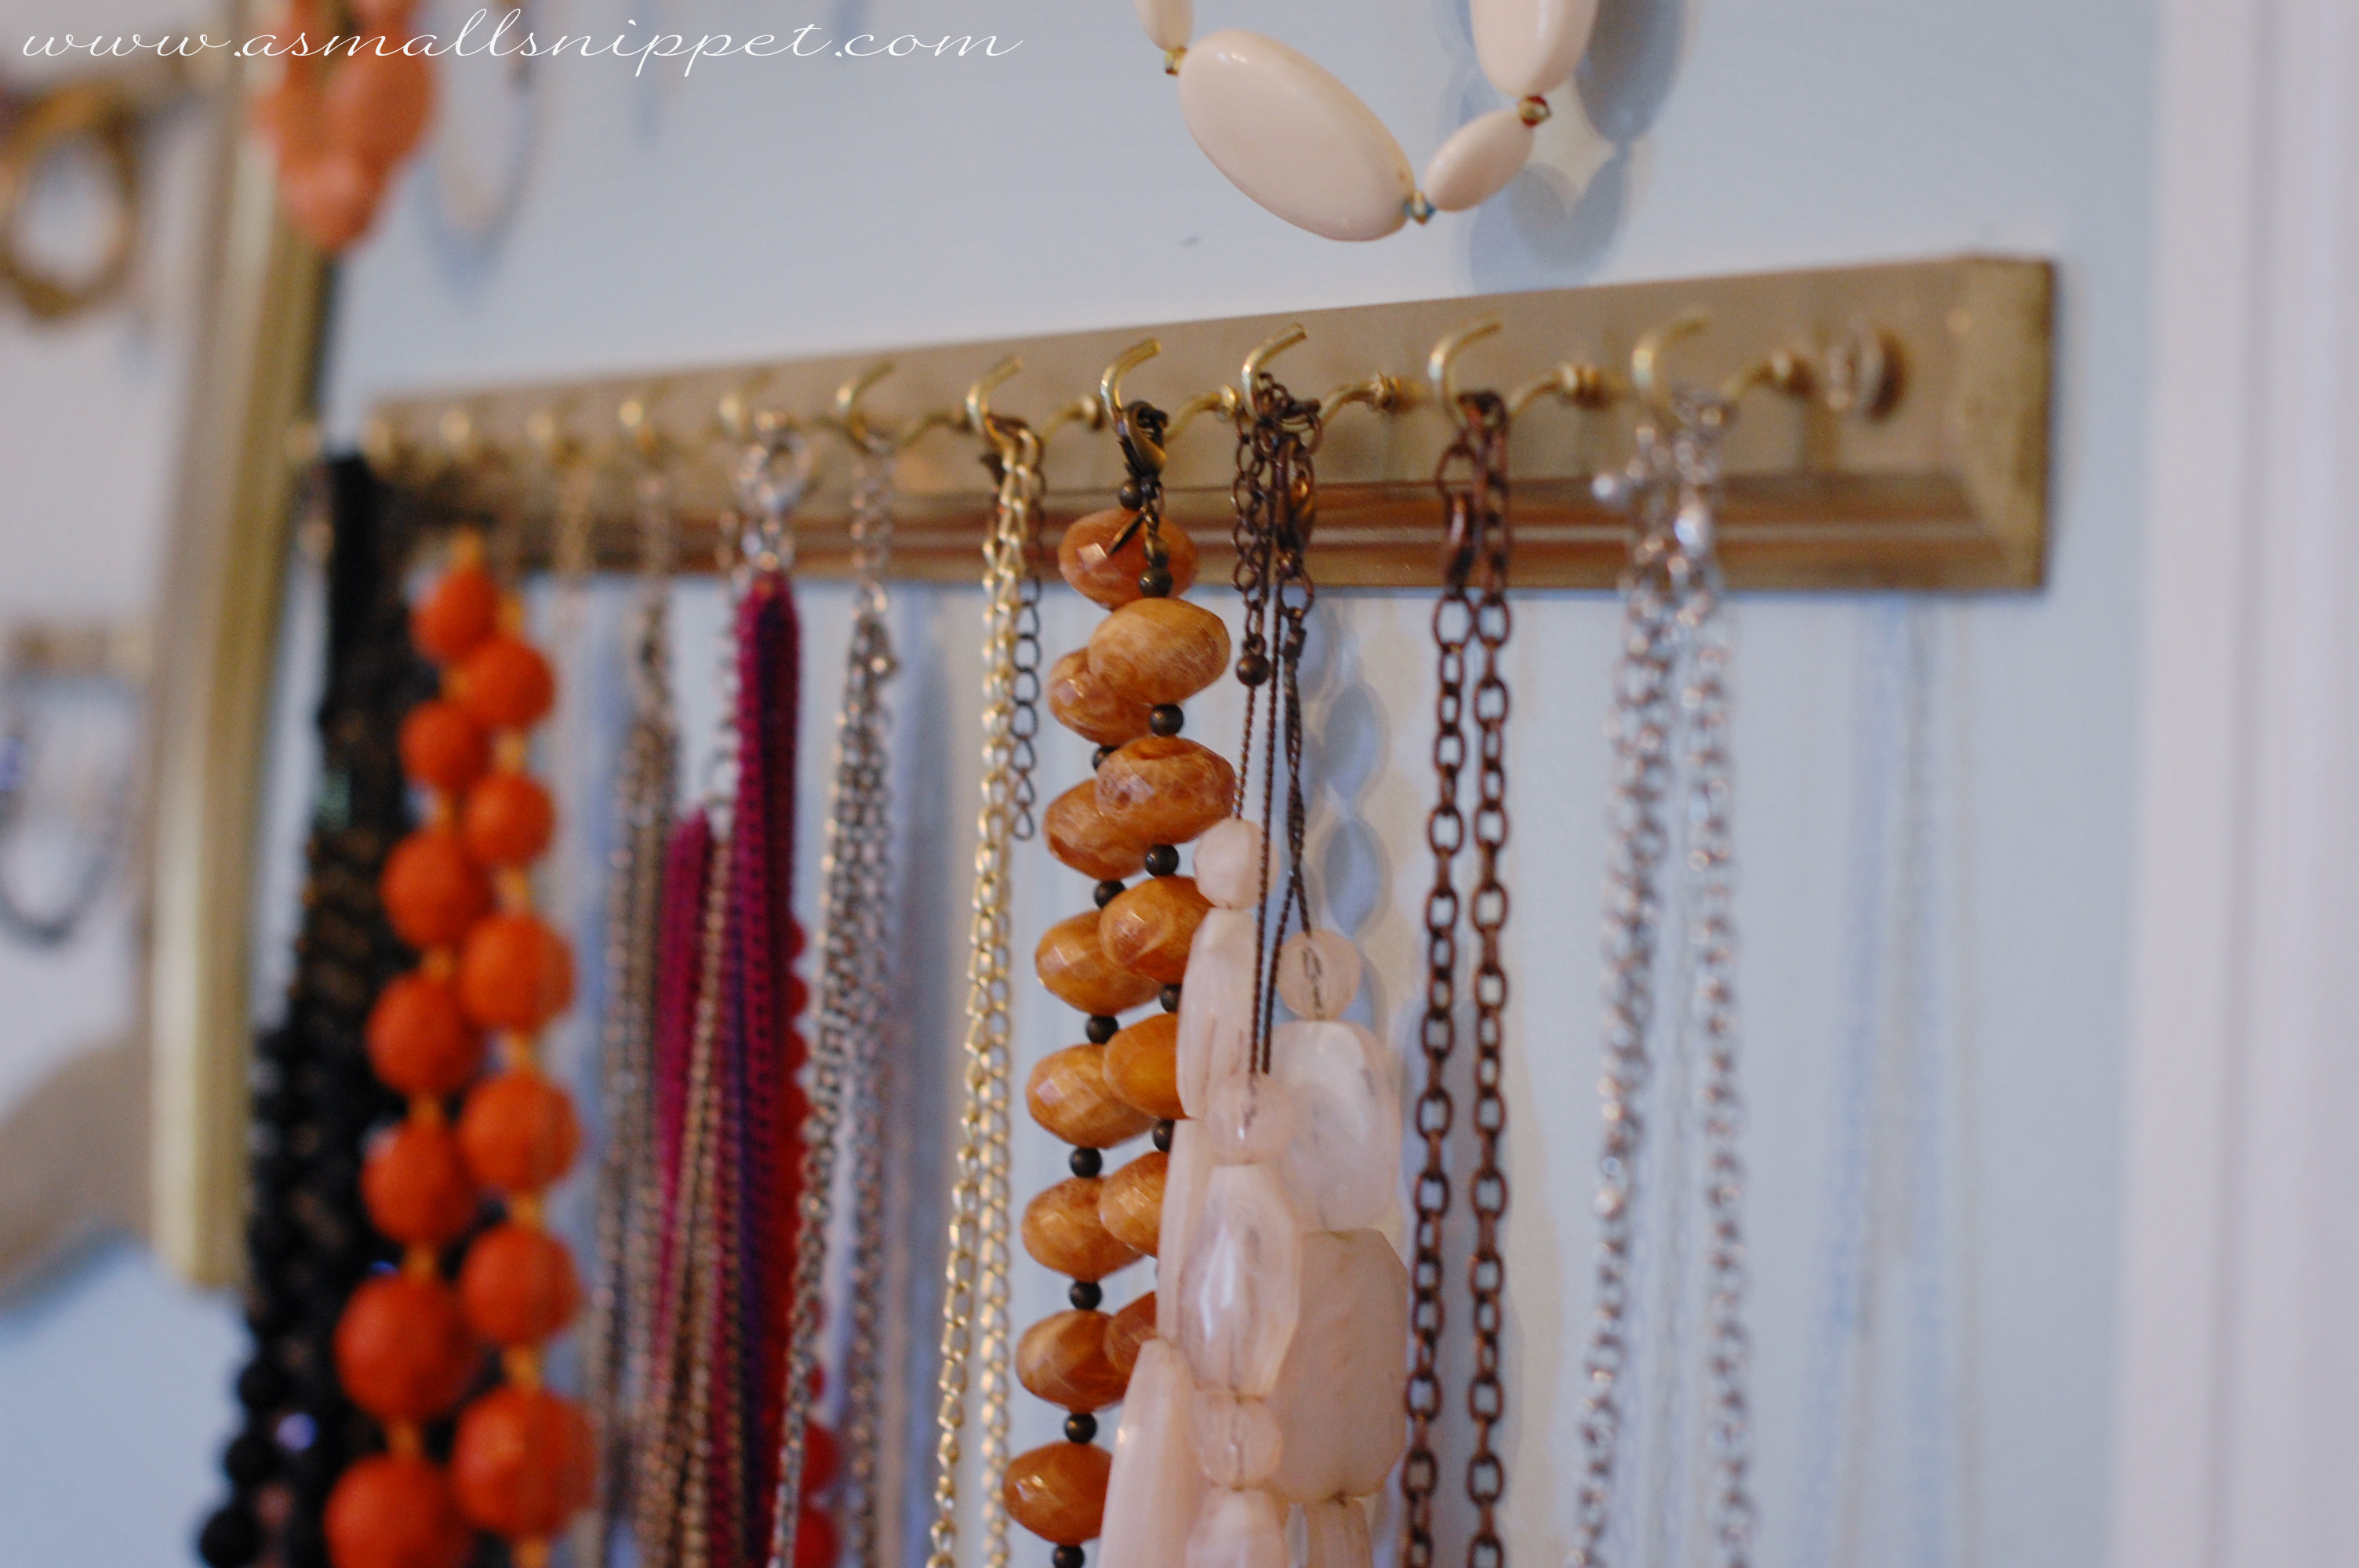 we hung the jewelry in our master bedroom between our closet door and our bathroom door. in a perfect world, i would’ve hung it in my closet, but there was not wall space in there to do so. however, its so functional, and i’m finding that i’m actually wearing my jewelry more often because its so easy to access right out in the open. i think it’d also look great in a bathroom if you have the wall space.
so there you have it. a quick, simple, and inexpensive project that brings loads of organization!
happy weekend!

 Follow
