Metallic Gold Crib
consider this the first of a handful of nursery/baby tutorials coming your way 
when we found out we were having a girl, and i started on some crazy Pinterest research for nursery ideas, it didn’t take me long to decide that i didn’t want to go with the standard white crib that i had used for my last 2 nurseries. i instead wanted something striking and different and unique, and the idea to paint an old crib that my parents had metallic gold was born.
i did a bit of research, and decided that our best option was to use spray paint. the crib is an old Jenny Lind crib. here is one very similar to the one we have:
Davinci Jenny Lind Crib, White.
you can see that it has lots of spindles and hard to reach/paint places, and since the hubs was tackling this job for me (i actually try to be really careful about paint fumes while preggo), i decided spray paint was the way to go.
i scooted over to Home Depot and picked up some cans of Rust-Oleum Pure Gold Metallic Spray Paint. it seemed to be the best metallic gold, without being too shiny or too yellow. however, as the hubs began painting, i began hating the color. it just wasn’t right…too yellow, not enough gold, and definitely not enough metallic. so off to HD we went again, and picked up a few others to try out. the one we loved the most was actually the one that i didn’t even consider in the beginning because the cap of it scared me off completely. however, it turned out to be the perfect perfect color:
Rust-Oleum Specialty Metallic Gold Spray Paint
the cap of this can does not do the final product justice. it is the perfect shade of gold, with the perfect level of metallic and shine, without being too glossy or too fake looking as the cap led me to believe.
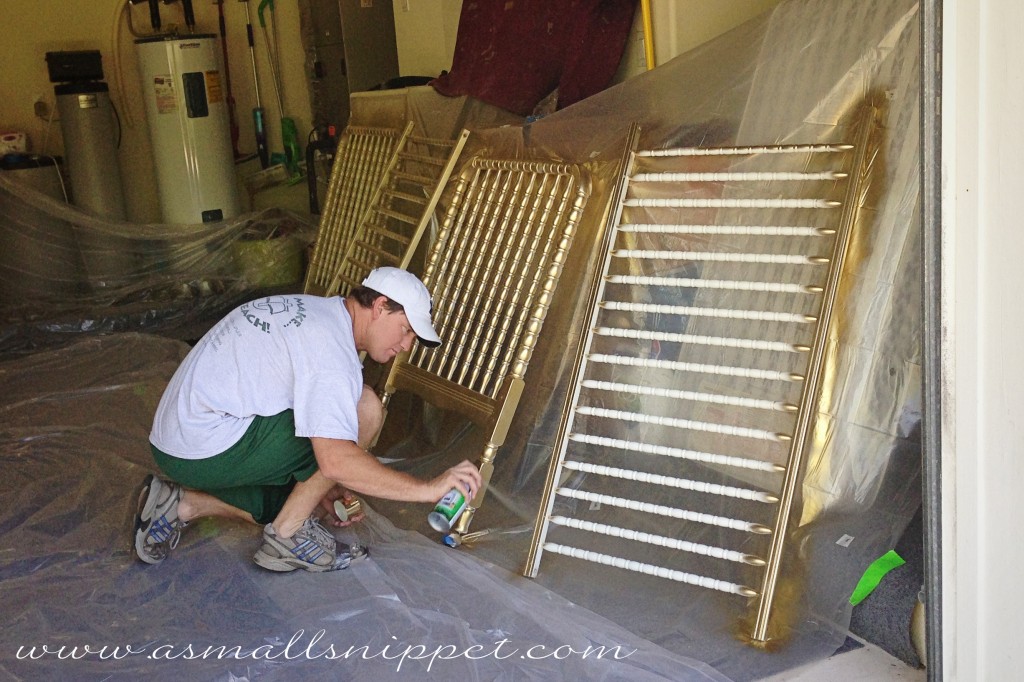
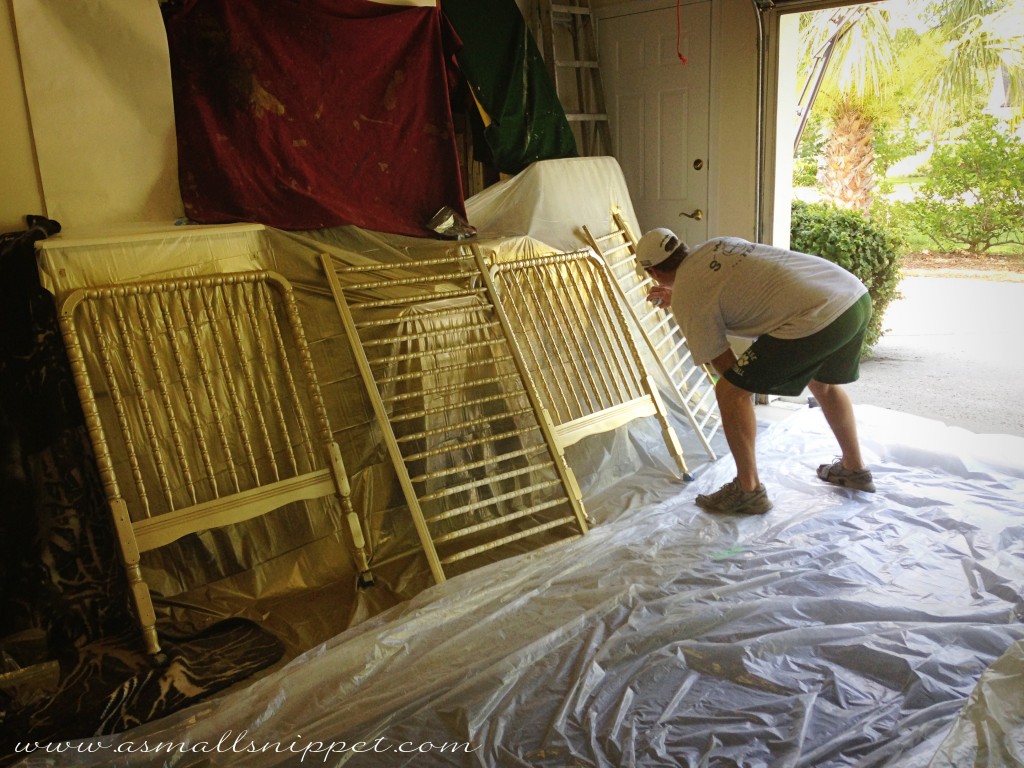
we disassembled the crib in order to spray it, so that we could get to the inner parts of the spindles more easily. we taped off the hardware (you’ll see the silver hardware in the finished pictures) because we knew that once the crib side was lowered over and over again, the paint would rub off anyway, so leaving it silver was our best option. we sprayed the crib in sections in the garage, after covering the surrounding area with drop cloths:
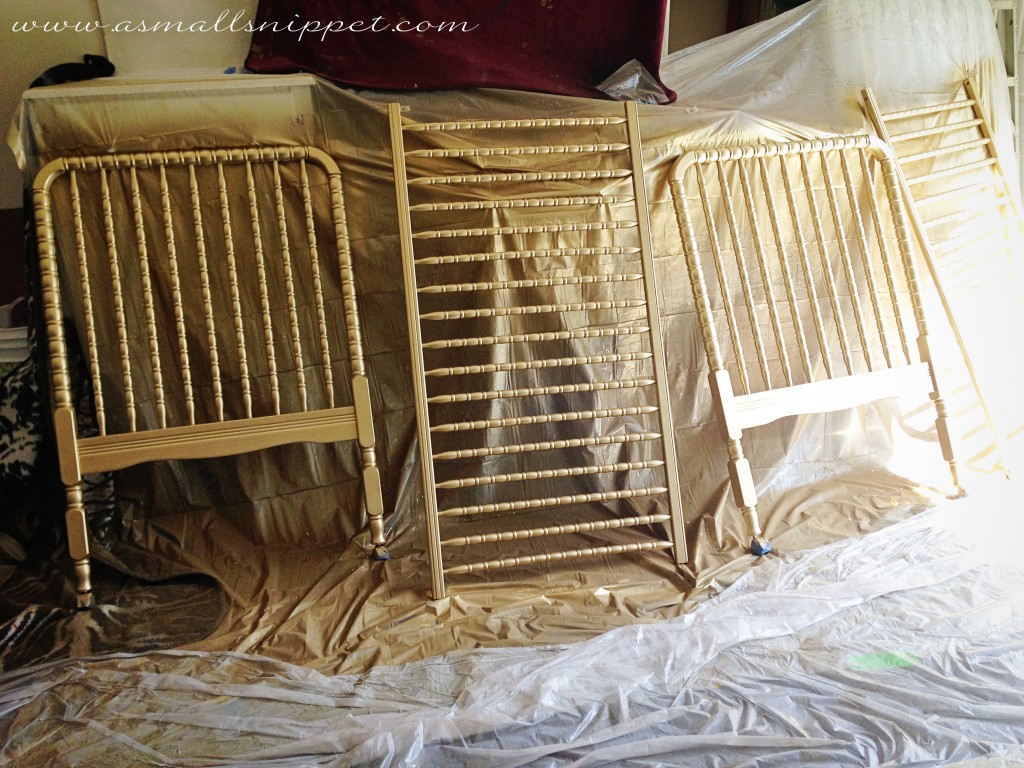
jake sprayed one side, waited for it to dry completely (it does not take long to dry) and then flipped each piece over and sprayed the other side:
you have to make sure that you get in between the spindles, (if your crib is spindly or slatted) because the paint will not reach all the way to the inside by just spraying the outside. we did 2 coats of paint, and that was all that was needed to cover all sides well. if i remember correctly, we used about 6 cans of paint for the 2 coats.
because i know some of you will ask me and wonder if i am worried about the crib being spray painted and my baby sleeping there…i did tons of research, and i concluded that once the paint dries, and is not emitting fumes anymore, it really didn’t matter what kind of paint i used. my crib also comes with clear plastic protectors on the railings (which we took off before painting, and put back on once it was dried) so if my baby decides she wants to gnaw on the crib one day, she’ll be gnawing on the protectors and her teeth won’t ever reach the paint.
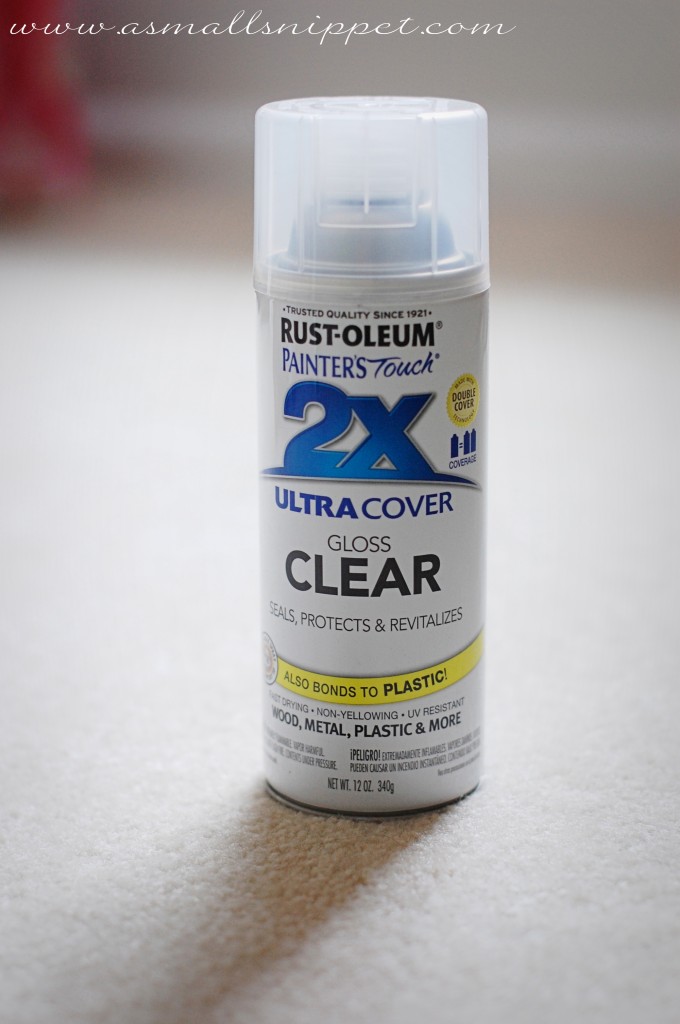
we also sprayed a clear protective layer over the paint, which seals in the spray paint. this was an afterthought, but necessary. after the paint had finished drying completely, we noticed that if you rubbed your hand along the crib, your fingers would be covered lightly in gold dust. we didn’t see it having any effect on the paint job on the crib itself but we didn’t think having a crib spreading gold dust everywhere would be a good idea (especially considering that all of the bedding is pure white!)
so i found this:
Rust-Oleum Painter’s Touch Multi-Purpose Spray Paint, Gloss Clear
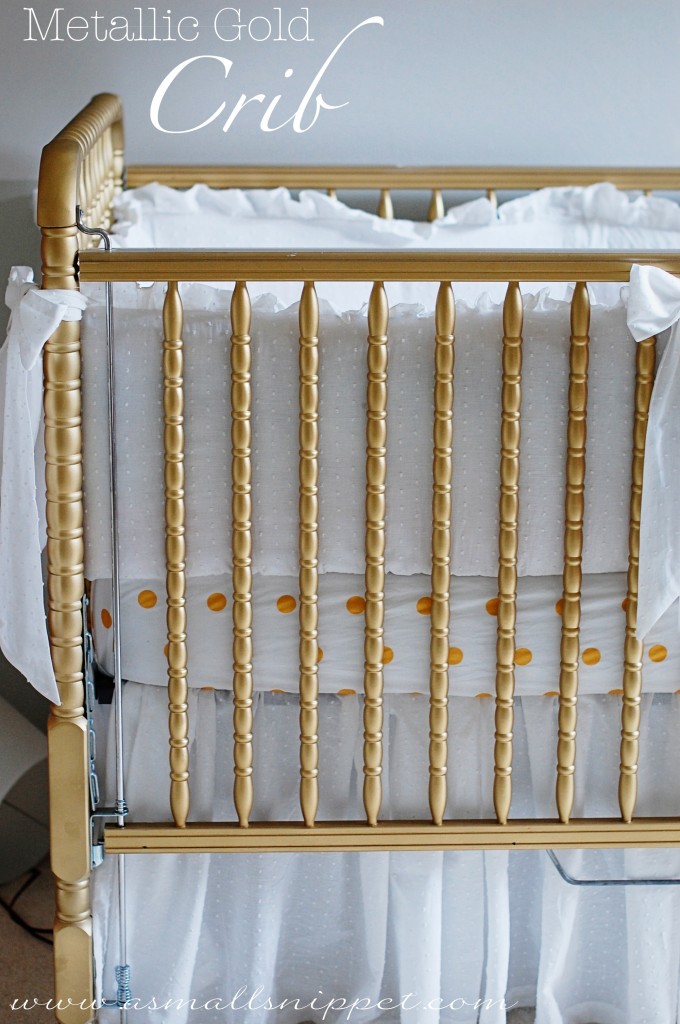
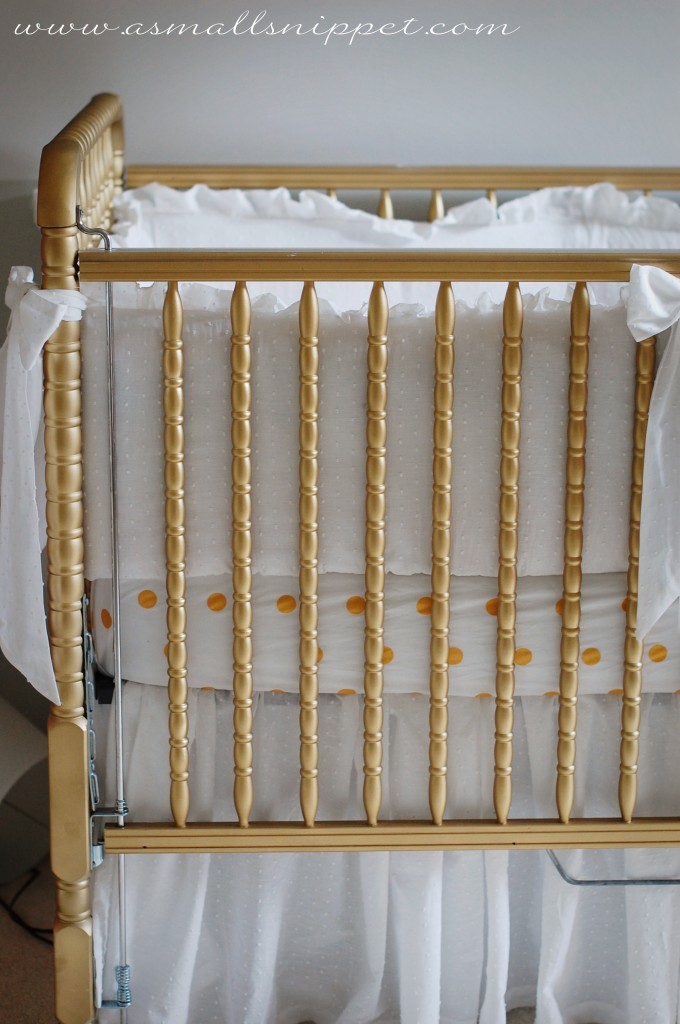
and although i had my doubts, it was the perfect clear coat. it comes in matte as well, but the glossy was perfect for this job. it didn’t change the look of the paint job on the crib one bit, but just added a nice finish, so now when we touch the crib, no more gold dust! i was surprised that it worked so well, and i think we only used less than 2 cans to cover the crib, and only one coat was needed. the finished product is not super glossy either, which i was worried about. i wanted a little sheen to the crib, but not much, and the combo of the spray paint and the clear coat yielded the exact result that i was dreaming of:
 (you just got a little preview of the bedding there too
  we finished sewing it all last weekend, and i can’t wait to show you the tutorials for the bumper and adjustable crib skirt. i was so pleasantly surprised at how simple it was to create, and just how much money it saved us!)
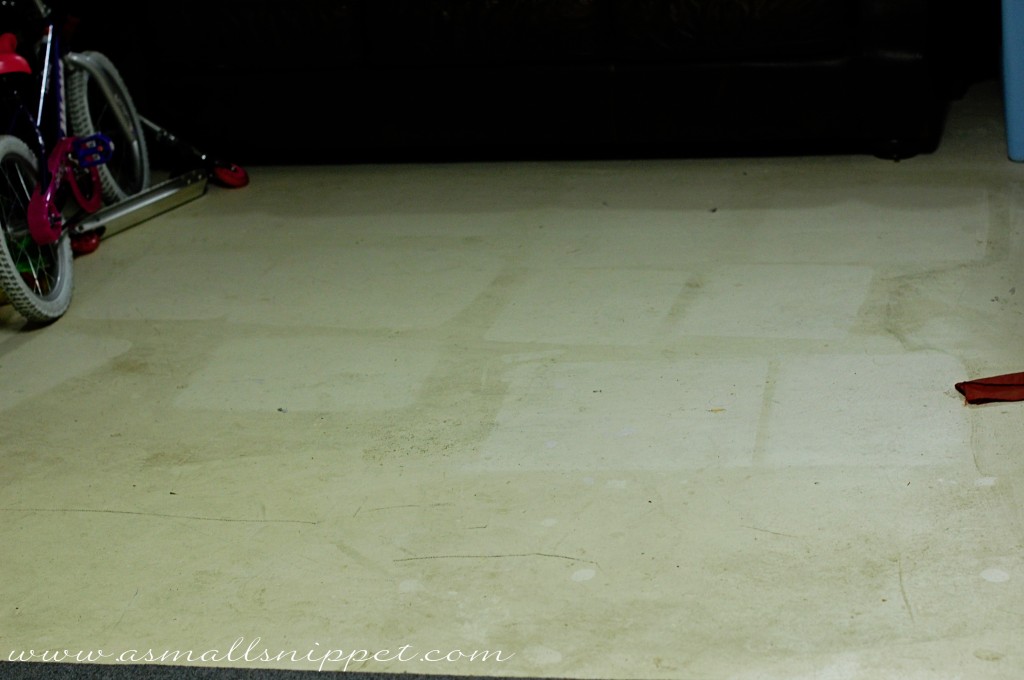
and i’ll leave you with this little warning…unless you want your garage covered in gold dust, i would suggest you spray paint outside. this section of our garage was a ways from where the spray painting occurred, but when we moved some boxes up into the attic a few weeks later, we realized that the gold dust really does cover everything!
hope this is helpful to some of you. i looked for tutorials on using gold spray paint, but didn’t find any that really helped, so it was trial and error for us. maybe this post will eliminate some trial and error for you!
and…i know this is gonna sound crazy, but everytime i spend time on the computer (i.e.: doing a blog post, editing photos, etc) it really makes me signficantly nauseous. so please know that i really do have every intention of blogging regularly again, but its hard to be motivated when you know its gonna make you feel like you want to puke! on that note, i hope to be back before too long!  and with the nursery almost completed, i know i’ll be anxious to share all the details with you, so i simply can’t stay away for long!
5 more weeks, Crazies, of this pregnancy, and until we have our sweet baby with us! we are counting the days….




 Follow
