Apr

29

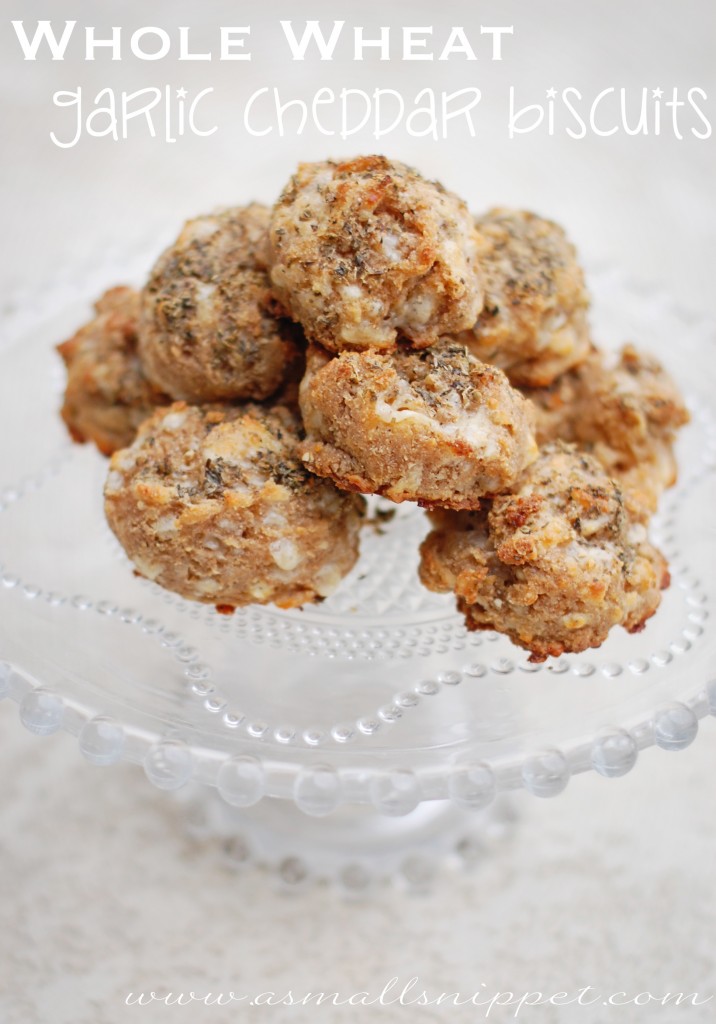
Whole Wheat Garlic Cheddar Biscuits

you might’ve wondered where i’ve been.  and when that promised recipe will show up!  i have lately been having some website issues, and have spent the last few weeks trying to resolve them, at which time i was not allowed to make any changes to my blog.  so that’s where i’ve been :)  (read more at the bottom of this post about that.)

okay…onto a recipe that you can whip up in a matter of minutes, and that will have your whole fam’s mouth watering…as these yummy Clean Eating Biscuits seriously melt in your mouth:

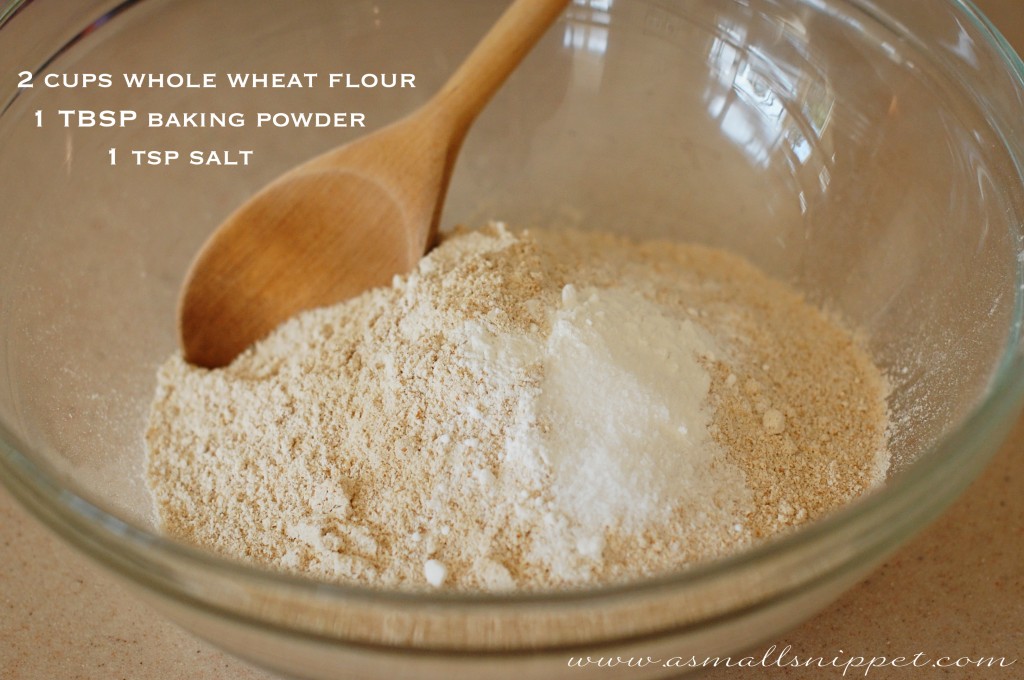
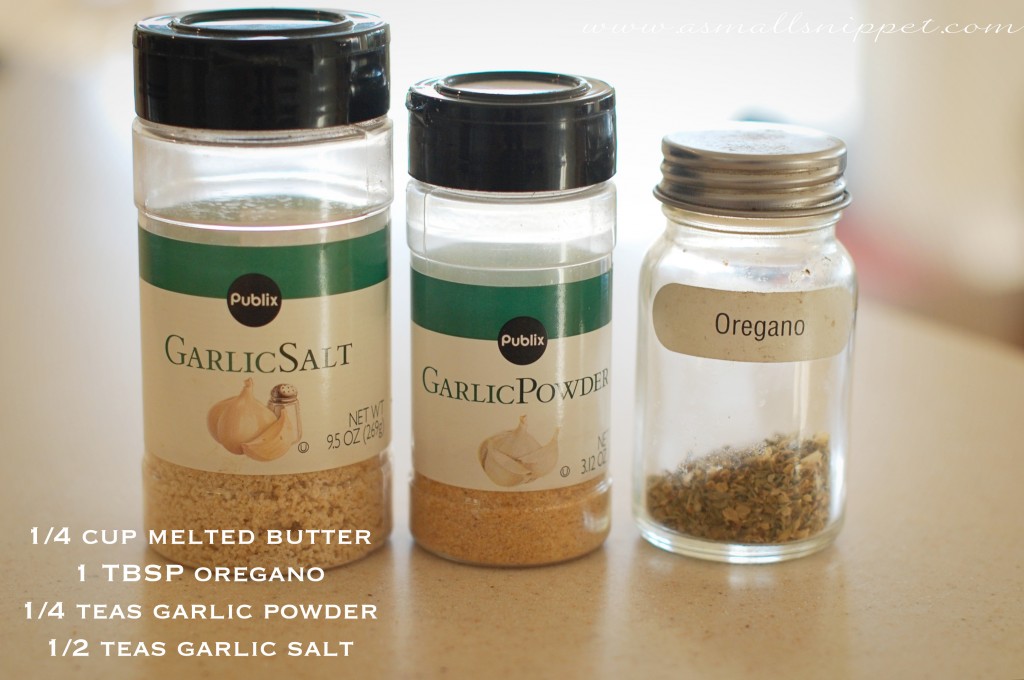
Ingredients:
(a note about the whole wheat flour.  if grinding your own, use either Hard White or Soft White Wheat.   if you wanted to make with store bought whole wheat flour, your best bet would be to use White Whole Wheat Flour.  i always have a bag of King Arthur “Unbleached White Whole Wheat Flour” on hand for those days when i don’t feel like getting my mill out and grinding.  there is a distinction between the White Whole Wheat and regular Whole Wheat.  its softer, and better for baking in my opinion.)

combine your dry ingredients:

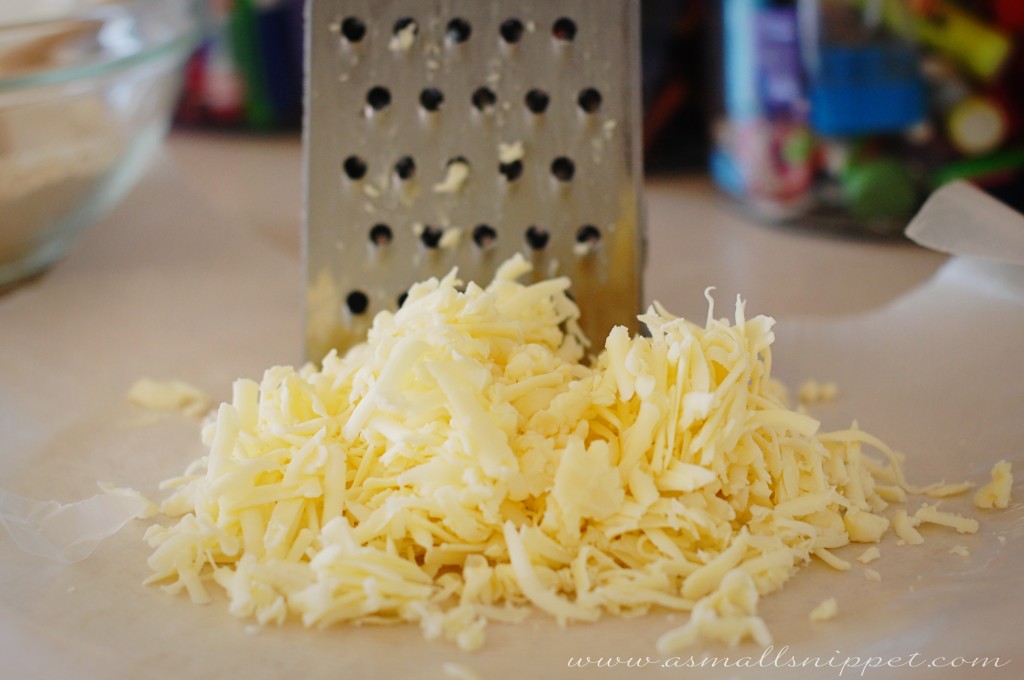
Shred some cheese.  i use Sharp White Cheddar, maybe a cup or a cup and a half:

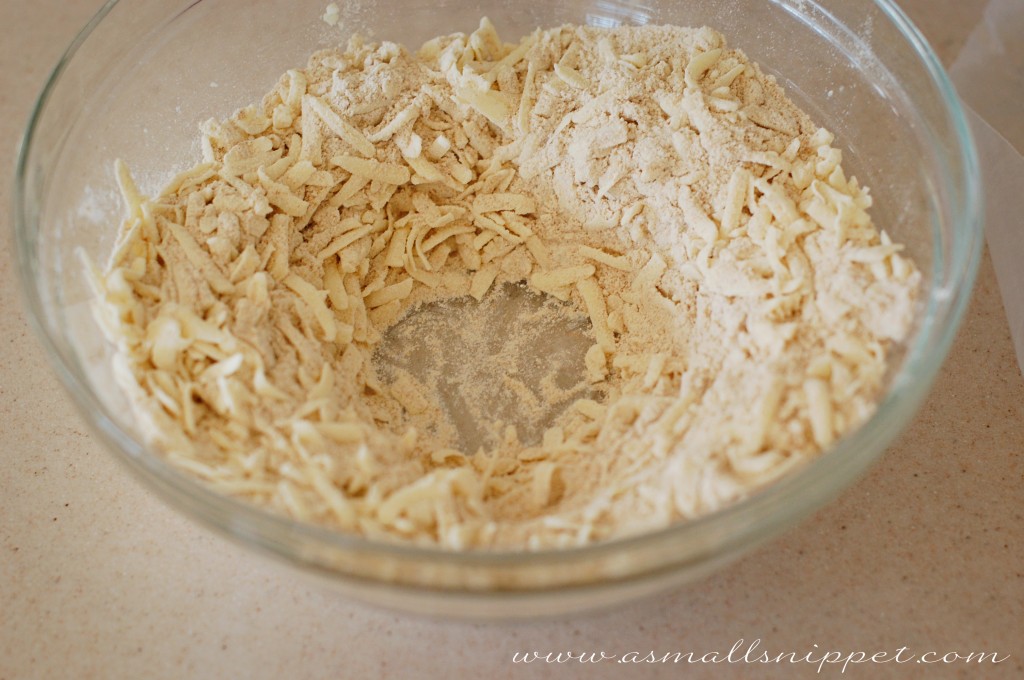
Mix the cheese into your dry ingredients, and create a well in the middle:

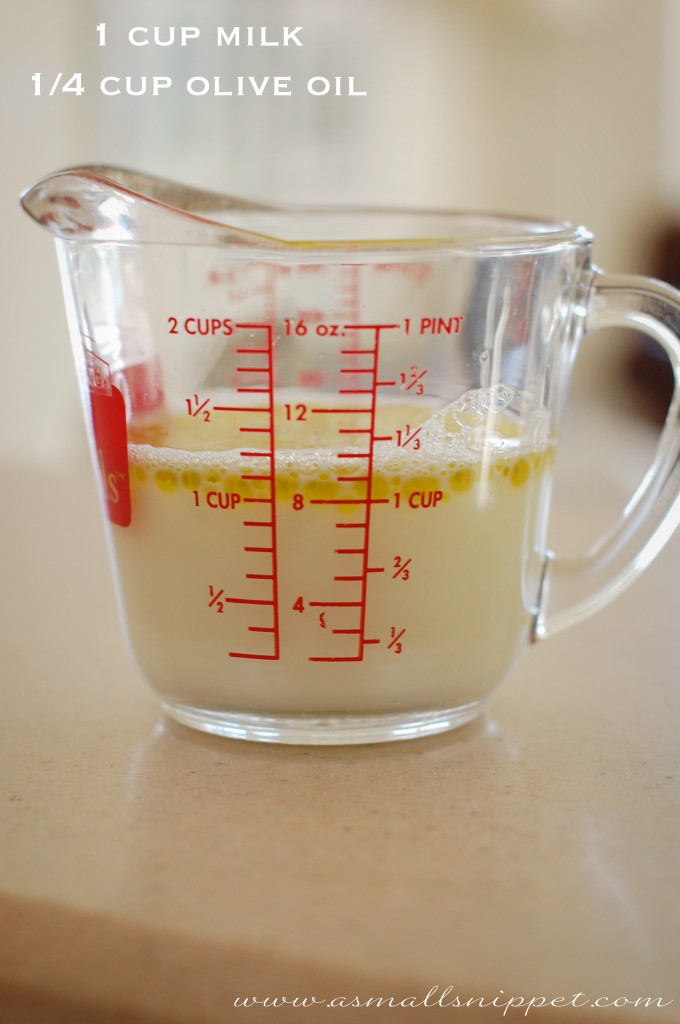
Combine milk (i use skim) and olive oil:

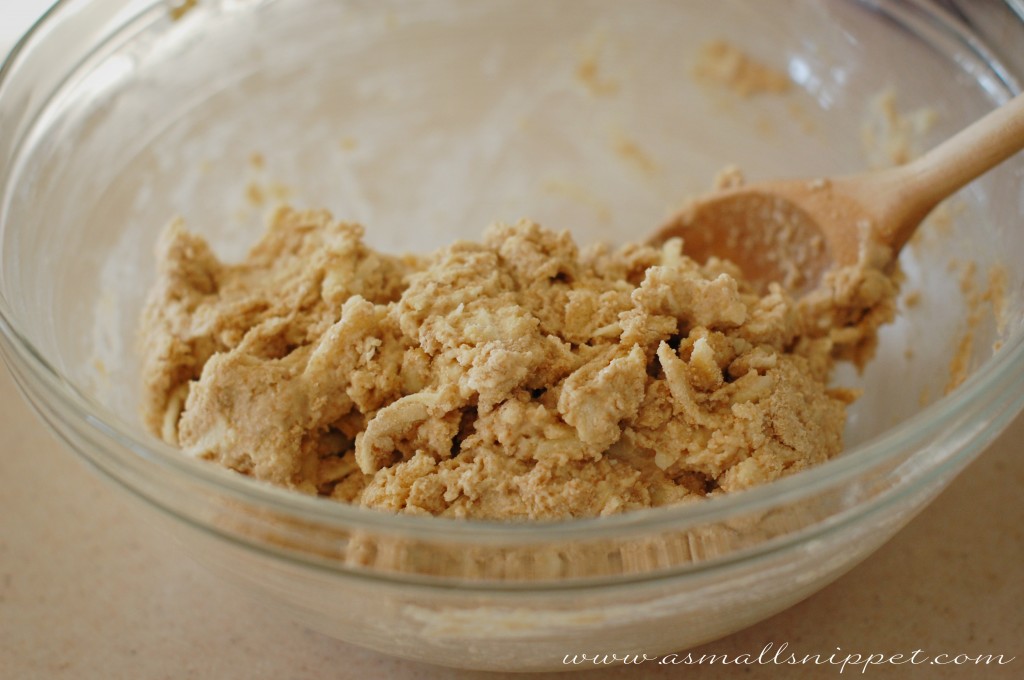
Pour oil and milk mixture into the well within your dry ingredients, and mix until just combined:

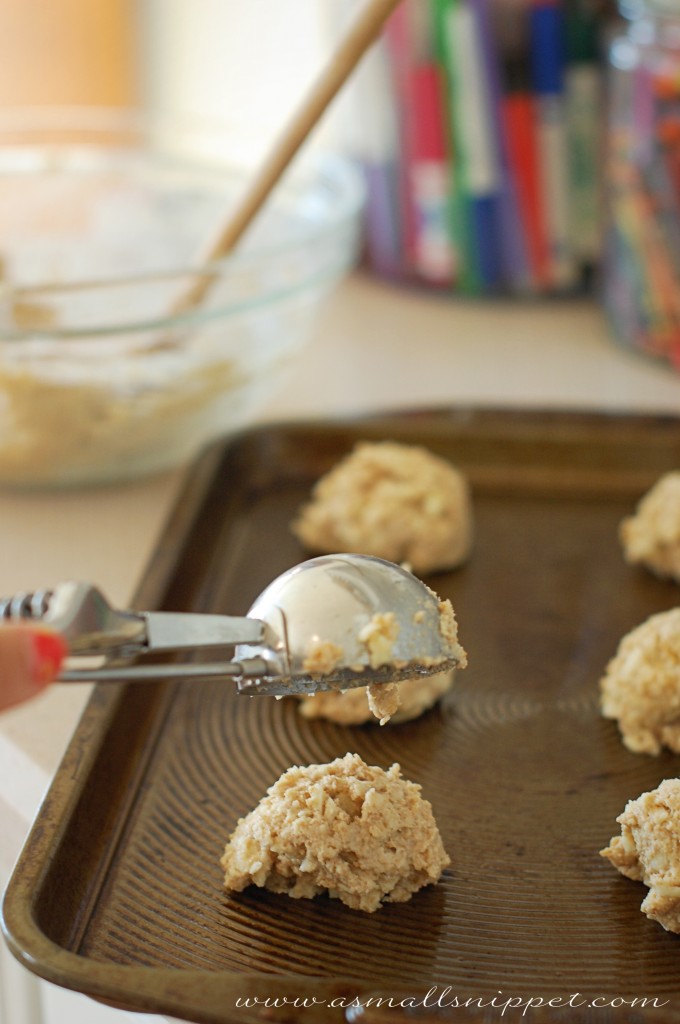
Using an ice cream scoop, scoop dough onto lightly greased cookie sheets.  (this recipe usually makes around 12-14 biscuits.  they don’t spread out too much, so you should be able to fit them all onto 2 cookie sheets.)

Bake at 8 minutes in a 425 degree oven.

Meanwhile, melt 1/4 cup of butter, and stir in these spices:

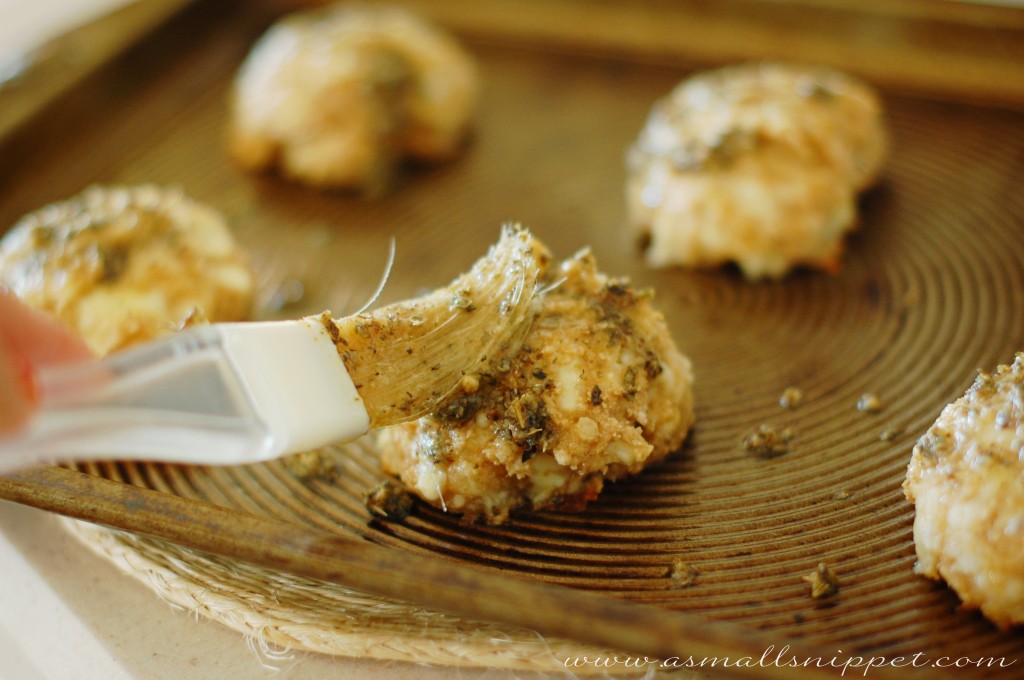
Pull your biscuits out of the oven after about 8 minutes, and liberally brush each top with butter and spice mixture:

Return to oven and bake another 2-3 minutes, or until lightly browned.

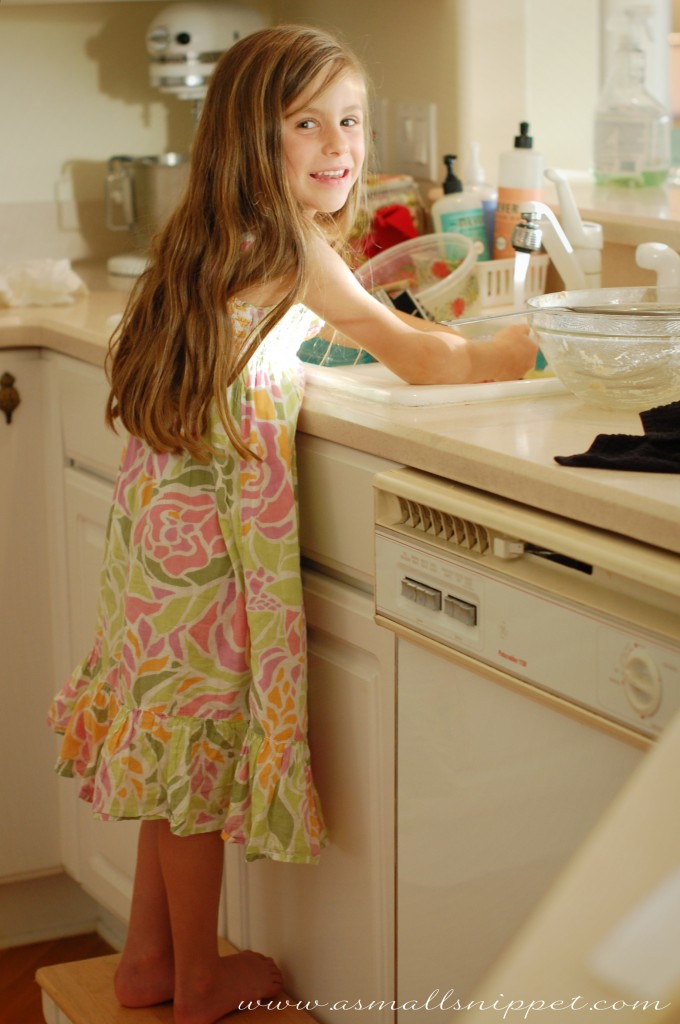
Bella LOVES to be in the kitchen with me.  her new favorite activity is to wash the dishes while i cook.  she actually does a fantastic job as a dish washer, and i love that by the time i’m done cooking, my dishes are already clean.  i’m sure the day is coming soon when she catches on that it may not be as fun as she now thinks it is, but i’ll work it as long as possible, cause i sure like to have her company!

These biscuits are best served right out of the oven, so if you do end up with leftovers, heat them back up in the oven before serving.

here’s the recipe card for you:

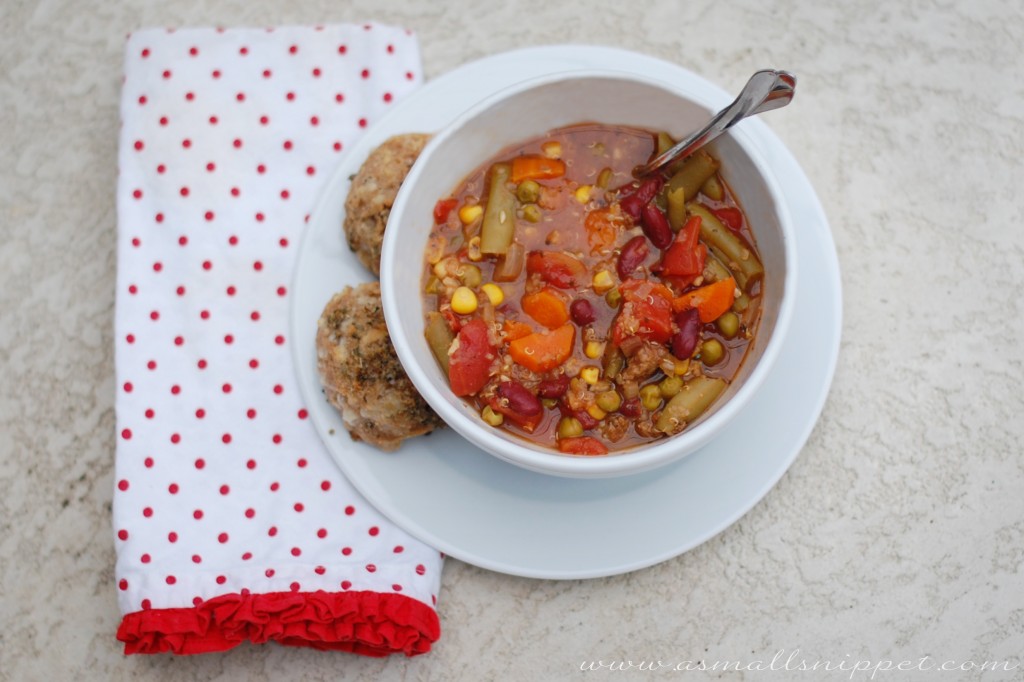
because they are super easy and quick to make, and i always have the ingredients on hand, i’ve made them multiple times lately.  they are perfect when served with a big bowl of soup, like this Clean Eating Crock Pot Vegetable Soup (recipe coming soon.)

back to my website issues…if any of you out there are bloggers like me, or just happen to know loads and loads about WordPress and hosting, i would love to pick your brain.  i just switched my hosting platform, and so far i think its working better than where i was.  but my overall site is still not functioning the way i think its supposed to.  if you are web builders, or happen to know of a good one…i just need a “professional” to take a look at my WordPress site that was built for me and  show me how to fix the little bugs in there.  i’m not talking design…the look of my blog is just how i want it!  but i need someone who can teach me some ins and outs of WordPress, plug-ins, latency issues, etc.   i know there are some things going on with my WordPress that are making things more difficult for me than they should.  I am having a hard time finding someone with knowledge of that to help me out, so if any of you bloggers have suggestions for me, i’ll gladly take them!  i just got off the phone with someone who works within a large hosting company, and i asked him if he could point me in the direction of someone who might be able to help me work out the kinks within my site.  he basically told me that my only option was to figure it out on my own and learn the code for WordPress.  i asked him how i was to do something like that, and he told me, “Read.”  i thanked him for his oh-so-kind-and-helpful suggestion, and then silently thought to myself about what i really wanted to tell young, hip, smartypants Mr. Techy…which is, “when you are a preggo, consistently nauseous mom to 2 kids, with a household to run, a schedule that never seems to stop, and laundry piles that somehow grow by the second, who has NO experience with web design or coding, then you come back to me and tell me about how you found time, energy, and brain power to learn CODING!!  are you serious??  you are a crazy man, who has no concept of how life works for a little mommy blogger such as myself.”  i didn’t say all of that, but really?  is that my only option?  to learn coding myself?  please, someone out there, tell me i can continue to blog and have my bugs fixed without ever having to learn the ins and outs of web coding myself!

and i’m just curious what hosting companies you have had success with as well.  so let me in on your secrets, cause so far, i’ve personally found WordPress to be loads more complicated and headache inducing than my simple little Blogger blog :)

Thanks in advance for your WordPress/hosting/web coding suggestions :)  Lord knows i need all the help i can get!

also…Blog Sponsorships are starting again on May 1st.   i have a spot or two left if anyone is interested.  contact me at asmallsnippet{at}gmail{dot}com for details on new pricing.

9 Comments

Apr

08

:: Name ::

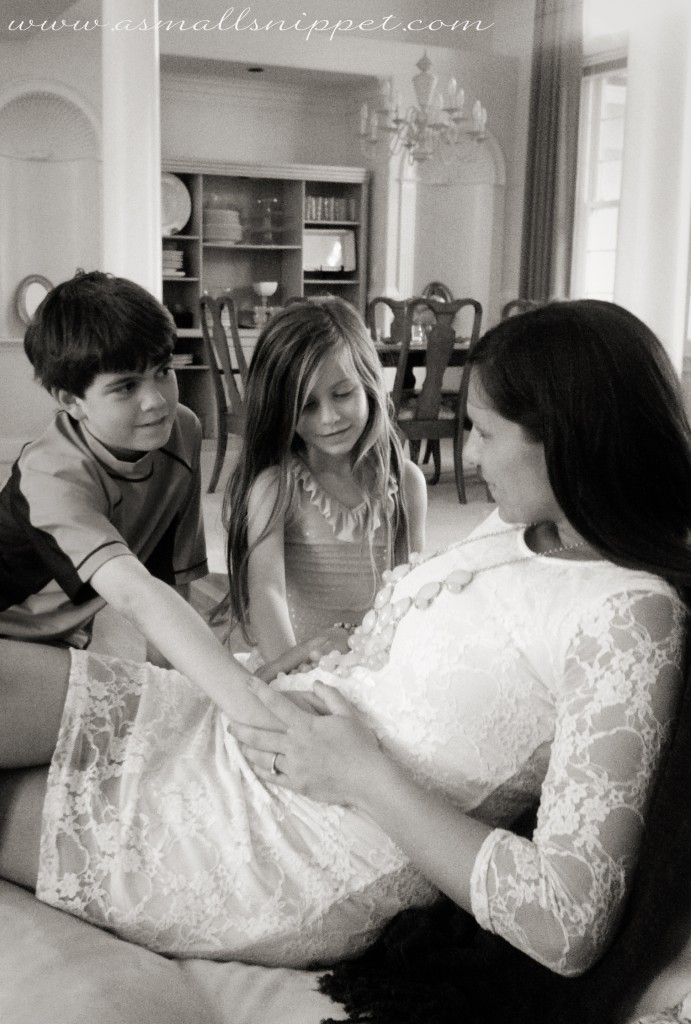
if you follow me on Instagram, then not only have you already seen this picture of the kiddos feeling our baby girl for the first time, but you already know the name we have chosen:

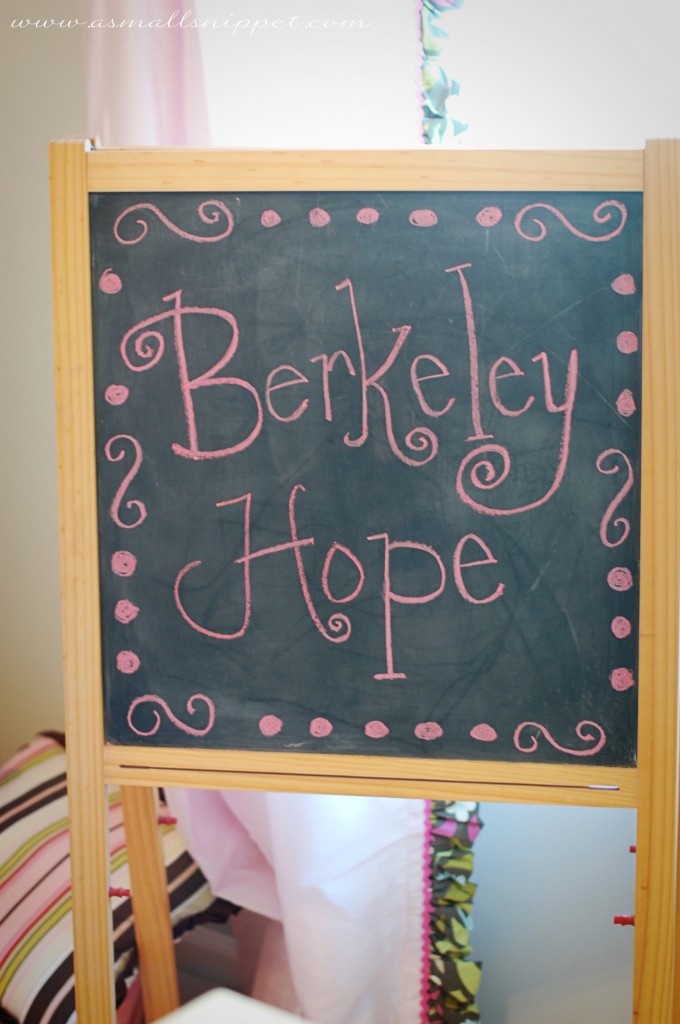
i mentioned in our gender announcement that we had already chosen a name for our baby girl, but that we were debating the spelling.  after the Hubs did a little bit of research to convince me (i’ll tell you how he did it in a minute) i was sold!  so now that we are sure, i thought i’d share it with you.  i debated for a mili-second on keeping it a secret until she was born, but i’m not good at keeping things secretive, and we love to call her by her name, so i didn’t think i could go another 4-5 months just referring to her as “Little Lump.”  so here you have it…Baby Girl’s name:

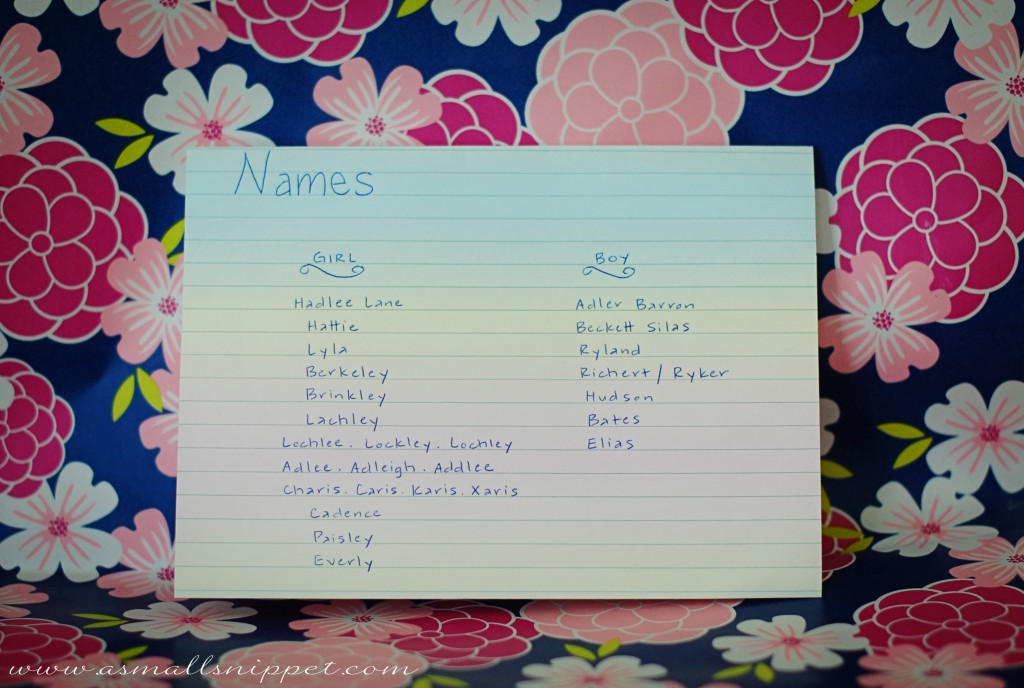
i LOVE names, and we pondered long before i was even preggo what we would name a 3rd if we ever had one.  i kept a running list of our favorites.  (and just for kicks…if she had been a boy, we had decided on Beckett Silas.)

the only requirements we had when choosing her name were that we preferred for it to be 2 syllables (we thought that sounded best with Canaan and Bella), to be unique, and to serve as some kind of reminder to our family.  i love unique names.  Canaan is still my favorite boy’s name i’ve ever heard, and i’ve only heard of very few others that share his name.  his middle name is Christian, which is Jake’s middle name.  His name is a constant reminder to us of God’s Promises.  just as He promised the Israelites that He would bring them into the Promised Land (Canaan) so too can we trust in the faithfulness of our God to fulfill His Promises to us.

we chose Bella long before it became so mainstream, so although its not as unique anymore, it still fits her well.  her middle name is Grace, so her name literally means “Beautiful Gift of God.”  her name is a reminder to us of God’s beautiful, undeserved gift of grace that He bestows on us, His Children.

although the meaning of the name Berkeley is “a field of heather,” we chose it mainly because we loved the sound, and because it is not a name that you hear all that often.  her middle name, however, is a reminder that can live with a Confident Expectation (Hope) that God will do all that He’s promised.  the main thing that our family talks about as we talk about Hope is the Hope of Heaven.  we can confidently expect that God is making all things new, and that we will one day live in perfection with our Father for all of eternity.  that Hope changes the way we live in our day to day.  Berkeley Hope will remind us of a Greater Hope that is to come.

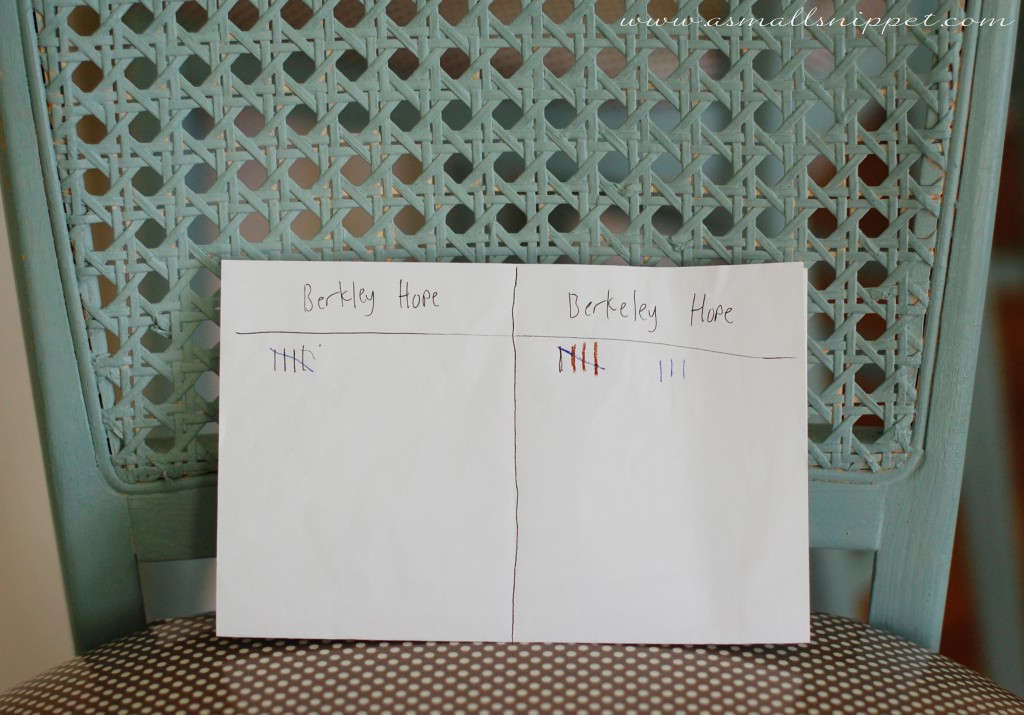
the only thing we debated was the spelling for about a day, and Canaan took it upon himself to take a little poll of some of our family and friends:

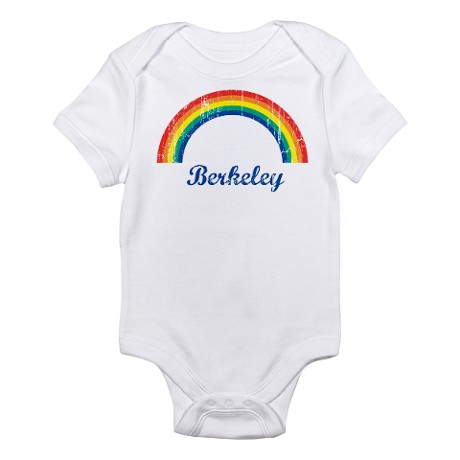
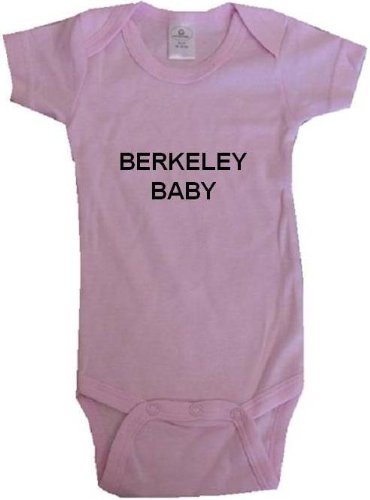
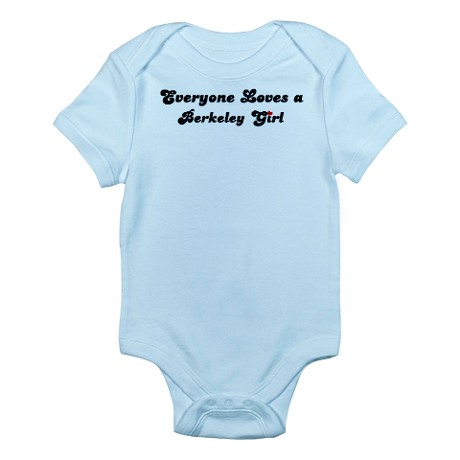
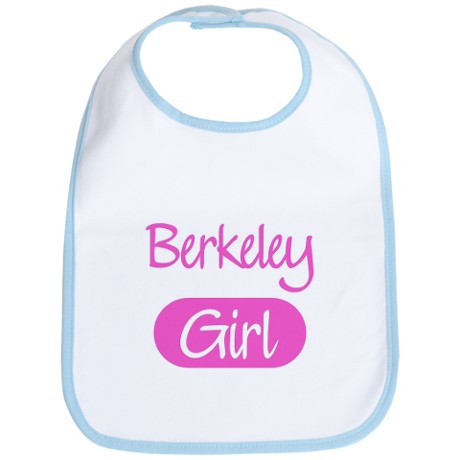
i was initially leaning towards dropping the middle “E” and spelling it Berkley, but spellcheck kept correcting it, and we figured more people might know the true spelling of Berkeley because of the city and school in California.  and then, Jake did a little googling, and showed me the following items for sale, and i was sold!

i about flipped out over the cuteness and the amount of things we could purchase for her, and that was all it took to help us seal the deal on the spelling.  i also found these and thought how fun it would be to have C and B wear them to the hospital when she’s born.

nothing has been purchased quite yet, but i’m sure Berkeley will have no shortage of personalized things to wear!

i’m coming back later this week with some new clean eating recipes that you’ll love!  so check back in later,

24 Comments

Apr

02

Easy DIY Handpainted Canvas

i told you in one of my previous posts that i was gonna come back and show you an easy way to create your own DIY Handpainted Canvases.  today’s the day, friends!

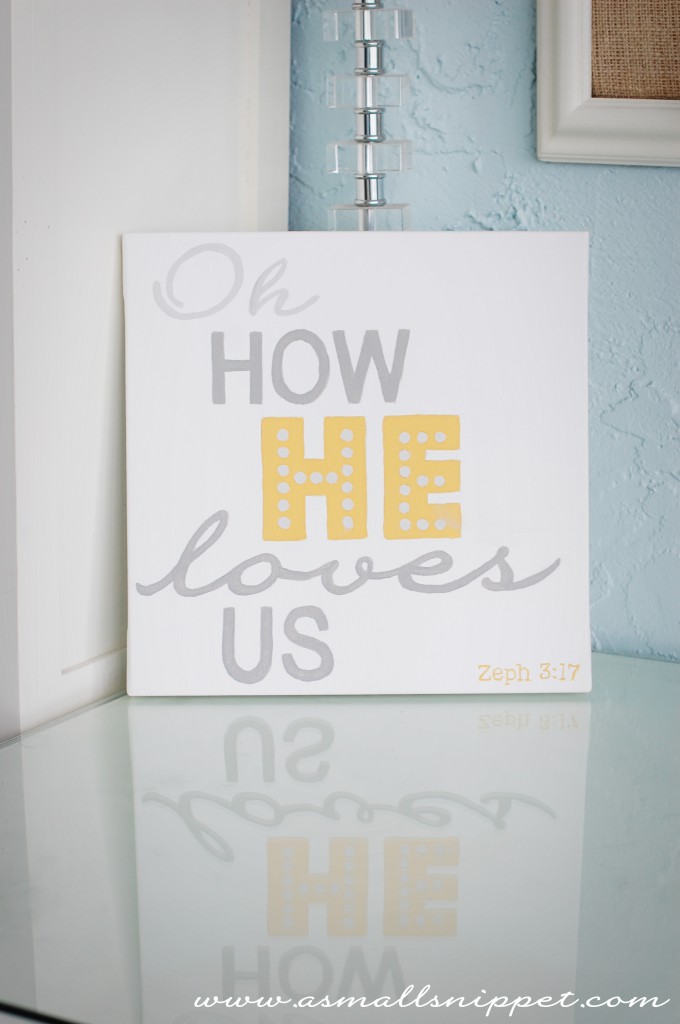
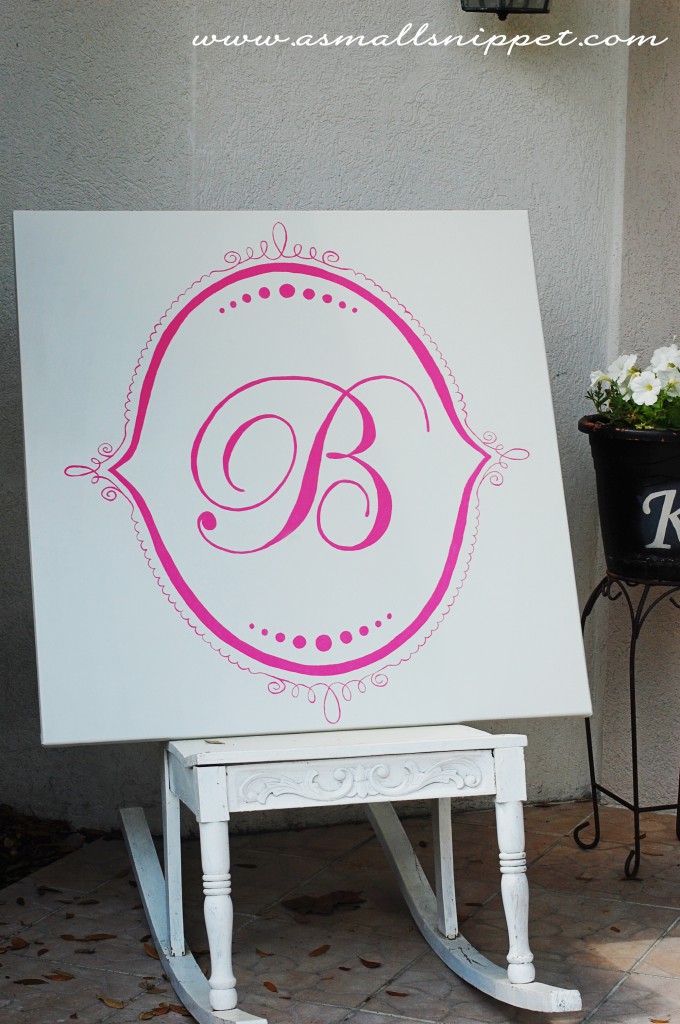
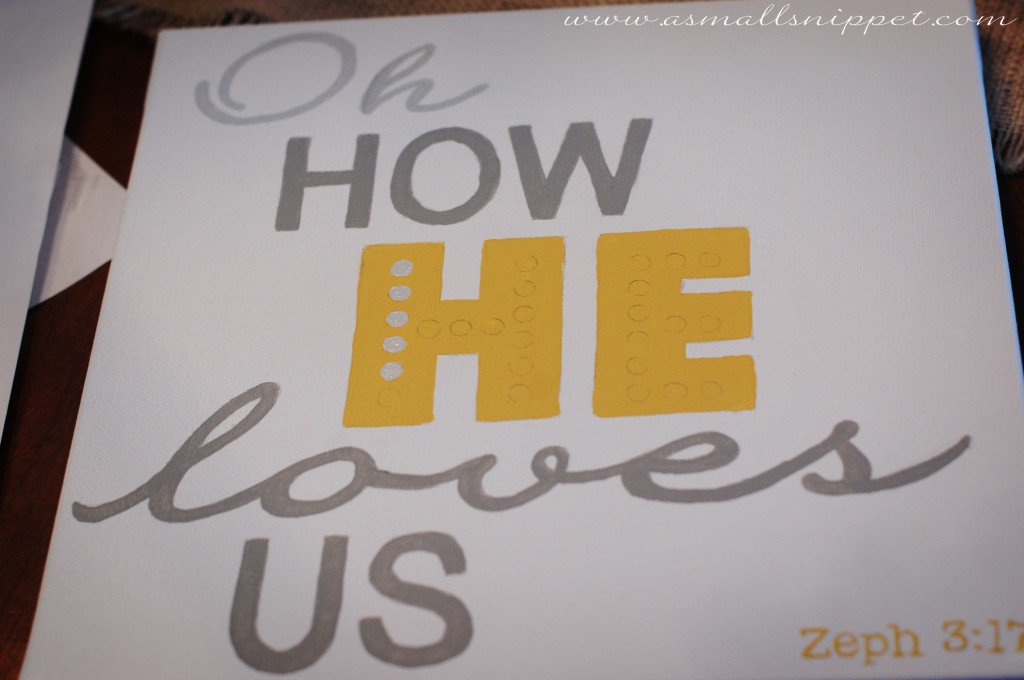
as i mentioned before, i am NO ar-teest.  not by any stretch of the imagination.  but i like figuring out how to do things so it looks like i am a lot better at something than i really am.  case in point…these canvases:


i painted the top canvas as a Christmas gift for my sister in law.  she has this cool gallery wall in her home, and i thought this canvas would fit right in:

so today i’m gonna break it down for you, and show you my technique for achieving this handpainted look with no art skills needed.

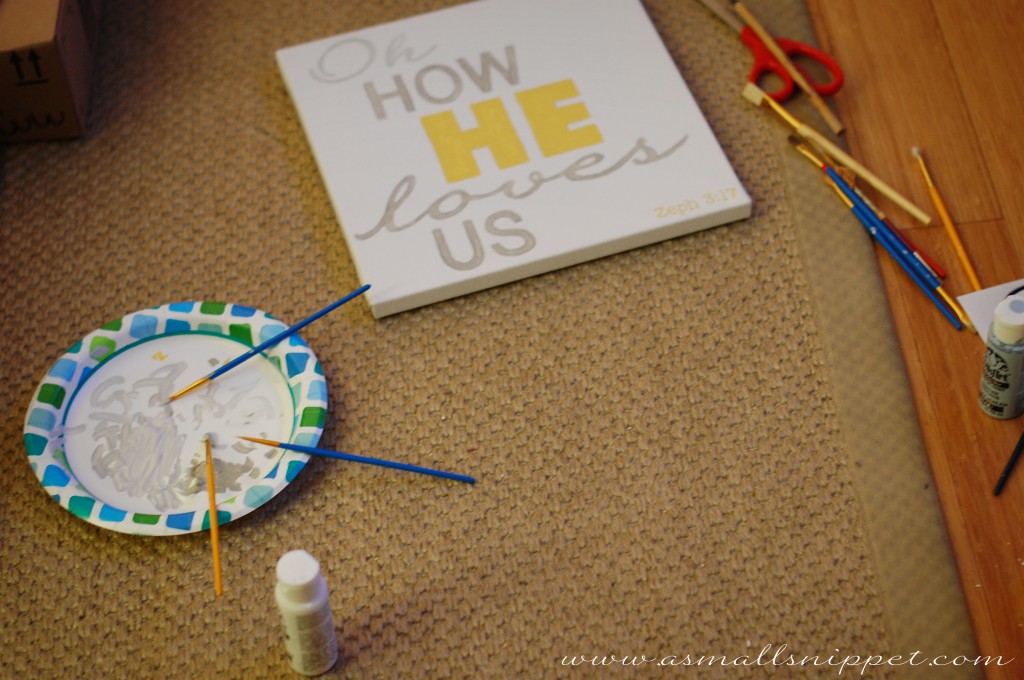
here are the supplies you’ll need:
your choice of canvas.  i used this one:
12×12-Inch Canvas
and this one:
36×36-Inch Canvas
Paint Brushes (i bought a set like this years ago, and i LOVE them.  i use them all the time, and having multi-sizes really comes in handy.  i probably used 4 different brushes for the small canvas and about 12 different brushes on my large canvas.  different parts of your design will call for different brush sizes.  that’s one of the best tricks i can tell you.  using different brushes at different parts will give you much better control over stroke size when painting.)
Crafter’s Acrylic All Purpose Paint (i used a variety of brands and colors.  just choose what you like best!)

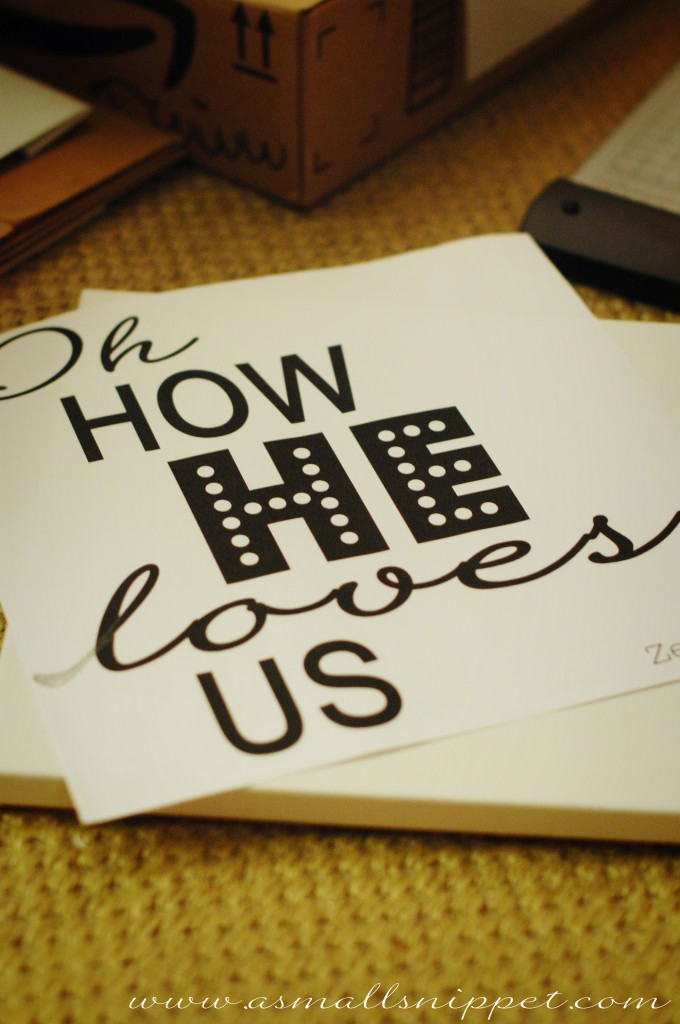
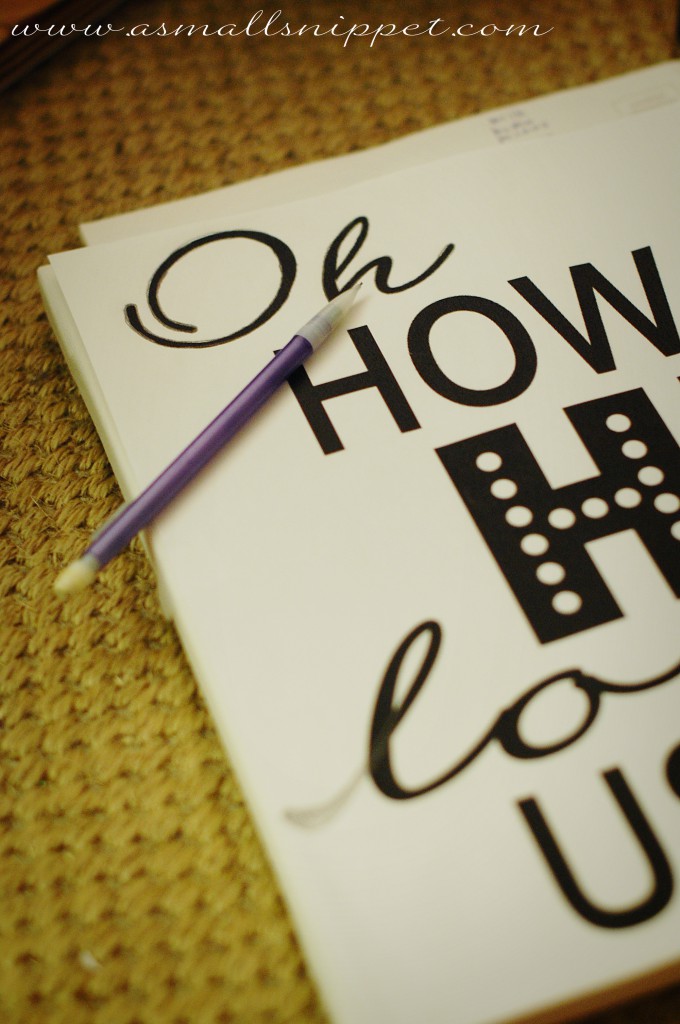
if you’ve followed other tutorials of mine, then you’ll already know about my love for my local Fed-Ex.  they come through for me every time!  i created my image using photoshop (you can use any program you’d like…word, open office draw, etc.)  just create whatever image you’d like, using different fonts and sizes.  this is where you get to customize your piece to look exactly how you’d like it to look.  one tip…as you are creating it, size your image to be the size of your canvas.  that way, when you go to print, it will print to the exact size that you need.  since my canvas was 12 x 12, i could not print that on my home printer, so i had Fed-Ex print it to my exact canvas size.  that’s why they are so wonderful…it only costs around $1.00 and you have the exact size you need:

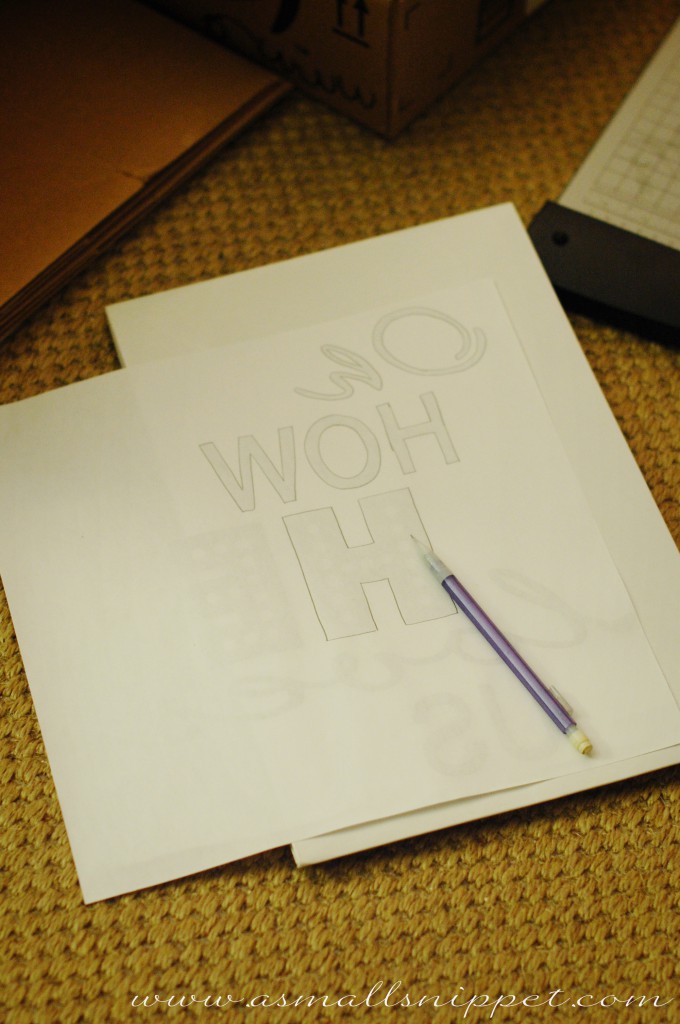
then, flip your printed image over so that the back of the paper is facing up.  take a pencil, and using a dark line, trace over the image, transferring it to the back of the paper.  (do not do this on top of your canvas as i have pictured.  you could poke a hole through your canvas, so use a hard surface and press hard, making sure to get a dark line as you trace.)

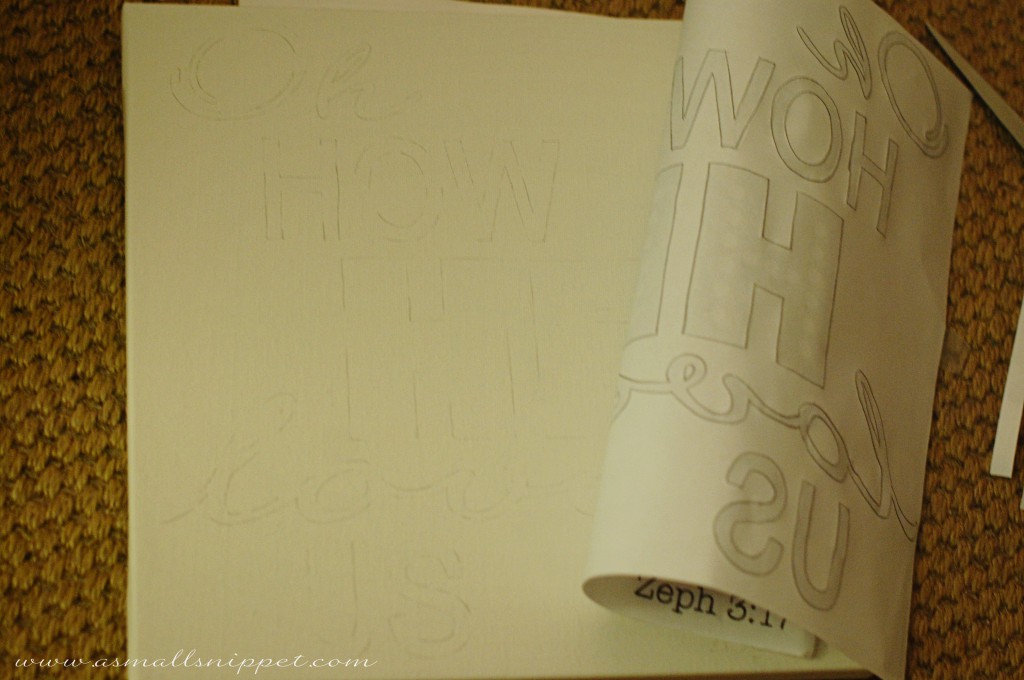
once you have completely traced the image, flip your paper back over, and position onto your canvas, taping sides down.  then take your pencil, and trace back over the image on the front.

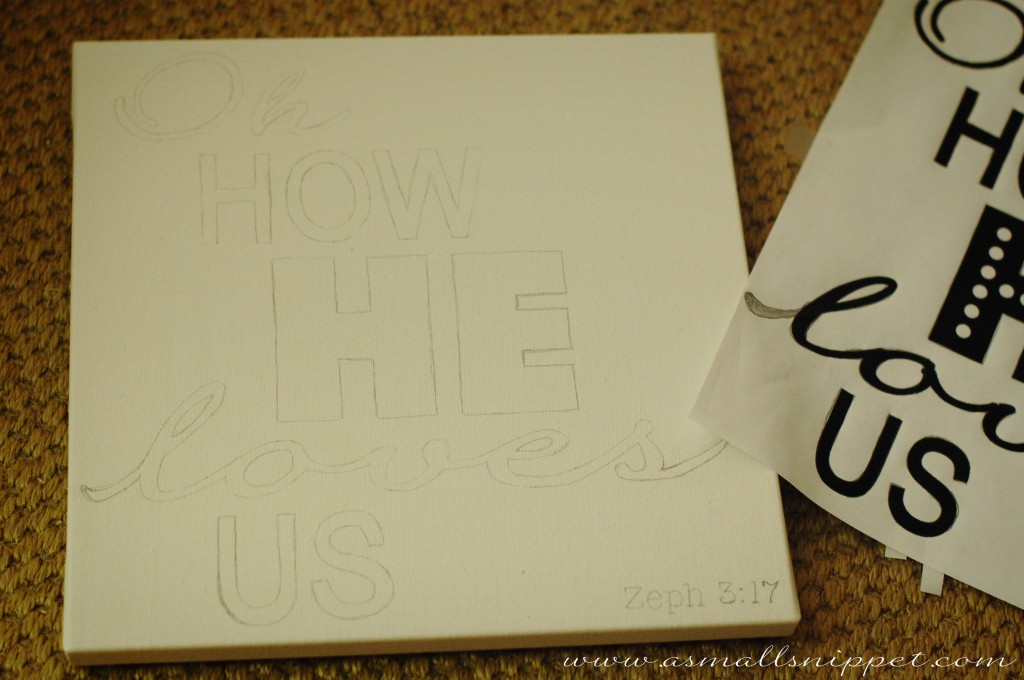
as you trace, the pencil marks that you traced onto the back of the image will transfer onto the canvas, leaving you with perfect lettering:

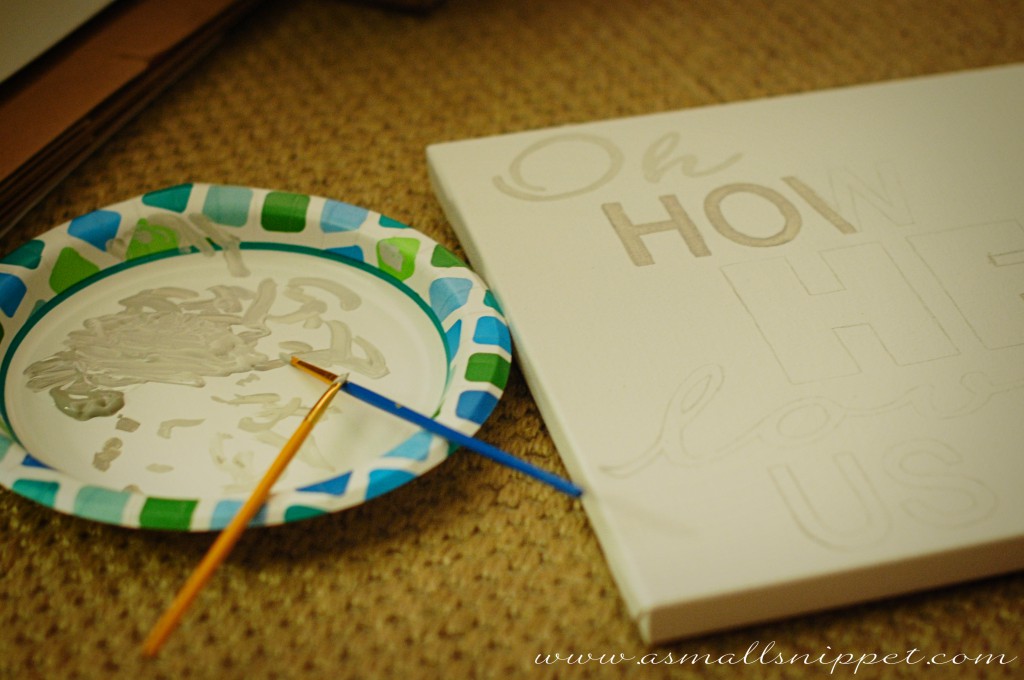
once i have traced the entire image, i go back in and fill in any spaces that might’ve not transfered as well.  you do not need to use a dark line here, just dark enough so you can see it:

now, you can begin to paint.  simply fill in your lines with your paint using your different sized brushes.  remember that this is supposed to be handpainted, so it does not have to be perfect.

i mixed some paint colors to lighten parts of the image to give it a little more character:

one of the fonts i used had these cool polka dots within the characters, so once my paint was dry, i went back in using the same transfer technique above, and drew in the polka dots, and then filled them in with paint:

if needed, once all is completely dry, you can go back in with a good eraser and lightly erase any leftover pencil marks.

i loved the finished product, and especially love that i could create it to be personal and unique and at a fraction of the cost of buying one already made.

as for the larger canvas, that was the same project, just on a much bigger scale!

way back in our old house, i used a projector to project this “B” image onto Bella’s wall when transforming her nursery to her “big girl room.”  i traced the projection and filled it in with paint:

ever since moving to our new house and to her own room in January, she has been asking me to paint it for her.  i opted to paint it on a big canvas this time around, because we hope to be in this house a long time, and that would give us flexibility to move it around with her furniture as we please.  (it really looks best above her bed.)

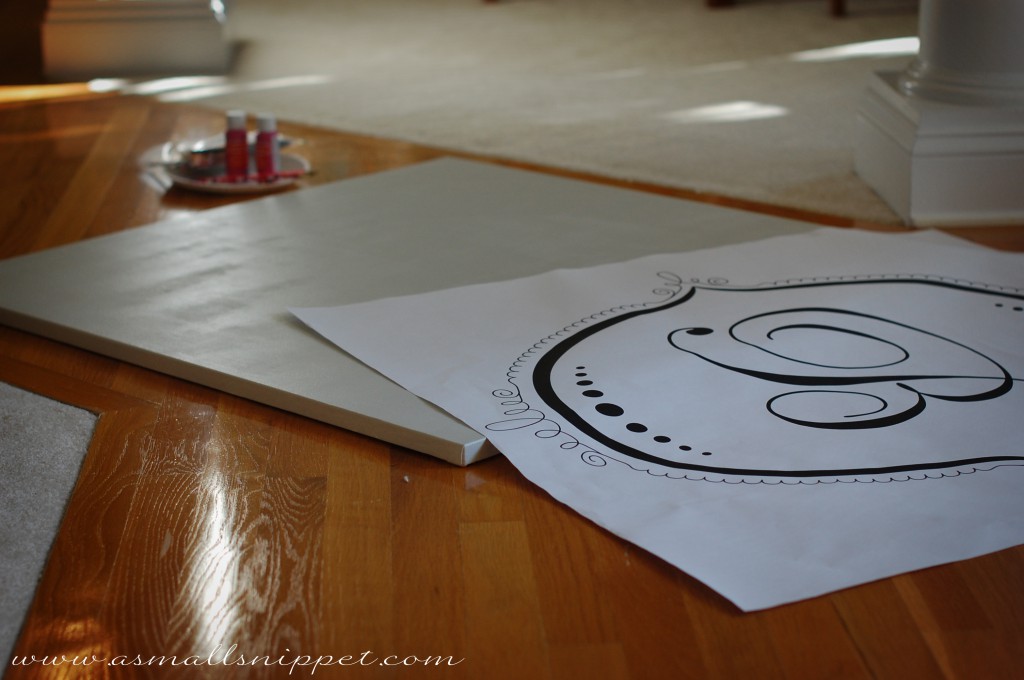
i used the same process as above.  i did, however, paint my canvas first.  i wanted the background to be the color of Bella’s wall (Benjamin Moore, “Grey Owl”) because i wanted the “B” image to look like it could be painted onto the wall, and i thought a plain white background would stand out too much.  my sister in law had created the image for me years ago in Photoshop, so i just resized it to fit my canvas, and had Fed-Ex print it to a 36×36 inch square:

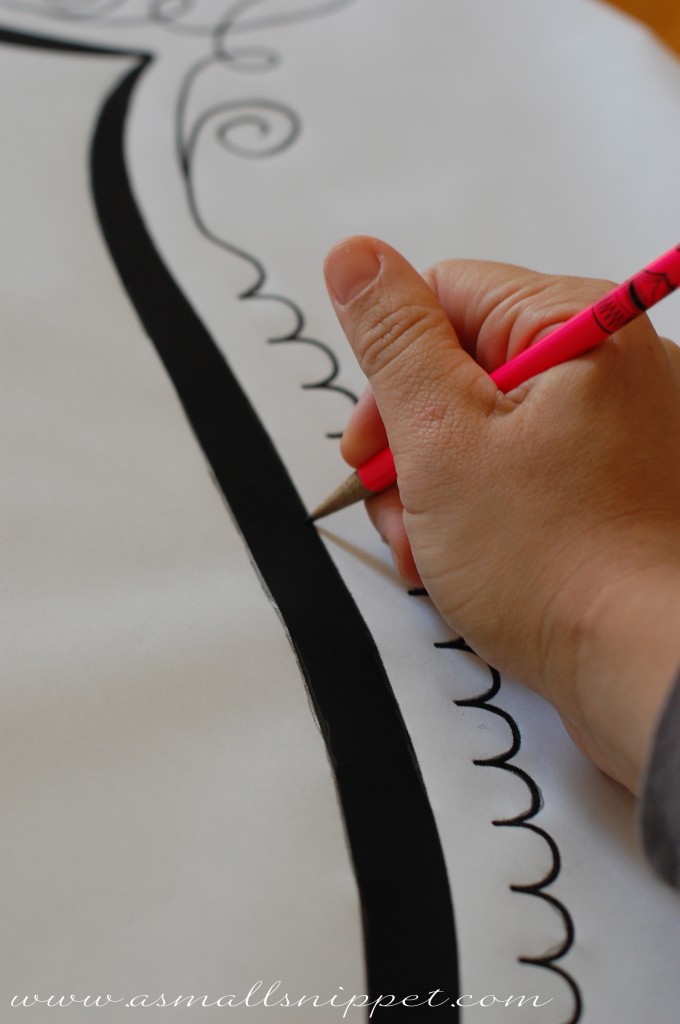
i traced the image onto the back as described above, and then positioned the image onto the canvas and tranced the front, transferring the image onto the canvas:

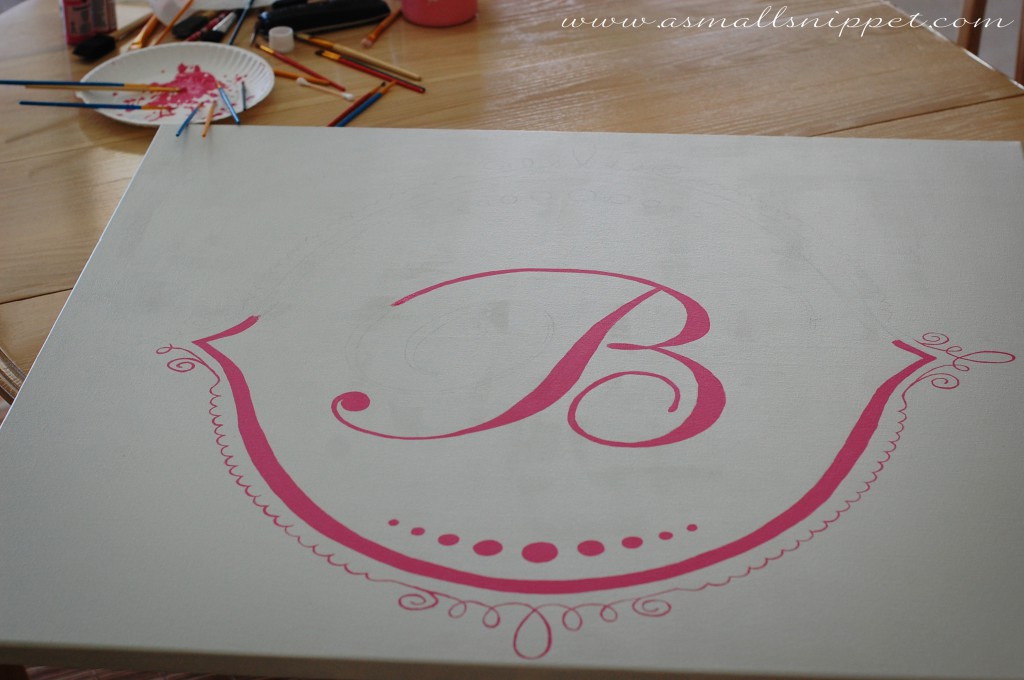
i then filled it in with paint.  you can see the number of brushes i use.  i’m telling you…that makes all the difference in the world because often times, some parts of your design will be thicker or thinner than others, and using certain brushes on certain parts gives you better control.  another tip:  as you paint, start working from the inside out so that you don’t press your hand into wet paint as you are painting another section.  i flipped and turned this canvas all around as i painted to ensure that i wasn’t resting my hand in wet paint:

the completed project!

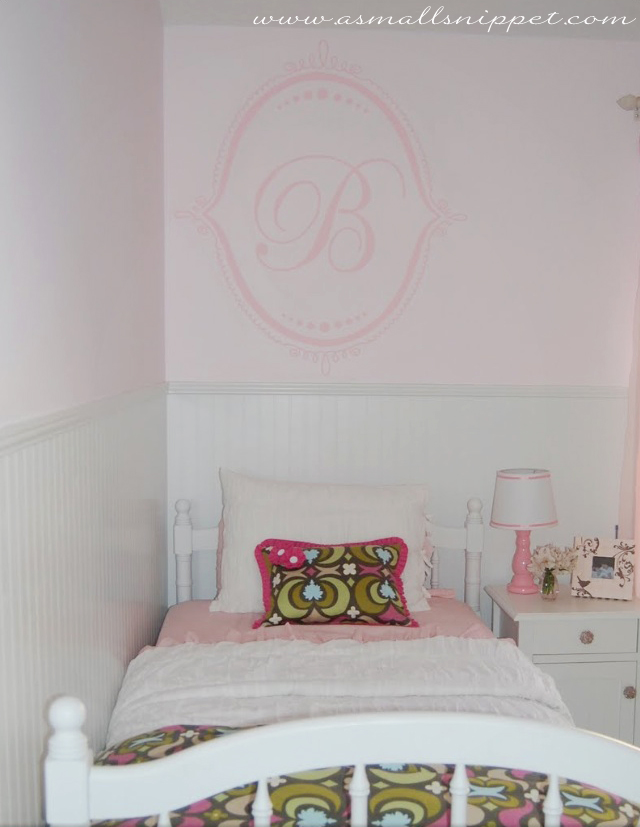
i surprised Bella with it on her birthday, and she loved it.  we haven’t hung it up in her room yet, because i am in the process of switching out her dresser (in fact, i’m texting right now with a Craigslist seller, hoping that i finally found the right one!)  once i have her new dresser in her room, i can arrange her bed in the right place and hang the canvas.  when i get it all completed, i’ll show you pictures of it in her room.

y’all know that i love to share anything i can with you, but to save you and me both time and energy, i’ll go ahead and tell you now that i cannot share the photoshop files this time around for either canvas.  replying to multiple requests and sharing those files takes lots of time for me, and since the first one was a special gift, and the second one was created especially for Bella, i would love to keep them one of a kind.  i think that’s the beauty of projects like this…you can create your own and they can all be unique!  but i promise that with minimal effort, you can easily create your own.  but i am happy to share with you the fonts i used for the first canvas.  they can all be downloaded for free off the internet:
Quilline Script Thin
Ariel Narrow
Budmo Jiggler
ITC American Typewriter

hope that helps!  let me know how your’s turn out!  i’d love see pictures,

40 Comments