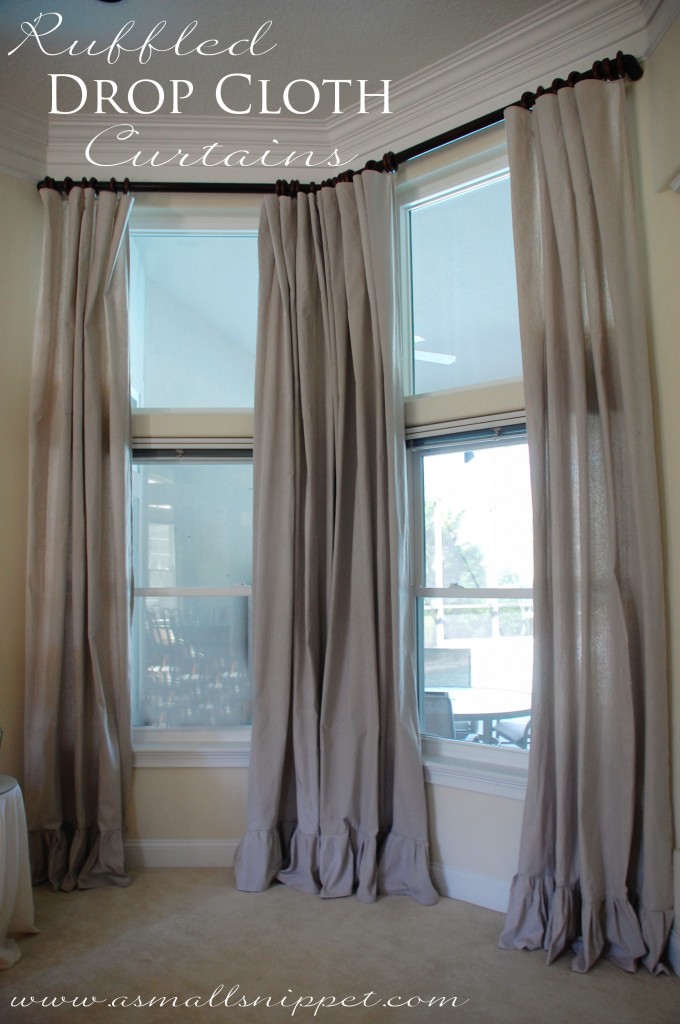
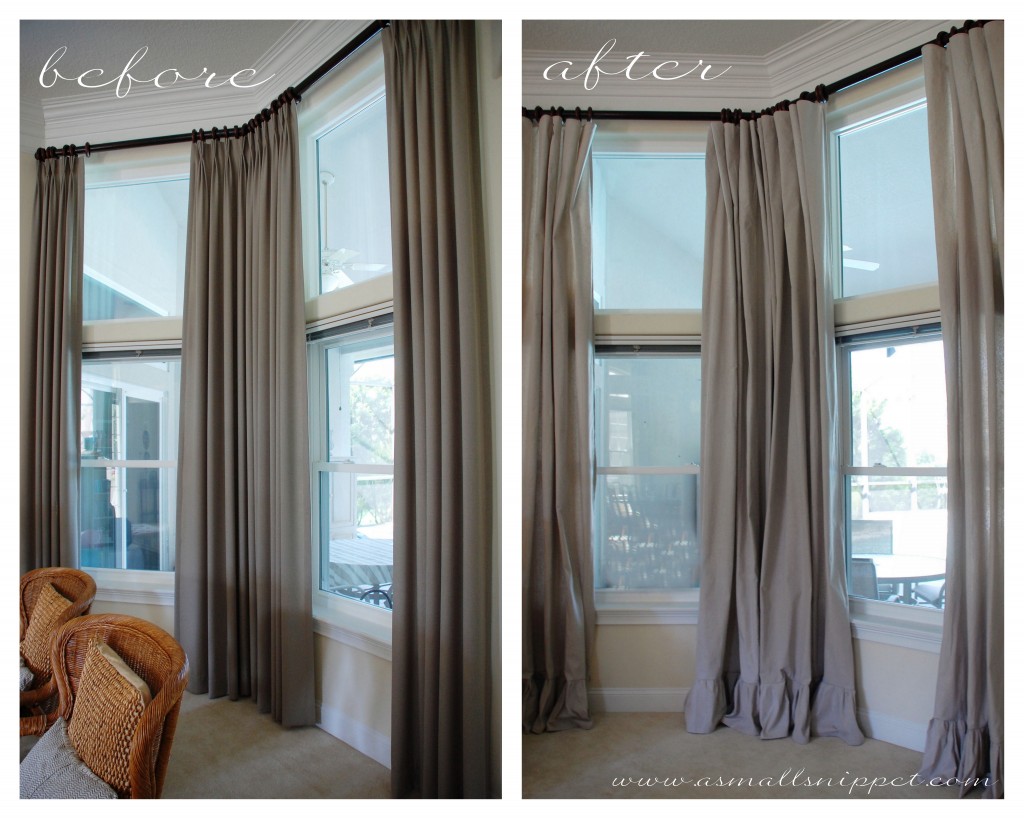
i know drop cloth curtains are currently a hot item over on Pinterest. so when we moved back in January, and i was faced with 120 inch, floor to ceiling windows, i knew that i had to come up with a plan, and kept thinking back to all the drop cloth curtains i had previously pinned. i liked the idea of drop cloth curtains, but knew that i wanted to jazz them up a little bit. so i came up with these simple, inexpensive Ruffled Drop Cloth Curtains:
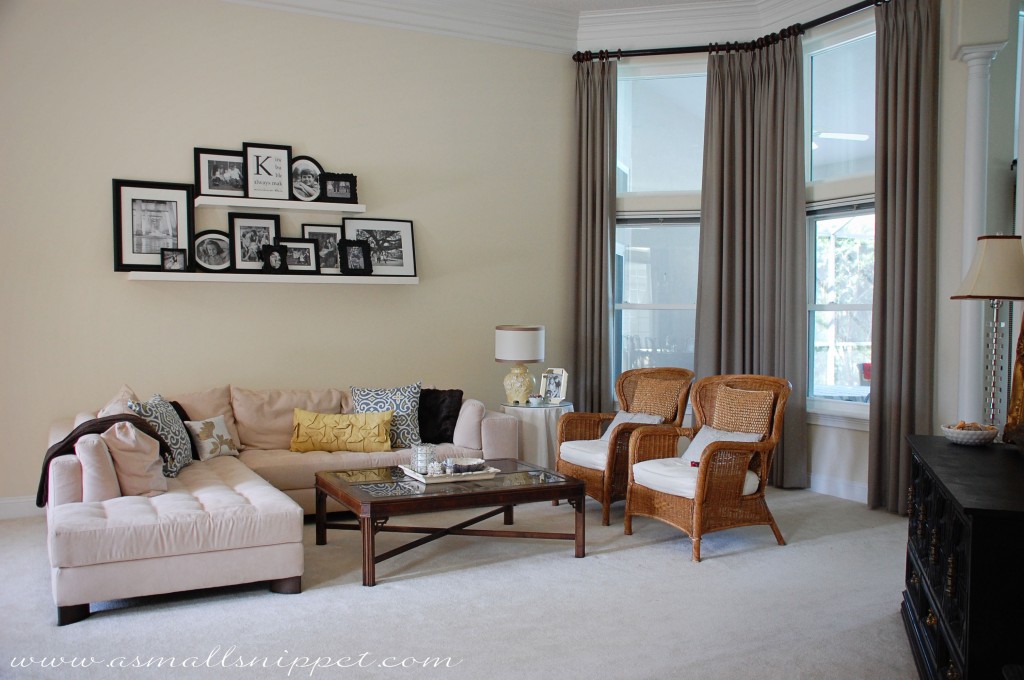
when we moved in, the owners had left all of the window coverings. thankfully, we lucked out with some awesome custom bamboo roman shades in the family room and the master bedroom, but the rest of the coverings screamed “retired couple in their mid 70’s.” these dark green curtains, although beautifully made, just weren’t gonna cut it with our colors and style:
so i knew that if i wanted to recover these windows, then i would either have to have curtains custom-made because of the odd size of my windows (no way was that in the budget) or i’d have to make them myself. the thought of not only purchasing that much fabric, but sewing it all into 3 panels, at 5 months pregnant, while also simultaneously trying to knock out a HUGE list of house to-do’s….well, none of that sounded appealing. but when i discovered that i could make these curtains for $70 total, and that most of the sewing was already done for me, it was a no-brainer.
i’ll show you what i did, but if you attempt, know that you’ll have to adjust the measurements for your window size.
i started off by purchasing 2 packages of 12 x 15 foot canvas drop cloths, for $35.00 each. i don’t know the exact brand, but you can purchase some of the same size and similar price here: Paint Essentials 12-Feet x 15-Feet Canvas Drop Cloth or here: 12 X 15 9 Oz Canvas Dropcloth

i do think that depending on where you buy them, the colors can vary. most of them are in this neutral family, but just make sure that if you are buying multiple packages, you buy the exact brand so that the colors match.
because of the placement of my windows, i knew that i needed to make 2 panels for the outside, and one wider panel for the inside corner. i used one whole drop cloth for the inside panel, and cut the other drop cloth in half vertically to create 2 panels for the outside.
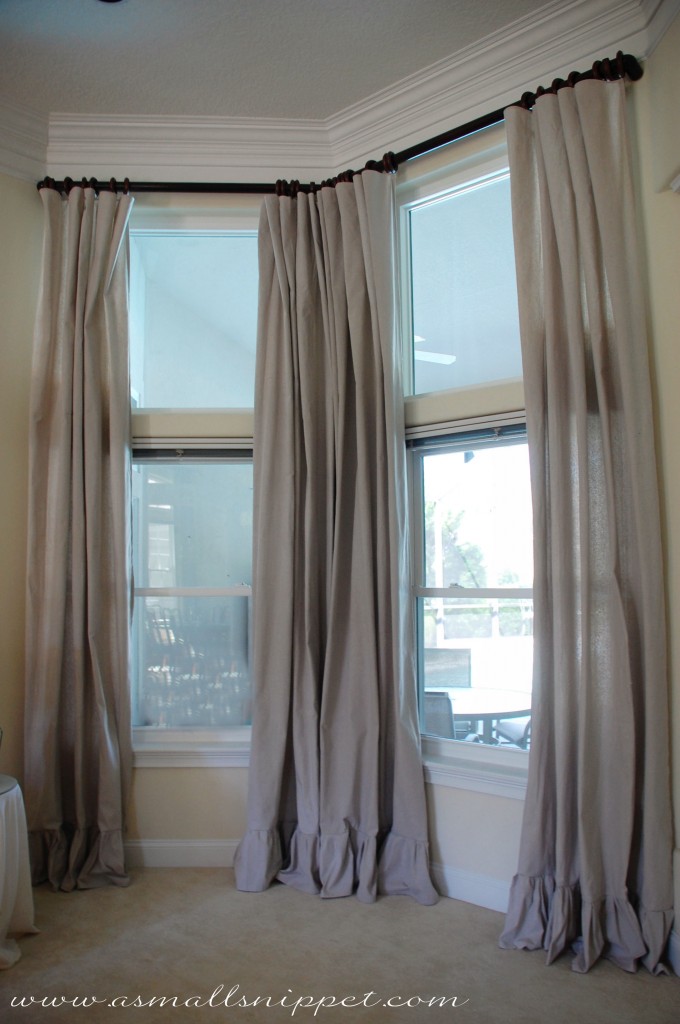
the wonderful thing about drop cloths is that they are already hemmed on all sides. that meant that for the middle panel, i didn’t have to hem the sides or the top at all. once i cut the second drop cloth in half, i only had to hem the cut side. which left me time and energy to create a ruffle for the bottom 
here’s what i did to create these panels. first off, i ironed the drop cloths. a big job, but necessary, as they will be creased in many places from being folded into a small package:
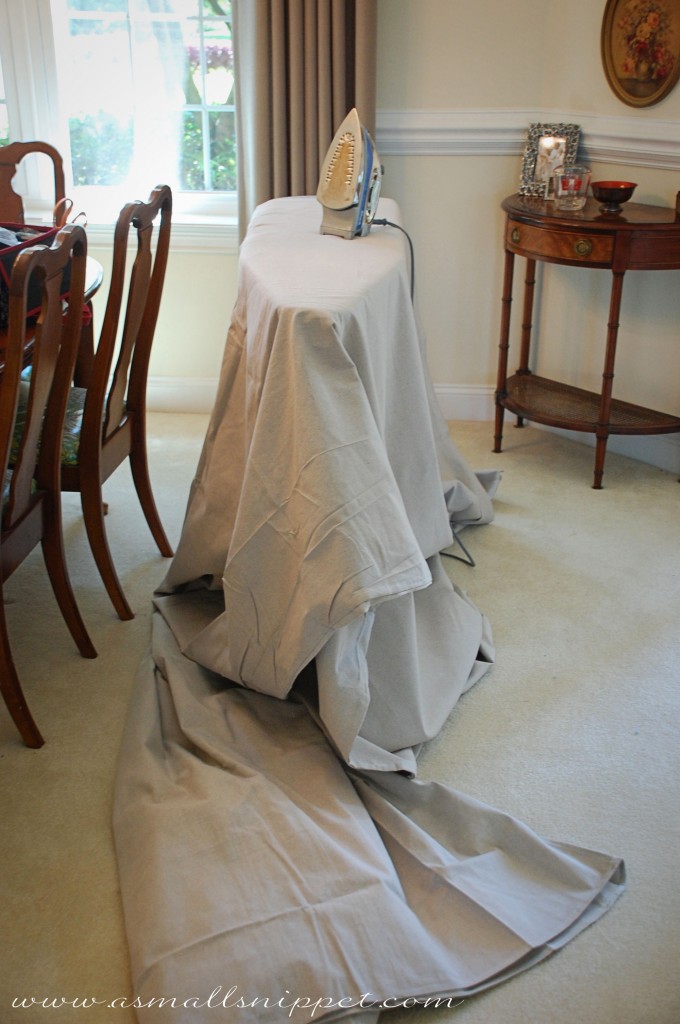
i then laid out all of my fabric, so find a big ol’ space to spread it all out:

once i had it all laid out, i measured and cut. notice on my package of drop cloths that although they are labeled as being 12 x 15 feet, the actual dimensions were less (141 inches x 177 inches). so you really will have to measure for yourself, and go off of your measurements, as opposed to what the package says. also, i was less concerned with having actual perfect measurements, and more concerned with using as much of the fabric as i could so that i wouldn’t have to do any more extra hems. so i just tried to use the actual measurements that the drop cloths were originally, and work from there to create my curtains.
my length measurements of my drop cloths were 177 inches. for my windows, i needed the finished length to be around 120 inches, ruffle included (i like mine to puddle on the floor, so it didn’t have to be exact.) since i had plenty to spare, i made sure i was well within my length measurement before cutting. as i was cutting the length of my panels, i was less concerned at this point with it being too long (as i could adjust that later) and more concerned with making sure it was not too short, and also making sure my leftover fabric that i was cutting off would be the correct measurements needed to piece together strips for the ruffle. (this will make sense…keep reading.)
since i was using the leftover fabric that i cut from the length of my drop cloth for the ruffle, i knew that i needed to cut off 53 inches, because i needed to cut that 53 inches into 4 long equal strips, each measuring 13.25 inches in width, beacause i wanted my finished ruffle to be around 12 inches wide. that left me with 124 inches in length left over for my panel, which was plenty to account for a hem and to sew the ruffle to later.
so to sum that up:
figure out the length that you need your finished panel to be. from there, decide what width you want your ruffle to be (this will be included in your finished panel length later, because your finished curtain length will be panel + ruffle.) you will need to piece together fabric so that your ruffle is double the length of the width of the panel, without cutting off too much length to make your panel too short. did i just lose you? 
i’ll use my side panel measurements as an example, because that is most likely the width that most of you will use, since my middle panel had to be extra wide (double) to cover the corner of the windows. my side panels are a more common panel width.
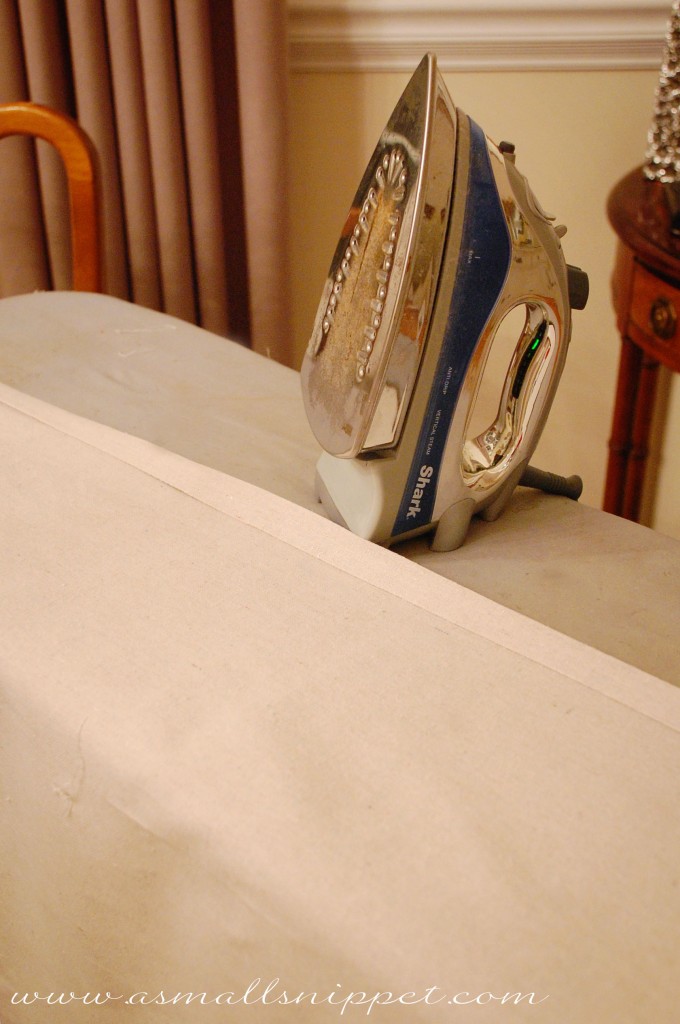
since i cut my drop cloth in half to create those panels, the width of my side panels were 70.5 inches each. (my actual measurement before cutting was 141. half that, and it is 70.5.) my finished panels were about 70 inches wide after i hemmed one side on each one at .5 inches. i would hem the sides as soon as you cut, so that once you attach your ruffle, all sides will already be hemmed. to do this, i fold over the edge 1/4 inch, and then fold again at 1/4 inch, iron, and then sew. it creates a clean hem:
i needed my ruffle length to be double the panel width (70.5 inches), so 141 inches, in order for it to ruffle. (your fabric for your ruffle should always be at least double the length of what your final ruffle length will be.) so i figured that if i cut 53 inches off the bottom of each panel, leaving me with a 53 x 70.5 inch piece, i could divide that into 4 strips, each measuring 13.25 inches wide and 70.5 inches long. if i pieced together 2 strips, i would end up with a 13.25 inch wide x 141 inch long ruffle strip, that would be perfect to create my ruffle (accounting for a hem on the bottom, on the side, and a seam where it will be attached to the panel.)
you will only really need to use the strips off of one of your panels to create the ruffles for both of your panels, since you cut 4 strips, piecing 2 together, and then the other 2 together, leaving you with 2 long strips of 141 inches each, for 2 ruffles. however, there are different ways you could do this. like i just described, you could cut 4 strips from one panel, creating two long ruffle strips. or you could cut 2 strips from each panel instead of 4, and be left with two 26 inch pieces of leftover fabric. or, what i did, you could cut 4 strips from each panel, and piece together the ones that are already hemmed. i chose to do it this way because i was trying to hem as little as possible, so i pieced together strips from each panel that were already hemmed, leaving me with one less strip that i would need to hem. (i used the bottom strip from each panel and pieced that together, so it was already hemmed.) you don’t have to be lazy like me, and my way of doing it is more complicated to think through, but it was one less strip to hem.
(for the larger panel, i used the same technique, except i had to piece together all 4 strips, creating one long ruffle strip measuring 282 inches in length, and 13.5 inches in width, to ensure that the strip was double my panel width, which was 141 inches.)
once you have your ruffle fabric cut, and pieced together (i just sewed the short ends, right sides together, using a small seam, and then flipped it out and ironed to make a clean seam), you’ll want to hem the bottom of each ruffle strip if the entire strip isn’t already hemmed. don’t worry if you pieced together one hemmed strip to an un-hemmed strip (you might do this depending on how you choose to cut and piece). just hem them together at the same width. i think i folded the bottom up a 1/2 inch, and then folded it up another 1/2 inch, and then sewed. (that left me with a final width measurement of 12.5 inches. if you remember, i wanted the finished ruffle width to be 12 inches, so i had 1/2 inch left to use to attach to the panel.)
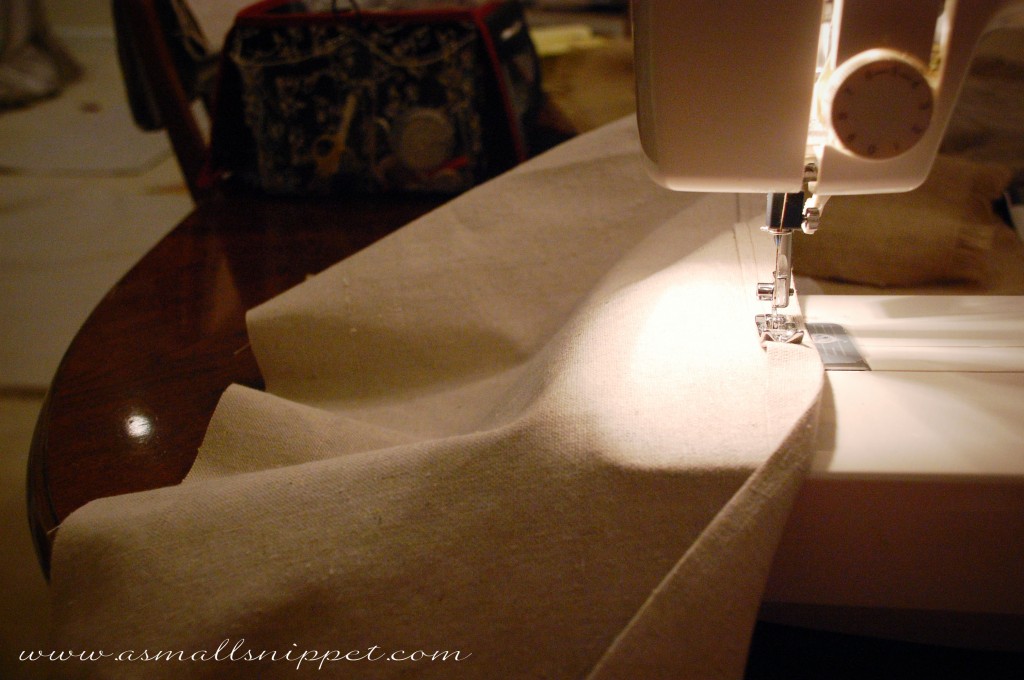
you’ll also want to hem on each short side of the ruffle, to give it a clean edge. (again, some of them will already be hemmed, so just hem the sides that aren’t.)
once you have all of your ruffle strips hemmed, you can begin attaching them to the bottom of your panels. i made sure that i had the right sides together, and began to pin on my ruffle strips, ruffling as i pinned. (there is too much fabric to try to run it through my machine with a long stitch and pull to create the ruffle. and since i don’t have an actual ruffler attachment for my machine, i just pinned the ruffles on by hand. watch your length as you pin, because you want to be sure that you line up the final edge of the ruffle strip with the edge of your panel at the end. i found the middle and pinned there to give me a better idea of how much to ruffle each half so that i didn’t end up with too much or too little left over at the end, but fairly evenly spaced ruffles:

(ruffles are very forgiving, so this does not need to be perfect!)
you’ll notice that i pinned the ruffle up a ways onto the edge of the panel, instead of lining it up with the bottom edge. since i had inches on my panel length to spare, and wanted to make sure that once my ruffle was hemmed it would be the appropriate length to make my panel puddle just a little on the floor once hung, i just measured where i wanted my final panel (ruffle included) to fall, and pinned the ruffle accordingly. you can cut off that excess fabric after you sew (i’m always afraid of cutting too much, so i’ll often cut after sewing if possible in case i messed up the measurements and need to adjust the length.)
sew your ruffle onto your panel. once sewn, when the ruffle is flipped down, you will be left with a nice seam where the ruffle attaches to the panel. since you already hemmed the ruffle strip, you will not need to hem the bottom at this point.
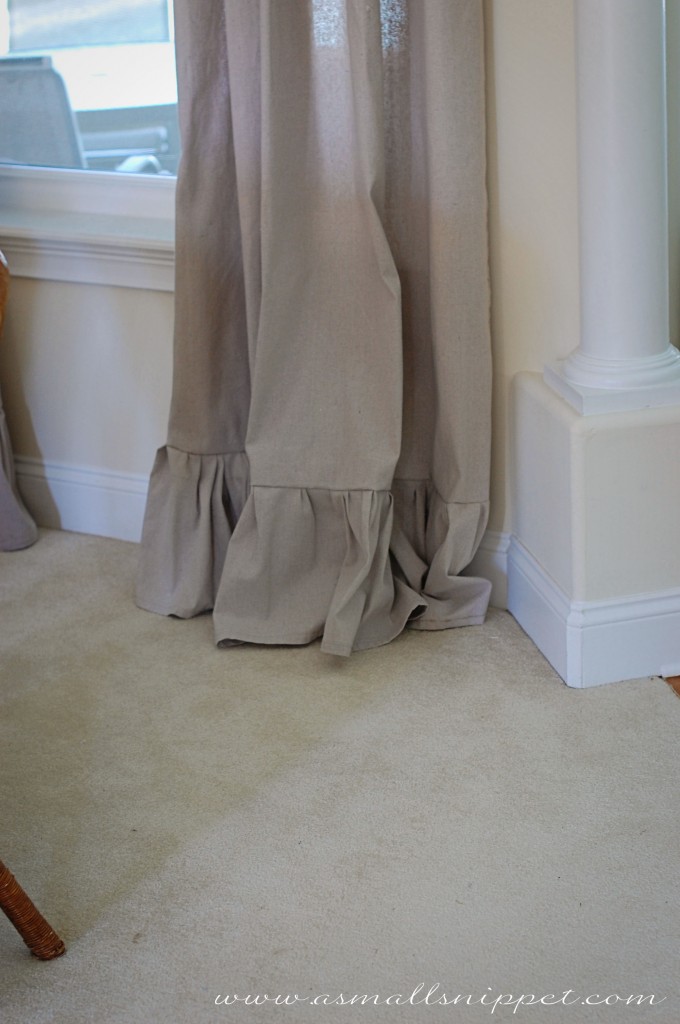
you can see that i like my panels to puddle on the floor just a little bit. you can always adjust the length once you hang it to be shorter if necessary. if you needed to do that, you could either hem the bottom, or take some length from the top.
i forgot to mention…i was hanging these curtains from the original hardware that was leftover from the other curtains, which were by rings, so it would be easy to adjust the length by running a quick hem at the top. you could also easily create a pole pocket as well by folding over the correct width to fit your pole, and sewing a pocket. if you did that and needed to adjust the length later on, you can always hem the bottom.
the thing i loved the most about making these curtains is that there is enough fabric and ruffle that you can fudge a bit on the measurments. in other words, it doesn’t have to be perfect. no one is going to know if one panel is slightly wider than the other, or if one is slightly longer. you don’t have to stress as much about specific hem measurements, etc because ruffles hide so many imperfections!

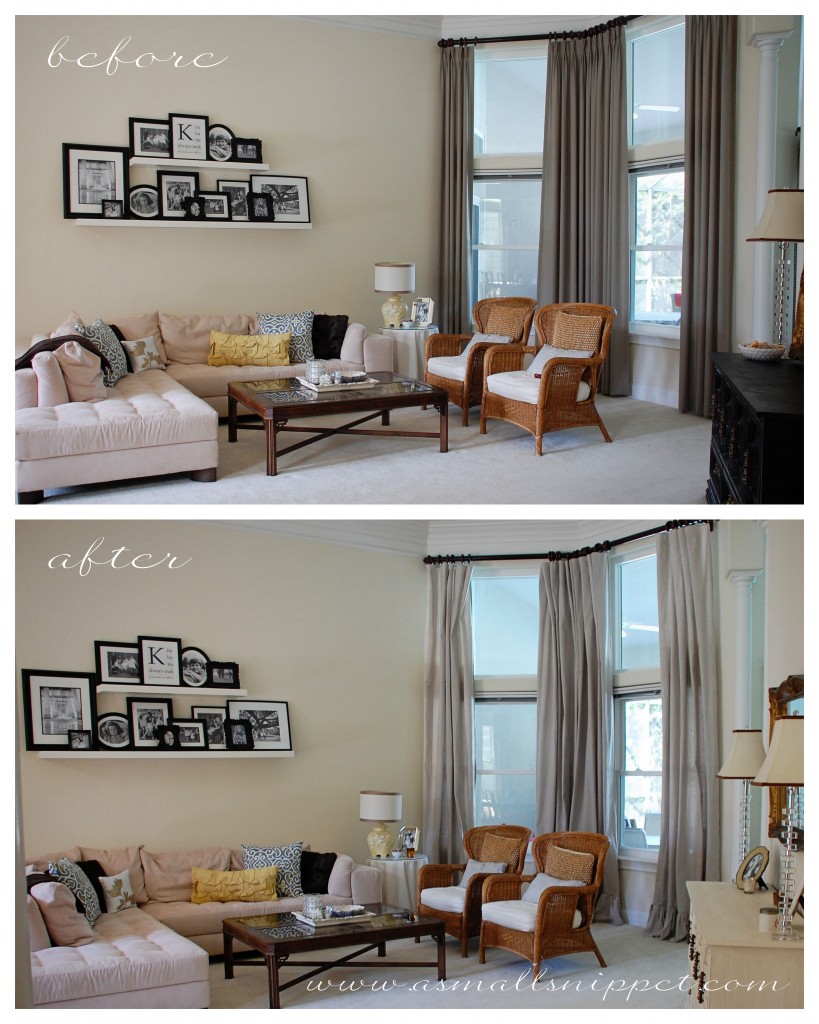
its hard to tell in this next picture that there is much of a color change, but my drop cloths have a slight grey color to them, so the drop cloth curtains give this room a much more updated feel:
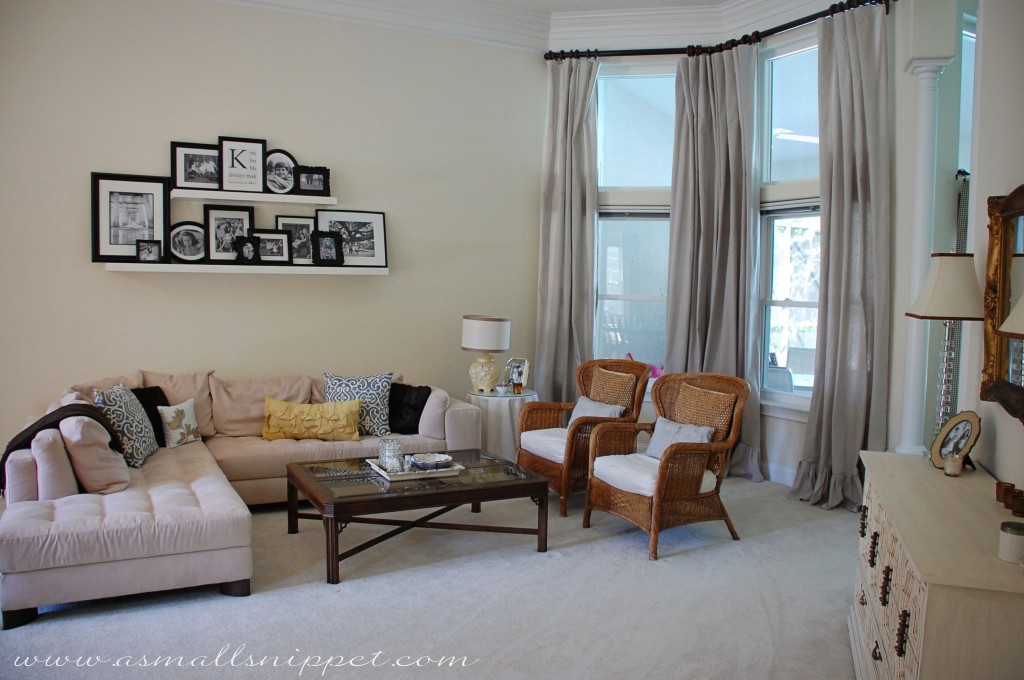
the casual feel of the fabric, along with the neutral color, doesn’t interfere with our pillows or other decor, and doesn’t weigh the windows down either. i think they just kind of blend in:
i hope that this tutorial doesn’t seem lengthy and complicated, but once you jump in it all makes sense. and if you were wanting to just make the curtains without the ruffle, all you would have to do is cut and hem a side or two and the bottom…super simple!
if you have questions, leave them in the comments section on this post, and i’ll be sure to get back to you!
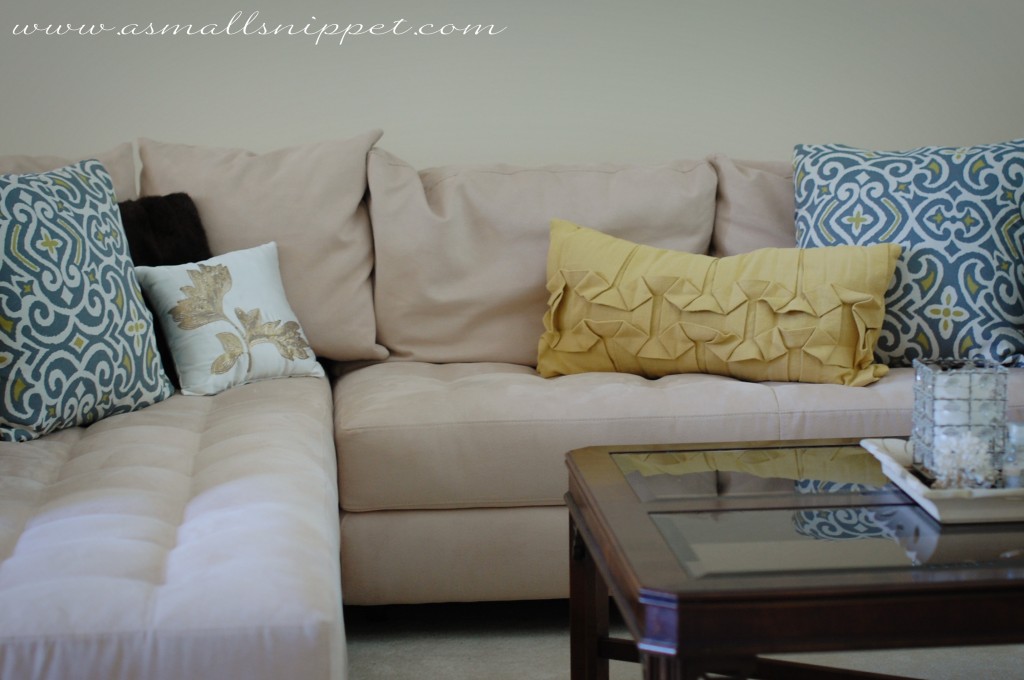
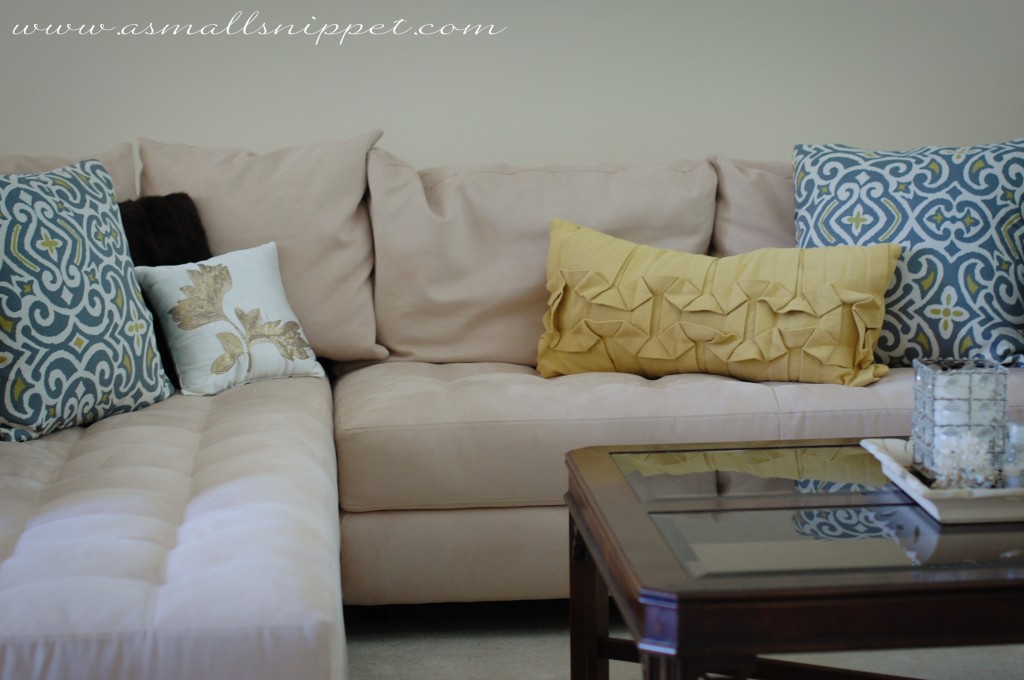
and i’ll leave you with this little tip. i wanted to make some new pillows for this room to update the more modern sectional (which was left for us btw. modern furnishings are not my typical style, and this sectional is not something i would’ve ever picked out, but its totally grown on me!)
as always, i wanted to make the pillow update as cost effective as possible. so instead of buying large pillow inserts at the fabric store, which could’ve cost me around $20 each, i found these large pillows at Good Will for $2.99 each:
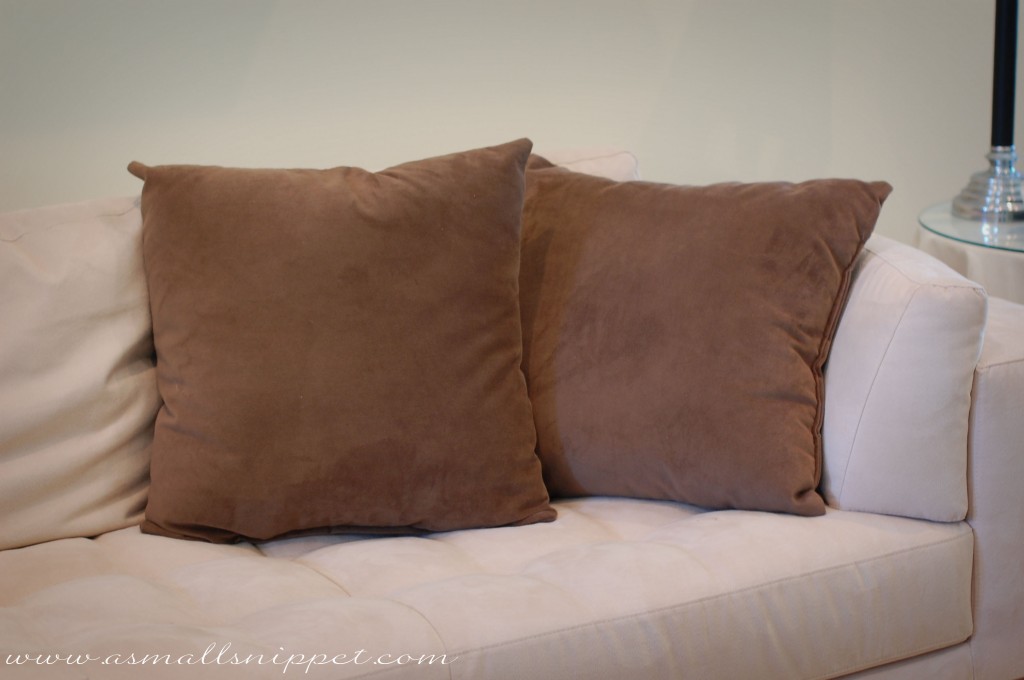
and recovered them, saving me a good bit of money!

(the fabric is called, “Baja Damask Greystone” by Sunweather. its actually considered outdoor fabric, but i think it works well for pillows.)
so before you go buy pillow inserts, check your local thrift store to see if they have any that you could use as an insert.
that’s it for today! let me know if you make some drop cloth curtains!!


 .
.


 Follow


