Oct

01

:: October Sponsors ::

its that time again :)

here is my roundup of October sponsors.  i cannot say it enough…how thankful i am to have them on board, and what a privilege it is to get to tell you all about them!

as always, you can click on their name or on their picture to be taken to their site or shop.  my own words/thoughts are in red.  and if you have any interest in becoming a sponsor and want more details, just email me at asmallsnippet{at}gmail{dot}com.

:: Beautycounter ::

Beautycounter provides safe, chic and effective products. Our social mission is inseparable from our brand: We educate families about the need for safer chemicals and products, and work to bring about much needed change to the beauty industry—and to our lives.

What’s sets us apart is the fact that we are 100% transparent, no hidden secrets or ingredients. We pride ourselves on our strict ingredient screening and our honest message. All of our products are gluten free and vegan!
www.heatherjadus.beautycounter.com

check out this video to learn more:  http://www.youtube.com/watch?v=LYKw1c6M3iQ

** i’m super intrigued by the mission of this company.  as we have cut out all the extra, unnecessary things in our diet and have moved towards clean eating, i’ve often come across articles about the toiletries and beauty products we use, and all the chemicals that we are exposing our bodies too.  this seems like the next step…eliminating the junk from our toiletries and beauty products.  enter in Beautycounter.  this is what they strive to do!  i am trying out a few products from Heather, so i’ll let you know what i think! **

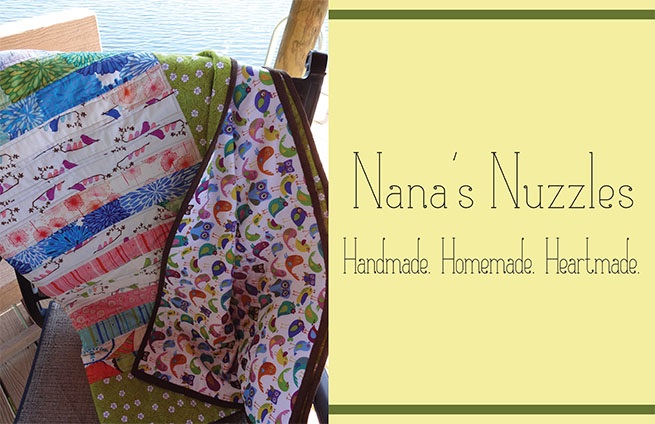
:: Nana’s  Nuzzles ::

Nana’s Nuzzles specializes in home sewn items that keep people cozy.  Whimsical quilts (all sizes), discreet nursing covers for mommas, matching baby carrier covers, and creative notebook or journal covers are just some of the products available.  Quilts vary in size from baby quilts to lap quilts and larger quilts for beds.  All work is carried out with TLC and a lot of heart.  Shop from our small inventory or order a custom-made piece with or without your own fabric.  Custom orders are always welcome. Follow the link to see my store, and thank you for taking the time to look.

** Bobbi at Nana’s Nuzzles has become a sweet blog friend, and a constant encourager to me!  she has added lots of new items to her shop, so make sure you stop by and check them out.  and big bonus…her prices are amazing!  a custom made nursing cover for $12.50?  you can’t find a better deal! **

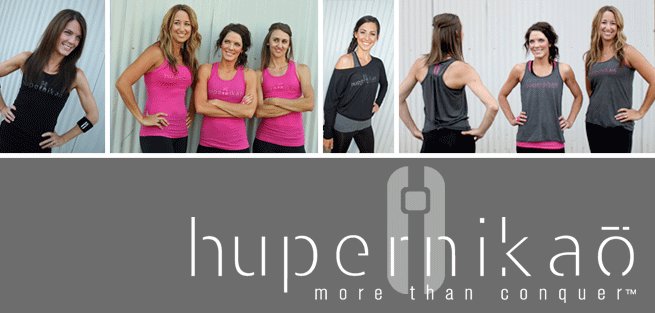
:: Hupernikao ::

Hupernikao® (hoop-er-nik-ah’-o) is a new fitness apparel brand with one purpose: to inspire people to get out of survival mode, take up their shield of faith, and conquer their battles. The word “hupernikao” (a Greek verb) literally means “defeat soundly, prevail mightily, more than conquer.” It comes straight from Romans 8:37: Yet in all these things we are more than conquerors through Him who loved us.

Your battle – whatever it may be – may feel like it’s crushing you. But the truth is, there’s a conqueror inside you…and that’s a promise from God :) .

Shipping charges are such a bummer, so for a limited time, get free shipping with orders over $30 with promo code “asmallsnippet”!

Where can you get more info on hupernikao® fitness apparel?
Browse the store: hupernikaoinc.com
Watch the story of hupernikao®: youtube.com/hupernikaoclothing
Get the latest on our clothing (and a little inspiration): facebook.com/hupernikaoinc

** Love this company’s purpose, and LOVE their products!  my neighbors think i’m crazy cause all they ever see me in around the house and ‘hood are my Hupernikao tanks!  the most comfortable articles of clothing i currently own!  and mega bonus that they are so cute! **

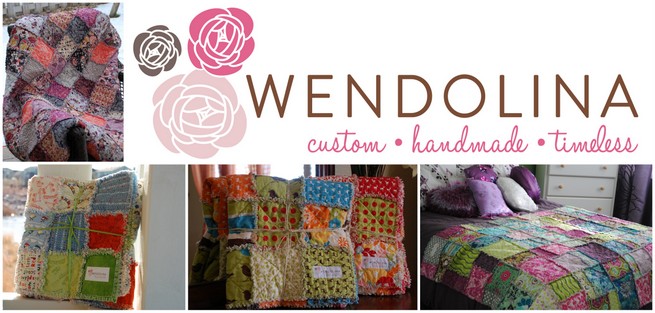
:: Wendolina ::

All “Wendolina” rag quilts are reversible.  One side is finished and the other side has exposed seams that are snipped and fray to create the shabby chic look.  Both sides are made using designer 100% cotton fabrics so they can be displayed on either side.  Each square is sewn with a lightweight, natural cotton batting in the middle.  Every quilt is washed once to start the ragging process.  They can be machine washed in cold water and machine dried. The more you wash and dry them, the raggier and softer they will become.  Use the code SNIPPET10 for a 10% discount, just for A Small Snippet readers.

** i sometimes just go to Wendy’s website to drool over her newest quilts.  you will not be sorry for taking a peek, and reading about her technique.  and trust me, coming from a new momma, these would make awesome gifts to give a new little babe! **

thanks for checking them out!

1 Comments

Sep

28

life as a Party of 5

wanna little glimpse into what our life has looked like lately?

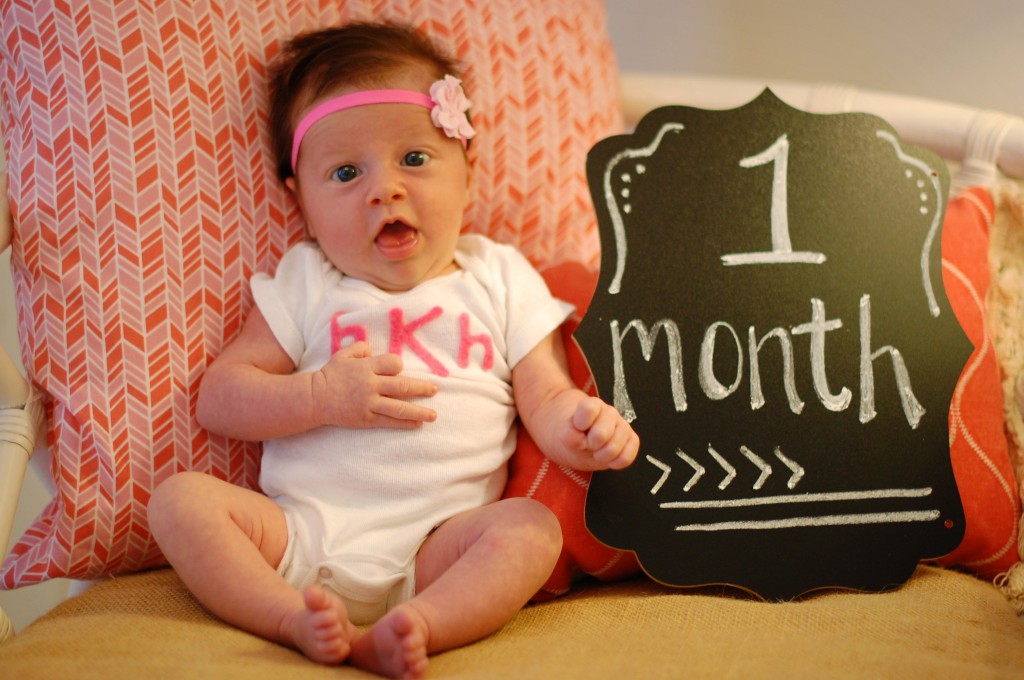
we passed the 1 month mark:

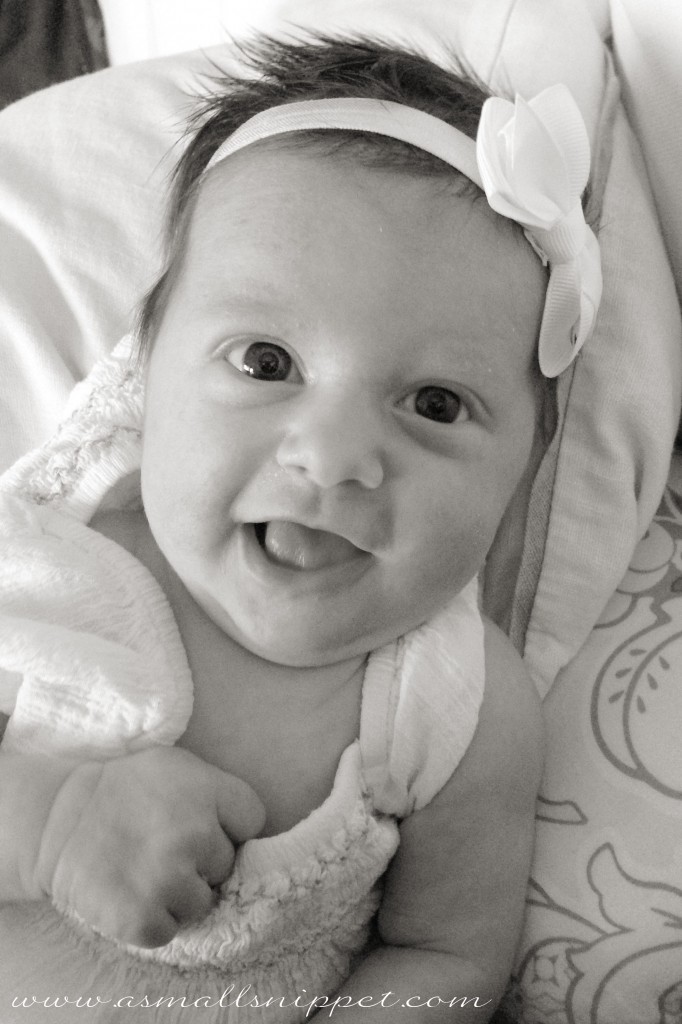
and i think its safe to say that we have a happy baby (most of the time):

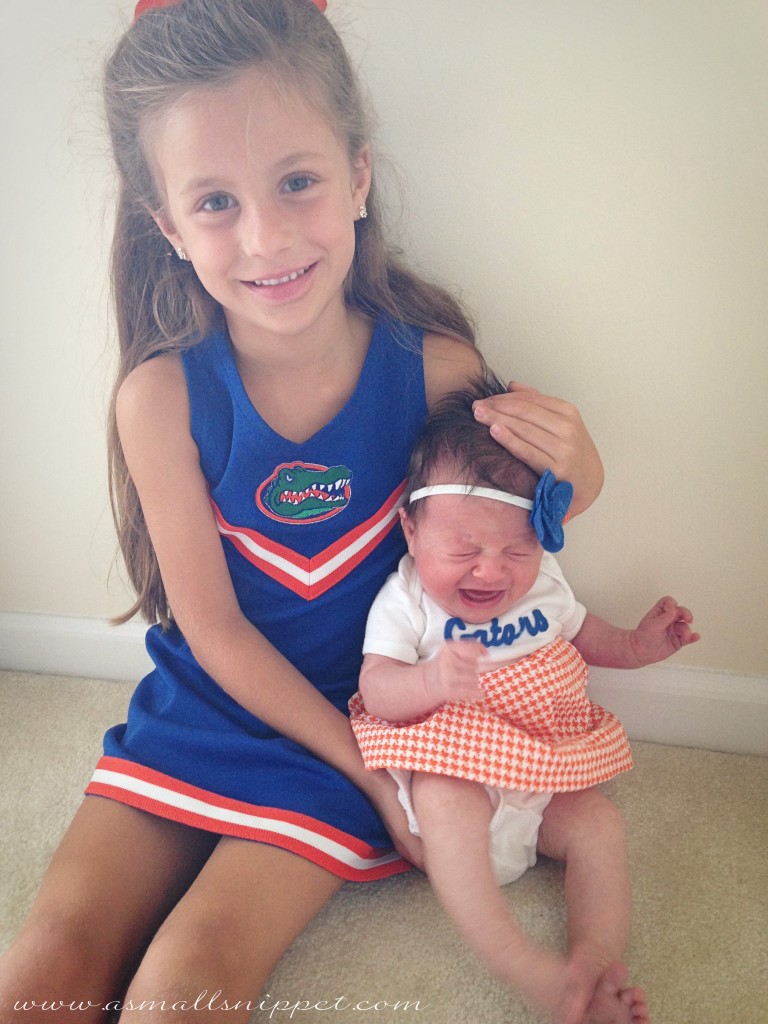
except when the Gators lose:

but that’s nothing that a new outfit can’t fix!

(tutorial for the headbands and Gators outfit coming soon.)

the Boy threw his very first touchdown pass:

and little sis slept through the whole thing…but is still his biggest fan!

i went off dairy for a small stretch, thinking that maybe Berkeley had an allergy:

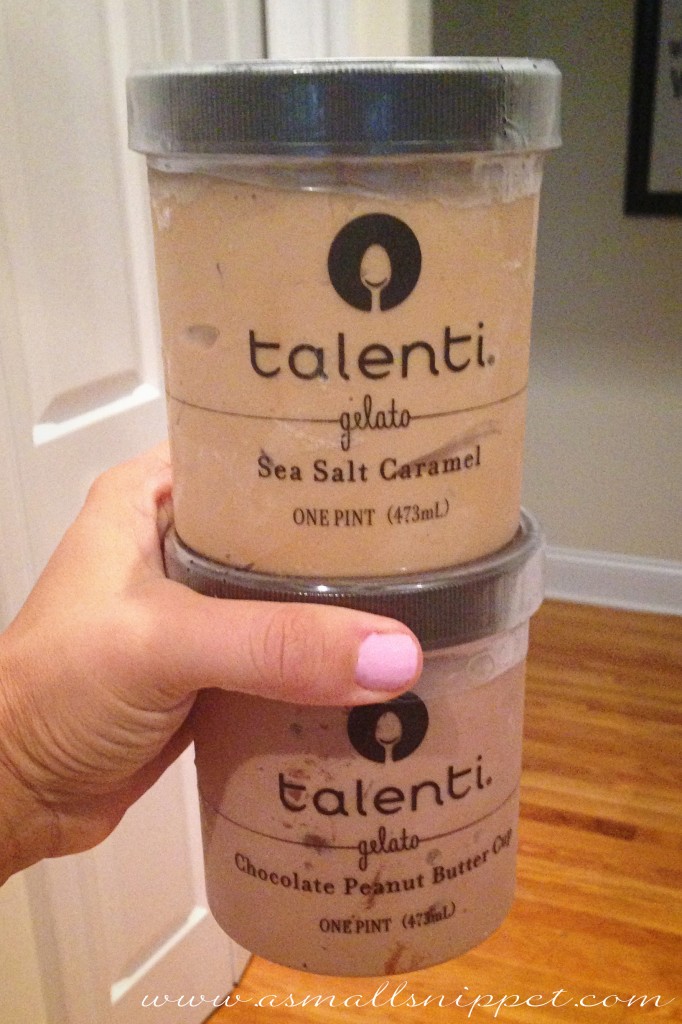
and celebrated with my all time favorite ice cream when we realized that she didn’t (and that all she needed were some probiotics):

(Talenti Chocolate Peanut Butter Cup is TO..DIE..FOR!)

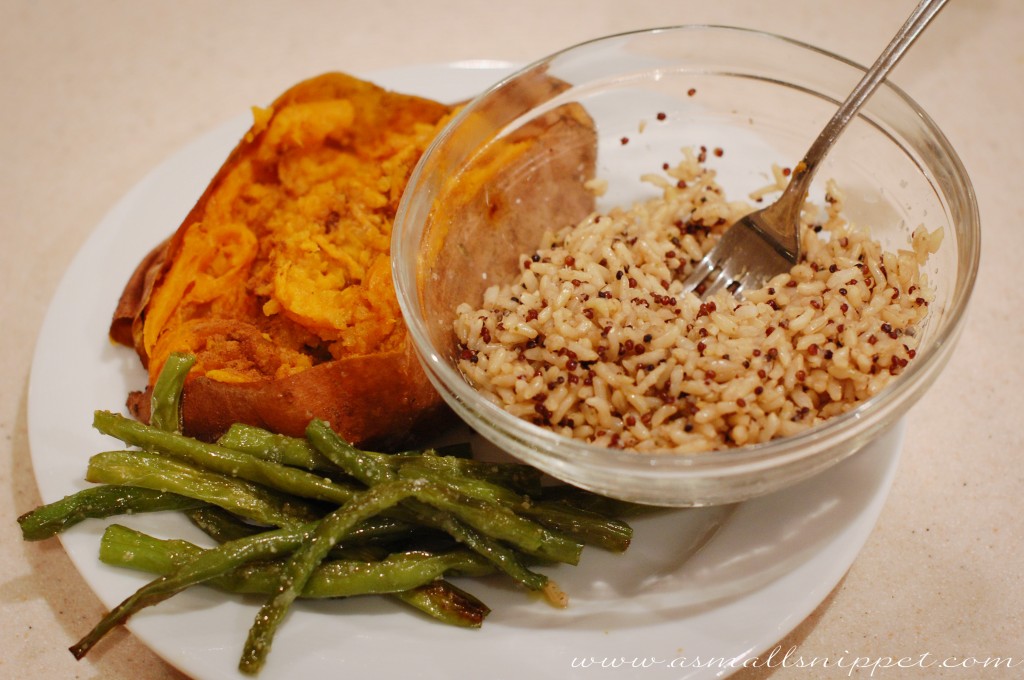
i realize that i need to update you on where we are on the whole Clean Eating thing.  its definitely still an everyday part of our lives, just adjusted a bit now for real life :)  post coming soon with details.

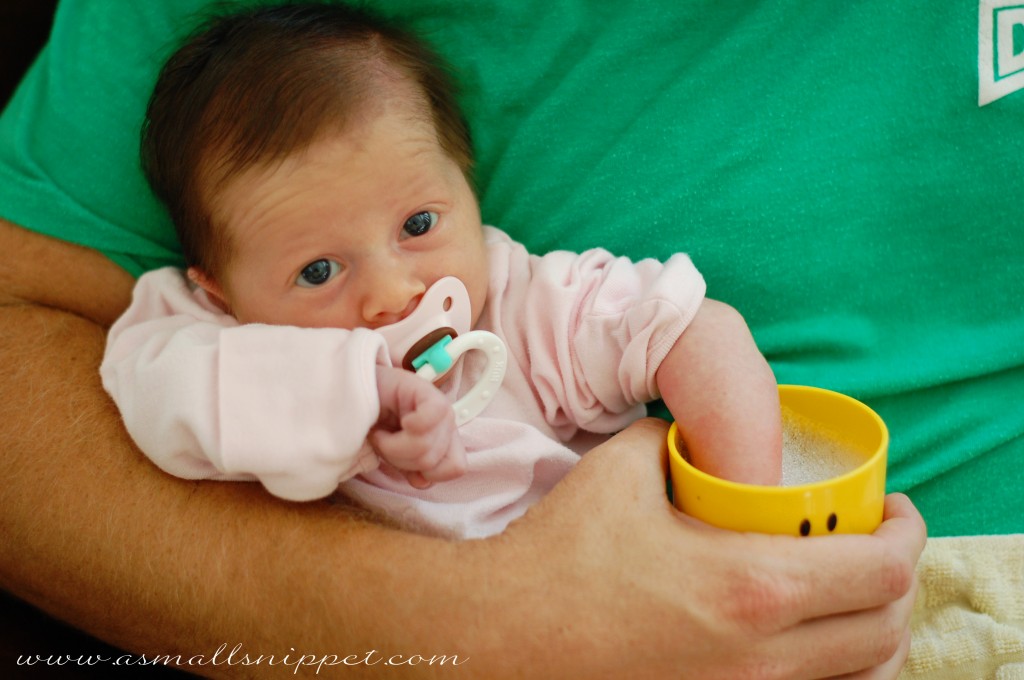
poor thing had a small infection on her finger due to a hangnail, and we had to soak it in warm, soapy water for 15 minutes a few times a day.  do you know how challenging that is to do with a newborn?  i had to snap this pic because the site of it made me laugh.  for some reason it reminds me of a little old lady…a very very cute little old lady (but then again, what little old ladies aren’t cute?):

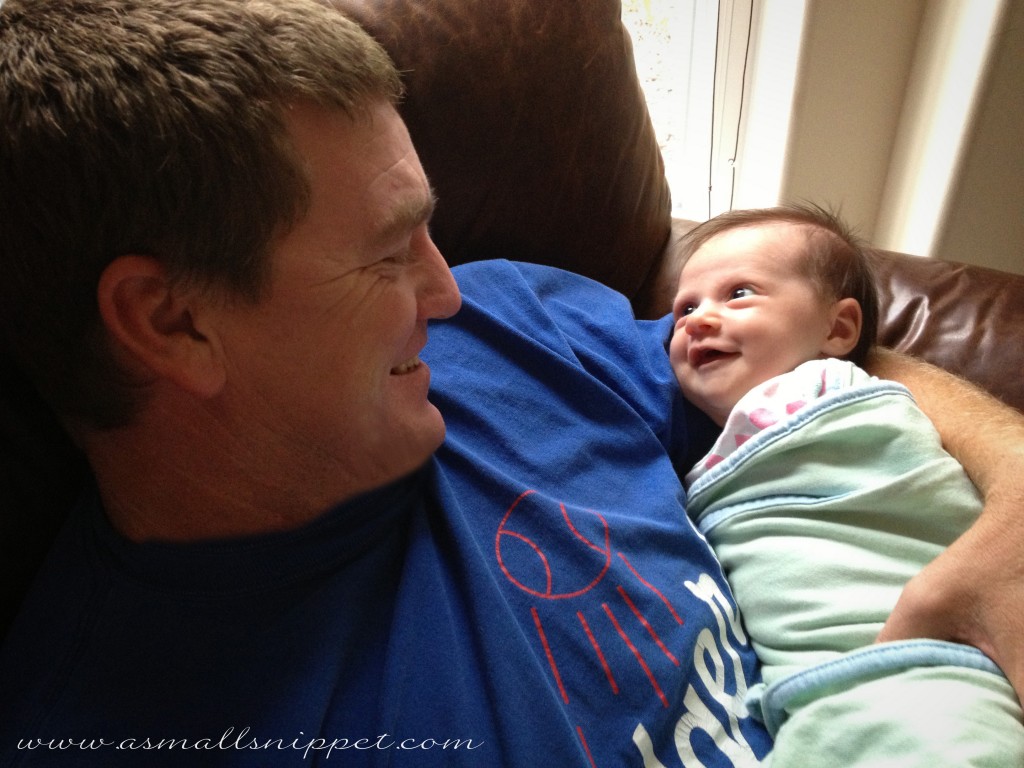
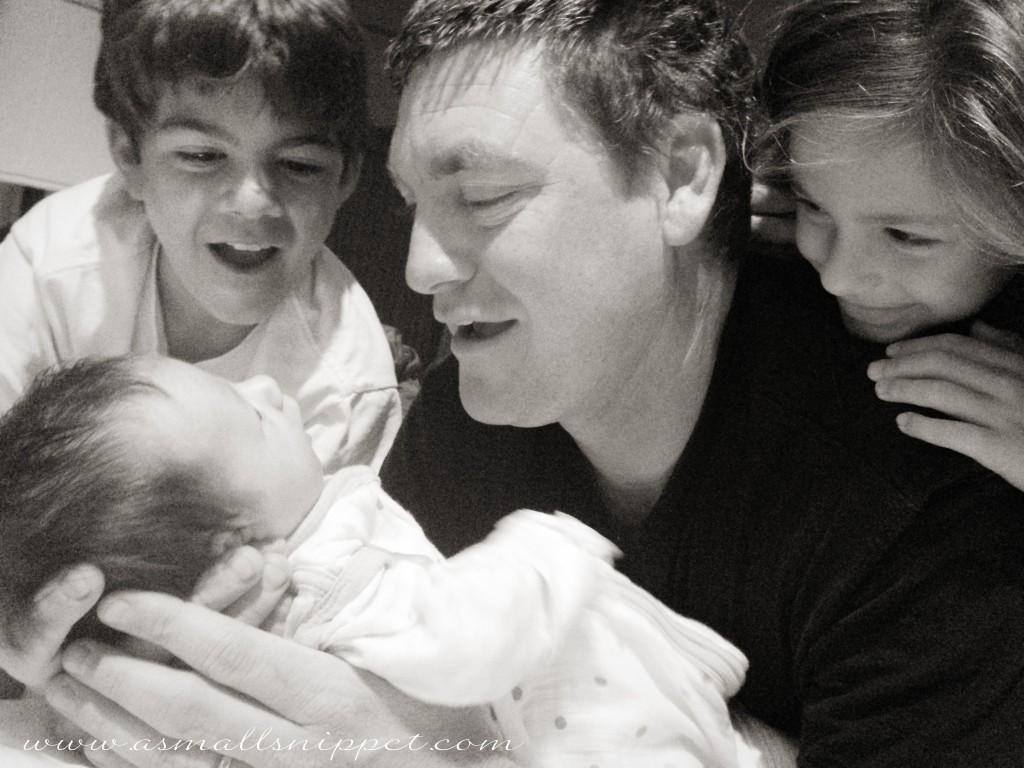
in bigger news…well, bigger than a hangnail…we had to take Baby B to the cardiologist last week for a full work up.  turns out she has an ASD and a PPS…just medical abbreviations for a few little things with her heart that should clear up on their own by 6 months.  she was such a trooper, and smiled through her entire echocardiogram.  that could be because her daddy has a way of making her pretty happy:

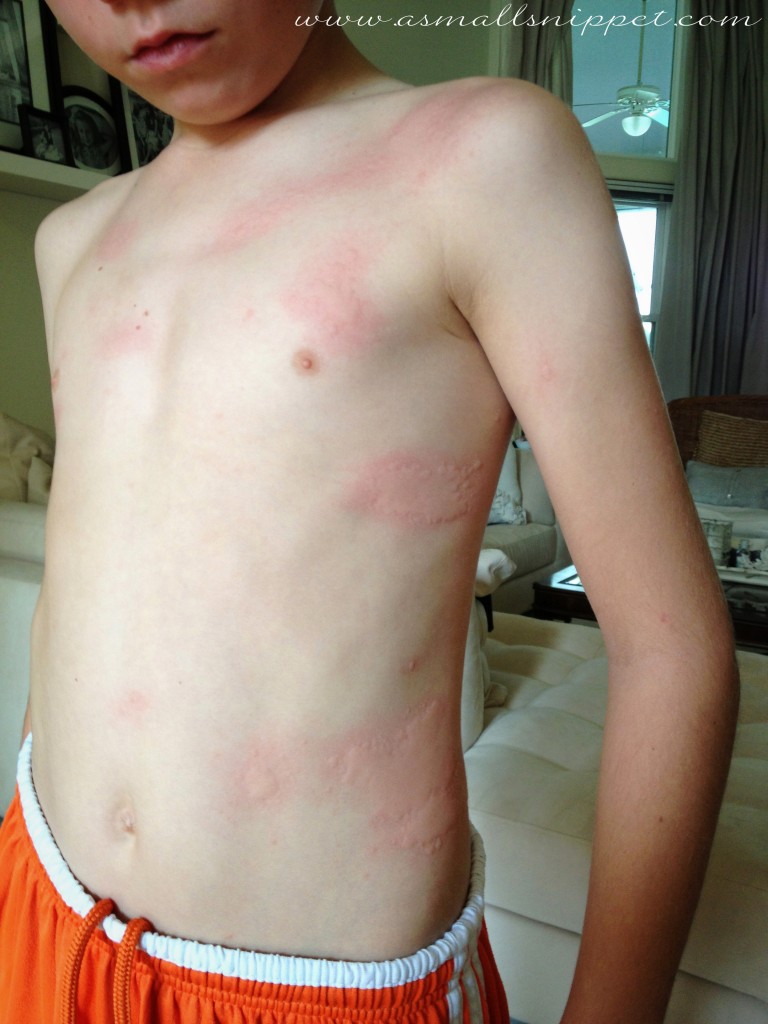
in the midst of all that, Canaan Boy got strep throat, and with it, crazy hives all over his body.  apparently hives and strep throat can go hand in hand (it was before he started antibiotics, so definitely not a reaction to those.)  its safe to say he was miserable…but got a kick out of me making him take a bath full of oatmeal:

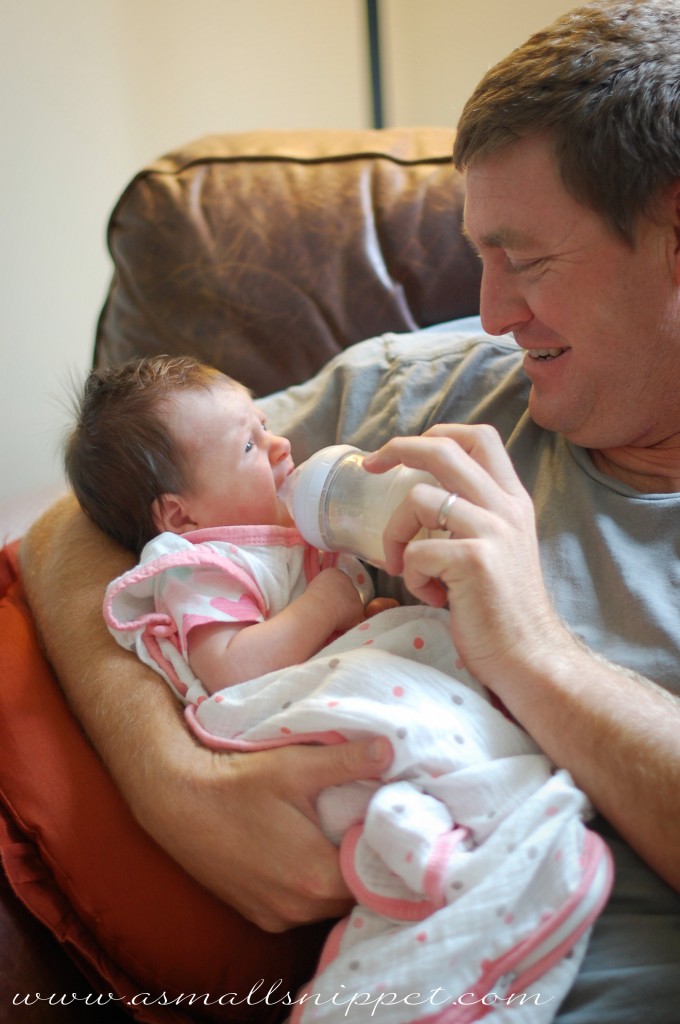
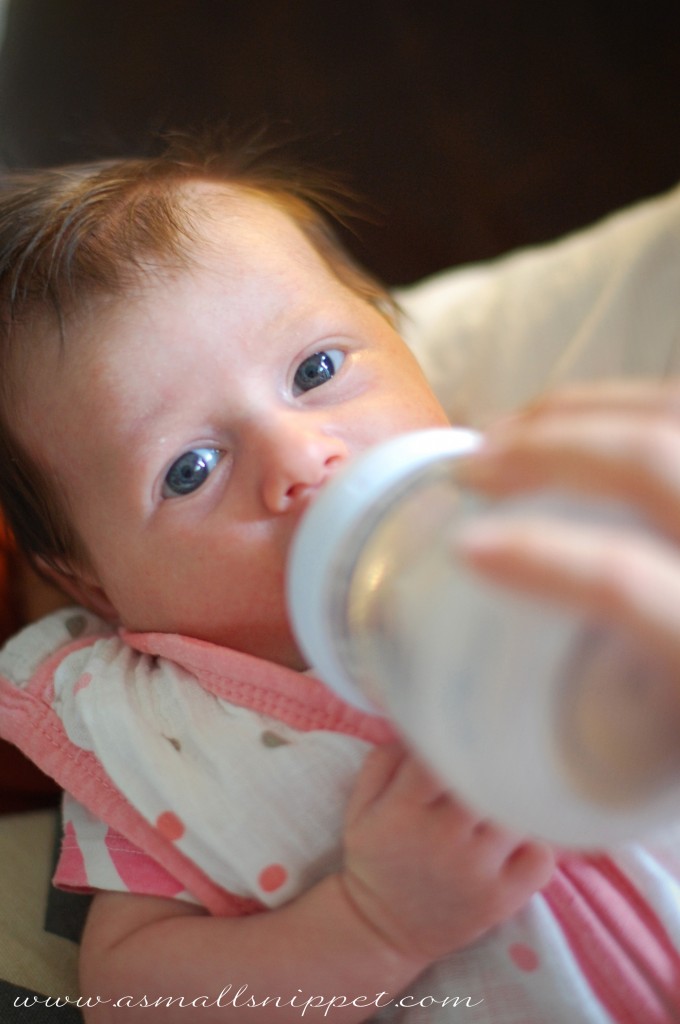
we gave B her first bottle of breastmilk to make sure she’d take it, cause i had to be away from her for a feeding last weekend.  after a few seconds of concern and confusion:

she went right to town with no problem:

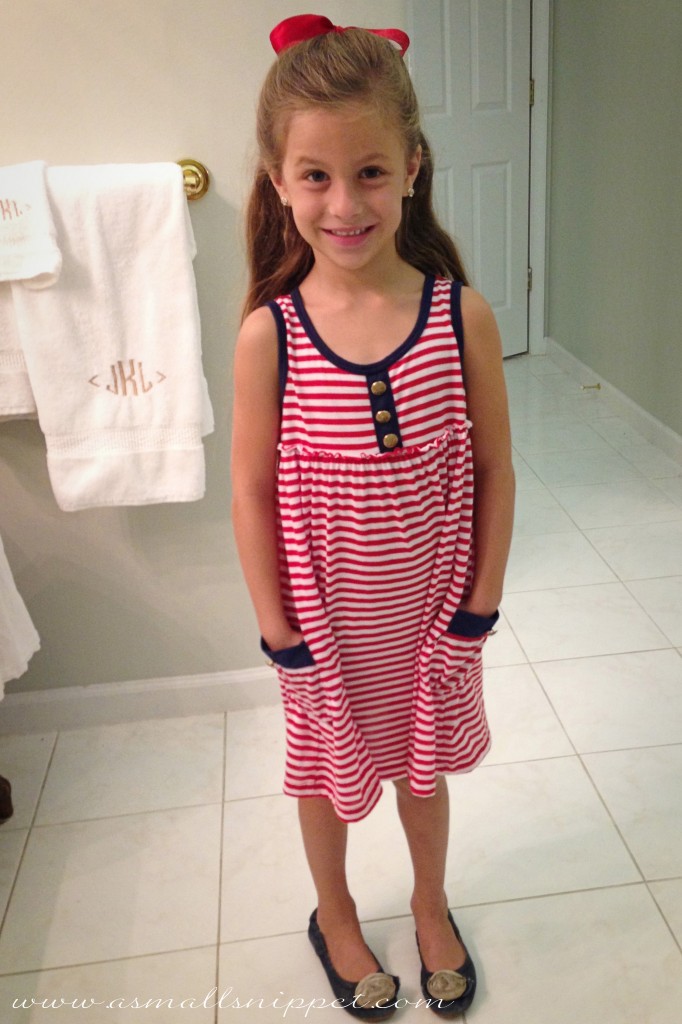
Berkeley and I ventured out to Good Will the other day, and i found this adorable dress for Bella.  wish it were in my size.  i could use some cute things in my closet right now…or things in my size, for that matter :)  :

our weeks have truly been spent loving on Berkeley.  she’s pretty much the best thing ever, and we cannot believe that we get to have her as a member of our family.  she’s held A LOT, and although we are a schedule loving family, and are starting to introduce her to some sleep training, we are trying to soak up as much time with her in our arms as possible.

i hope that i haven’t put y’all to sleep with my post.

i really contemplated throwing in the towel with this blog.  it just seems so difficult to make it here often right now, and i’m not even sure how many people still stop by (i know i’ve lost some of you along the way.)  this last season of my life, the last 9 months, have been so different for me…being pregnant and sick, and entering into life with a newborn…(half this post was chicken-pecked as i held my little babe).  i realize that this time will be short, and before long i’ll have time to devote once more to writing about things of interest :)

besides, i’m afraid a small piece of me will die if this blog goes away.  i still feel like its a mission that God has given me, and there is still some passion for it up in here.  i have been using the voice memo on my phone to write blog posts when my hands are not free (as they often aren’t these days) but my brain is still whirling.  i have a few posts coming with some things that have been on my heart lately.  i can’t promise when i’ll make it back, but i did just renew my domain name until 2020, so i guess i’m sticking around for awhile!  so thanks to you few who are sticking in there with me.  i do look forward to the day when its back to normal around here!  i think i’m getting close….r   :)

PS:  i kinda use Instagram as a mini daily blog, so in the meantime, feel free to follow along.  my username is leanak.
40 Comments

Sep

08

DIY Changing Pad Cover

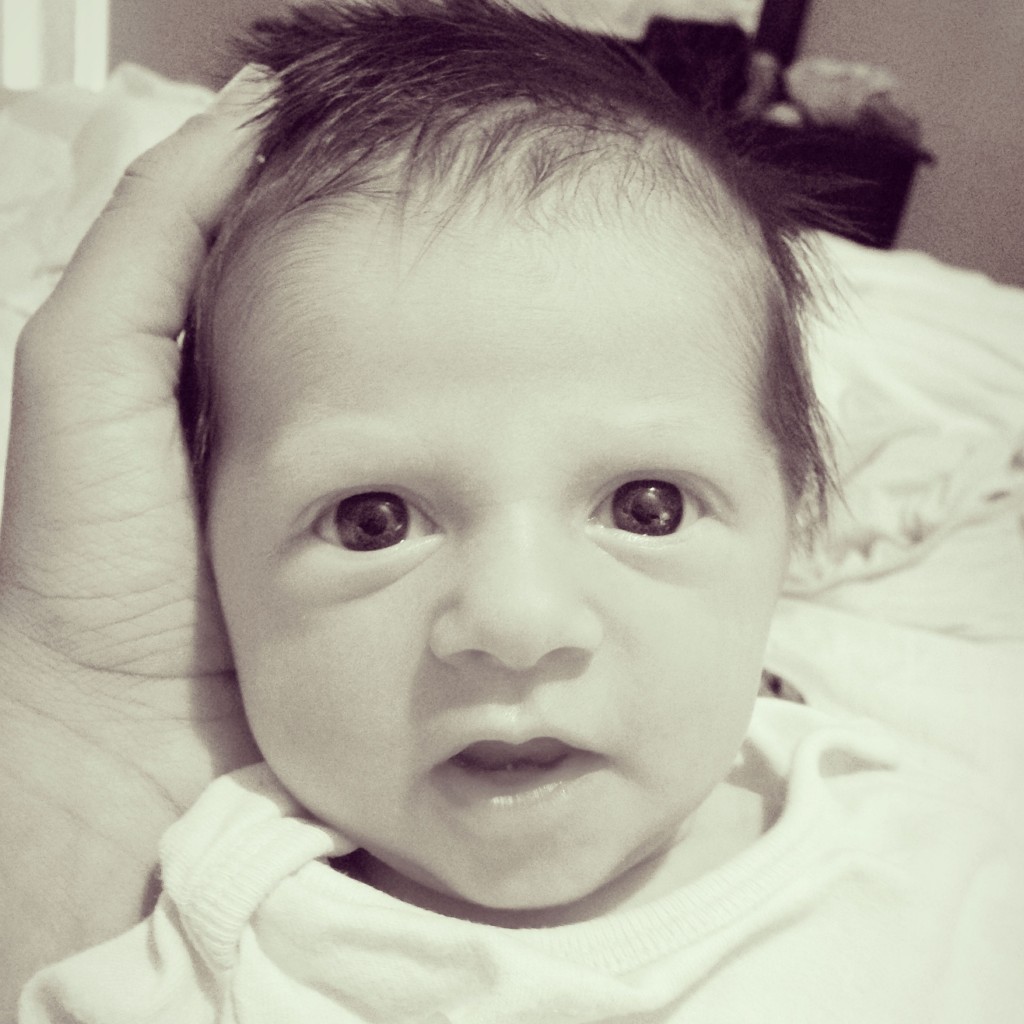
it seems as if i have very little time these days.  most likely because this cutie is keeping me occupied.

she loves to be held, and i love to hold her, but i get nothing done during the day.  i’m just trying to enjoy it while i can, because before long, she’ll need to nap in her crib, and i’ll miss the days of her small little body cuddled up in my arms.

but while i have some extra hands around today, i have a few more nursery sewing tutorials to show you, before i move onto other things on this blog :)
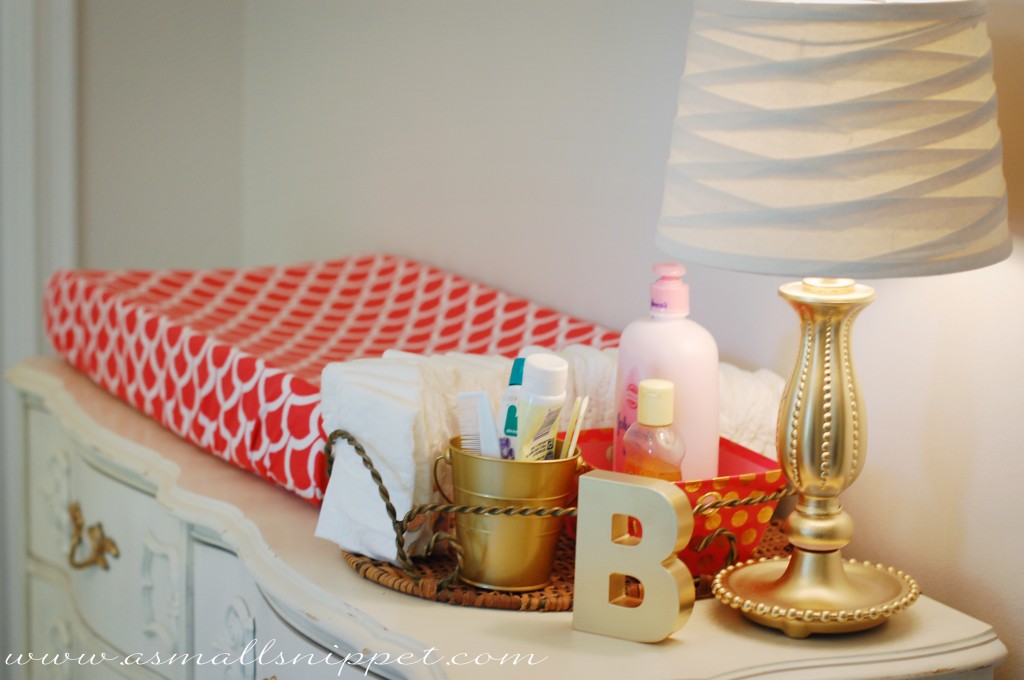
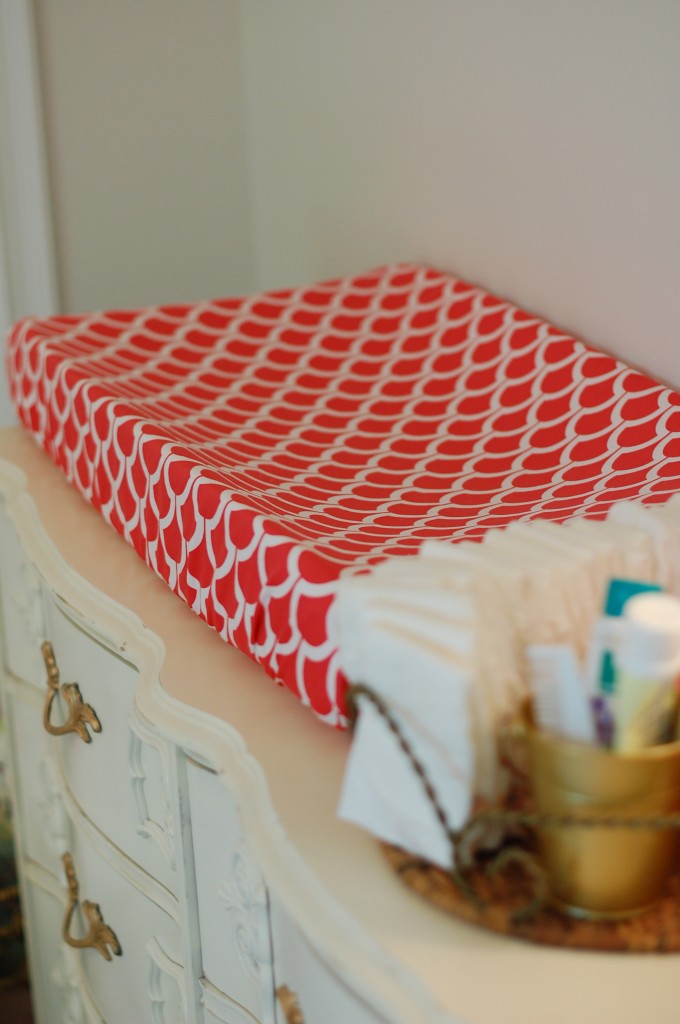
a custom made changing pad cover is super easy to make, and barely takes any time.  if you can sew a somewhat straight line, you can make this :)  (check the end of the post to see how to use this same tutorial for crib sheets and cradle or pack and play sheets!)
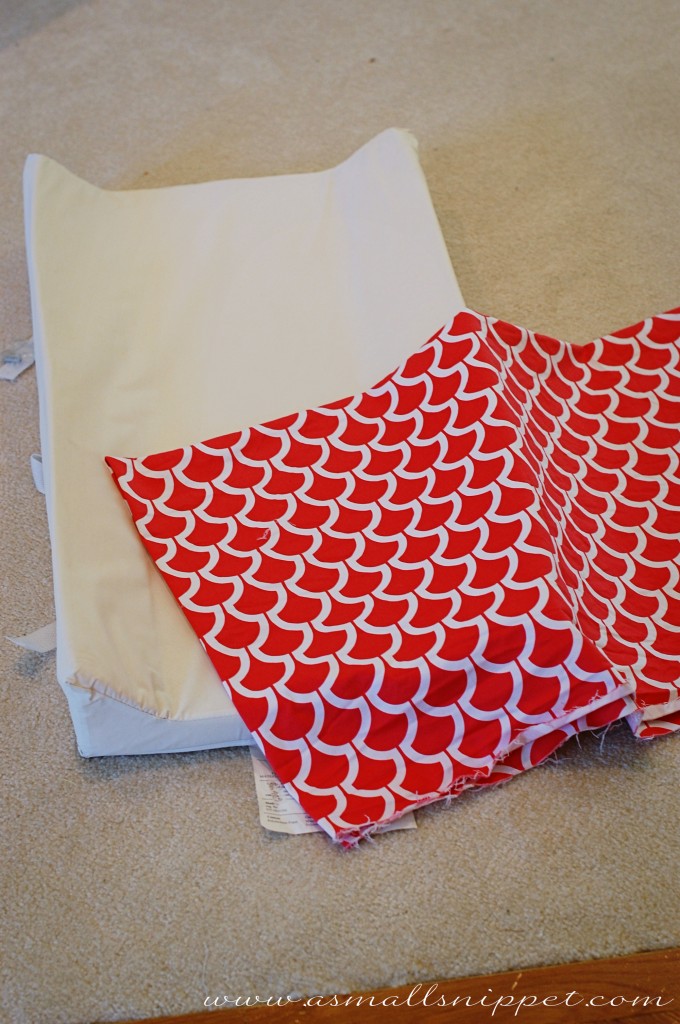
you need a changing pad and some fabric.  i actually bought my changing pad at a children’s second hand shop for $10.  much better than a brand new one for $40.  since i was recovering it, i figured it didn’t matter.  i just sanitized it well before covering, and no one will ever know the difference :)

to cover a standard changing pad (a standard changing pad dimensions are somewhere around 16 in x 32 in x 4 in.), you will need:
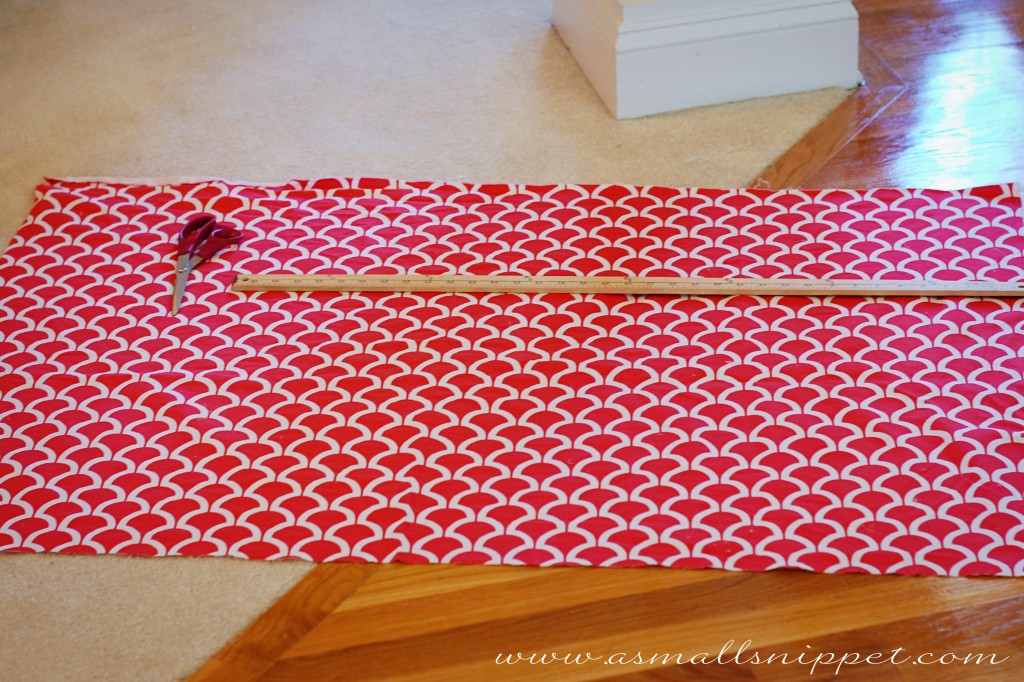
– a 48in x 32in piece of fabric.  so 1.5 yards of fabric will be plenty (maybe less depending on the width of your fabric).
– you will also need a 36 inch piece of elastic.  i think i used 5/8 inch wide elastic.

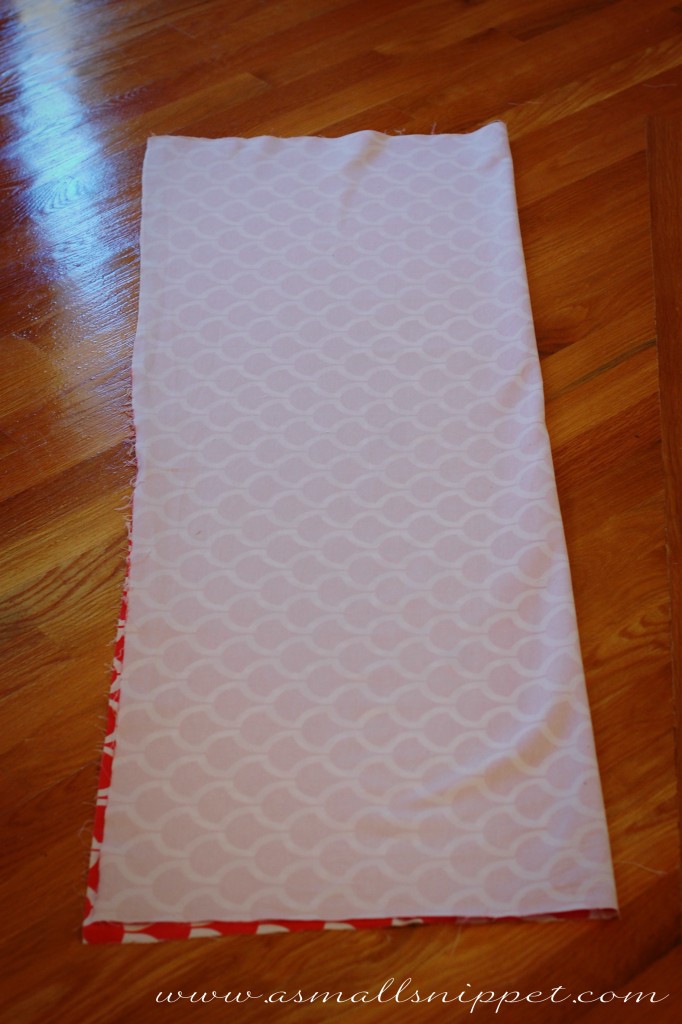
cut your fabric to size.

fold in half lengthwise:

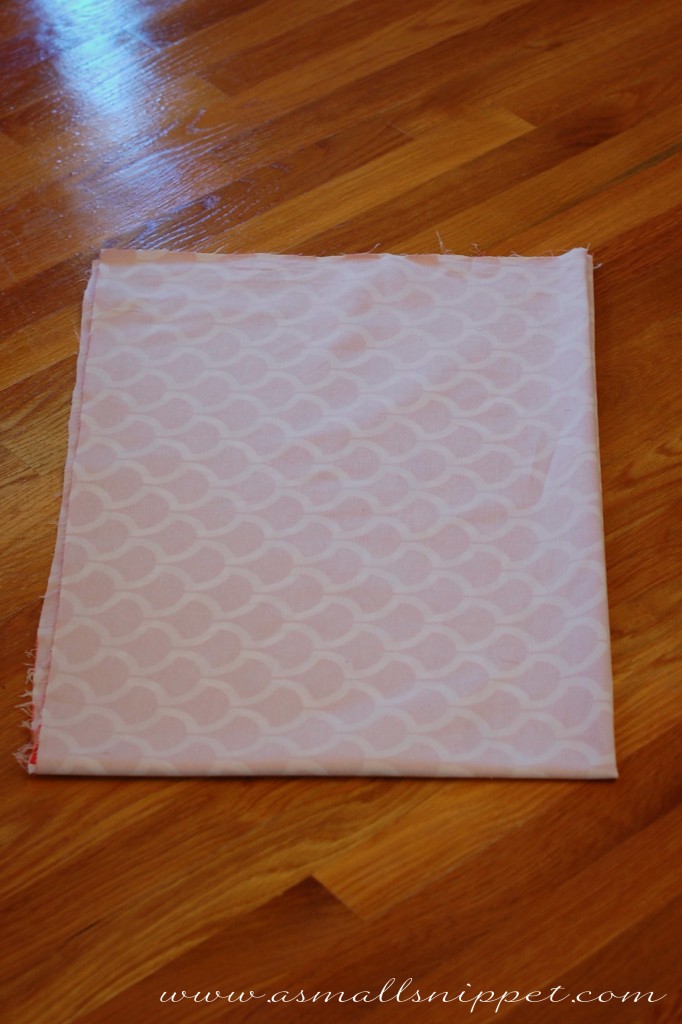
and then fold in half width-wise:

find the corner that has no folds:

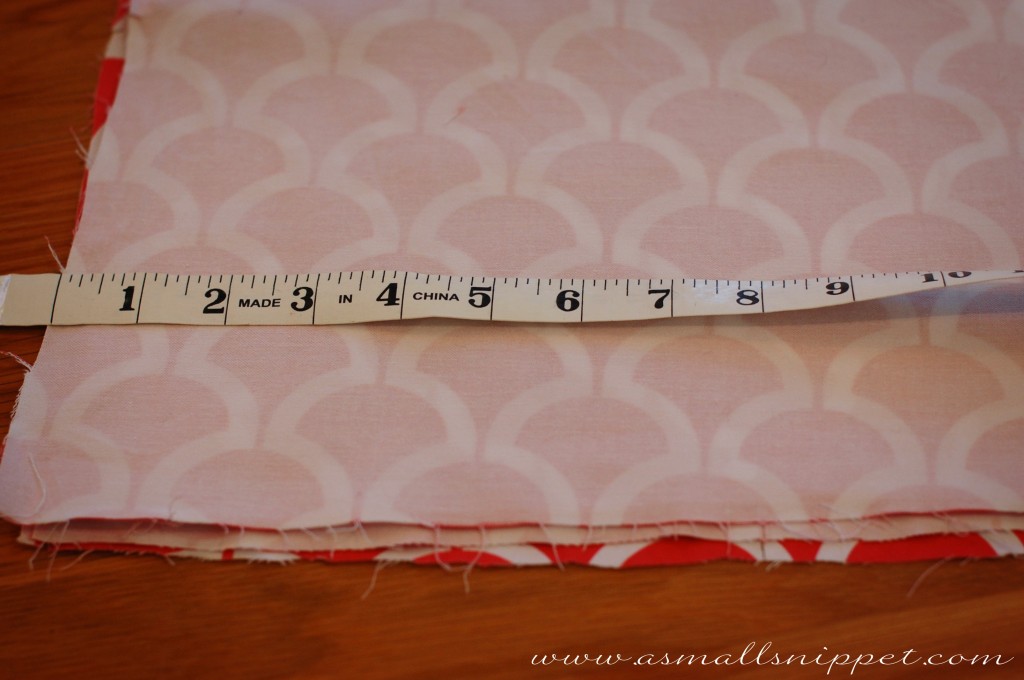
measure out an 8 inch x 8 inch square:

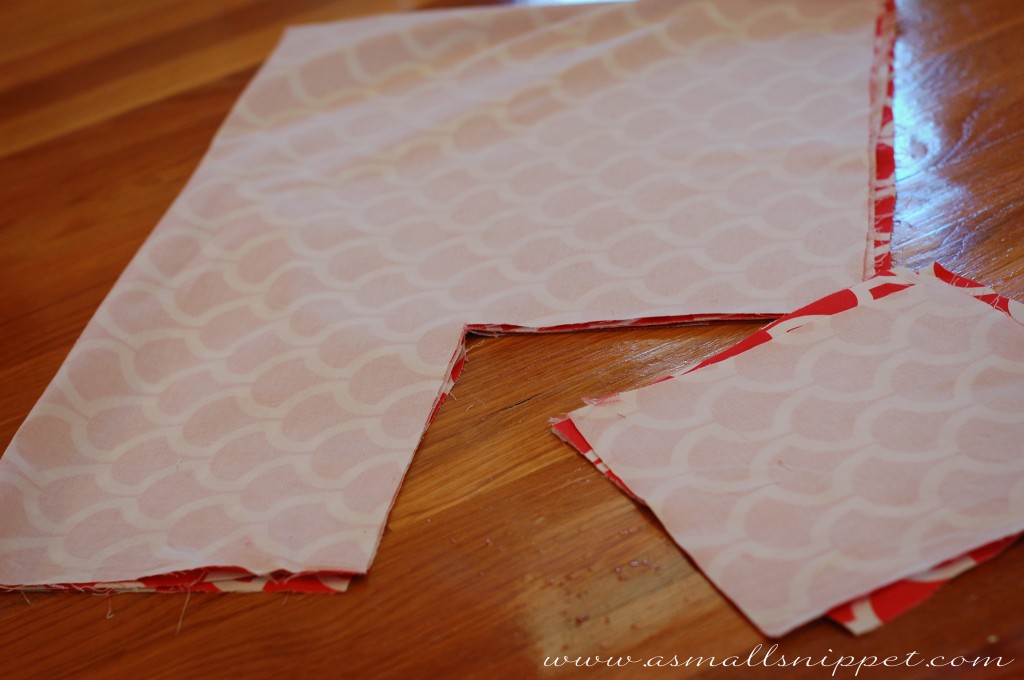
cut out the 8 in x 8 in square.  make sure to cut through all 4 layers of fabric:

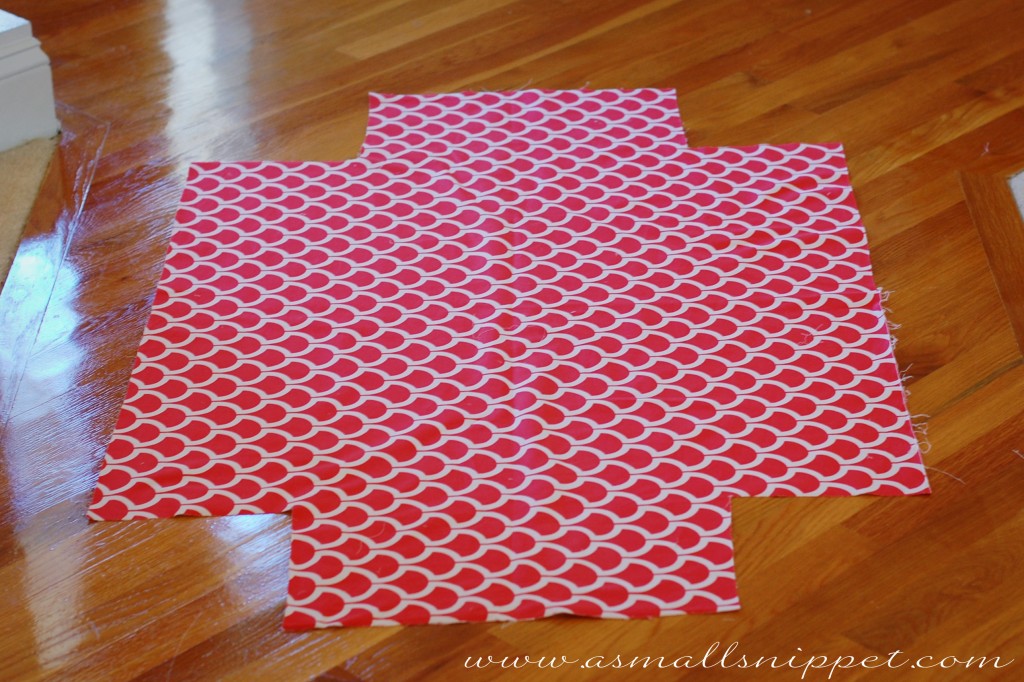
open your fabric back up, and you should have a square cut out of each corner.  mine is not perfect because my fabric was not lined up perfectly, but it doesn’t matter.  it’ll all even out when you put the elastic in.

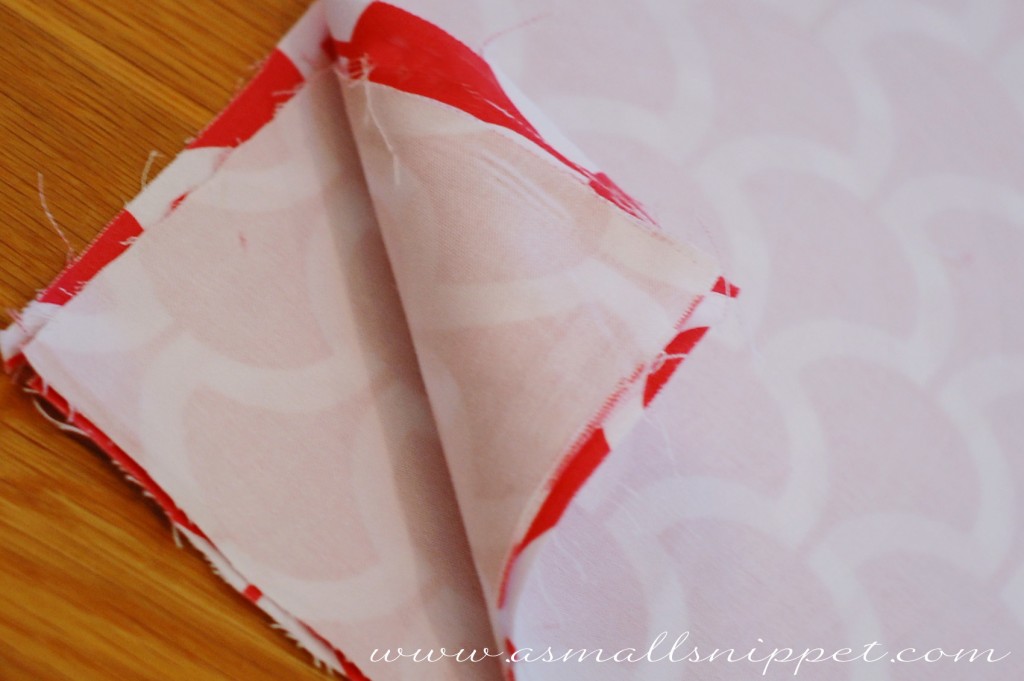
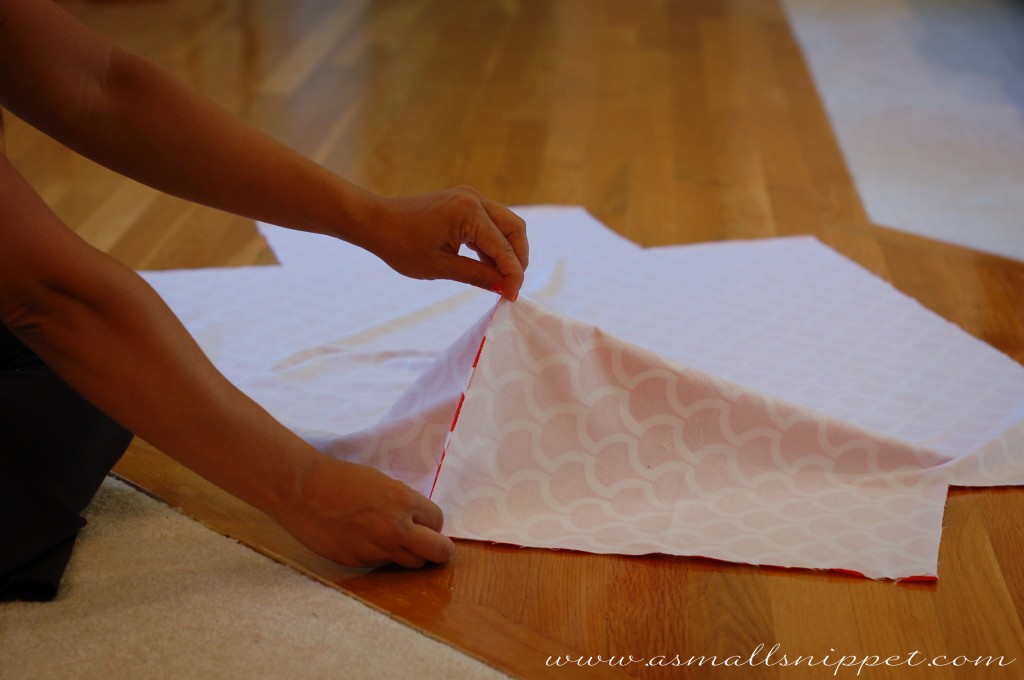
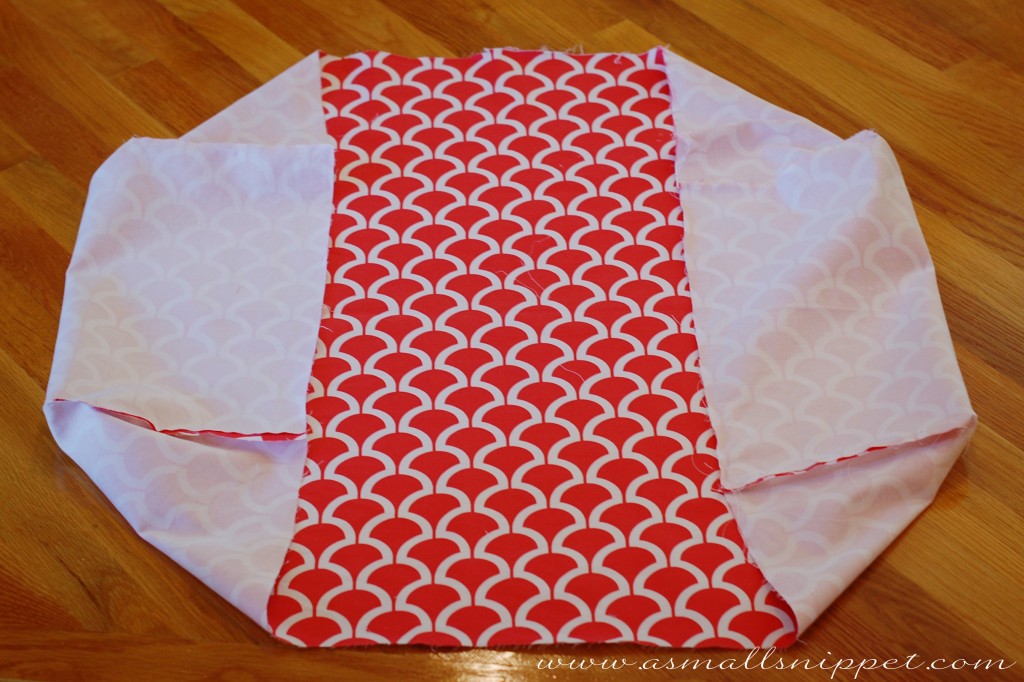
flip the fabric over so that its facing right side down.  bring the two sides of your cut out square together, with right sides facing, like pictured below:

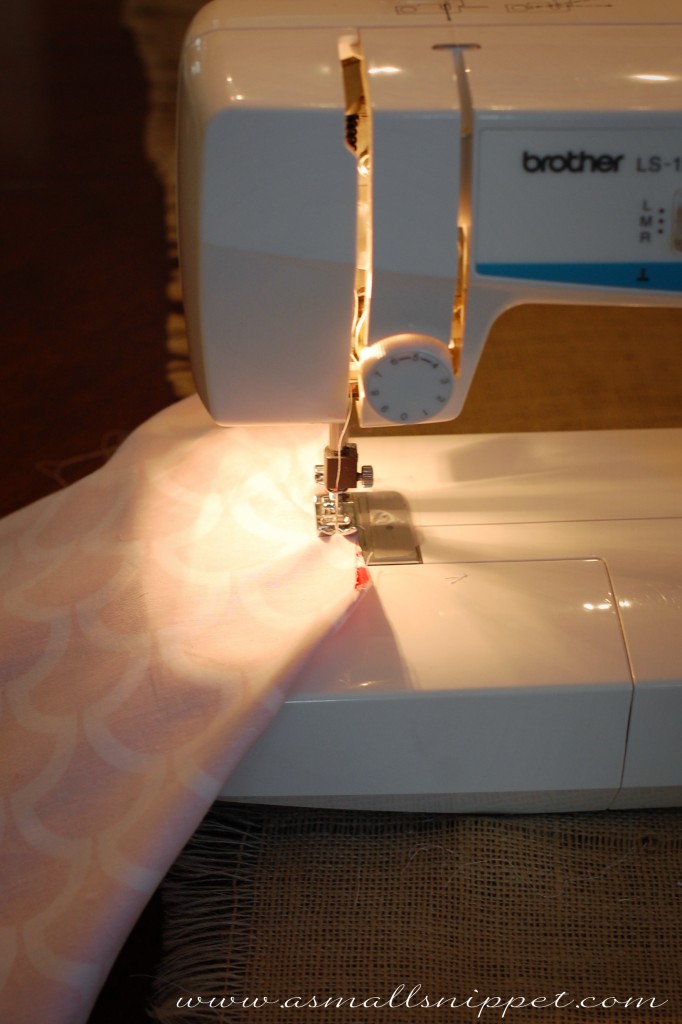
sew a straight seam down that line.  repeat on all 4 corners:

this is what your fabric should look like after sewing all 4 corners together:

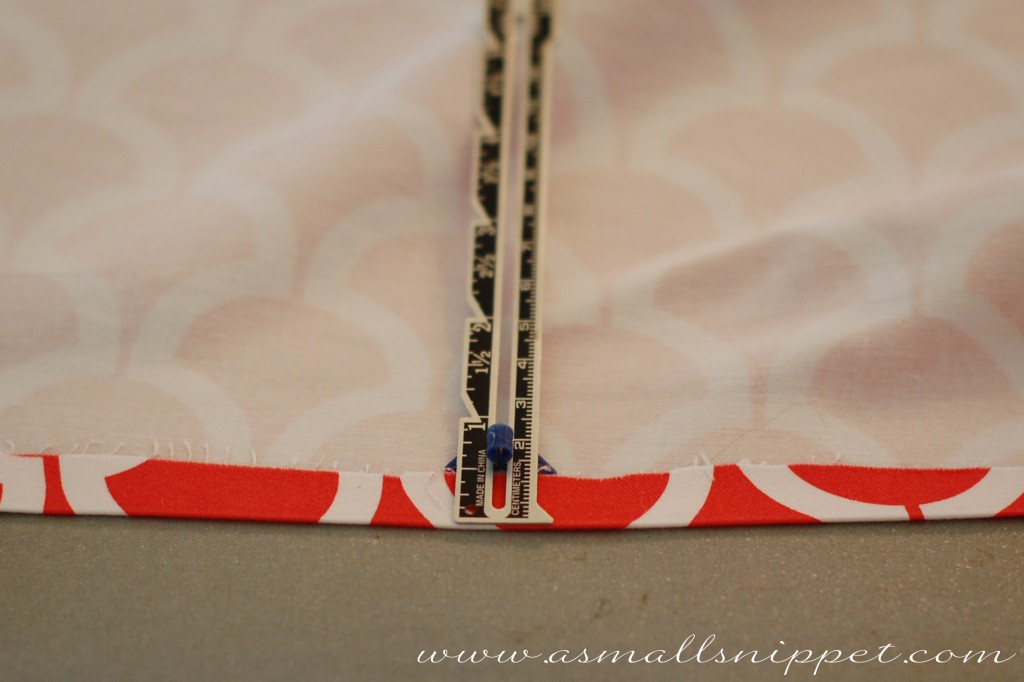
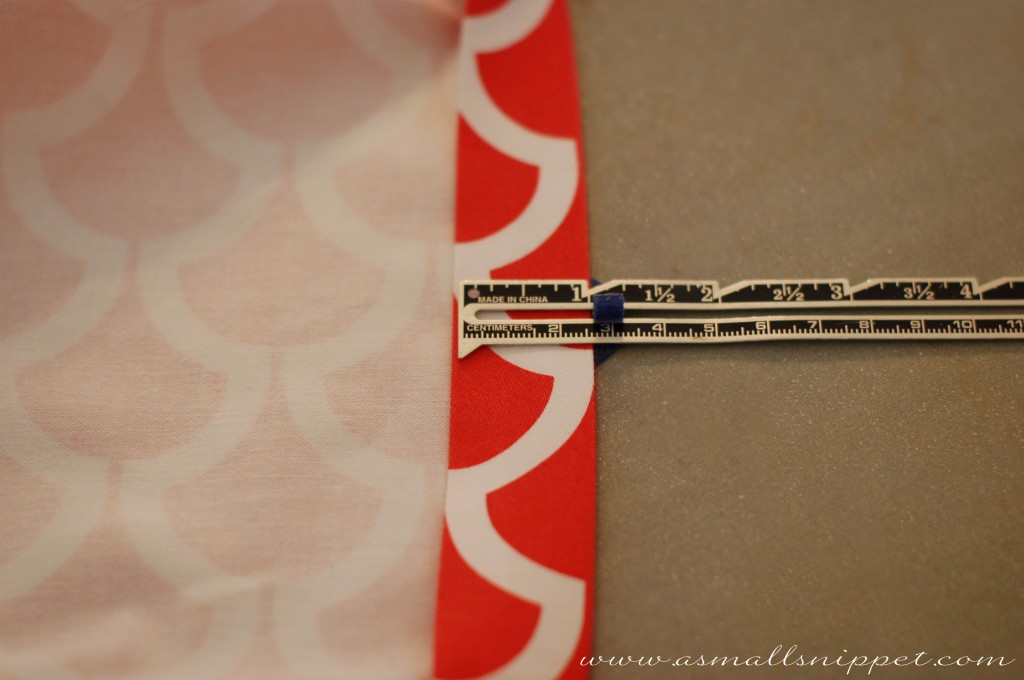
now you need to create your pocket for your elastic.  fold down and iron 1/2 inch all the way around the outside of the changing pad cover:

then fold down and iron an inch, enclosing your raw edge, and creating a pocket for your elastic:

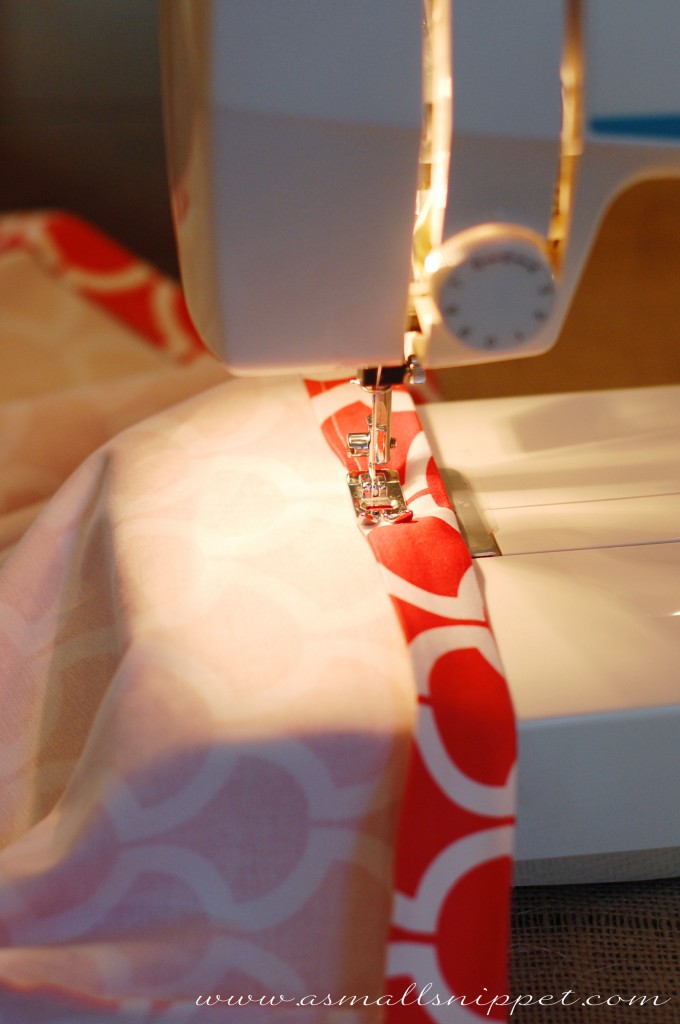
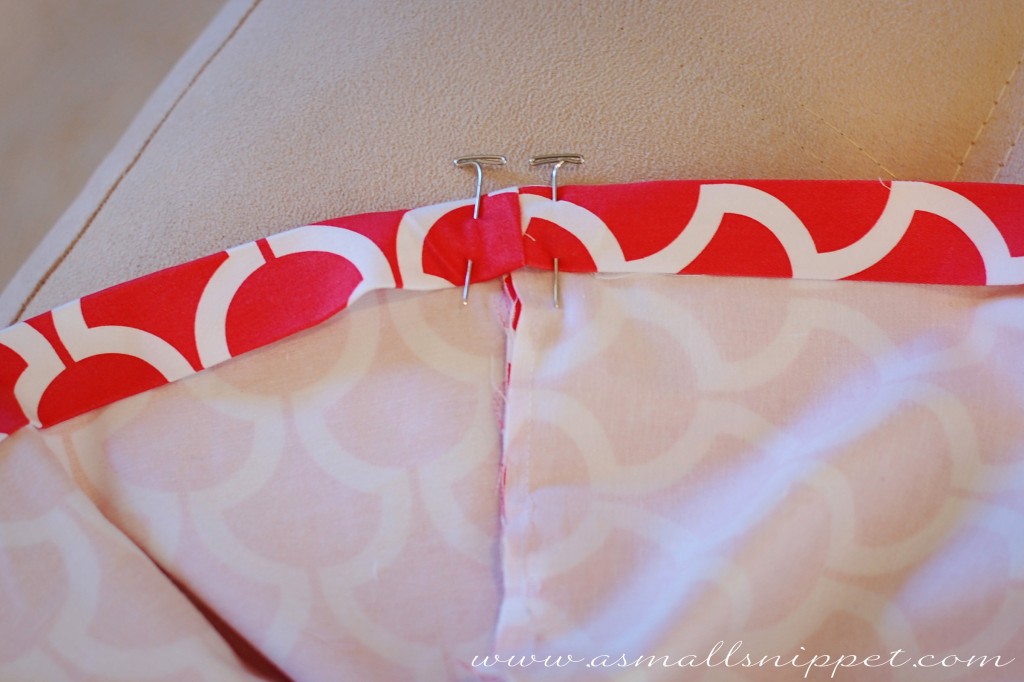
at one corner, place 2 pins about an inch apart, to ensure as you sew that you leave a small opening in order to insert your elastic.

starting at that corner at one pin, sew down your seam along the outside of the cover, close to the edge, creating a pocket all the way around the cover, stopping at your other pin:

 cut a piece of elastic to 36 inches:

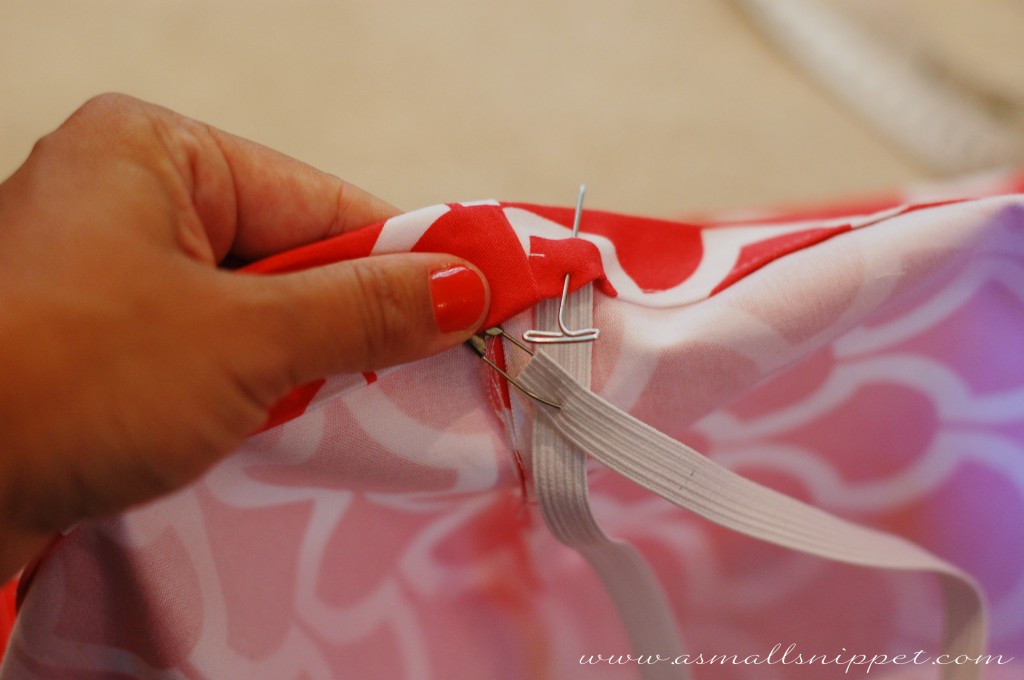
at your opening, pin one edge of the elastic to your cover, and attach a safety pin to the other edge. (the safety pin is crucial.  it will make it much easier to feed the elastic through the pocket.)  begin feeding your elastic through the pocket you created, all along the outside of the cover, until you end up back out the other side.  make sure your elastic does not flip or turn while you are feeding it through.  you want it to be flat all the way around.  you will need to adjust and scrunch your fabric as you go to fit the elastic in:

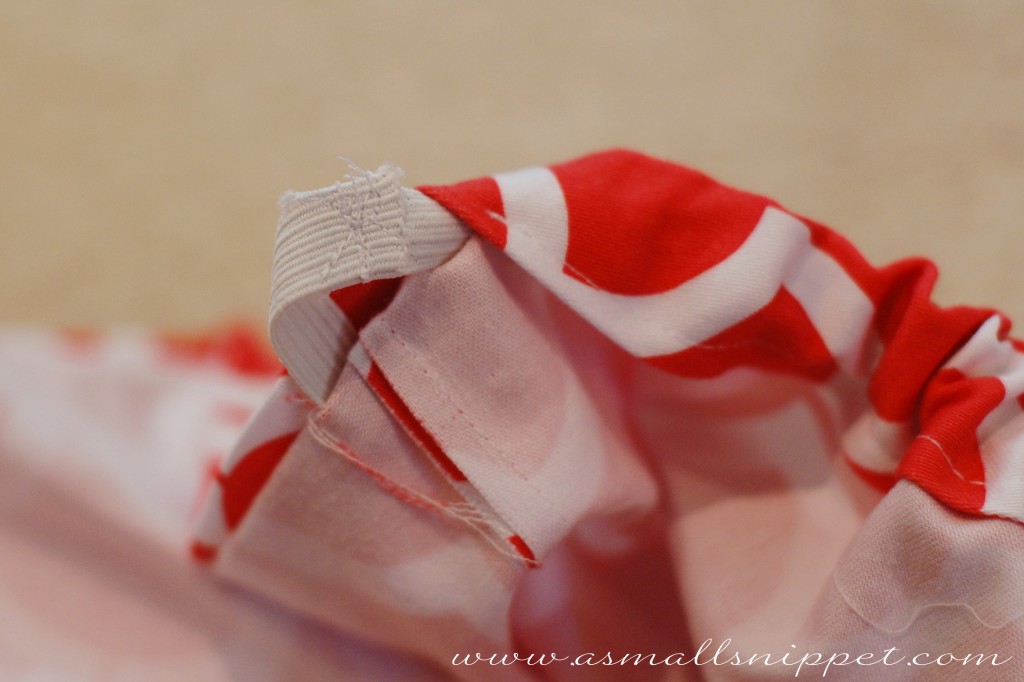
once the elastic is all the way through the pocket, sew the two ends of the elastic together.  i run a seam back and forth down the edge, and then sew an X down the middle to ensure that it will remain sewn together.  then sew your small opening closed, encasing the elastic in the pocket:

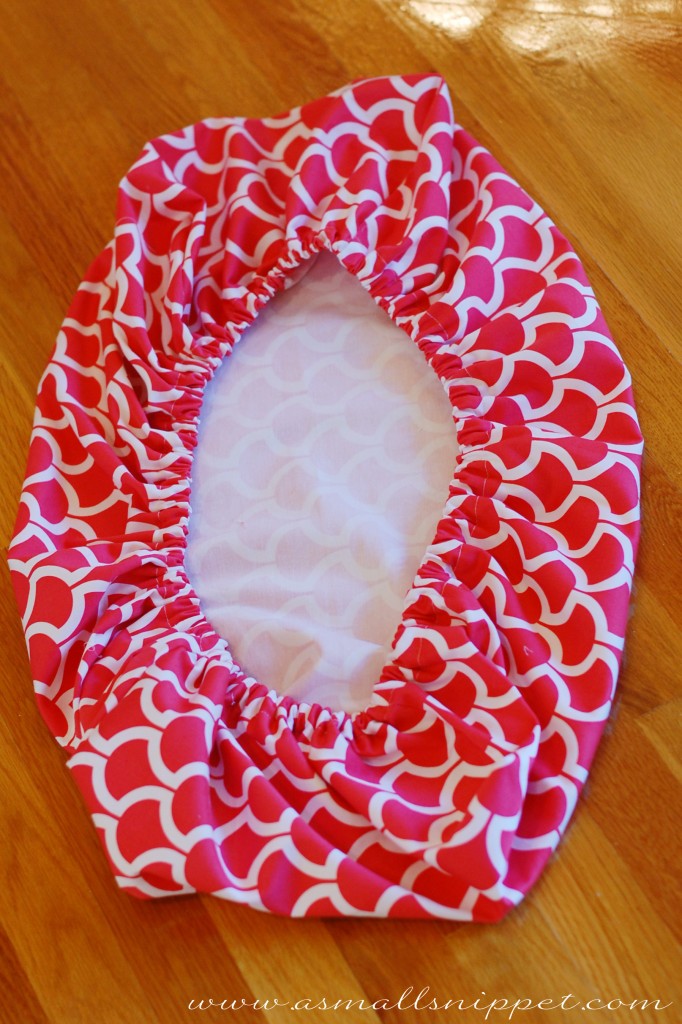
this is what your changing pad cover should look like now, with the elastic in:

slip it onto your changing pad, and you are finished!  it will take the form of the contoured pad as you use it:

that’s it!  super simple, and a great way to customize your nursery.
* you can use this same tutorial to create crib sheets.  just change the dimensions!  but the tutorial is exactly the same.

*you can also use this same tutorial to create cradle sheets or pack and play sheets.  you just don’t need to cut out the corners because those sheets do not cover much depth.  in other words, those kind of mattresses are more flat as opposed to deep, so you can just cut to size, leaving a few extra inches to create a pocket for the elastic and to cover the smaller, flatter sides.


i’ll be back soon with more,

100 Comments