Dec
06

house projects
i finished up a few house projects that i think you might enjoy seeing. since our present living situation is a rental property, there is only so much i can do to satisfy my love of making a house a home. even though a rental, i feel sure that if i only lived here a few months, i would still need it to feel like “my” home. and since we’re going on a year, without a plan as of now to change that in the very near future, there were a few things that i was wanting to do to continue to make this place feel updated and home-y.
you might’ve seen a few months back my tutorial on glazing furniture…where i showed you this piece that i painted and glazed: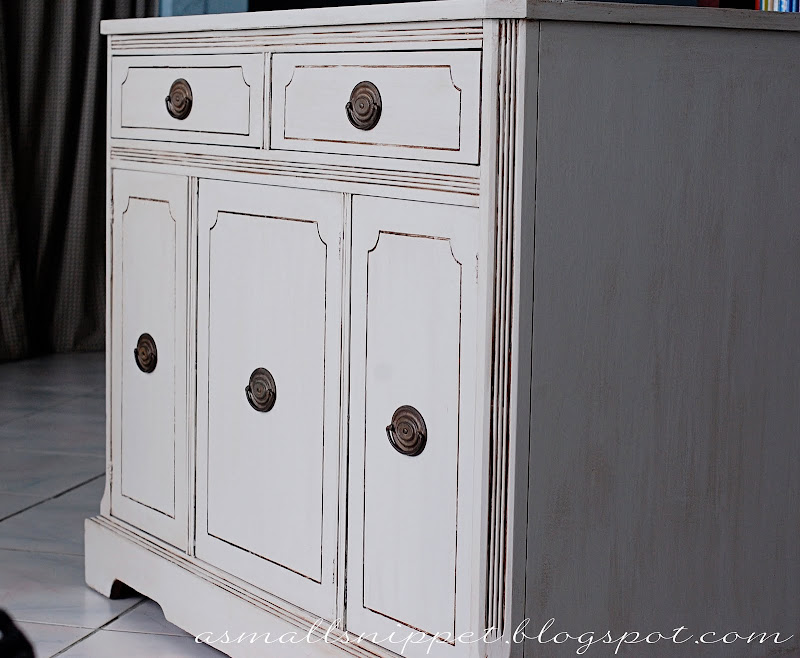

i SO fell in love with that outcome, that i just had to do it to one more piece.
remember this eyesore??
 i bought it years ago at GoodWill for $25. i found this pic that i had taken with my phone at the time from the store as i was debating:
a) whether or not i wanted it
b) how the heck i was gonna get it home
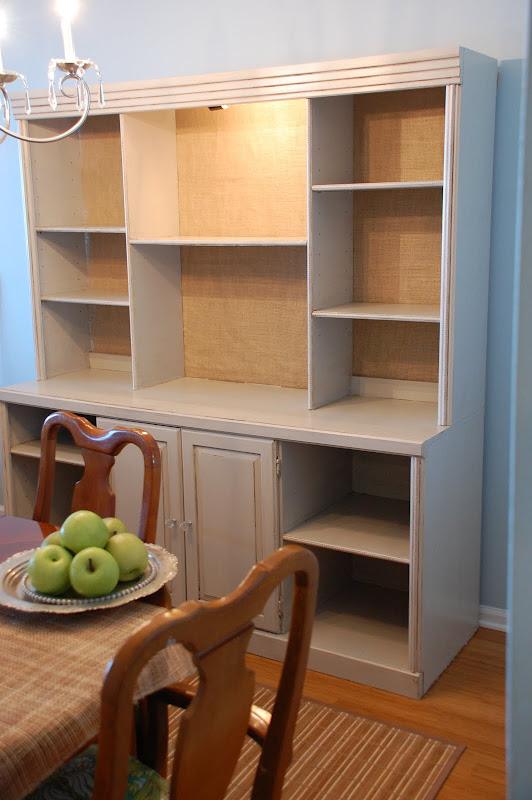
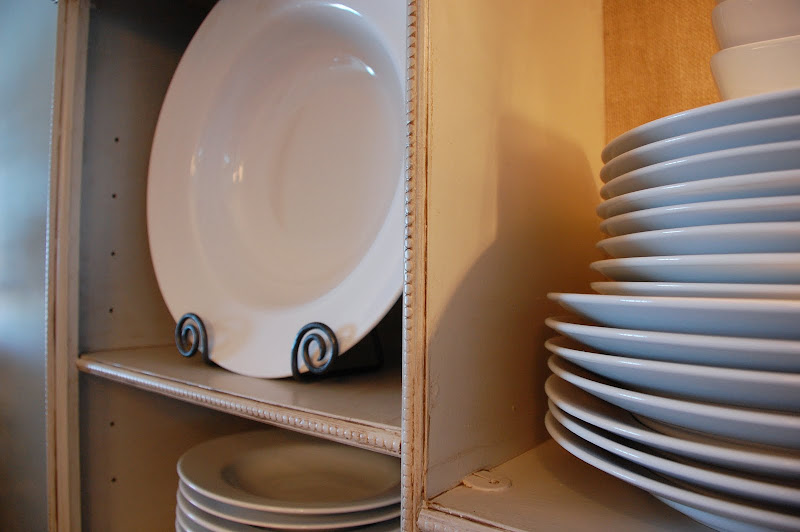
 it was a nasty old TV cabinet…but i saw hidden beauty. (actually…i saw the ability to store and organize all my serving dishes and platters and plates…cause i love me some service wear!!!)
the hubs recruited a few strong high school boys (one of the pluses of being a youth pastor at the time) and they used a trailer and brought it home for me.
i did an awful job of painting it black…without sanding or priming, mind you. what was i thinking??
this is what it used to look like in our old house (somehow i can only find pics of this piece from past parties!):
 it has definitely served its purpose of storage, but it never really looked all that great.
 it has definitely served its purpose of storage, but it never really looked all that great.
 so we revamped it a few weeks ago, and i’m telling you…it changes everything!!!
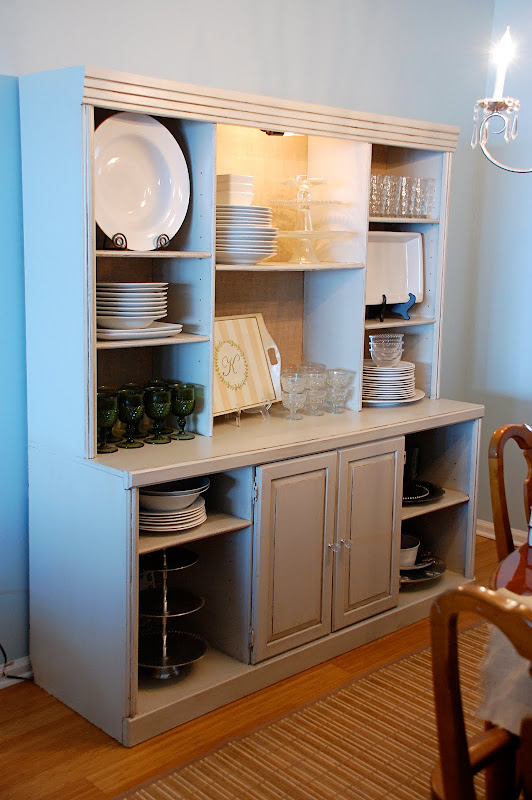 the piece was just boring straight lines, and if i have a say, i personally prefer lots of details and curves to my furniture. so we decided to add some…
 the piece was just boring straight lines, and if i have a say, i personally prefer lots of details and curves to my furniture. so we decided to add some…
using a handy hand saw and miter block:
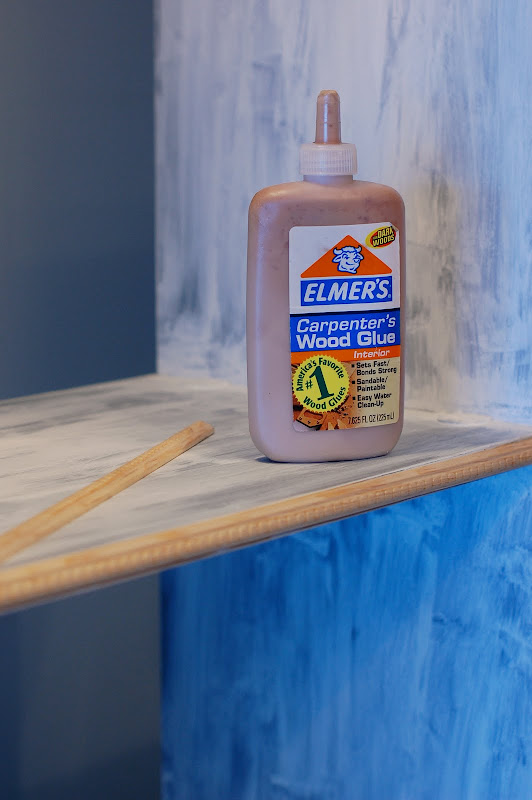
 i cut pieces of thin decorative trim that i bought at Home Depot, glued those bad boys to the edges of my piece, and then tacked them in with small nails: ( i only did this after priming because i didn’t think of adding the trim until after i had already primed. i would attach the pieces before priming and prime them all together at the same time if you attempt)
 we then applied 2 coats of paint, (Martha Stewart’s Bedford Grey, lightened by 50%…the same as the piece in the tutorial) and then applied the glaze (the same way it was done in the tutorial):
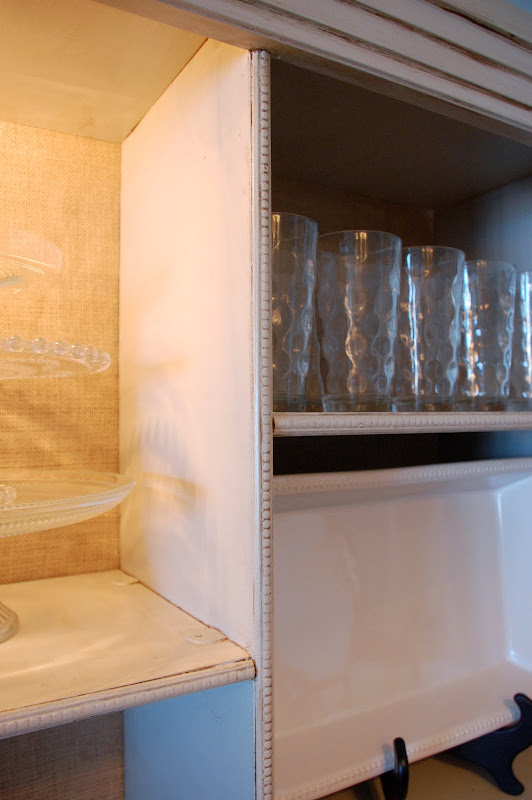
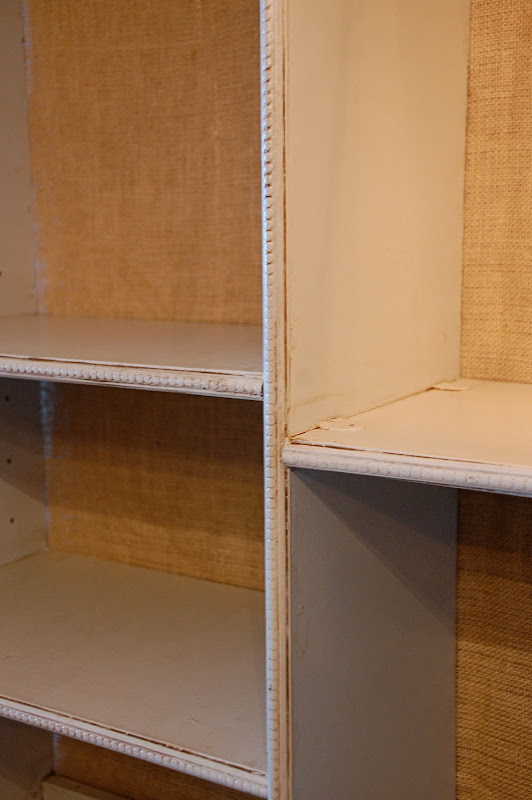 i then stapled burlap to the back, to give it a more tailored, finished look:
 the decorative trim adds just the right amount of detail, and helps the walnut glaze to really pop…a nice way to personalize and update this piece for a very small amount of $$$:
 i’m pretty happy with the results!
 a piece that once seemed out of place and weighty now serves to really brighten up the space:
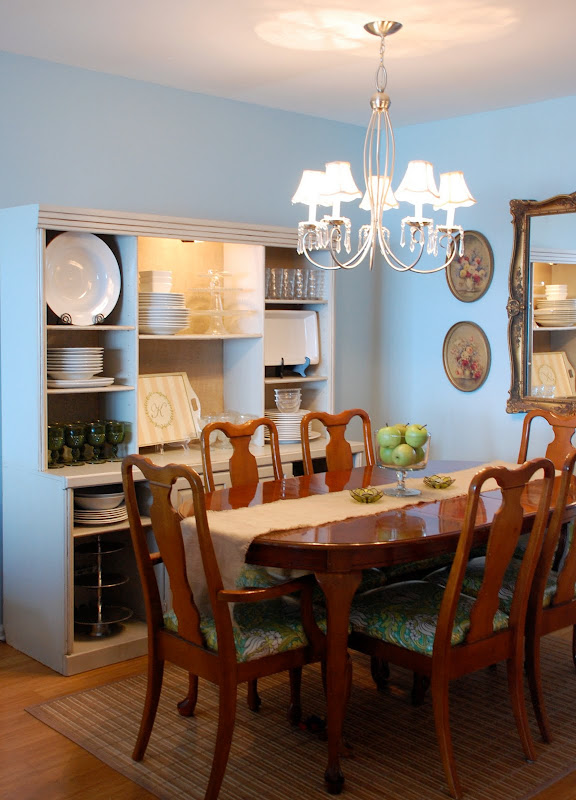 (now if only i could figure out something great to do with that table and chairs!! i’m still secretly holding out that the hubs will build me a farmhouse table and bench…a girl can dream, can’t she??)
 i cut pieces of thin decorative trim that i bought at Home Depot, glued those bad boys to the edges of my piece, and then tacked them in with small nails: ( i only did this after priming because i didn’t think of adding the trim until after i had already primed. i would attach the pieces before priming and prime them all together at the same time if you attempt)
 we then applied 2 coats of paint, (Martha Stewart’s Bedford Grey, lightened by 50%…the same as the piece in the tutorial) and then applied the glaze (the same way it was done in the tutorial):
 i then stapled burlap to the back, to give it a more tailored, finished look:
 the decorative trim adds just the right amount of detail, and helps the walnut glaze to really pop…a nice way to personalize and update this piece for a very small amount of $$$:
 i’m pretty happy with the results!
 a piece that once seemed out of place and weighty now serves to really brighten up the space:
 (now if only i could figure out something great to do with that table and chairs!! i’m still secretly holding out that the hubs will build me a farmhouse table and bench…a girl can dream, can’t she??)
and since we’re talking house projects, we added some shelves behind our couch too:
 i had been inspired by this photo from Pottery Barn that i saw on none other than Pinterest:
 i had been inspired by this photo from Pottery Barn that i saw on none other than Pinterest:
 being the lover of photography that i am, i wanted a way to display more pictures. i started searching for shelving options, and IKEA’s Lack shelves seemed to be a great option…simple, straight, enough room to display lots of things…and all things IKEA are usually affordable.
however, because i’m used to IKEA being right in line with my budget, i was more than disappointed to find that these shelves were significantly out of my budget. not that they are expensive…they just were more than what i was thinking they might be.
so i decided i would make them. yes…i was gonna make them.
but…i think God might’ve known ahead of time that that could’ve ended in disaster, mixed with a big mess and lots of tears…
so he sent me some off Craigslist instead! my sister in law happened to find the exact IKEA Lack shelves for me from a local seller on Craigslist, for less than half the price. i snagged them up right away:
 i only had to purchase one frame…an 11×14, and i got it for $5.60 at Joann’s during a 65% off after Thanksgiving sale. the rest i had and a few i just spray painted black to match. i loaded them up with pictures (you’ll see more details on those pictures before too long), and love the way it all turned out!!
 now if only i could replace those couches…they’ve had a lot of love over the years…can you tell??!!
 Follow
