Ruffled Crib Bumper
if you know me at all, or have been around the blog for a while, then you know i have a thing for ruffles…ruffles…more ruffles.
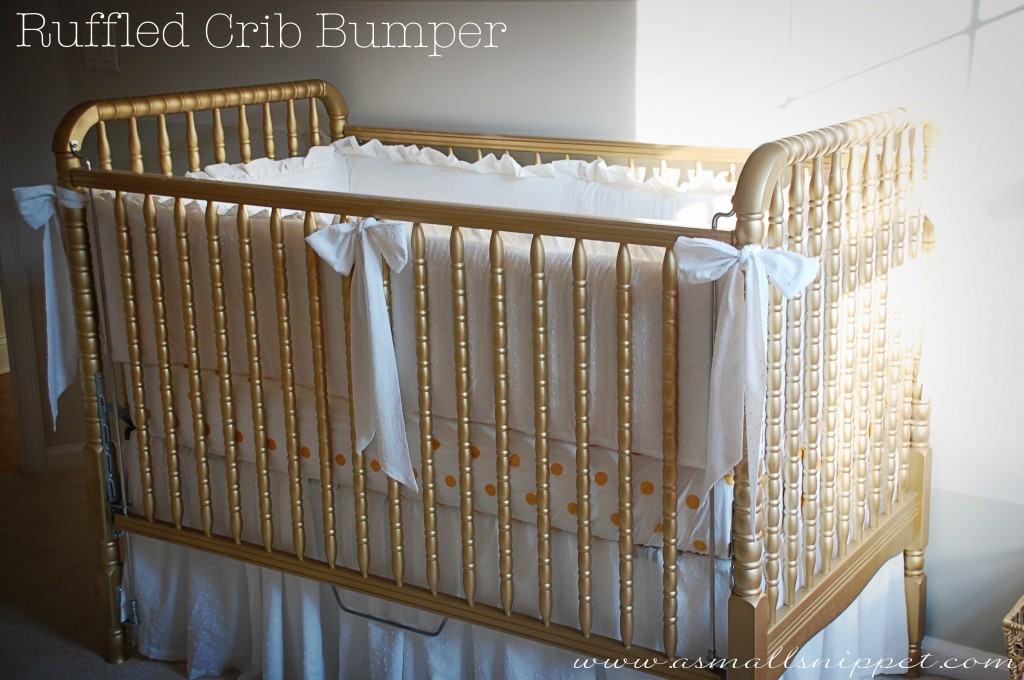
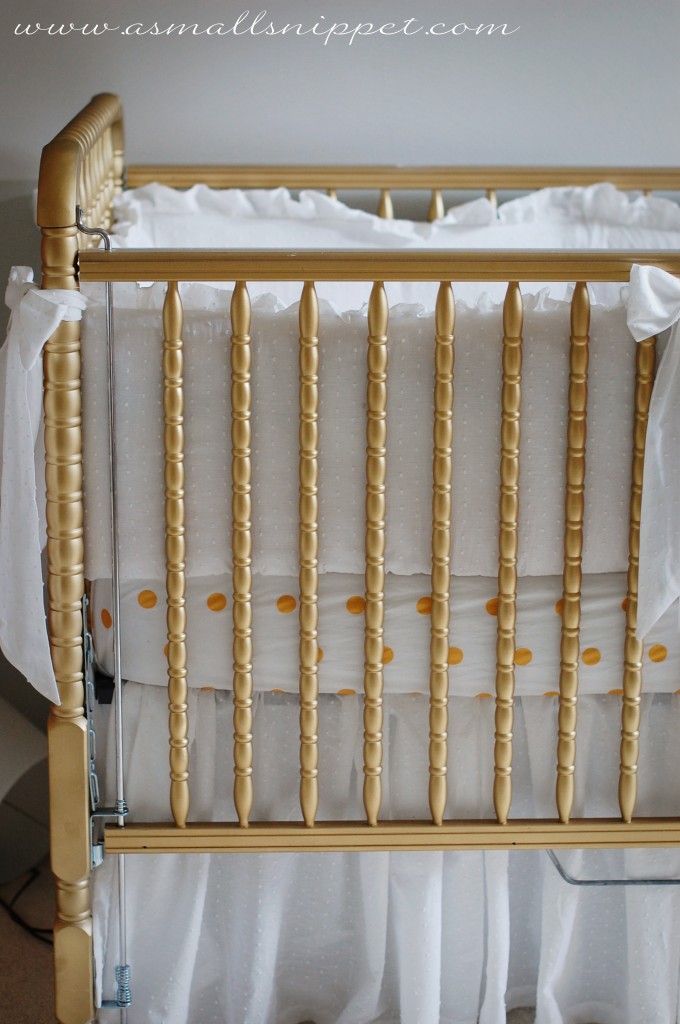
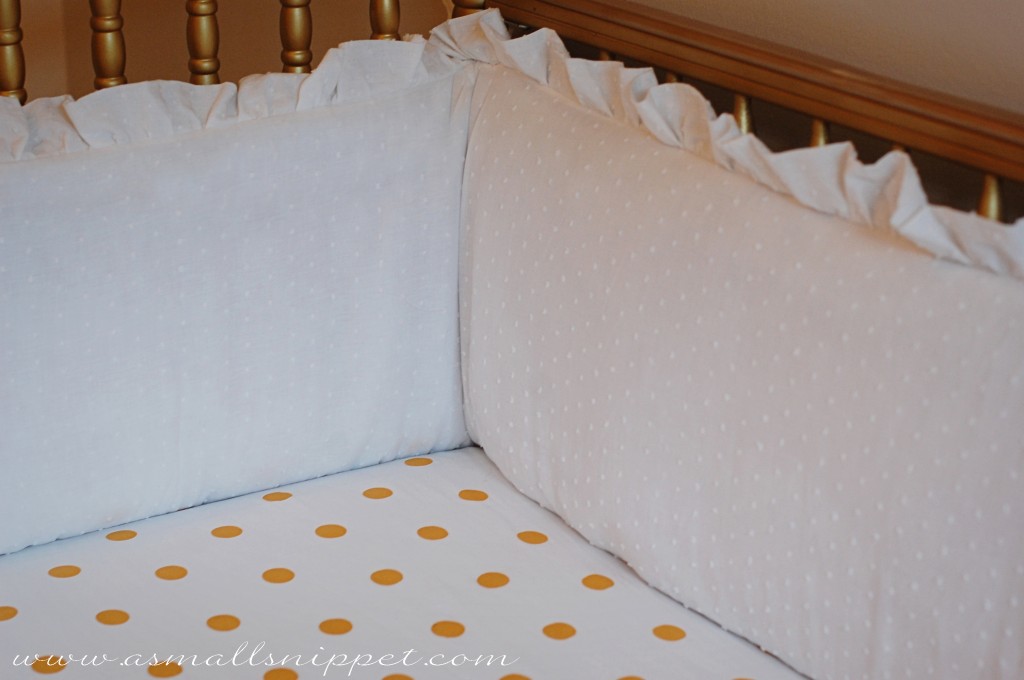
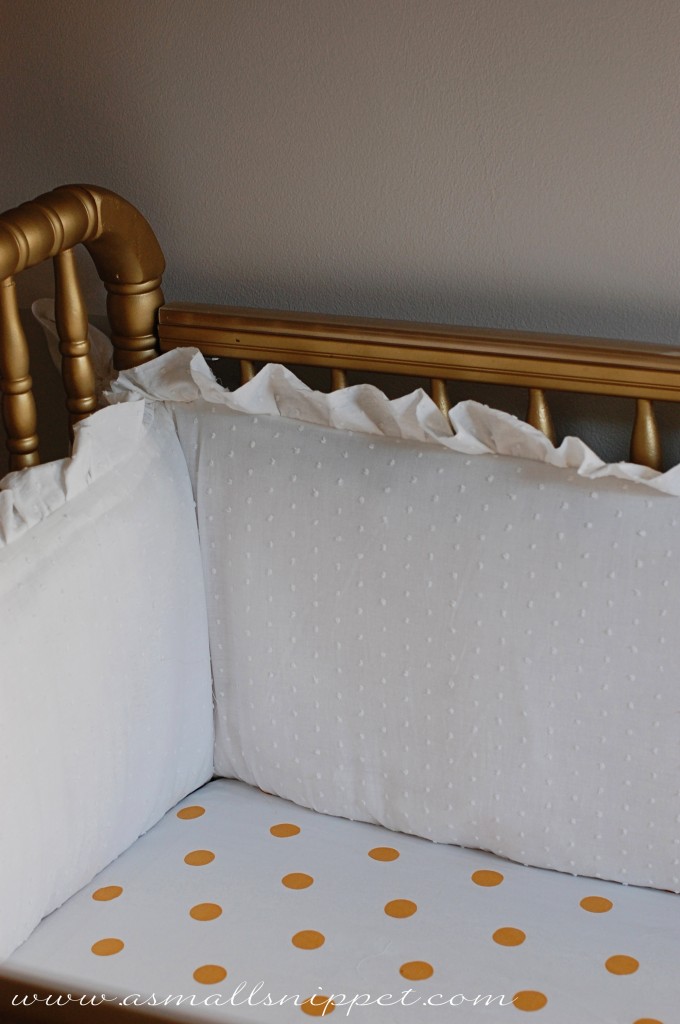
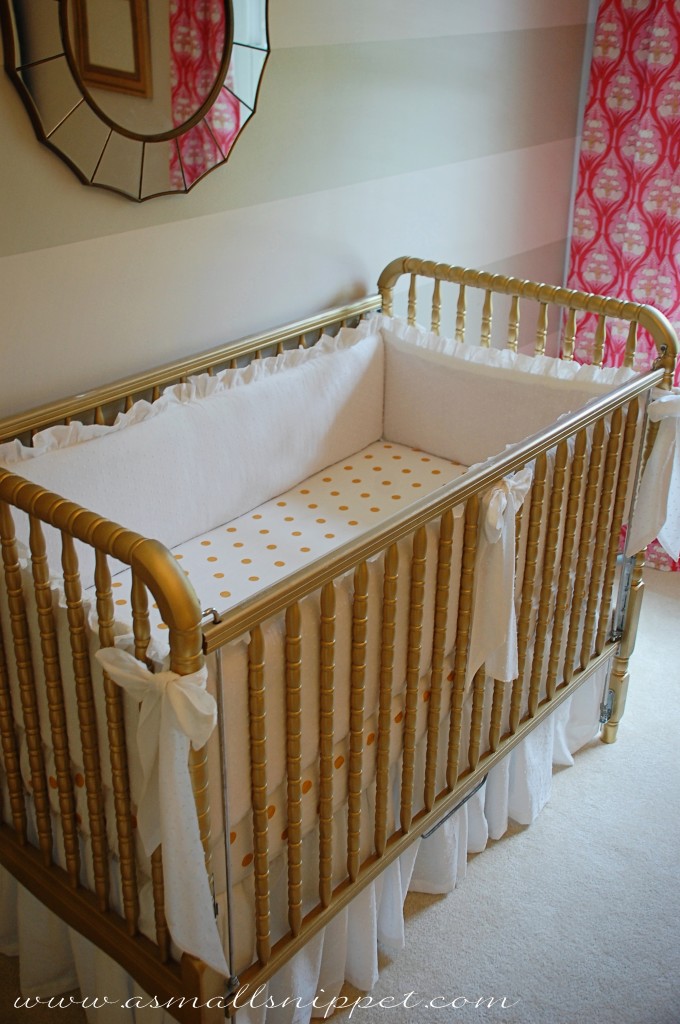
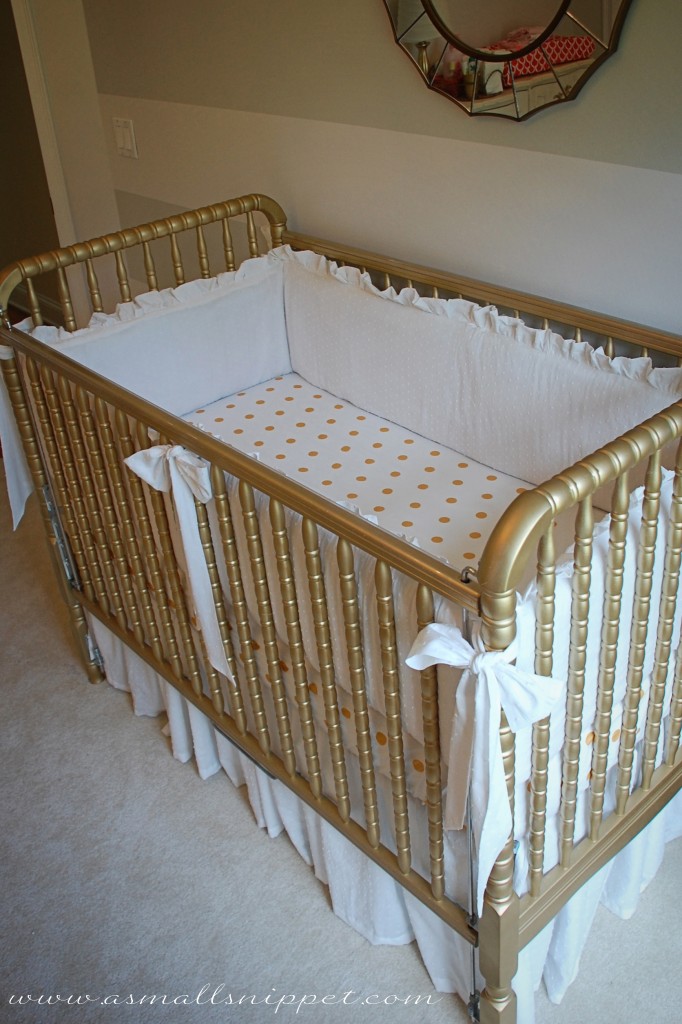
so when planning the bedding for this nursery, i knew i wanted it to be simple and white, but i knew that i wanted to add details like ruffles and big bows. so i came up with this design, and thought some of you might want to see the tutorial to make your own.
what you’ll need:
(my finished bumper was 12 inches high, with a 2 inch ruffle)
– Fabric of your choice: (pre-wash it after purchasing it)
i bought 12 yards of 54 inch fabric to make both the crib bumper with a ruffle and large bows, as well as a ruffled crib skirt. i had only about 1 yard to spare after i was finished with both projects.
the fabric i used was this white swiss dotted cotton, and i bought it online from Hancock Fabrics. even though it says to hand wash, i pre-washed it in the washing machine, and then hung it to dry.
– coordinating thread
– an existing bumper in the size and shape you like
– and/or enough batting to achieve the size and shape you like
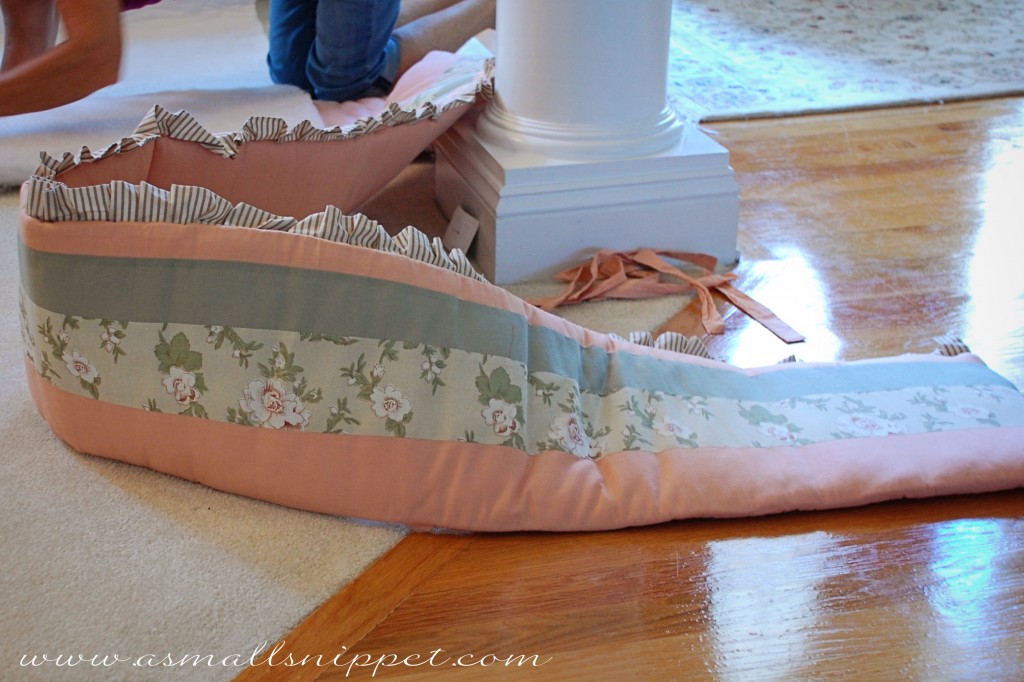
i found this bumper at GoodWill for a few bucks, and it was about the size i wanted, so i bought it and recovered it, saving a lot of time and money. if you can recover an existing bumper, it makes this project a lot easier.
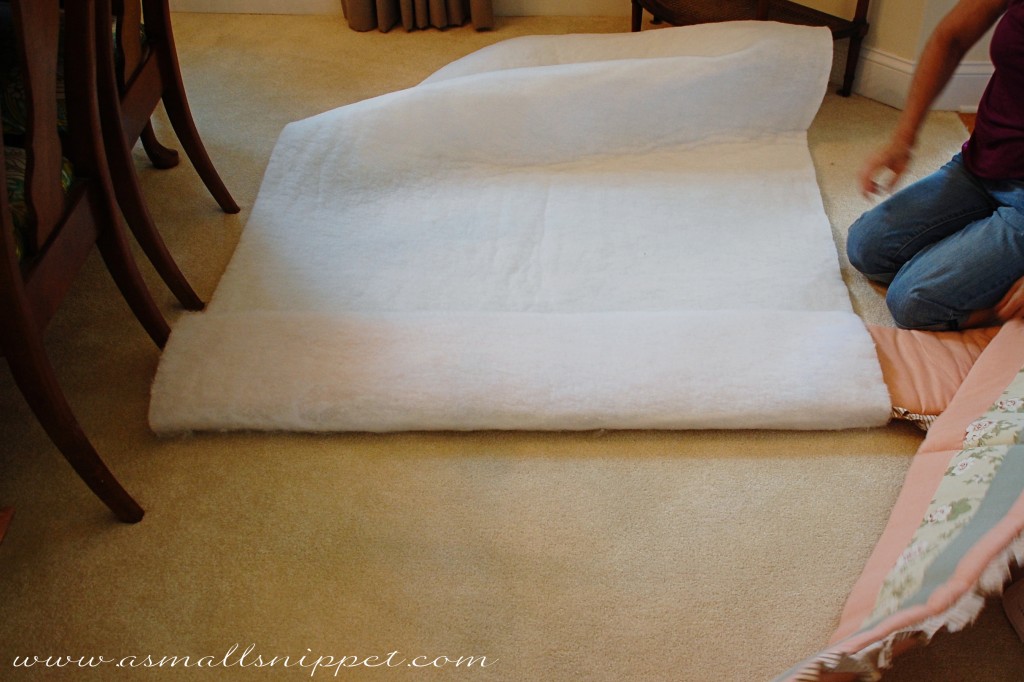
i wanted the bumper to be a bit fuller, and i also needed to cover over the pattern so it wouldn’t show through since i was using the thin white swiss dotted fabric, so i bought batting to cover the bumper. i bought it off a roll by the yard at Joann’s, and it was about 1 inch thick. the amount you need will depend on the size of your bumper and how wide the batting is.
Wrap your batting around the bumper, and cut strips. piece it all together until the entire bumper is covered. i tightly hot glued the raw edges of the batting together on the underside of the bumper once wrapped to keep it all enclosed.
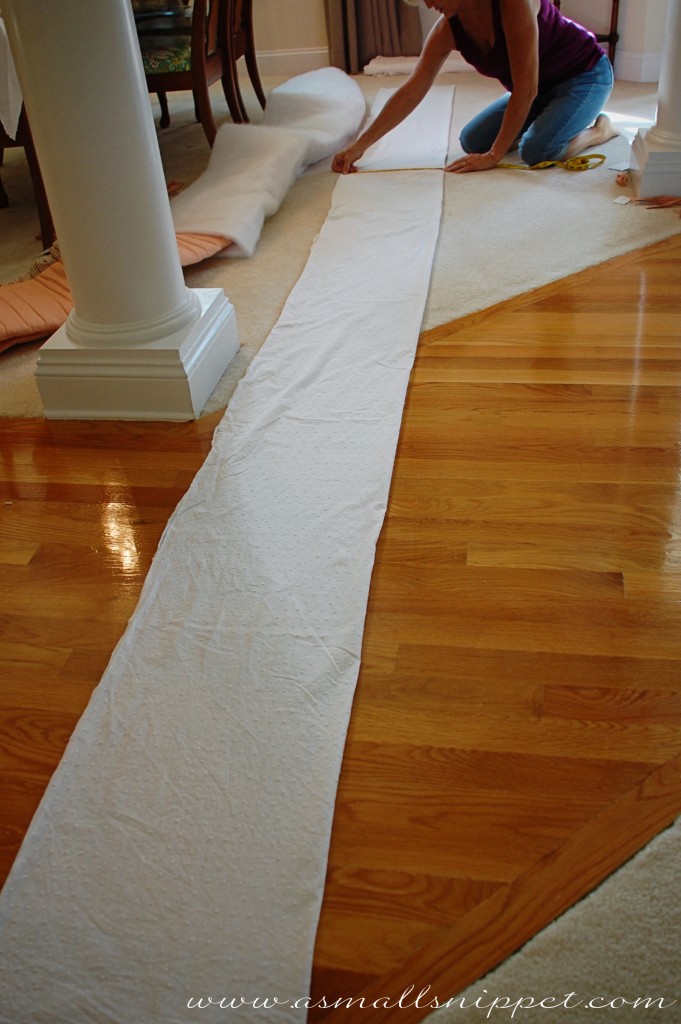
you want to cut your fabric to cover the bumper. i cut the fabric into one long strip the same length as my bumper (plus seam allowances on the ends) because i didn’t want seams within the bumper itself. since my bumper was about 4.5 yards long and i wanted it to be 12 inches high (without the ruffle), i cut one continuous piece of fabric to 4.5 yards, or around 162 inches. i then cut that piece in half (from 54 inches wide to 27 inches wide) and then i cut one of those pieces in half again, leaving me with 2 final strips of fabric that were 4.5 yards long by 13.5 inches high. that 13.5 inch measurement worked well for my math, and would give me enough room for a seam allowance. (the leftover 27 x 162 inch piece can be used for the crib skirt…that tutorial is coming soon!)
at this point, i ironed my panels so they were nice and smooth.
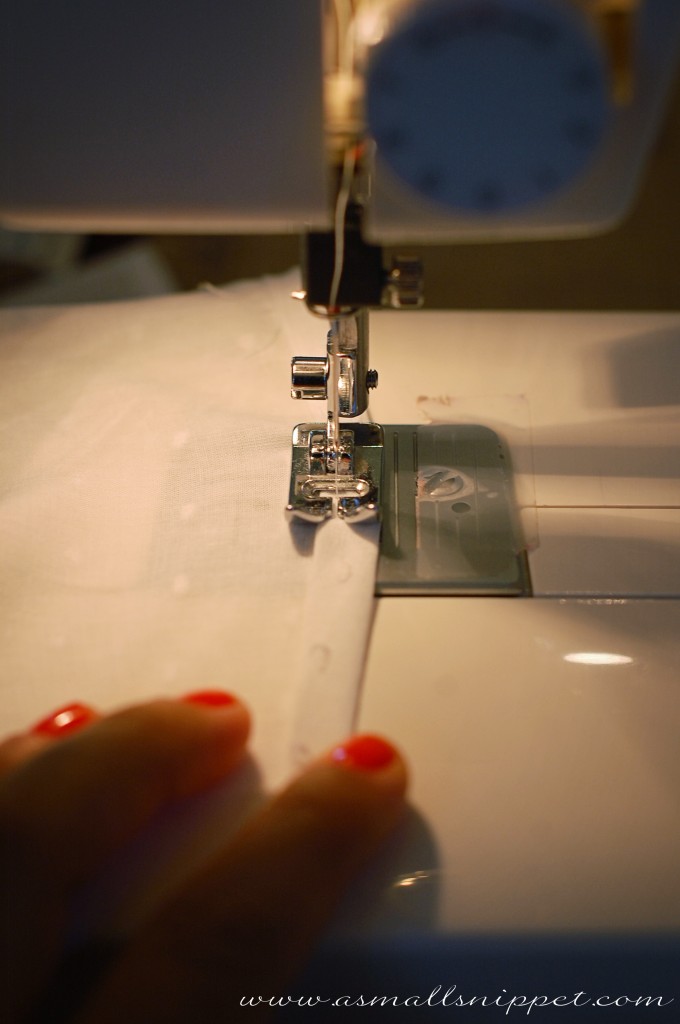
then take the 2 short ends of each 162 inch x 13.5 inch panel, and fold and iron down 1/4 inch, and then another 1/4 inch to seal in the raw edges. do this on all 4 short ends, and sew:
next, you will need to cut your fabric for your ruffle. i wanted my finished ruffle to be about 2 inches high. so i cut my finished ruffle piece to 7 inches wide/high (that would allow me to fold the piece in half, giving me plenty of room to create the ruffle, and still have room to attach the ruffle to the bumper…you’ll see what i mean in a minute) and 11.25 yards long, because in order to ruffle, it needed to be 2.5 times the length of the bumper.
let me go over those measurements again so they make sense:
the bumper length is 4.5 yards, or 162 inches. 162 inches times 2.5 (so it would be a nice, full ruffle) is 405 inches, or 11.25 yards. that is the final length i would need for my ruffle to be full. to achieve that length and best utilize my fabric, i cut 6 (2yd) pieces. (so i ended up with a little more than 11.25 yards, but it doesn’t need to be exact since its going to be ruffled, and those measurements made it easier to figure out and cut.)
i decided to cut it to 7 inches high because i envisioning a 2 inch high ruffle, but wanted to be sure to give myself some room in case i wanted to adjust that. i was going to be folding the piece in half before ruffling, to 3.5 inches, and then i needed space to run a few lines of elastic thread, and then i needed to make sure i had a seam allowance to attach to the bumper later on. 7 inches was more than i needed (you could cut it to 5-6 inches for a 2 inch ruffle) but i wanted to be sure i gave myself enough room to adjust the ruffle size if needed.
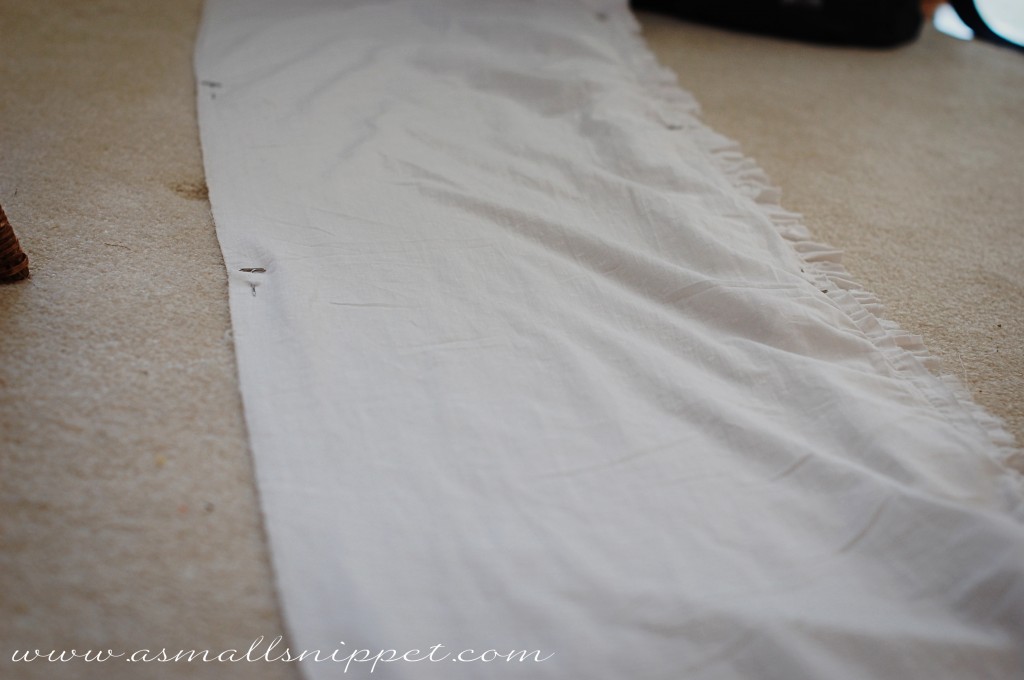
so really my final ruffle piece, once sewn all together, was 12 yards long, by 7 inches high:
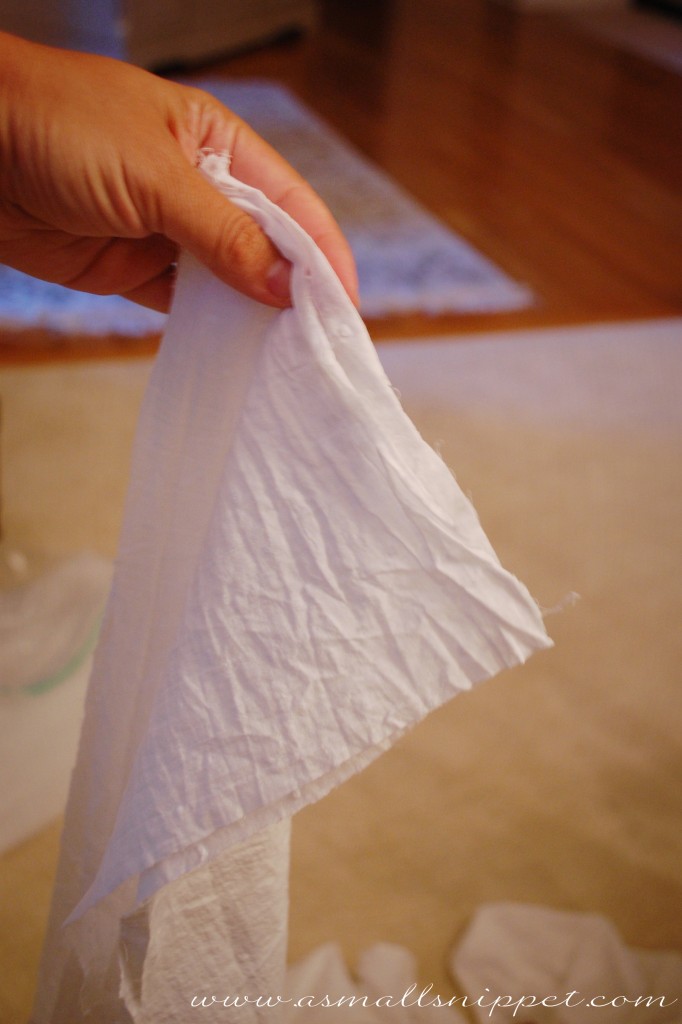
i took all 6 of my ruffle pieces, and placed the short ends right side together:
and sewed them all to end up with one long ruffle piece that was 12 yards long:
you then want to take the 2 short ends of your ruffle piece, and fold them down 1/4 inch, and then another 1/4 inch, and sew to enclose the raw edge and give you a nice, finished edge.
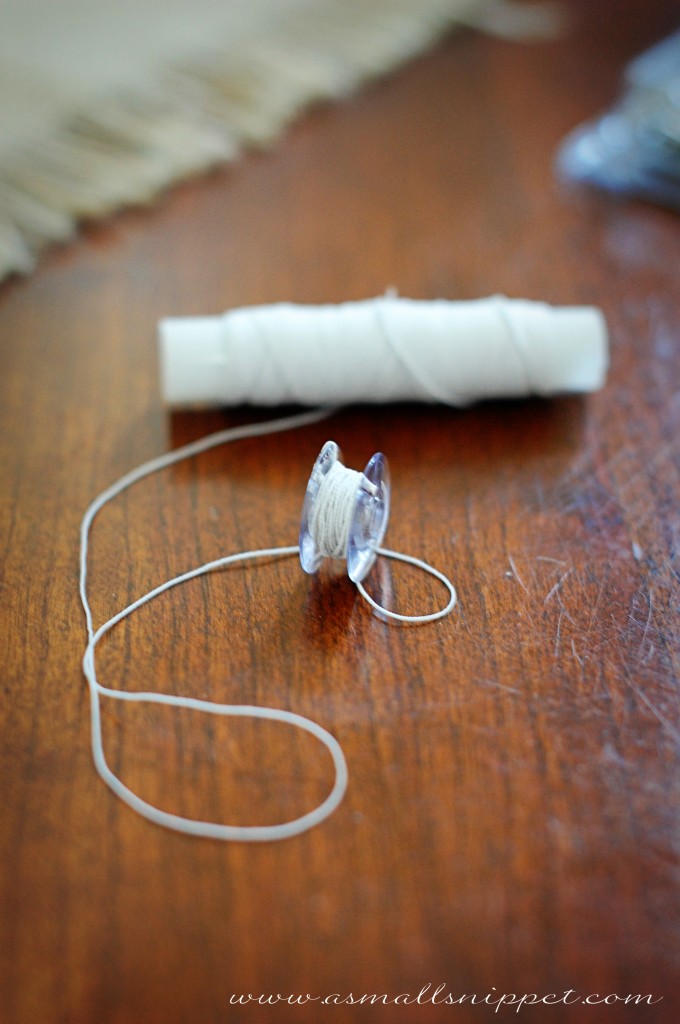
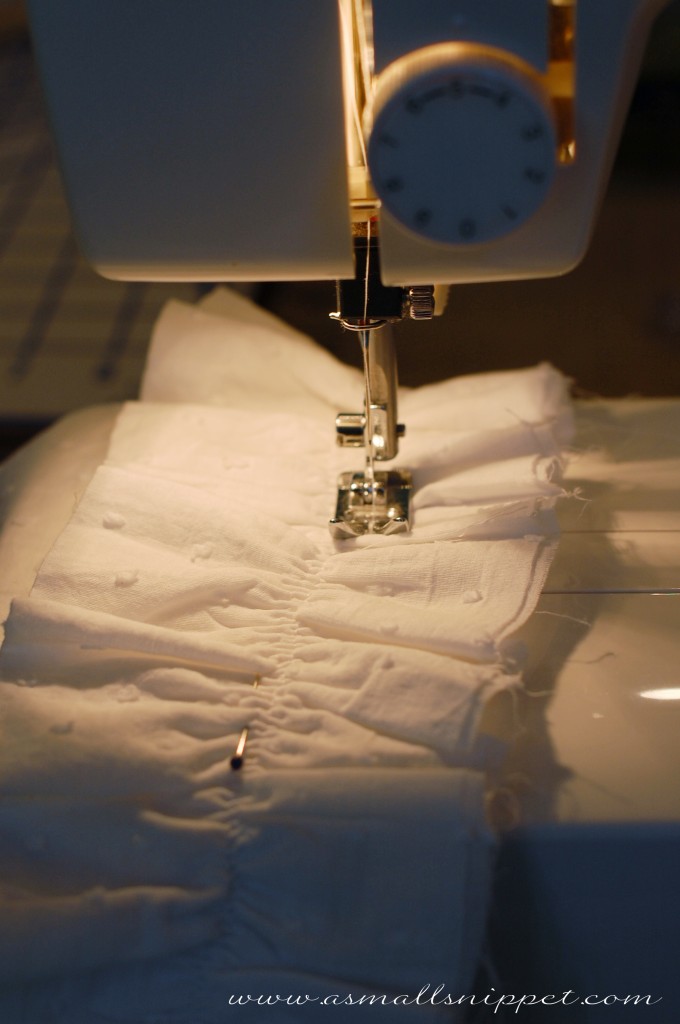
next, to create your ruffle, you will want to use elastic thread. (you can read more specifics about working with elastic thread here.) for my machine, i had to wind my elastic thread by hand onto my bobbin. you want to use the elastic thread in your bobbin, and regular thread up top. (make sure you use actual elastic thread, like this one here: Elastic Sewing Thread).
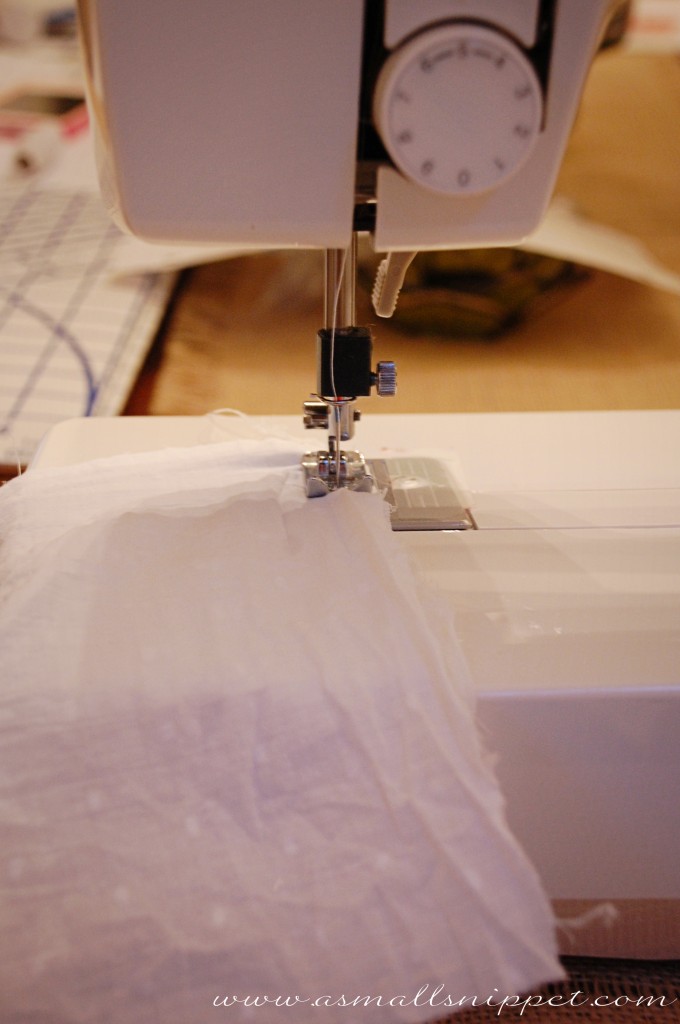
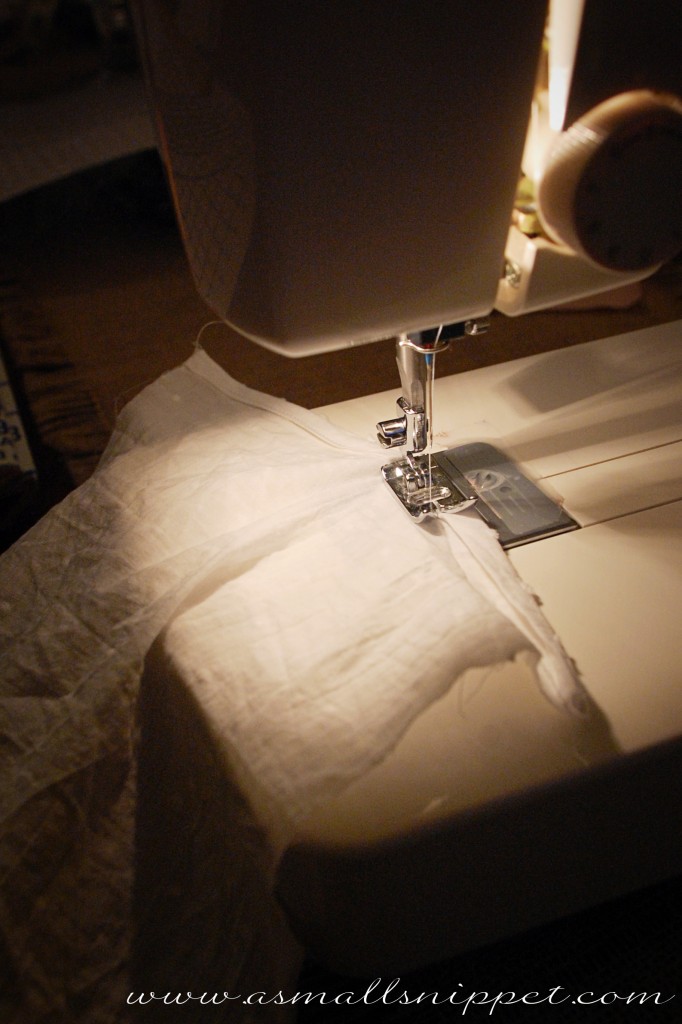
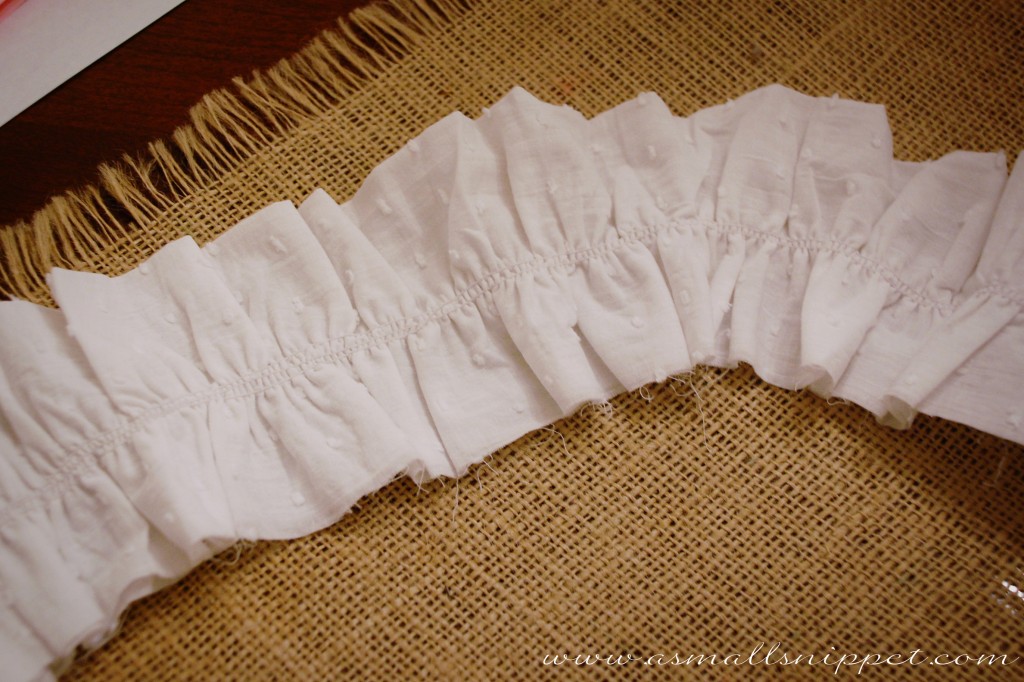
you want to fold your long ruffle piece in half, wrong sides together, so right sides facing out. then you want to run a few lines of elastic thread (set at your longest stitch length) underneath where your seam allowance is to attach to the bumper. so figure out the final length of your ruffle, and sew your elastic lines below that measurement, below your seam allowance. (you want to run your elastic lines just below where you will be attaching the ruffle to the bumper so that they are hidden once attached.)
so i decided that my final ruffle would be about 2 inches high, so i ran my elastic thread around 2.75 inches, so that when i sewed it to the bumper with a .5 seam, my elastic would be hidden. (you can see that i had alot of leftover fabric on the bottom of my ruffle that i later cut off. if you cut your piece between 5-6 inches for a 2 inch ruffle, you will not have that much left over. i could’ve done that, but when cutting i just wasn’t sure yet of my final ruffle height.)
when i later attached the ruffle to the bumper, i sewed just above the highest elastic line.
a quick tip with getting it to ruffle:
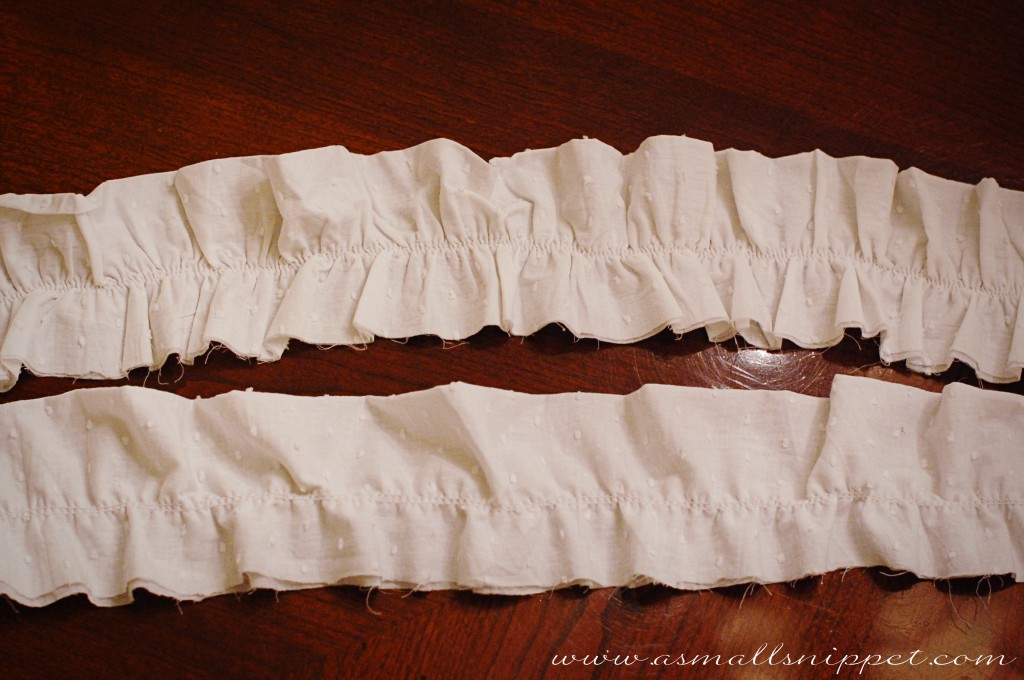
the more lines of elastic you sew, the more it will ruffle. i sewed 3 lines. but the real kicker is this: spritz lightly with some water, and using your iron on the steam setting, gently iron over your elastic thread lines. it really helps to initiate the elastic thread, and scrunch your fabric. you can see in the next picture the difference between the top strip after ironing, and the bottom strip before ironing:
i worked in sections to ruffle the strip, so i would ruffle one panel, stopping at the seam, iron it to get it scrunched the way i wanted it, and then move onto the next panel.
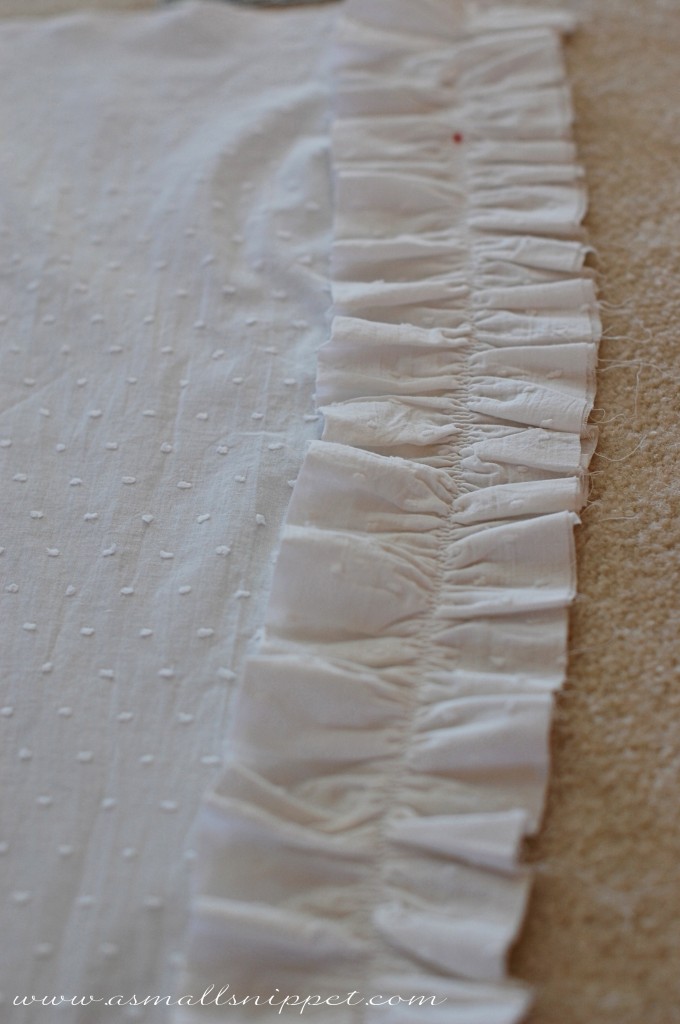
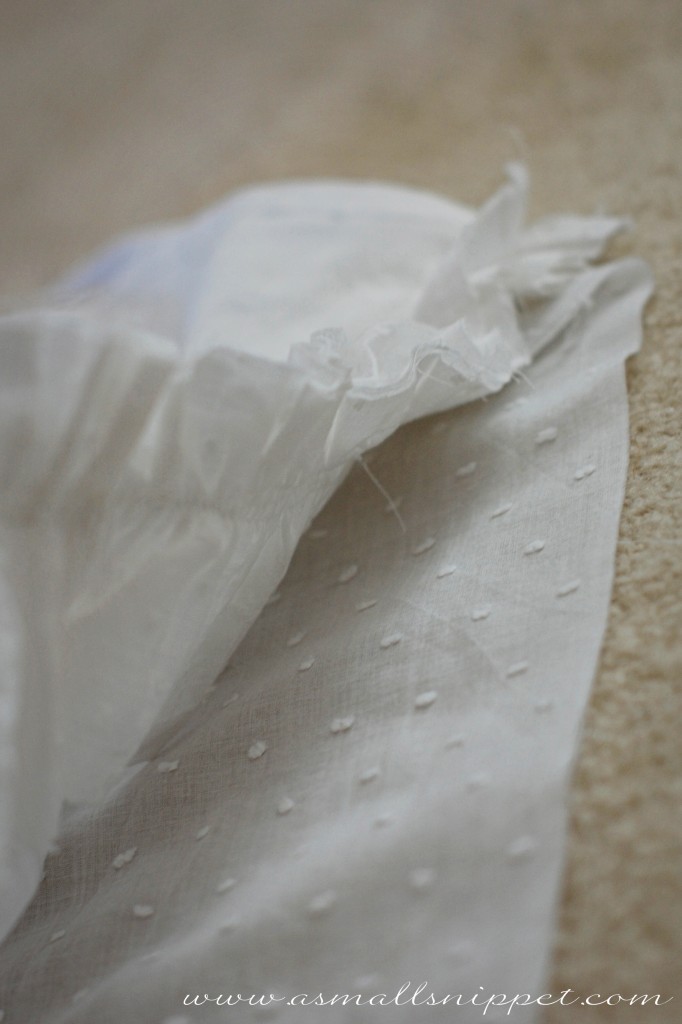
once you have the entire ruffle piece ruffled, pin it to the top of one of the bumper panels, folded ruffle side facing down the bumper panel, right sides facing. (i had alot of leftover fabric from my ruffle piece. your’s may not have that much.) you will want to line up your elastic thread lines with the raw edge of your bumper panel, so that when you sew it together using a seam allowance, the elastic thread will be hidden.
at this point, you want to baste on the ruffle to the bumper panel so that when you sew all the pieces together, it will stay in place. make sure that your basting stitch is also underneath where you will sew your final seam so that it too will be hidden:
next, you want to lay both bumper panels on top of each other, right sides together, with your ruffle in between:
pin on top and bottom. (please note again that you will most likely not have the raw edge of your ruffle sticking out the way mine is…remember that i cut mine too wide b/c i wasn’t sure what my final ruffle measurement was going to be.)
sew both long sides together, using a 1/2 inch seam allowance. once sewn together, flip right side out from your short edges. you should be left with a bumper cover with the ruffle attached to the top with 2 short ends open. then slide your bumper into the bumper cover that you just sewed by slipping it through the short ends (this was not difficult, but required 2 people…one to hold one end while the other pulled the bumper through.) it should slide in easily.
i actually did not sew the short ends closed, because the raw edges were already sealed from sewing that earlier, and i wanted to be able to slide the cover off to wash it. i can easily hide the open edges in the far corner of the crib, and you can’t see at all that its not sewn completely shut.
as for the bows:
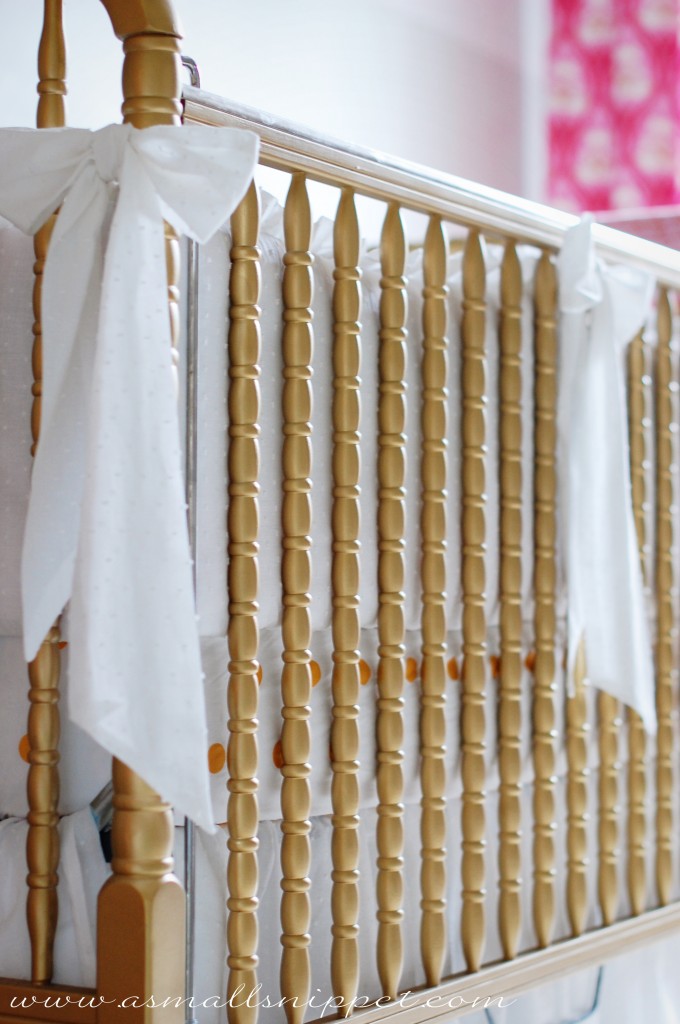
my mother in law sewed those for me while i worked on the bumper itself, so i don’t have step by step photos, but its pretty simple. i wanted 6 big bows…one for each corner, and then one in the middle of each long side.
we cut 6 pieces of fabric, 60 inches long, and 8 inches wide. she then folded each piece in half longways, right sides together, and angled the edges (make sure to angle the edges opposite each other.) she sewed the length, as well as one short end at an angle. she flipped them right side out, and angled the other end, and then sewed that closed. she was left with one long 60-ish inch strip that was about 3.5 inches wide, with 2 angled edges.
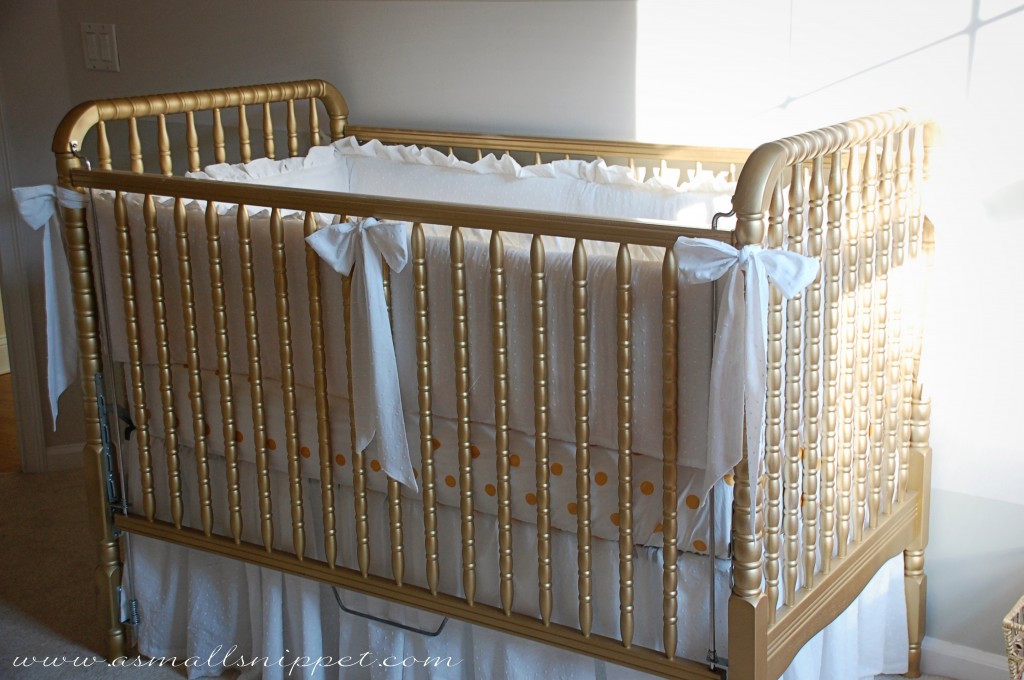
to attach to the bumper, she simply folded the strip in half to find the exact middle, and sewed the strip in the middle in place along the ruffle seam to the outside of the bumper. we then tied them in place:
and that’s it! the bumper and crib skirt together probably cost me about $80 to make, which was a far cry from other bedding i was looking at! and i was pleasantly surprised at how simple it was to make.
my next tutorial will be to show you how to create an adjustable, ruffled crib skirt, so check back in really soon, as i’m trying to get all these tutorials to you before this sweet baby arrives. and the nursery is finally completed!! so be looking very soon for a post with all the details!!
leave your questions in the comment section, and i’ll do my best to answer them. i’m hoping this tutorial makes sense, but i can’t promise that anything coming from this preggo brain is making sense anymore!! 3 more weeks!!! (although i’m hoping and praying for less!)




 Follow
