Photography 101 {Part 4: Photo Shoots & Editing}
i’m back today for the last post in the series:
 hope you’ve found some inspiration or maybe learned a few new things along the way.
today we’re talking PHOTO SHOOTS and EDITING. i’m hoping to give you some very practical tips for you to use when it comes to a purposeful photo shoot, and then some simple thoughts on editing.
so let’s start with PHOTO SHOOTS
what do i mean by photo shoots? i’m talking about those purposeful times where you are wanting to capture a certain shot, and you are taking some time to think through how to do that. for example, I take an obnoxious amount of pictures throughout the year, but each year around my kids birthdays, I make sure I spend a small amount of time to intentionally take photos of them by themselves in order to capture their specific age and to make sure I have consistent updates on them.
Here are some practical tips for those kinds of shoots:
specifically for kids, but could apply to anyone….
– Shoot them in a setting they love
capture them doing things they love. A lot of times, I shoot my kids at the beach, because they love the beach (and its super convenient  ). Go to your favorite park or playground. Let your subjects just interact and play around naturally and see what you can capture.
You don’t have to spend a ton of time trying to find the perfect location for your photo shoots. sometimes, you don’t even need to go anywhere. using your house might be the very best spot!
Open the blinds and pile your kiddos on the bed or on a chair. line them up on a hardwood floor. just make sure you have a neutral background. in other words, clear away the clutter. Often times when I’m shooting something inside, i just scoot everything out of the way of my shot. so if you looked directly outside the frame of my shot, there is most likely a pile of junk that i just moved so it’s not in the frame.
and just for fun, because this totally captures what i talked about in Part 3, as well as what i’m trying to communicate now…a friend of mine told me about this commercial by Canon, and even though i’m personally a Nikon girl, i can’t watch this without smiling. this is SOOOO me!!! take the 60 seconds to watch…its worth it 
another thought when thinking about photo shoots is to:
-Find the best light in your house:
Lighting is best when light is streaming into your home, but there are no harsh shadows across your floor. Use it! Find those places in your home where you get great light, and use them. I am aware of the 2-3 best places in my house for the most natural light, and when taking photos indoors, i always use those locations.
for example, sometimes there are mornings where i want to snap a quick photo before leaving for school. i have about 10 seconds to get the shot, so i don’t have time to really set it up. Instead of just shooting it at our front door where we don’t have natural light, I can move the subject to one of those places in my house that i have already scouted where i know that i get great natural light, and take the shot there.
Figure out those places in your house, and utilize them. that way, you don’t have to use a flash. and since you are already familiar with those places, because you’ve already thought through how to utilize them, composition and setting your camera should be a no-brainer.
another thought with photo shoots is to:
– Interact naturally
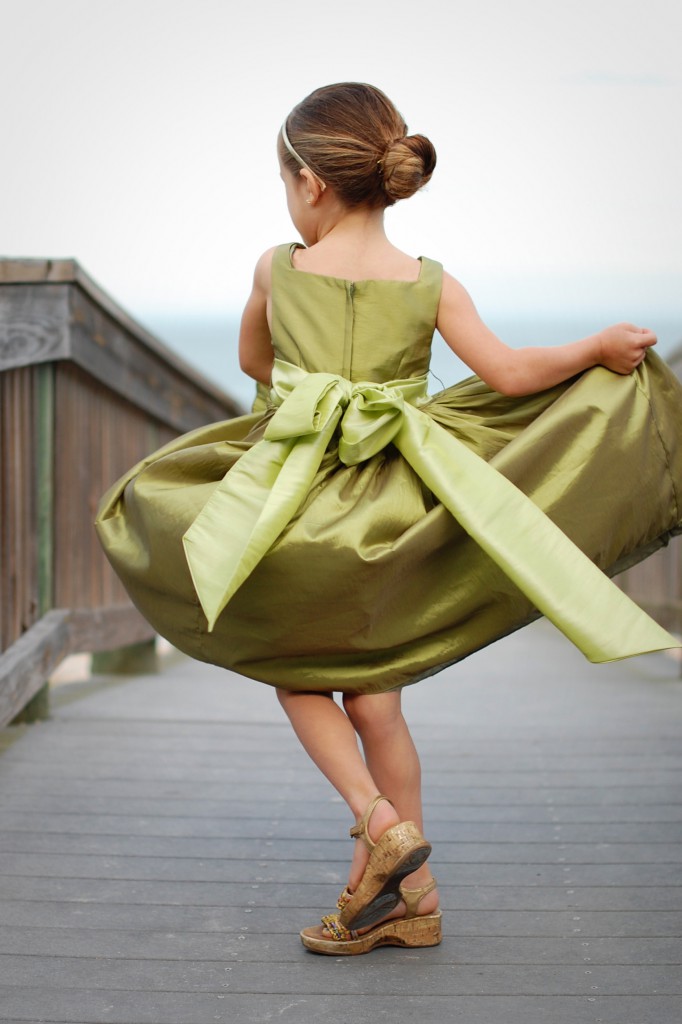
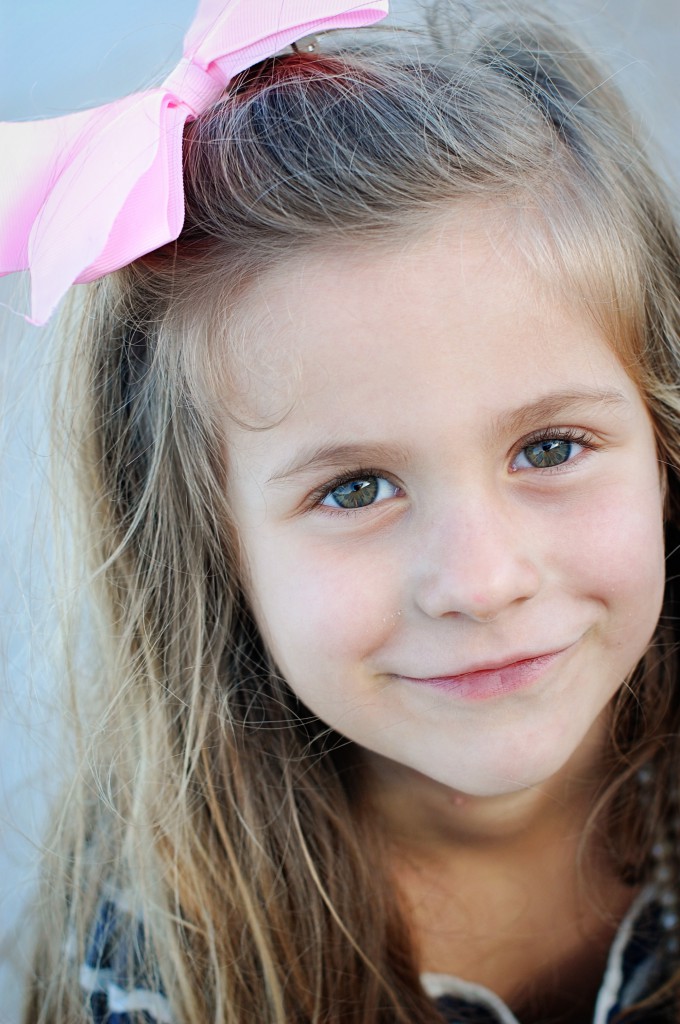
When I’m doing a shoot, I typically ask people to sit or stand or interact however feels comfortable to them. As opposed to unnaturally posing them. Sometimes you might need to adjust, but do what’s natural. When it comes to my kids, letting them twirl or run around and play will yield a more natural photo than just sitting them in one position and asking them to smile. Sometimes thats okay too, but you are more likely to get a shot you love if they are acting naturally.
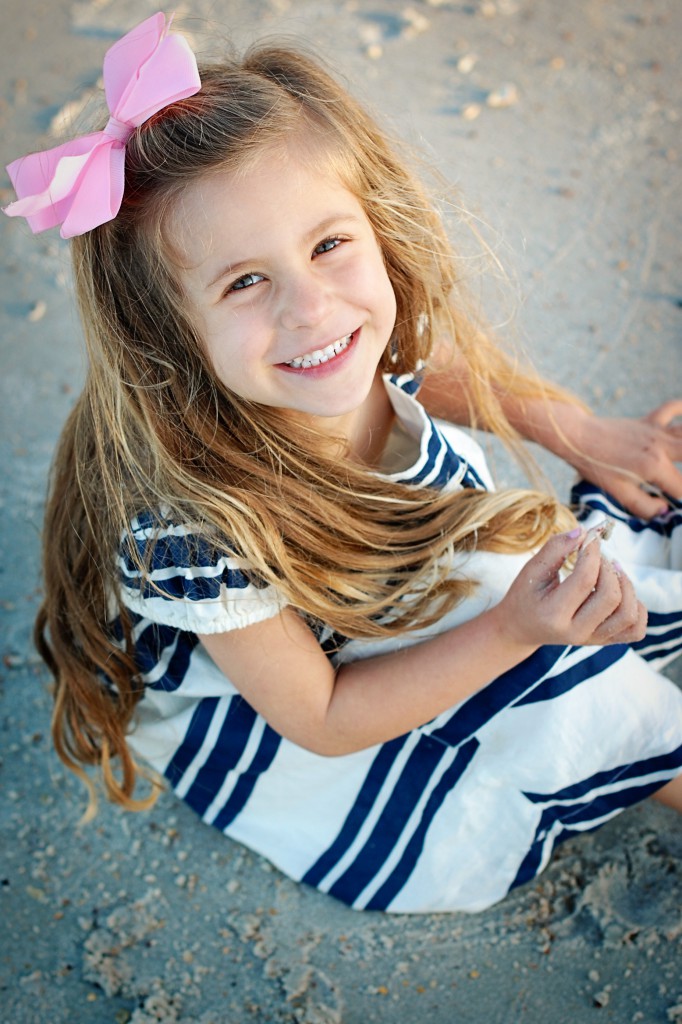
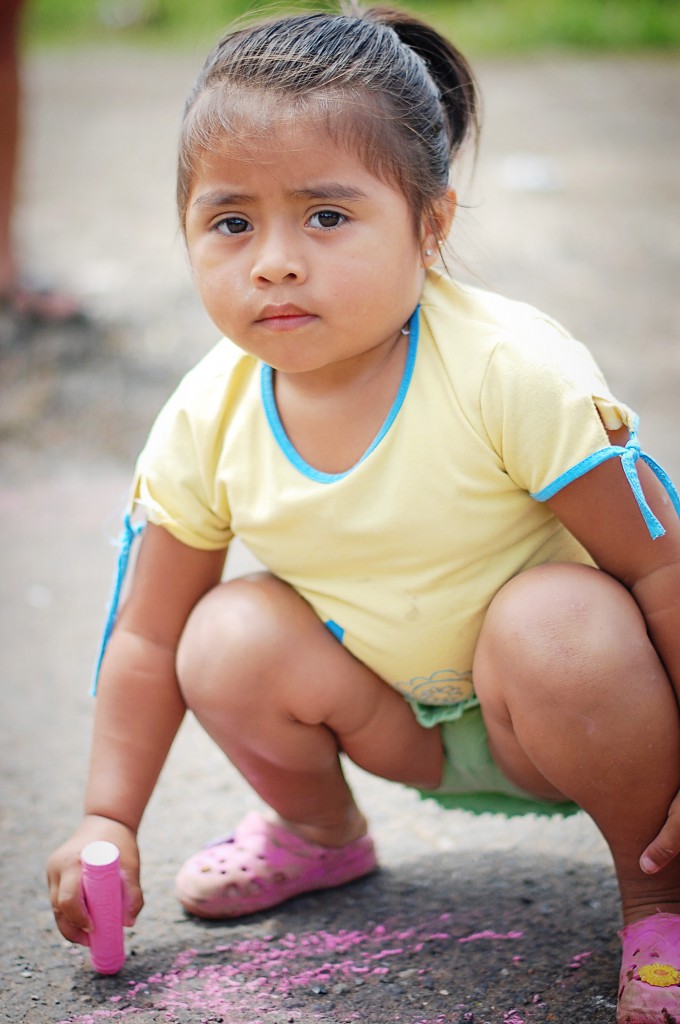
these photos turned out much better than if I had posed them.
– Use Props
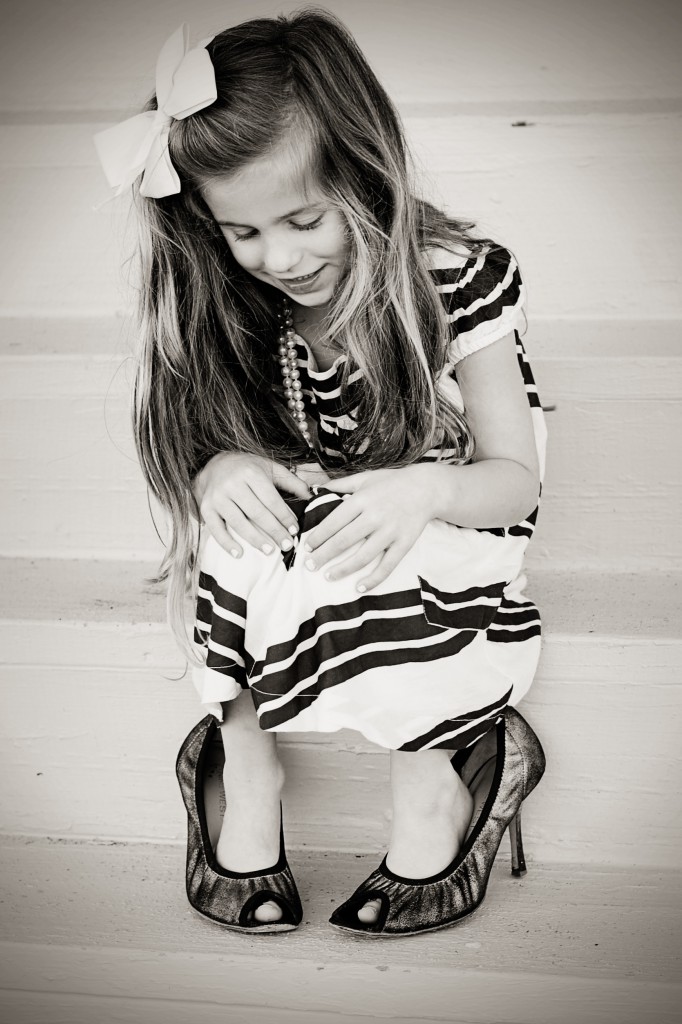
Use props that you have lying around. One of my favorite pictures of Bella is of her wearing my high heels and a string of pearls. I just had those lying around, and grabbed them as we were headed out the door for her birthday photo shoot. she loved wearing them, and I loved the end result!
Don’t feel like you have to go to all these lengths to get creative or spend money on tons of props. Uses what you have.
Other examples of that are balloons, bubbles, toys, stuffed animals, baseball cap, chalkboard… Possibilities are endless. You don’t want to be too cheesy, but sometimes using props your kids enjoy and love will make them happier and more natural.
here’s one of my favorite tips when it comes to photo shoots:
– combat fake smiles.
Now that my kids are older, they are masters of fake smiles. to combat this, set up your shot, get everything ready, check composition, position yourself…and then use Reverse Psychology.  I’ve found that if I tell my kids to try not to smile and keep saying, “don’t you dare smile,” almost 100 % of the time, I get a natural smile. I just have to be poised to capture it.

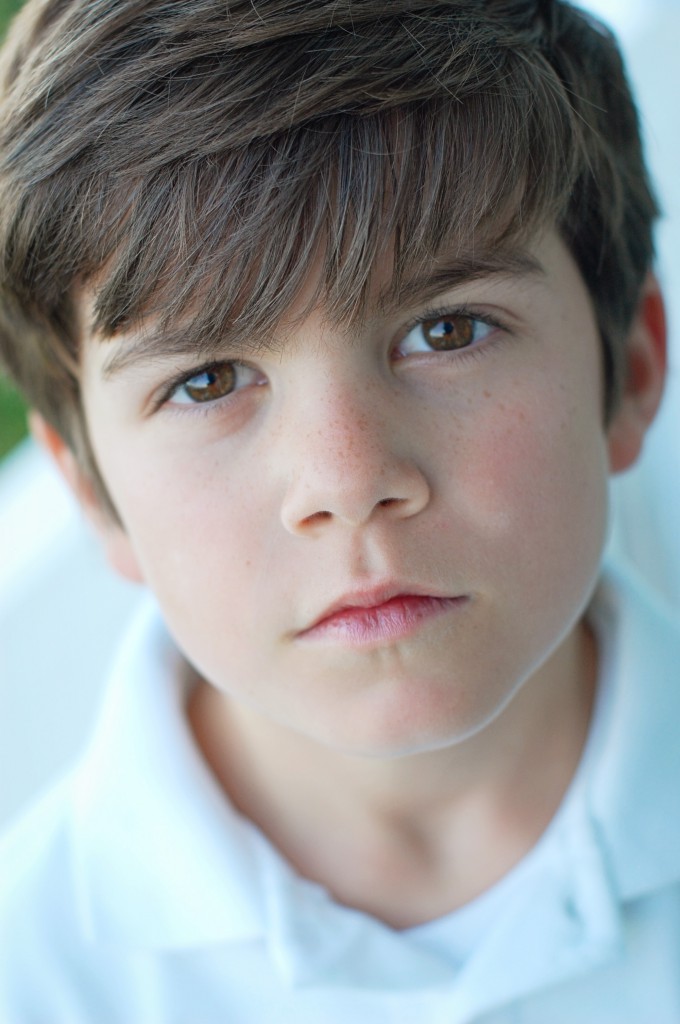
I also have found that when I ask them to laugh, even a fake laugh can yield a natural looking smile! i asked Canaan to laugh in this next picture. no one else would know its fake, because it captures his true expression.
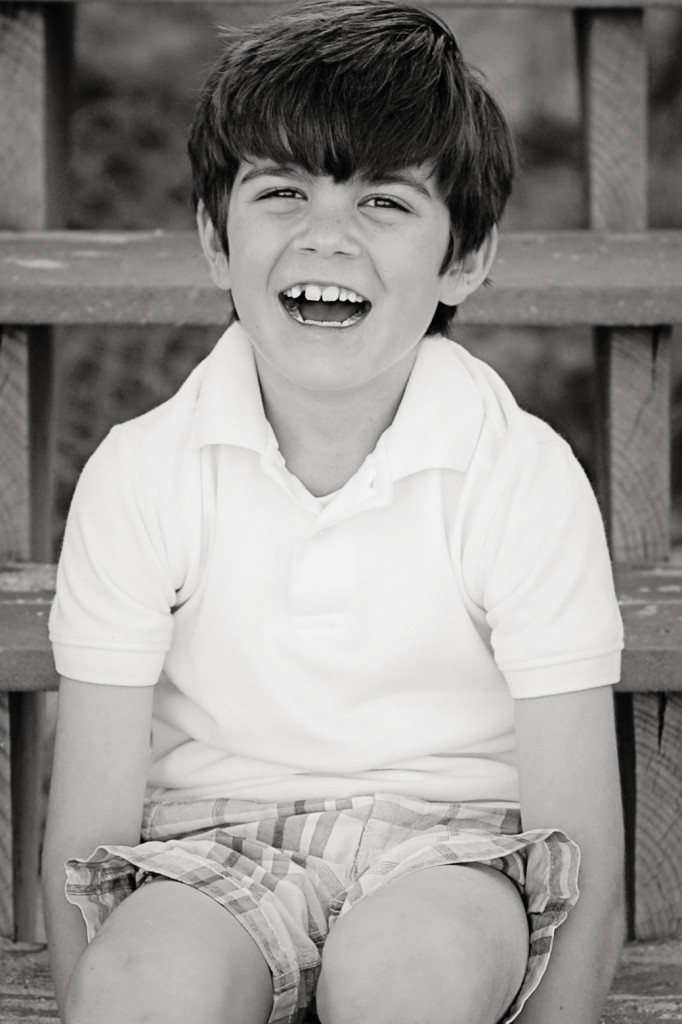
Also…some of my favorite shots are ones where my kids aren’t smiling. i love to capture their natural look.
so now let’s talk about EDITING.
I have a love-hate relationship with editing. I love it, because once I learned how to use editing software, it completely changed my photography. But I hate it, because it can be SO time consuming. but now that i know the difference it makes, i have a hard time not editing my photos.
here’s a basic rule of thumb…you want to take your picture as close as possible to how you want it to be in its final stage. therefore, most “editing” should happen before you even take the shot, thru composition, lighting, etc. you can read more about that in Part 3. basically, you want to have to edit as little as possible.
I edit with Photoshop CS. its an older version of Photoshop, but it still does what i need it to do. however, its expensive, and i don’t totally think you need it. if i hadn’t been given the full blown Photoshop as a gift, i would probably be using Photoshop Elements or Lightroom, two great editing programs you can purchase for less money but that still allow you to do plenty in terms of editing. i think they are also more user friendly!
However, there are lots of FREE editing programs on the internet that are basic, easy to use, and work great. (MAC computers also come with Iphoto which is a great place to edit photos.)
here is a list of free online editing software that i think you may enjoy!
Photoshop Express
Pixia
Picasa
Gimp
i found a great article here with descriptions of these free online editing programs.
when thinking about editing, remember that some of the most basic editing tools are the best.
-Cropping
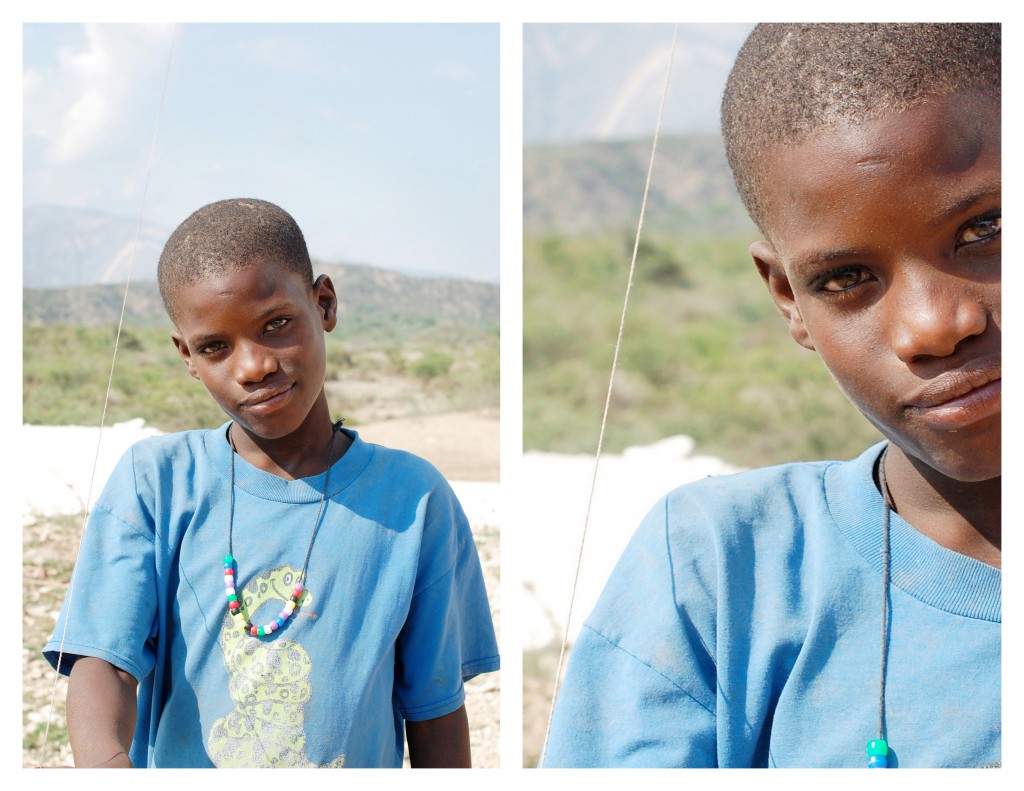
Start with cropping and straightening. Cropping a certain way can really make your photo something special.
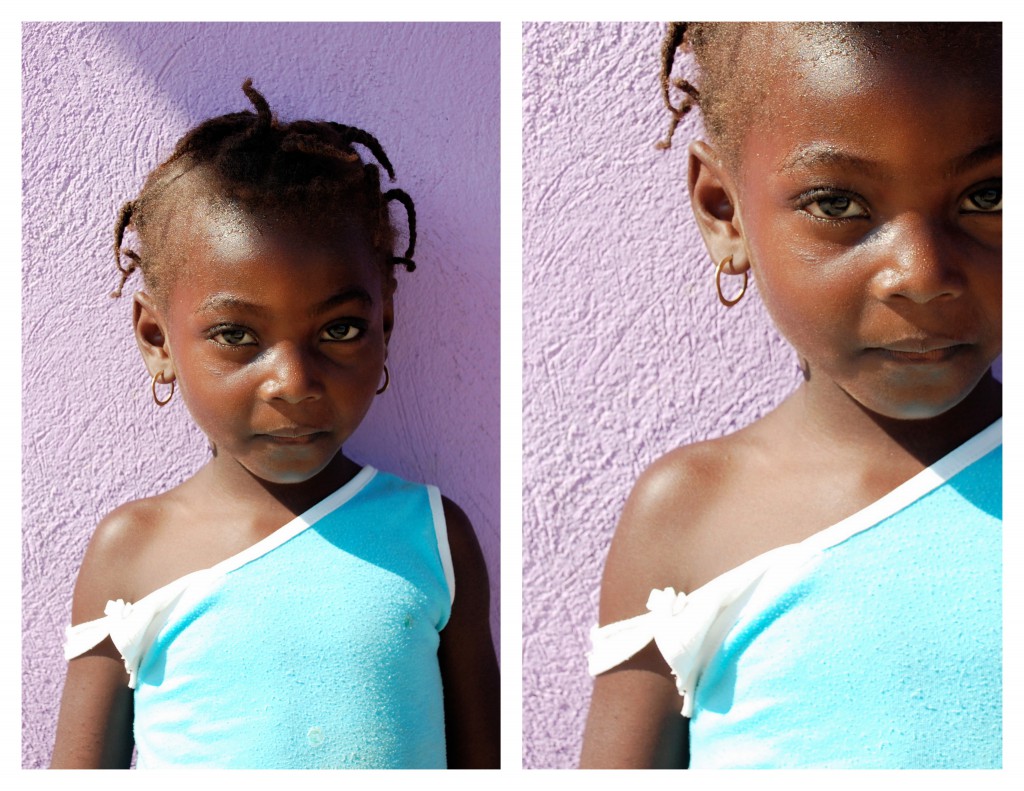
you can see what i mean in these next photos. the left photo was the original, and the right photo was after using the cropping tool to crop it in a way that completely changes the photo:
Remember with editing that:
-Less is more. so often, people fall prey to over-editing, resulting in an unnatural looking photo.
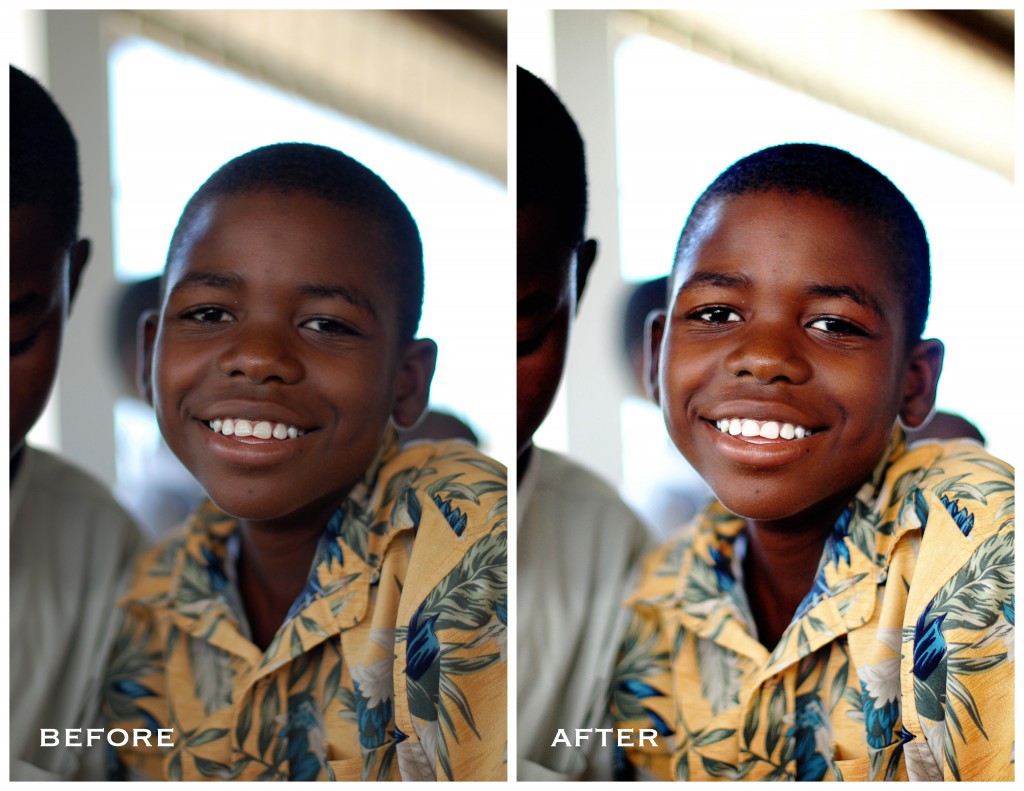
i much prefer to make the photo look as natural as possible, and usually just like to make dull photos a little more lively. so i usually just lighten, brighten, and boost. there are many different ways to do that!
Play around with editing. This is where your particular style and opinon matters. Each of us could take the same photo, and play around with it in editing software, and end up with very very different results. There aren’t really any rules to editing. Just figure out what you like, and go for it!
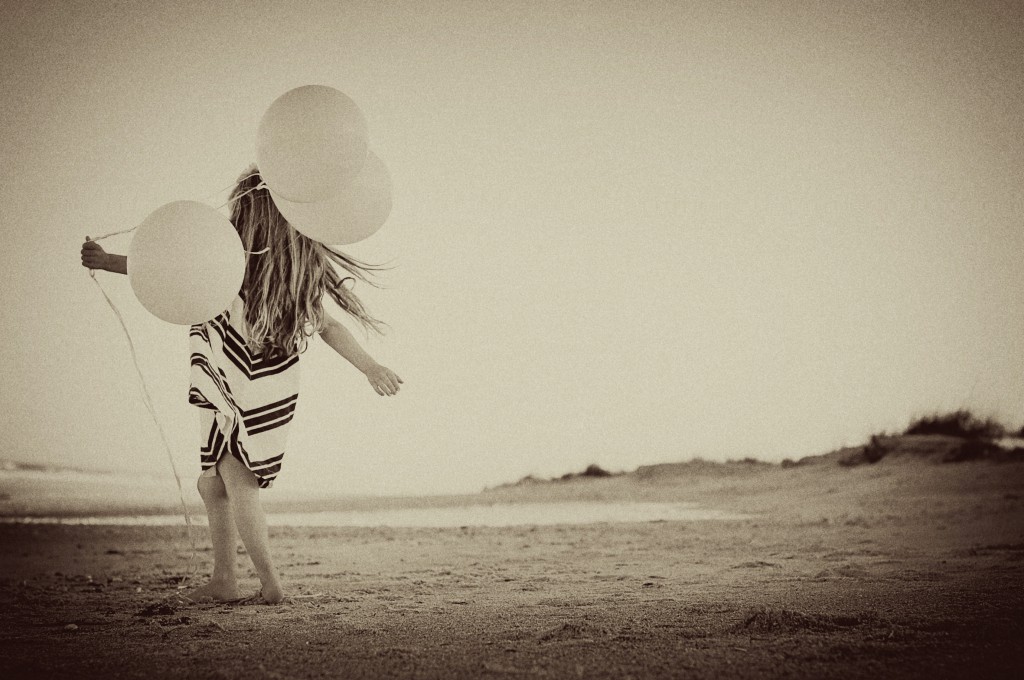
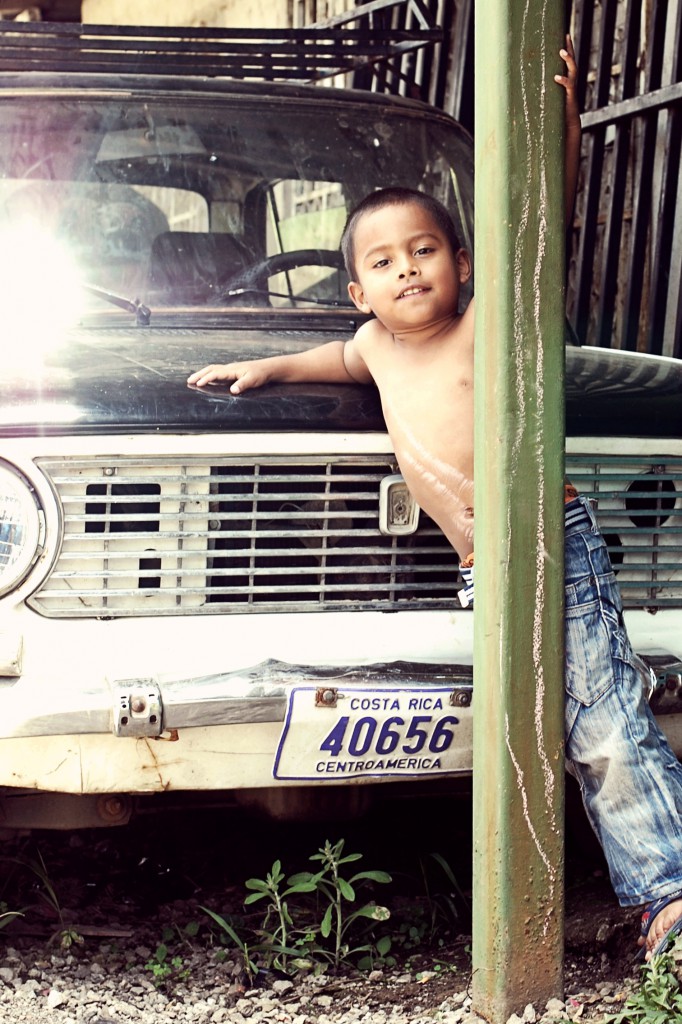
sometimes, i like to edit in such a way where it creates almost an art piece.
i don’t edit this way all the time, because i prefer to have my photos look natural. but that’s just an example of how many different things you can do through editing.
i learned photoshop and editing techniques by trial and error. anything you want to know about editing programs, you can google and find tutorials and then follow the directions. you can even watch youtube videos that walk you through different editing techniques. i’ve done a lot of googling and direction following! i have also downloaded lots of free photoshop actions, and i use a combination of those when editing. the Pioneer Woman has lots of great free ones here! as does the CoffeeShop Blog here.
there is no formula to editing. if there was, i’d give it to you! there are so many different ways to edit, and i don’t ever use the exact same process when editing. each photo calls for different things, so if you are interested in learning, i would suggest just jumping in. download some actions, research how to use certain tools, and start editing. take note of what you like and don’t like, and pretty soon you’ll get a system going that works for you. or find a friend who knows what they are doing, and have them sit down with you for an hour or two and show you some simple steps. a friend did this for me right after i first got Photoshop, and i referred back to my notebook from that session for months afterwards until those things became second nature.
it might seem overwhelming when you first start, but i promise its worth it to invest a little bit of time to learn. before you know it, you”ll get into a rhythm of your own.
okay…i think that about does it for my photography series. i really hope you’ve found it helpful! i’d love to hear (in the comments section) your own photography tip, or even a tip from this series that you’ve found to be helpful. let’s keep the conversation going!






 Follow
