DIY Changing Pad Cover
it seems as if i have very little time these days. most likely because this cutie is keeping me occupied.
she loves to be held, and i love to hold her, but i get nothing done during the day. i’m just trying to enjoy it while i can, because before long, she’ll need to nap in her crib, and i’ll miss the days of her small little body cuddled up in my arms.
but while i have some extra hands around today, i have a few more nursery sewing tutorials to show you, before i move onto other things on this blog 
a custom made changing pad cover is super easy to make, and barely takes any time. if you can sew a somewhat straight line, you can make this  (check the end of the post to see how to use this same tutorial for crib sheets and cradle or pack and play sheets!)
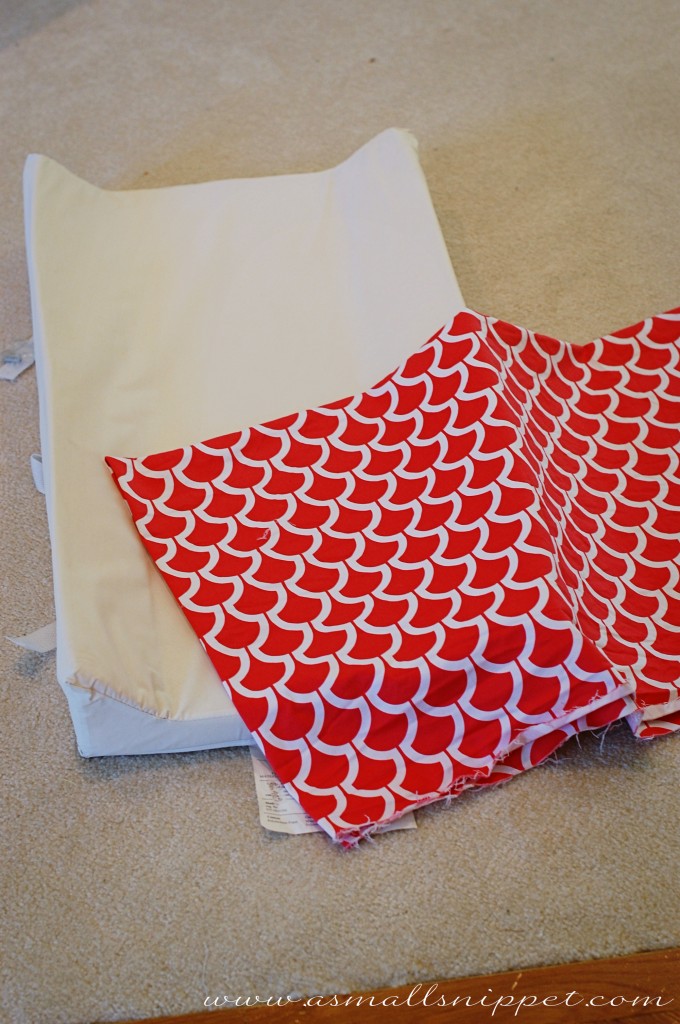
you need a changing pad and some fabric. i actually bought my changing pad at a children’s second hand shop for $10. much better than a brand new one for $40. since i was recovering it, i figured it didn’t matter. i just sanitized it well before covering, and no one will ever know the difference 
to cover a standard changing pad (a standard changing pad dimensions are somewhere around 16 in x 32 in x 4 in.), you will need:
– a 48in x 32in piece of fabric. so 1.5 yards of fabric will be plenty (maybe less depending on the width of your fabric).
– you will also need a 36 inch piece of elastic. i think i used 5/8 inch wide elastic.
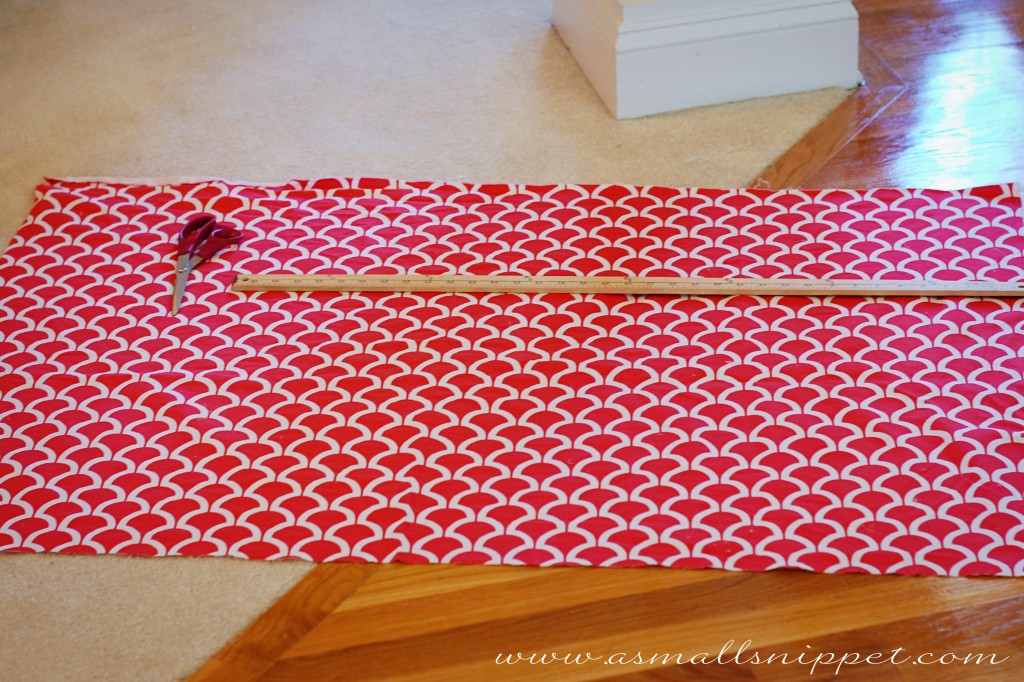
cut your fabric to size.
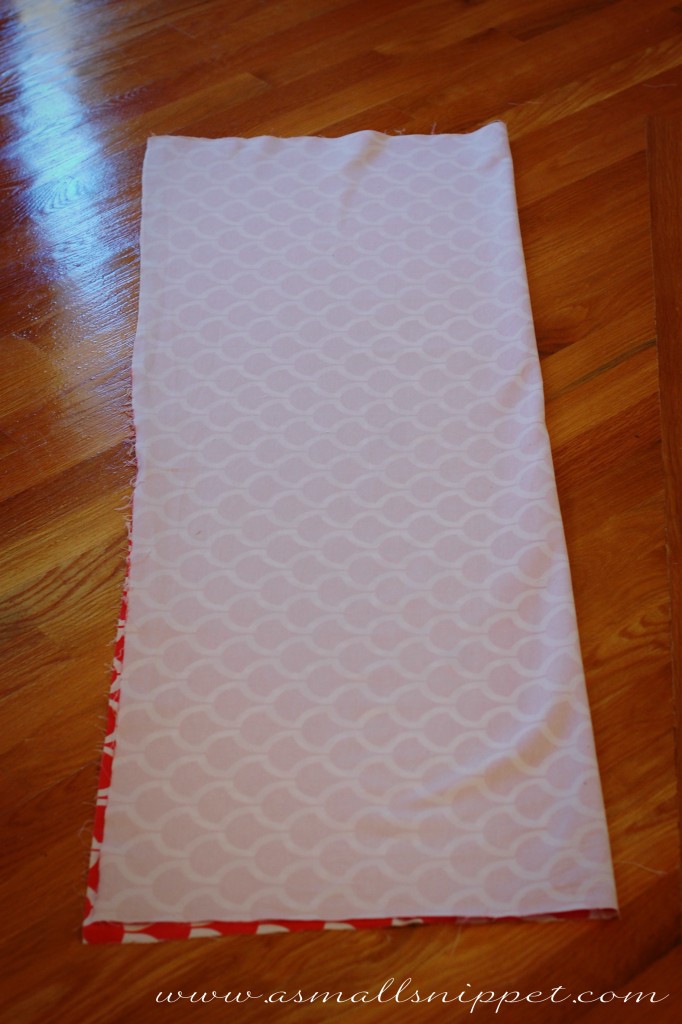
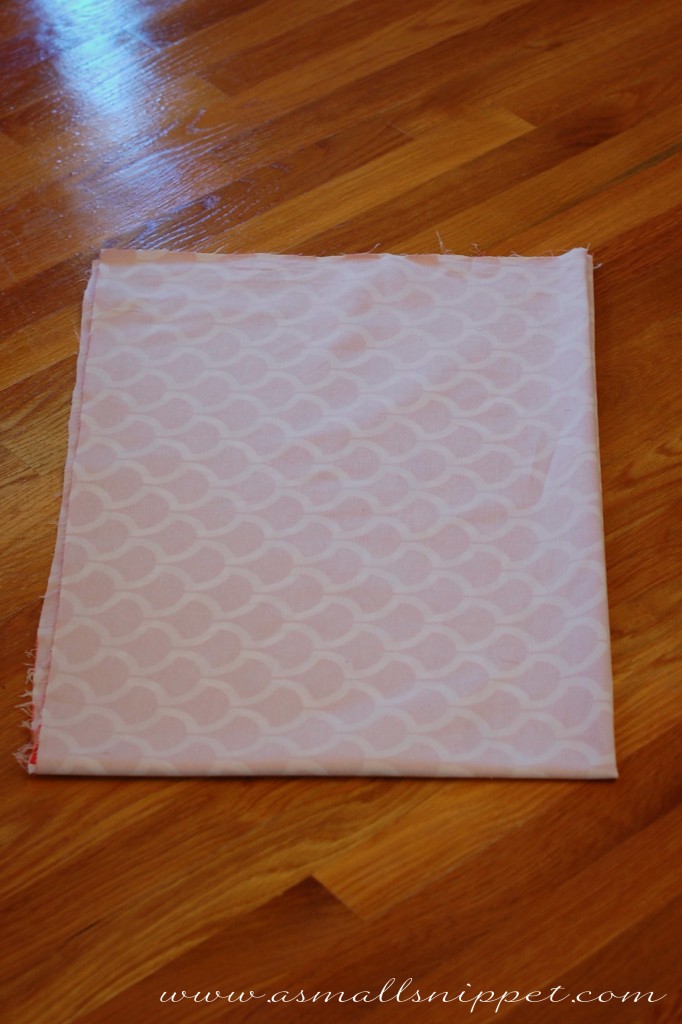
fold in half lengthwise:
and then fold in half width-wise:
find the corner that has no folds:
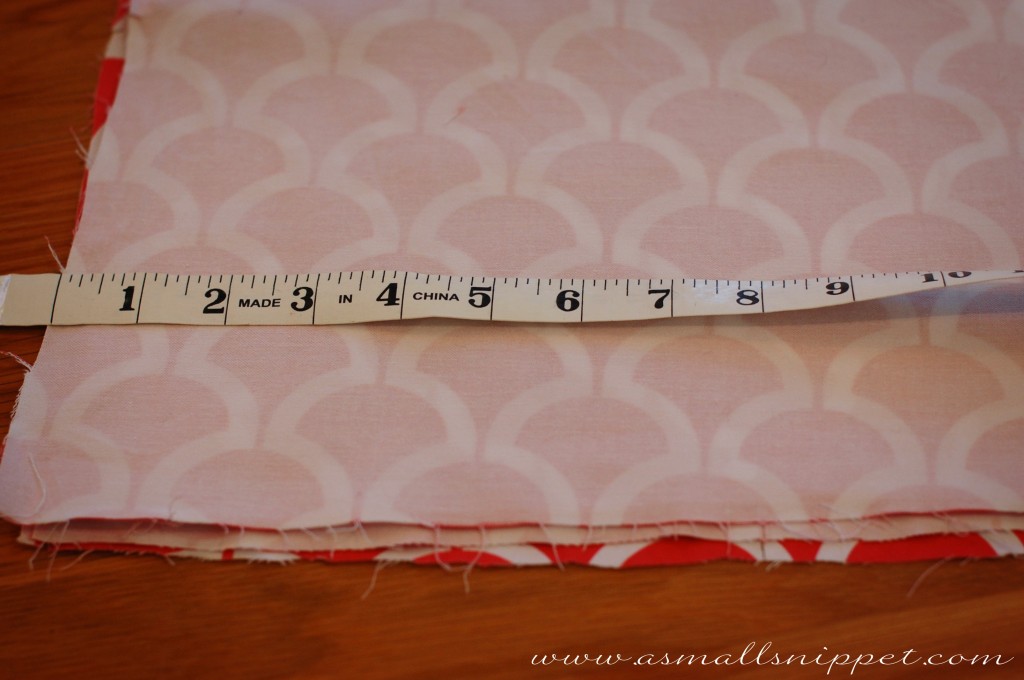
measure out an 8 inch x 8 inch square:
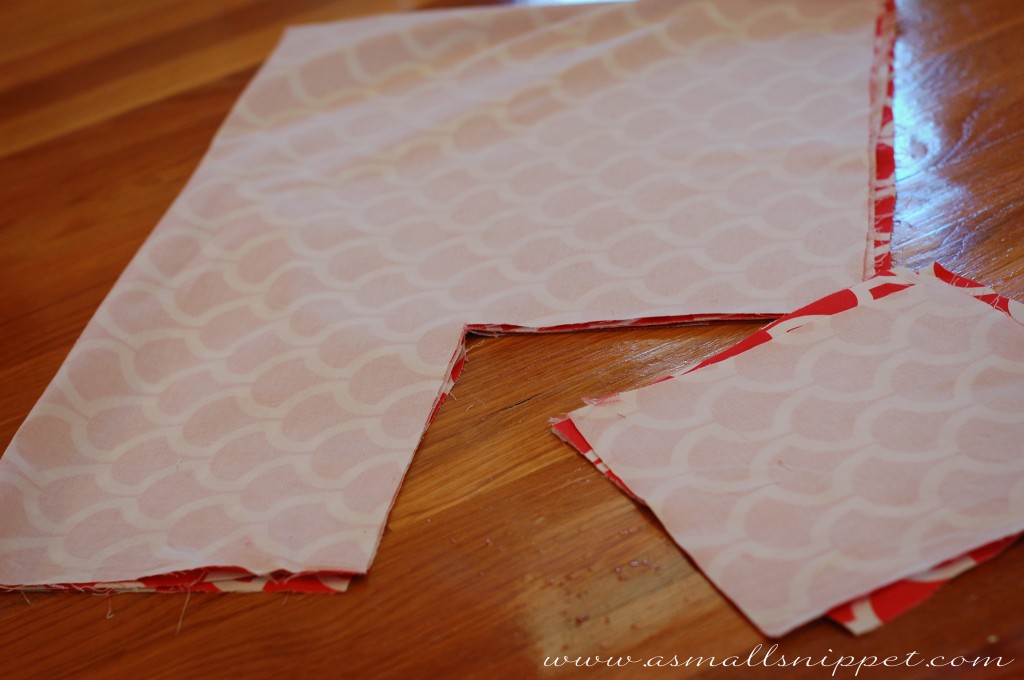
cut out the 8 in x 8 in square. make sure to cut through all 4 layers of fabric:
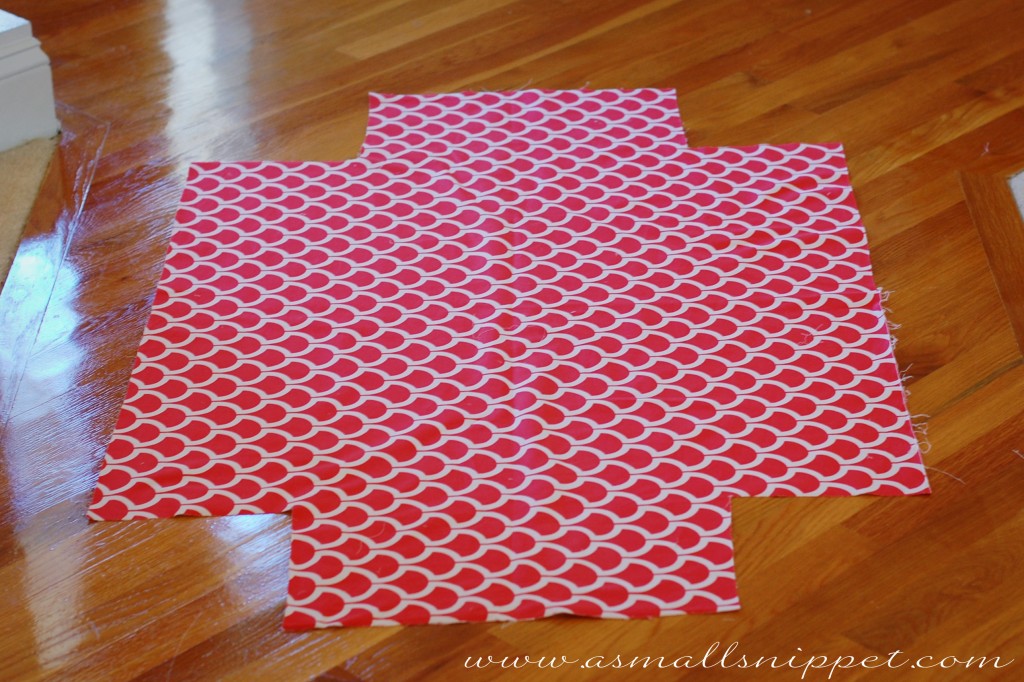
open your fabric back up, and you should have a square cut out of each corner. mine is not perfect because my fabric was not lined up perfectly, but it doesn’t matter. it’ll all even out when you put the elastic in.
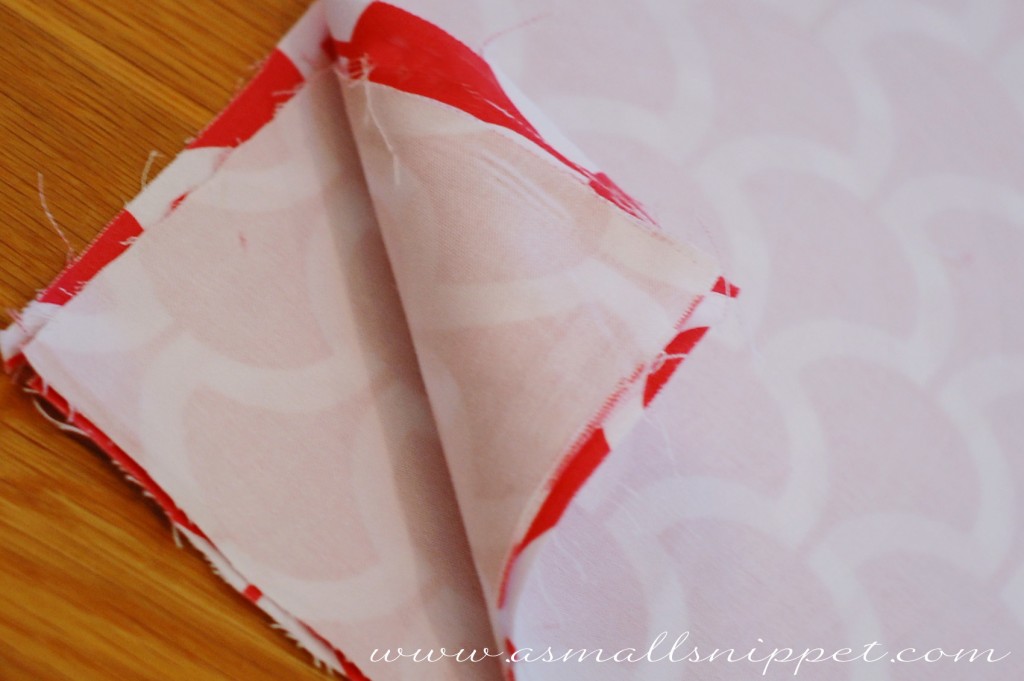
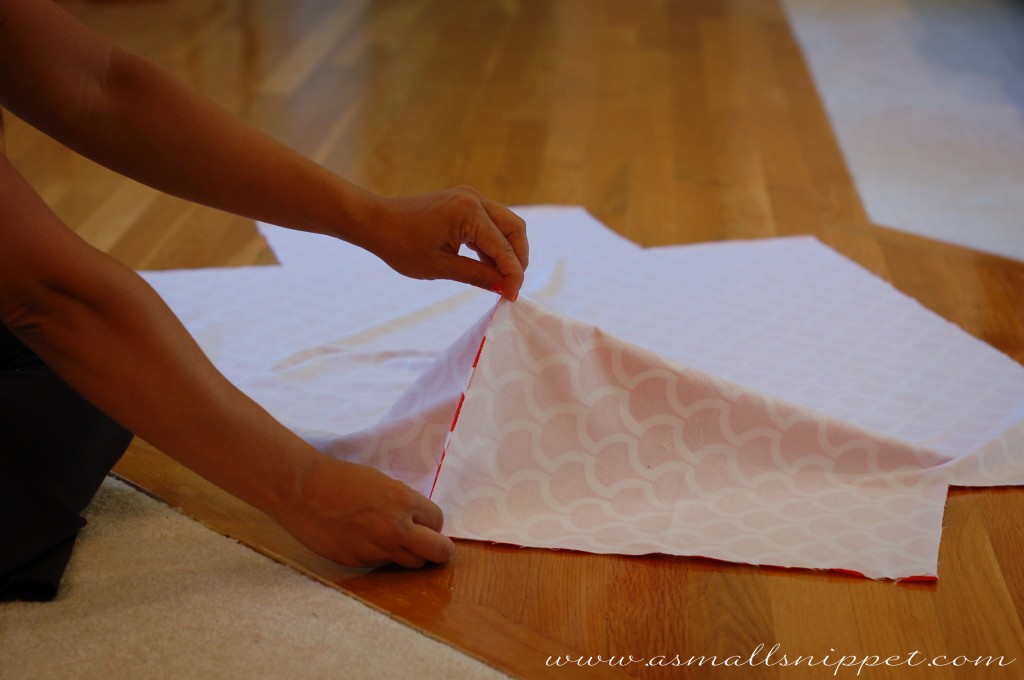
flip the fabric over so that its facing right side down. bring the two sides of your cut out square together, with right sides facing, like pictured below:
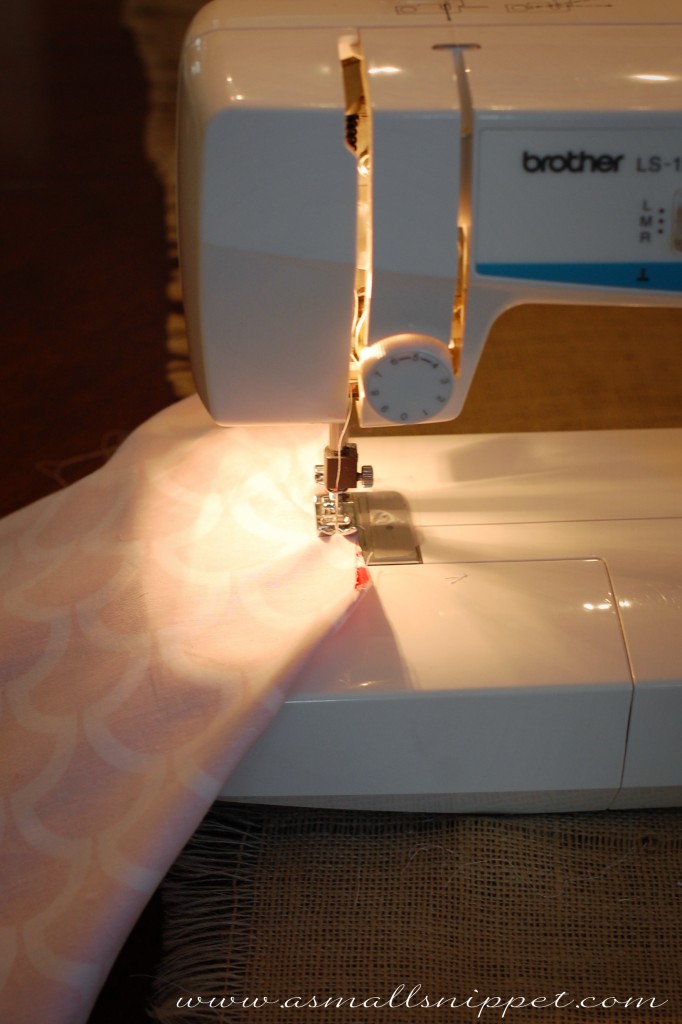
sew a straight seam down that line. repeat on all 4 corners:
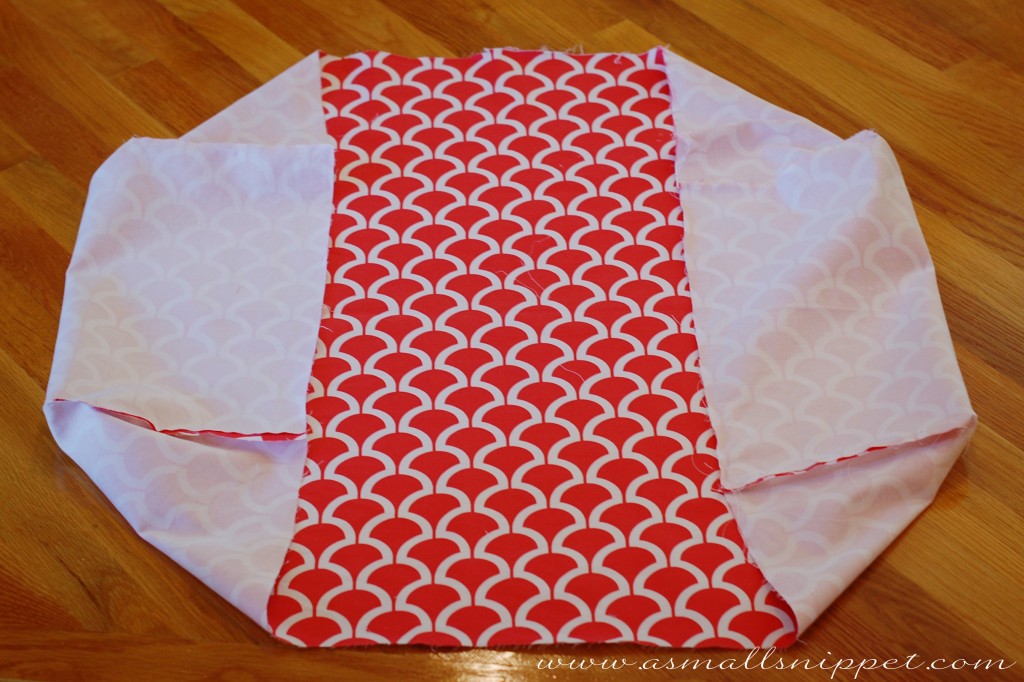
this is what your fabric should look like after sewing all 4 corners together:
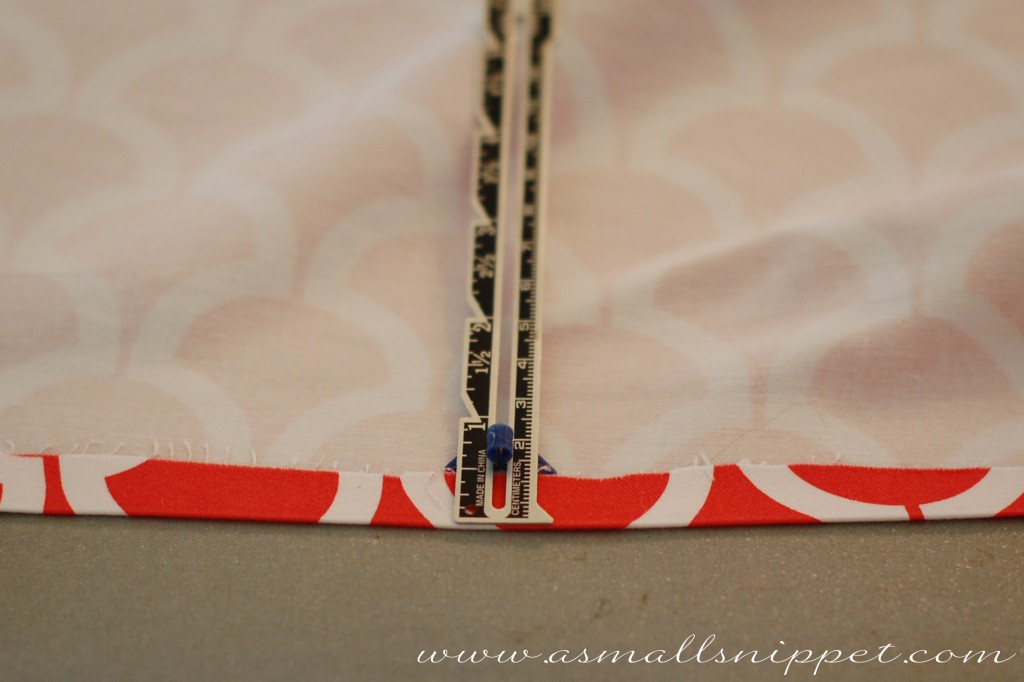
now you need to create your pocket for your elastic. fold down and iron 1/2 inch all the way around the outside of the changing pad cover:
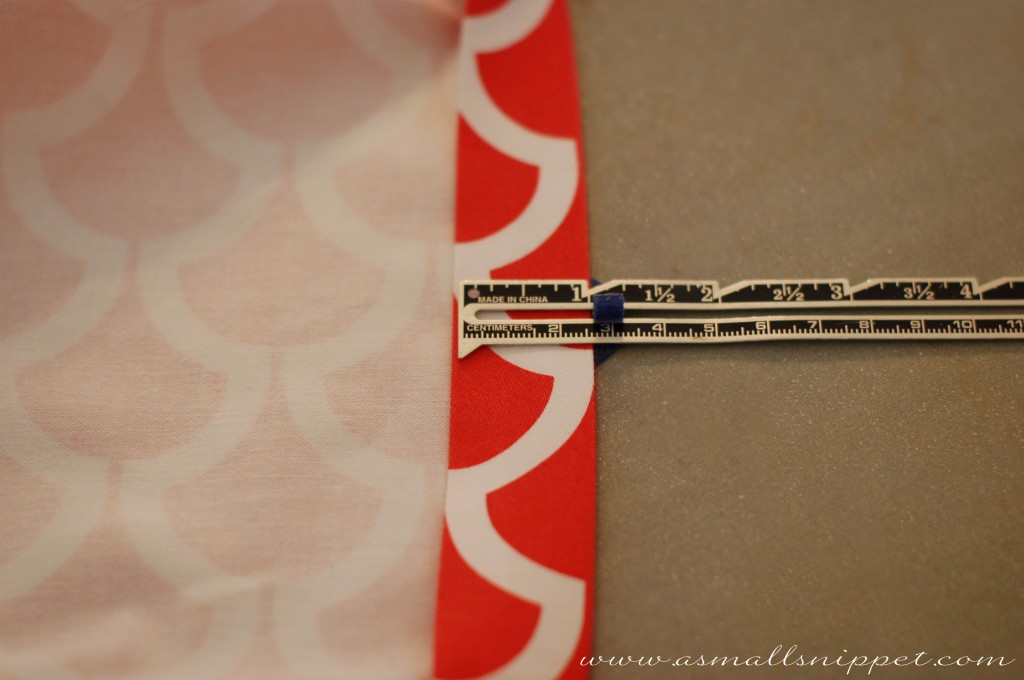
then fold down and iron an inch, enclosing your raw edge, and creating a pocket for your elastic:
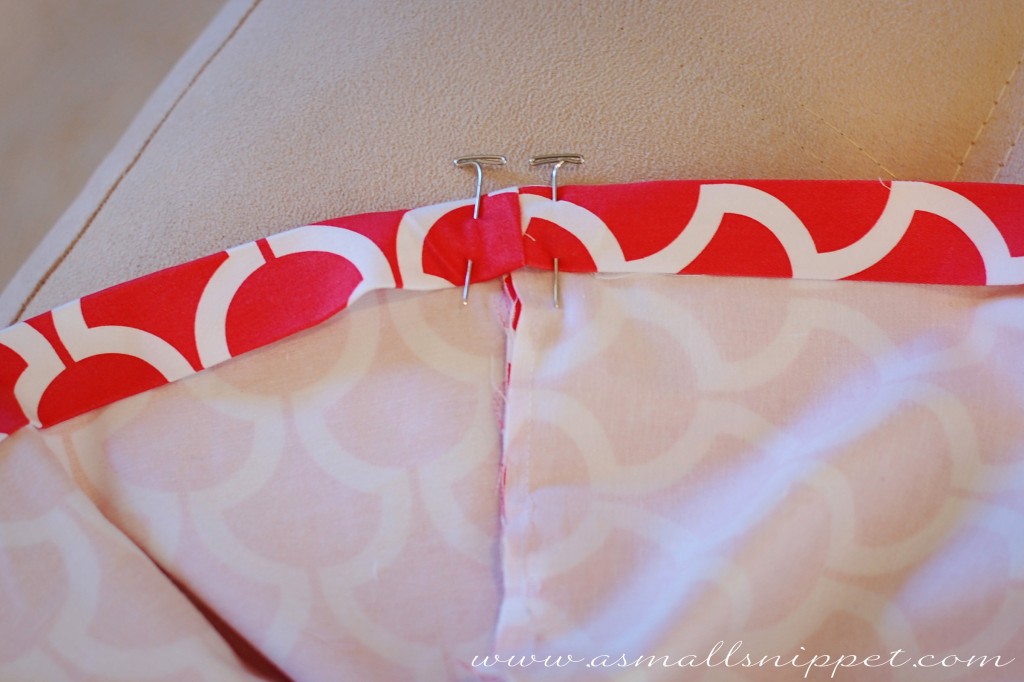
at one corner, place 2 pins about an inch apart, to ensure as you sew that you leave a small opening in order to insert your elastic.
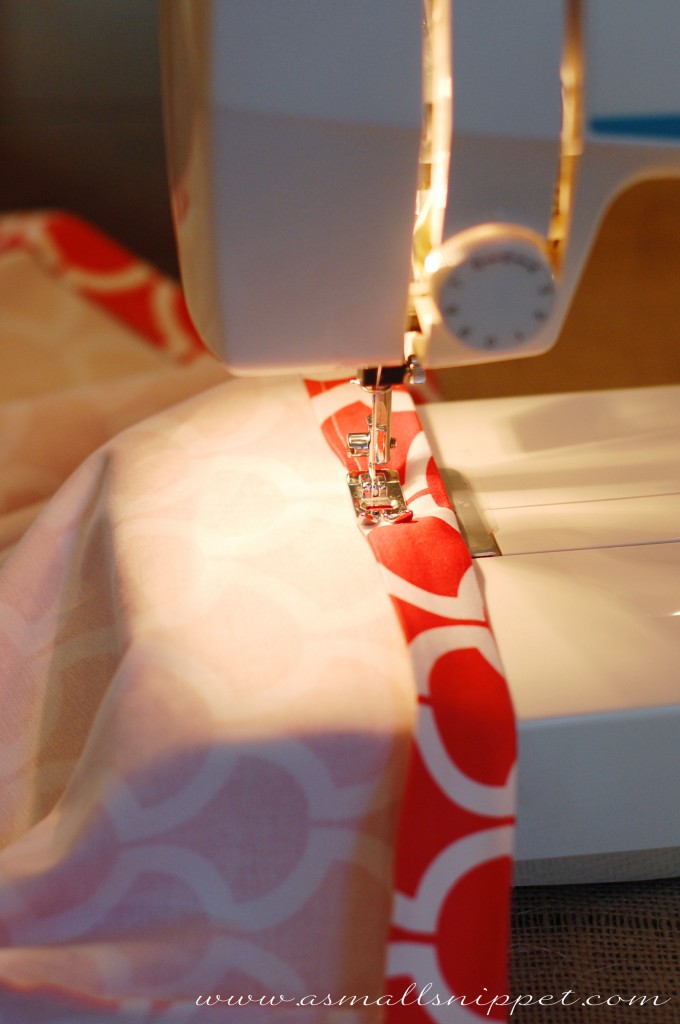
starting at that corner at one pin, sew down your seam along the outside of the cover, close to the edge, creating a pocket all the way around the cover, stopping at your other pin:
cut a piece of elastic to 36 inches:
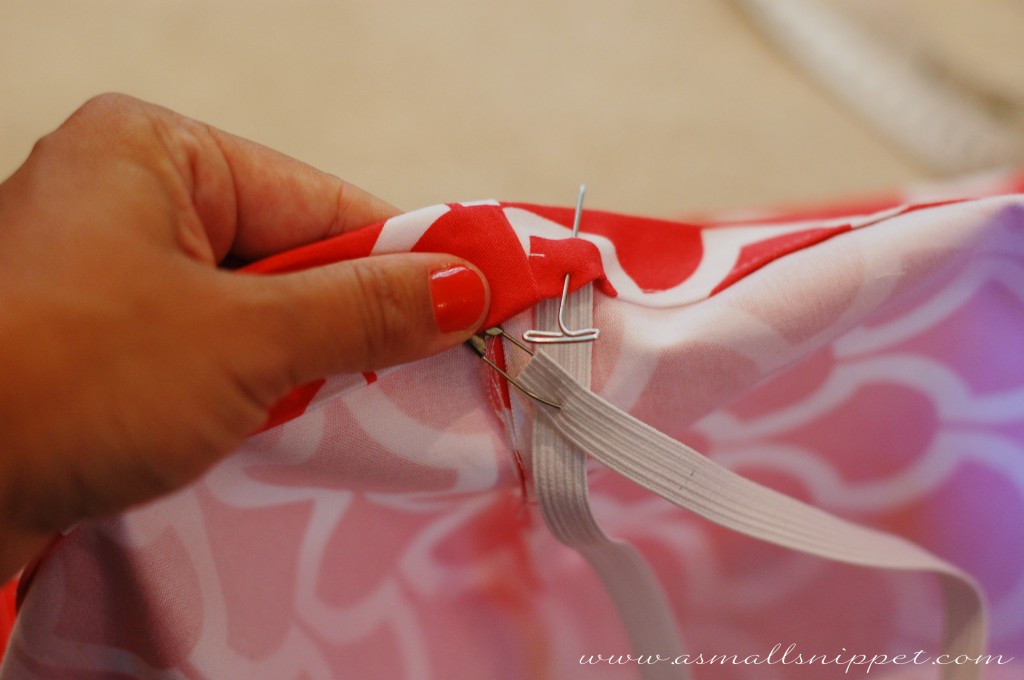
at your opening, pin one edge of the elastic to your cover, and attach a safety pin to the other edge. (the safety pin is crucial. it will make it much easier to feed the elastic through the pocket.) begin feeding your elastic through the pocket you created, all along the outside of the cover, until you end up back out the other side. make sure your elastic does not flip or turn while you are feeding it through. you want it to be flat all the way around. you will need to adjust and scrunch your fabric as you go to fit the elastic in:
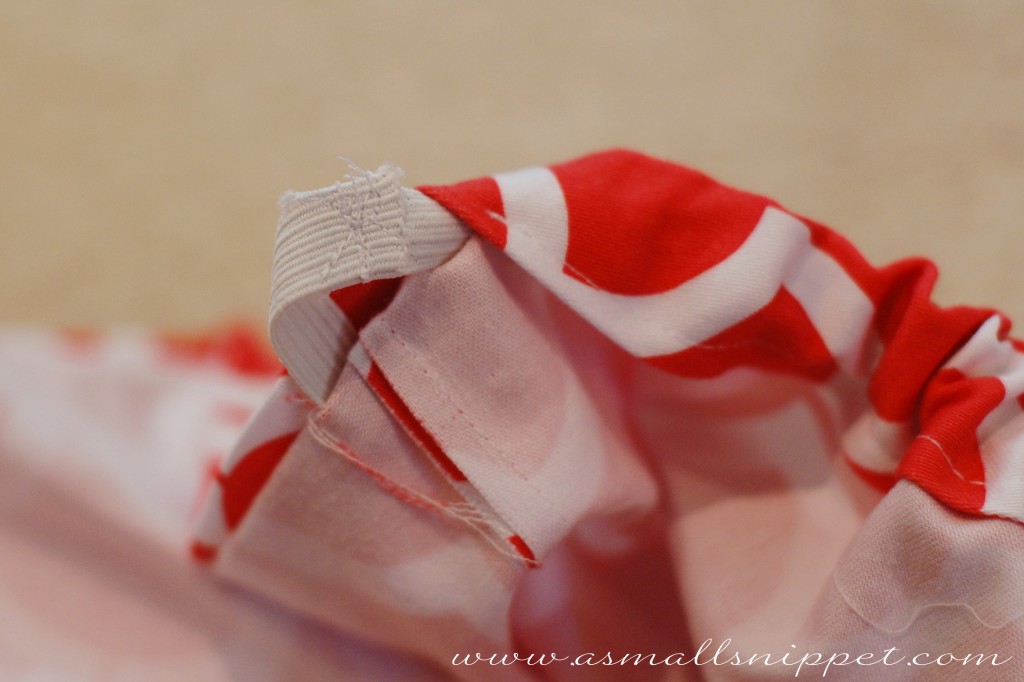
once the elastic is all the way through the pocket, sew the two ends of the elastic together. i run a seam back and forth down the edge, and then sew an X down the middle to ensure that it will remain sewn together. then sew your small opening closed, encasing the elastic in the pocket:
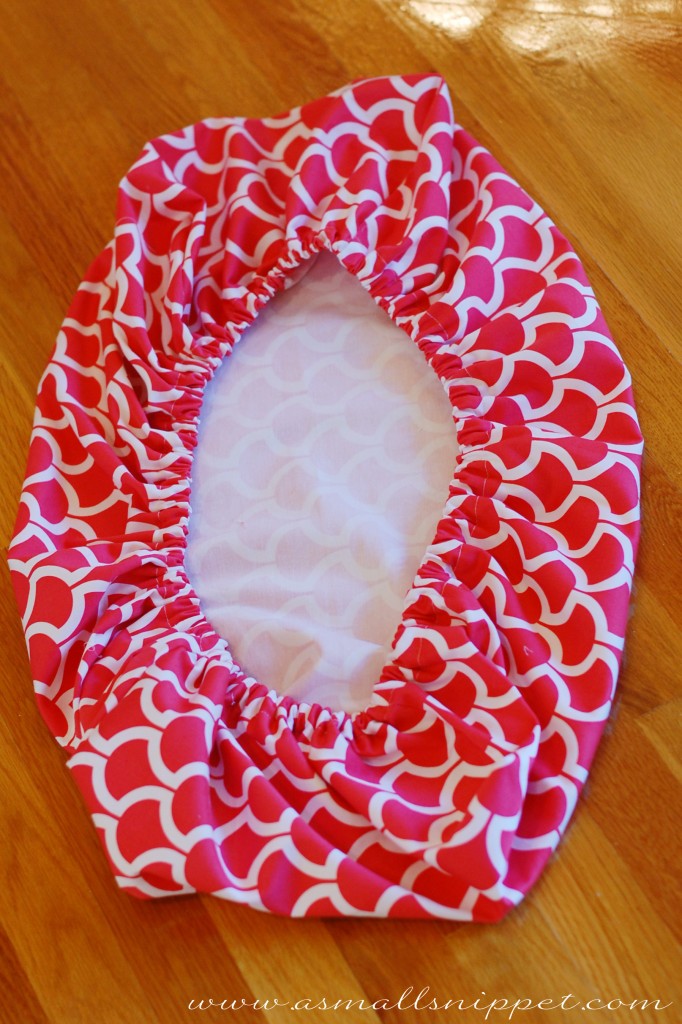
this is what your changing pad cover should look like now, with the elastic in:
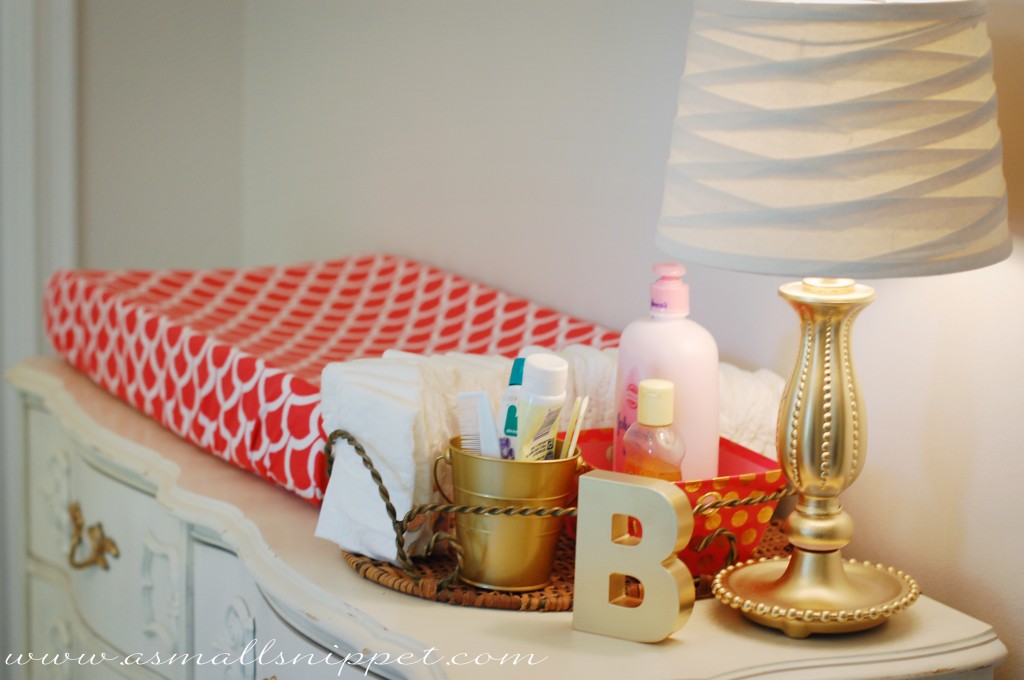
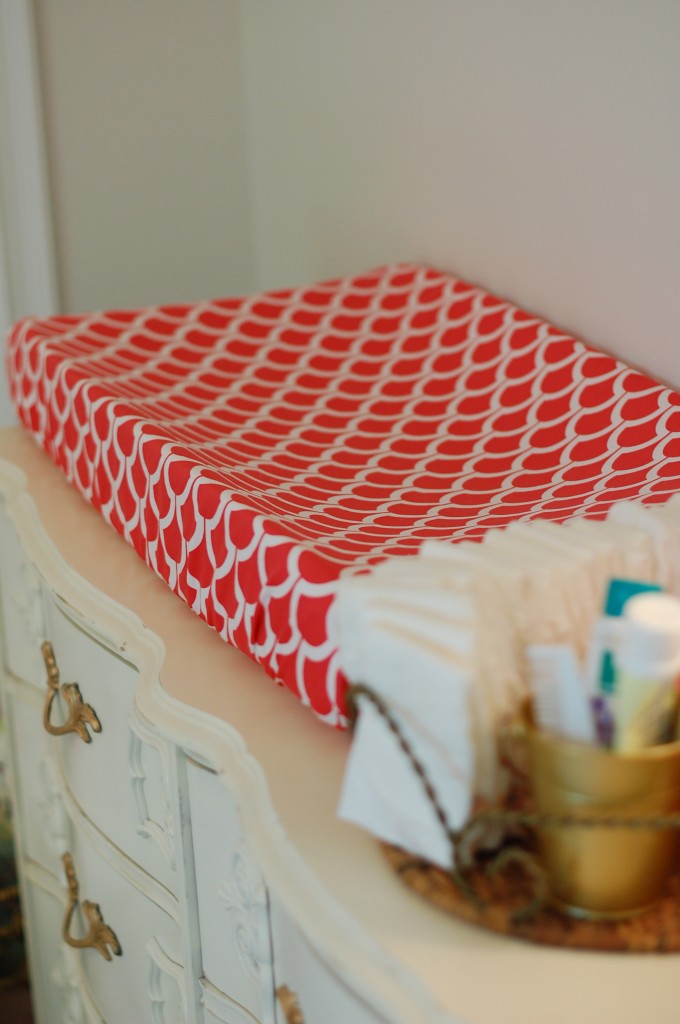
slip it onto your changing pad, and you are finished! it will take the form of the contoured pad as you use it:
*you can also use this same tutorial to create cradle sheets or pack and play sheets. you just don’t need to cut out the corners because those sheets do not cover much depth. in other words, those kind of mattresses are more flat as opposed to deep, so you can just cut to size, leaving a few extra inches to create a pocket for the elastic and to cover the smaller, flatter sides.
i’ll be back soon with more,





 Follow
