Easy DIY Handpainted Canvas
i told you in one of my previous posts that i was gonna come back and show you an easy way to create your own DIY Handpainted Canvases. today’s the day, friends!
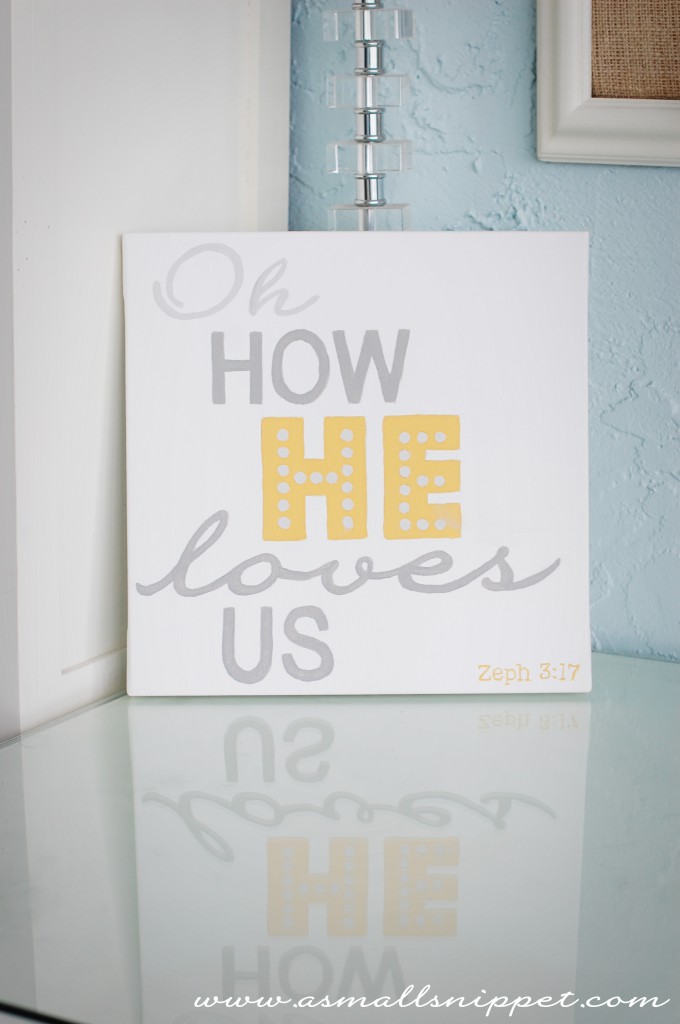
as i mentioned before, i am NO ar-teest. not by any stretch of the imagination. but i like figuring out how to do things so it looks like i am a lot better at something than i really am. case in point…these canvases:
i painted the top canvas as a Christmas gift for my sister in law. she has this cool gallery wall in her home, and i thought this canvas would fit right in:
so today i’m gonna break it down for you, and show you my technique for achieving this handpainted look with no art skills needed.
here are the supplies you’ll need:
your choice of canvas. i used this one:
12×12-Inch Canvas
and this one:
36×36-Inch Canvas
Paint Brushes (i bought a set like this years ago, and i LOVE them. i use them all the time, and having multi-sizes really comes in handy. i probably used 4 different brushes for the small canvas and about 12 different brushes on my large canvas. different parts of your design will call for different brush sizes. that’s one of the best tricks i can tell you. using different brushes at different parts will give you much better control over stroke size when painting.)
Crafter’s Acrylic All Purpose Paint (i used a variety of brands and colors. just choose what you like best!)
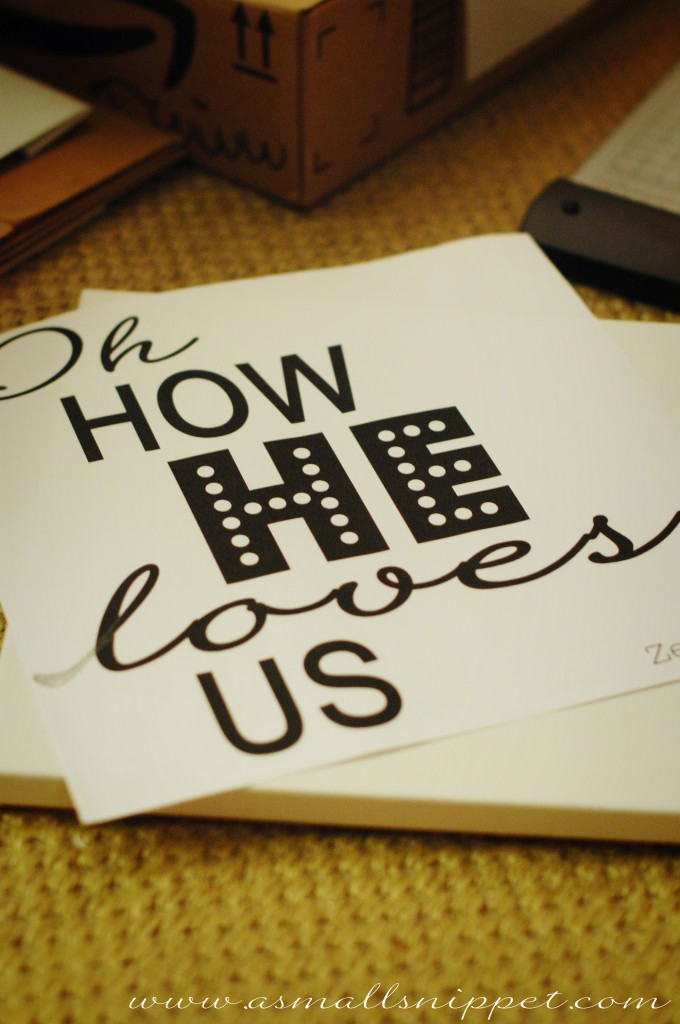
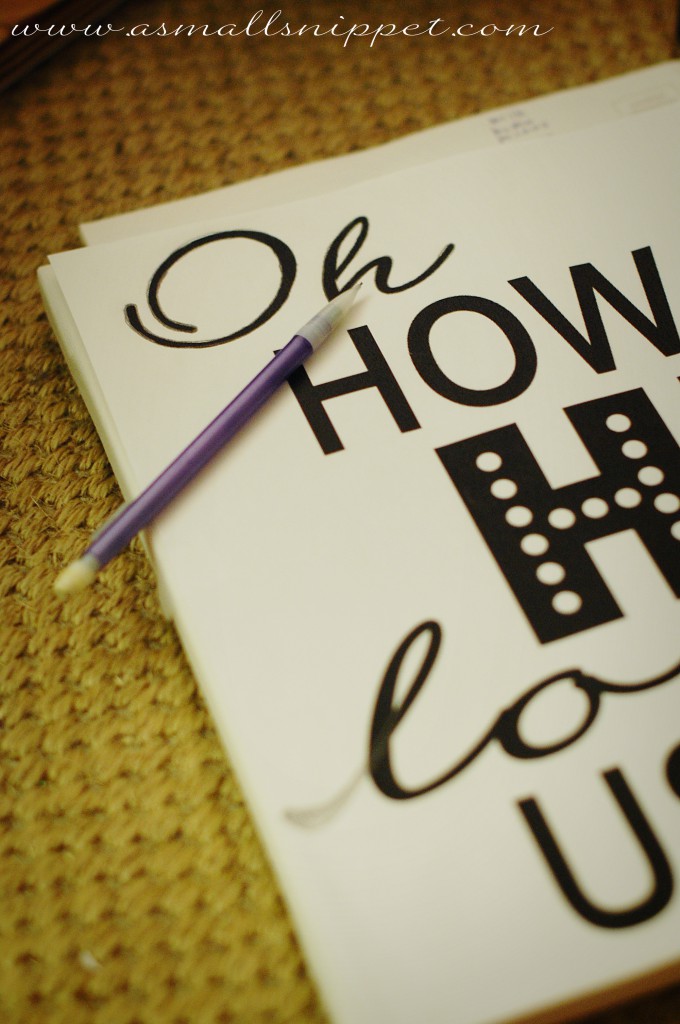
if you’ve followed other tutorials of mine, then you’ll already know about my love for my local Fed-Ex. they come through for me every time! i created my image using photoshop (you can use any program you’d like…word, open office draw, etc.) just create whatever image you’d like, using different fonts and sizes. this is where you get to customize your piece to look exactly how you’d like it to look. one tip…as you are creating it, size your image to be the size of your canvas. that way, when you go to print, it will print to the exact size that you need. since my canvas was 12 x 12, i could not print that on my home printer, so i had Fed-Ex print it to my exact canvas size. that’s why they are so wonderful…it only costs around $1.00 and you have the exact size you need:
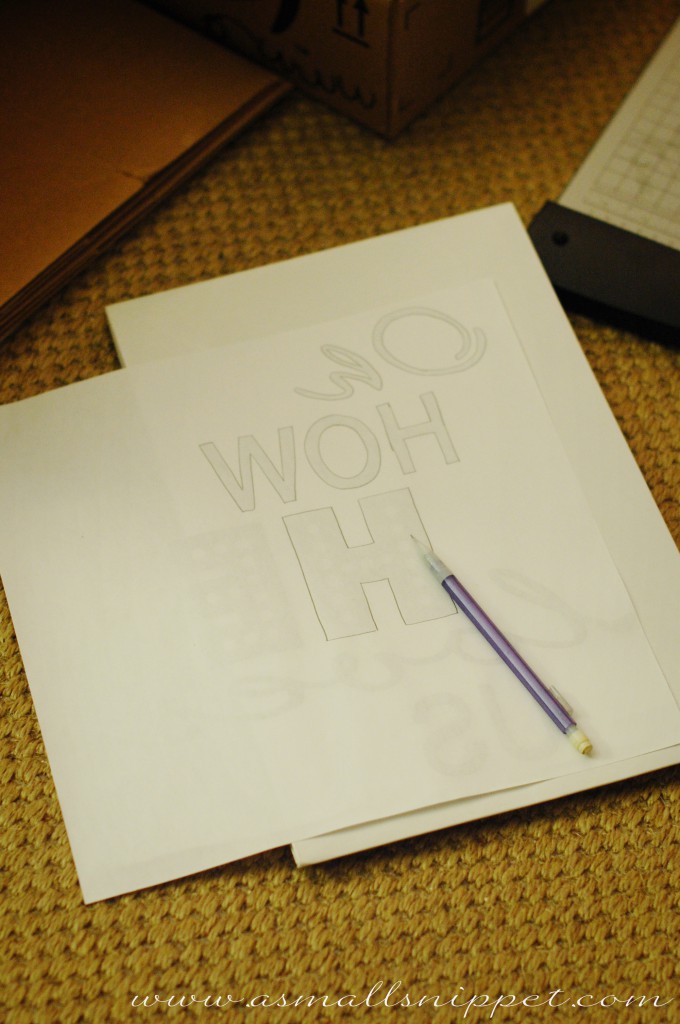
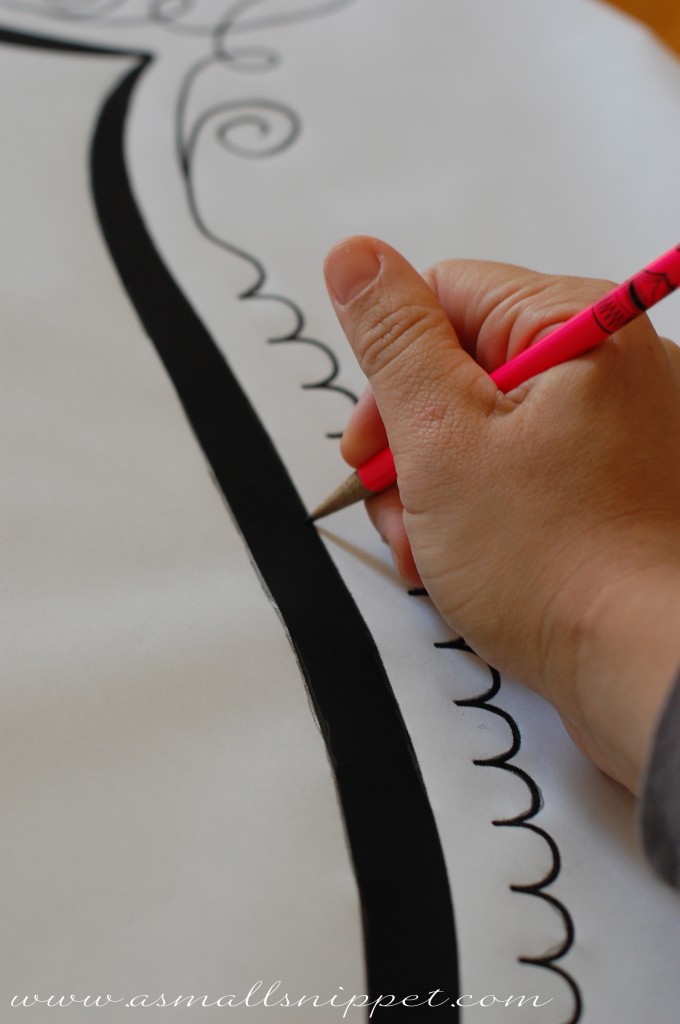
then, flip your printed image over so that the back of the paper is facing up. take a pencil, and using a dark line, trace over the image, transferring it to the back of the paper. (do not do this on top of your canvas as i have pictured. you could poke a hole through your canvas, so use a hard surface and press hard, making sure to get a dark line as you trace.)
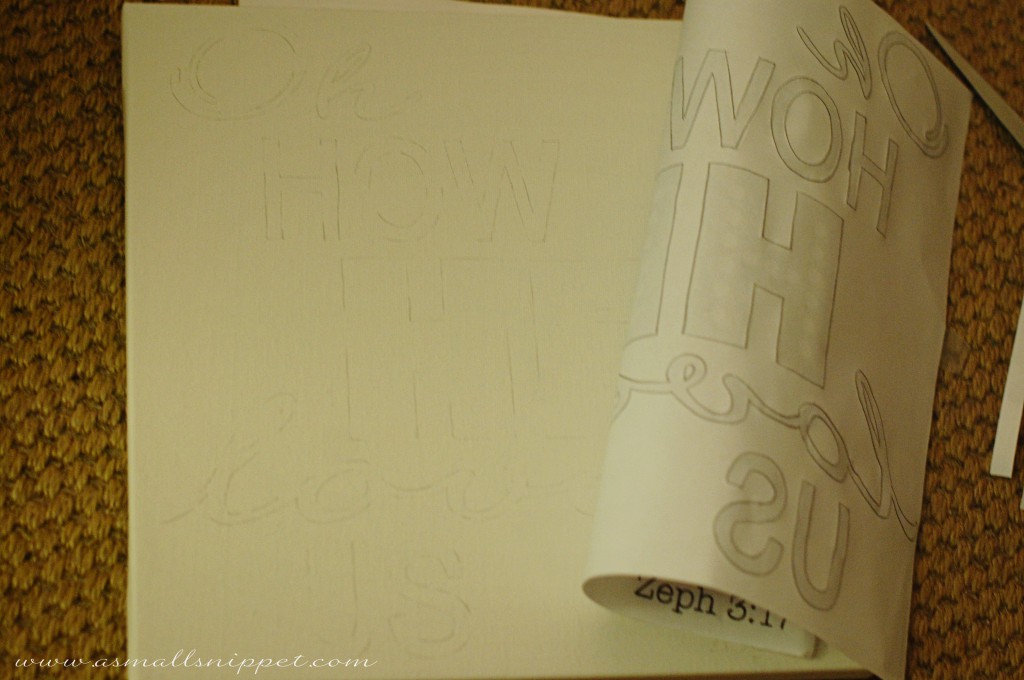
once you have completely traced the image, flip your paper back over, and position onto your canvas, taping sides down. then take your pencil, and trace back over the image on the front.
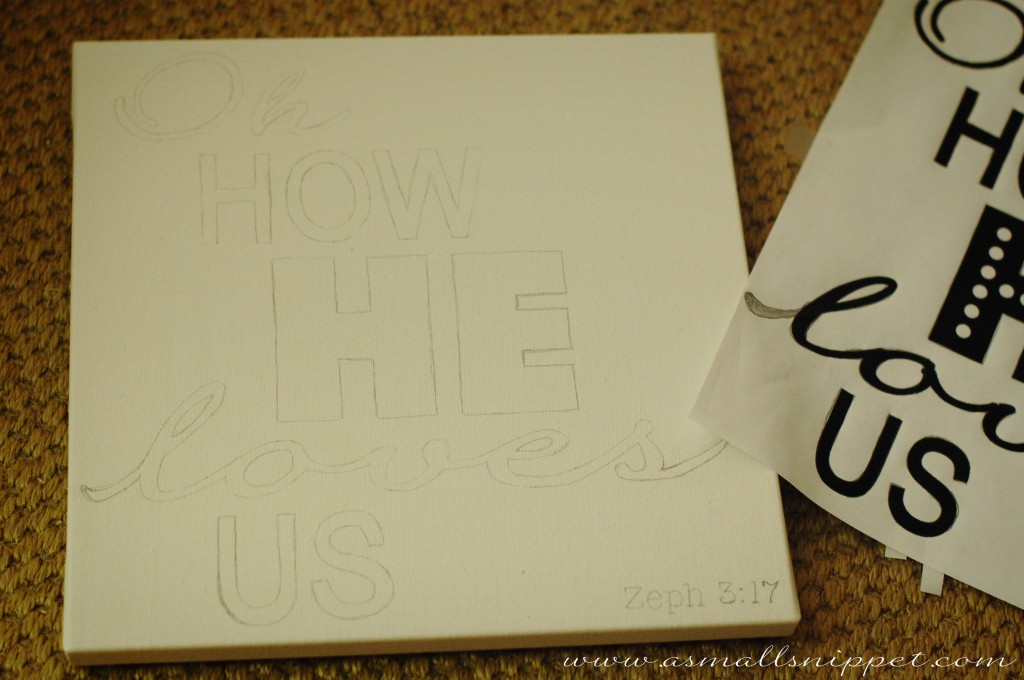
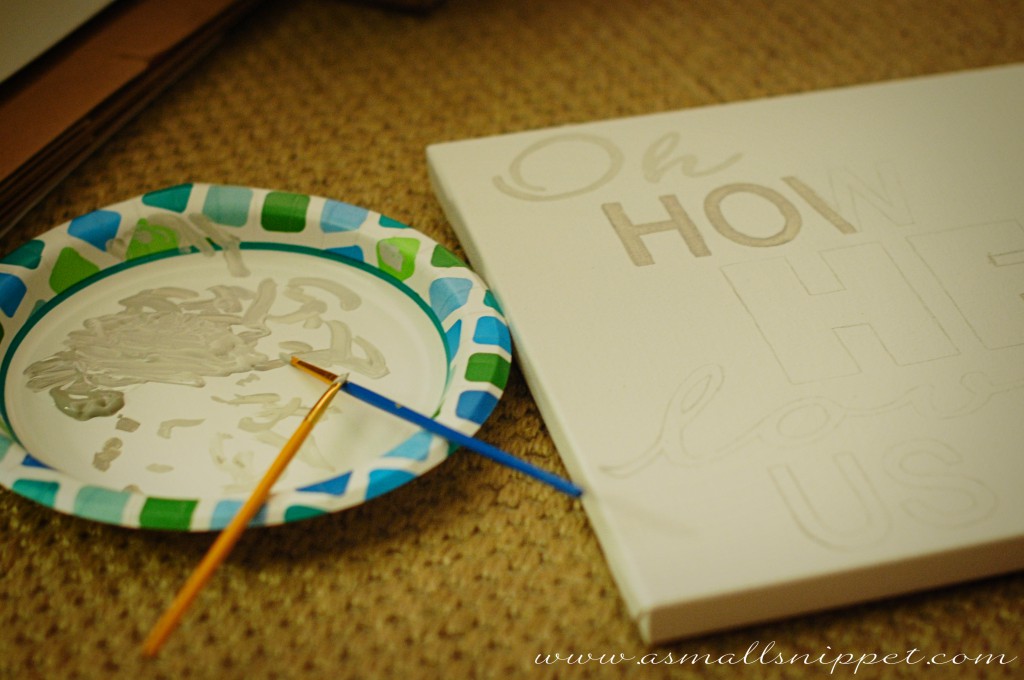
as you trace, the pencil marks that you traced onto the back of the image will transfer onto the canvas, leaving you with perfect lettering:
once i have traced the entire image, i go back in and fill in any spaces that might’ve not transfered as well. you do not need to use a dark line here, just dark enough so you can see it:
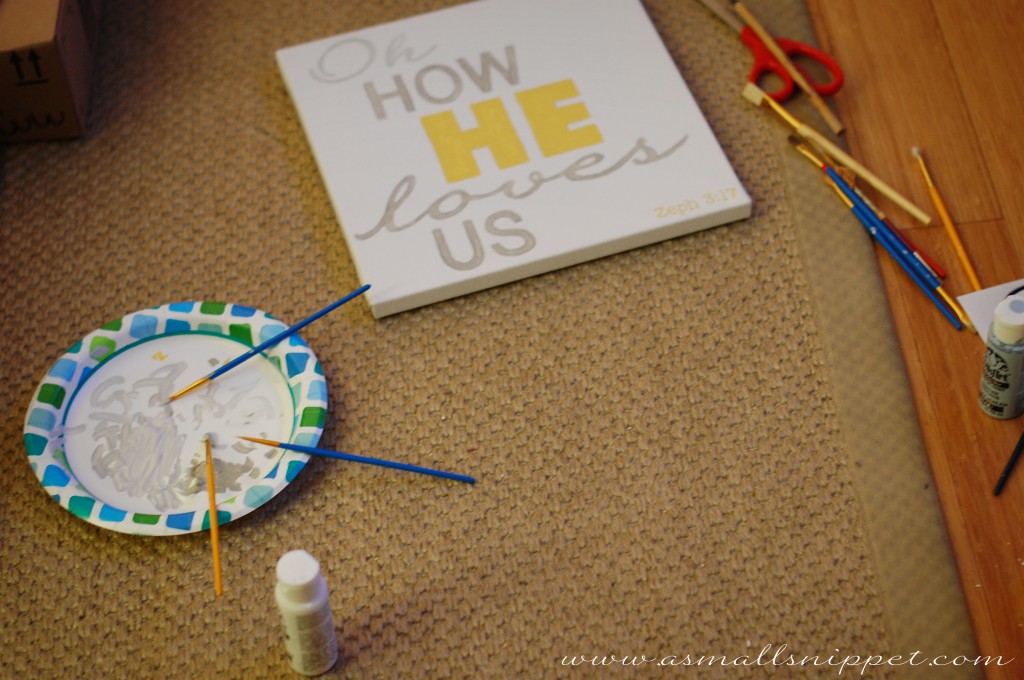
now, you can begin to paint. simply fill in your lines with your paint using your different sized brushes. remember that this is supposed to be handpainted, so it does not have to be perfect.
i mixed some paint colors to lighten parts of the image to give it a little more character:
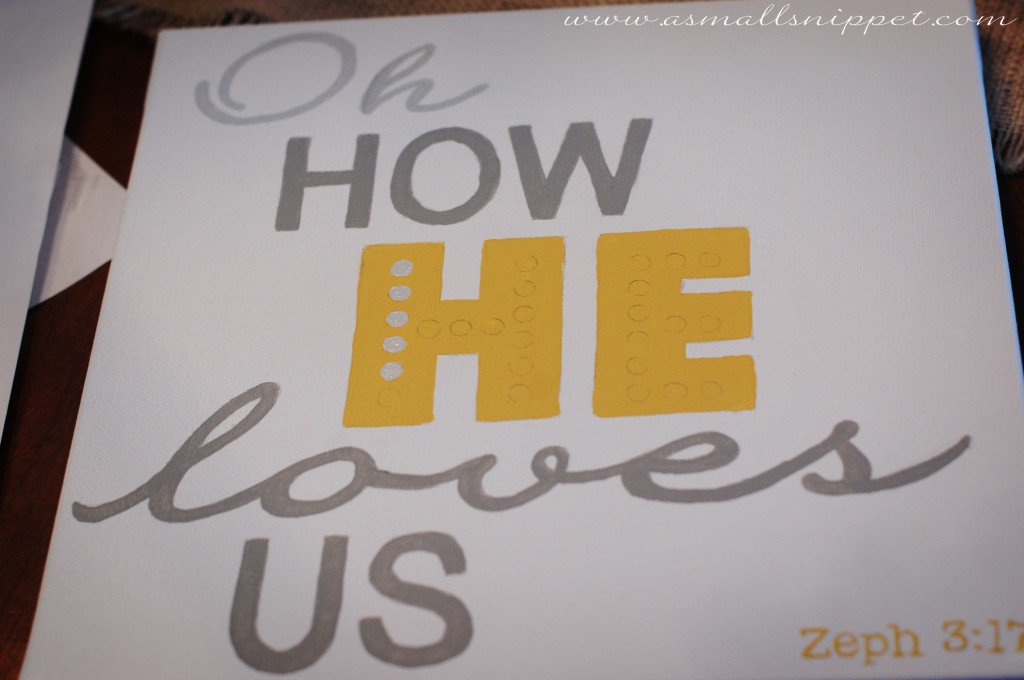
one of the fonts i used had these cool polka dots within the characters, so once my paint was dry, i went back in using the same transfer technique above, and drew in the polka dots, and then filled them in with paint:
if needed, once all is completely dry, you can go back in with a good eraser and lightly erase any leftover pencil marks.
i loved the finished product, and especially love that i could create it to be personal and unique and at a fraction of the cost of buying one already made.
as for the larger canvas, that was the same project, just on a much bigger scale!
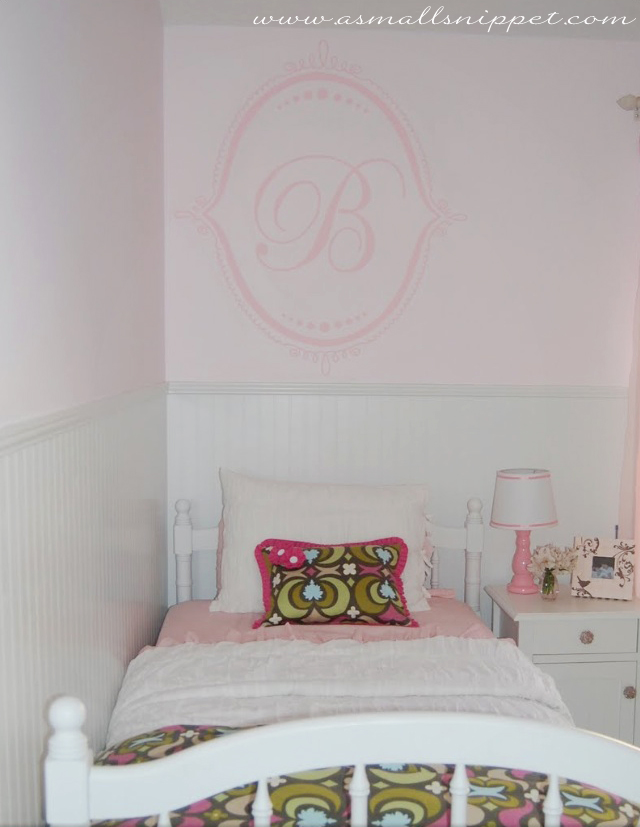
way back in our old house, i used a projector to project this “B” image onto Bella’s wall when transforming her nursery to her “big girl room.” i traced the projection and filled it in with paint:
ever since moving to our new house and to her own room in January, she has been asking me to paint it for her. i opted to paint it on a big canvas this time around, because we hope to be in this house a long time, and that would give us flexibility to move it around with her furniture as we please. (it really looks best above her bed.)
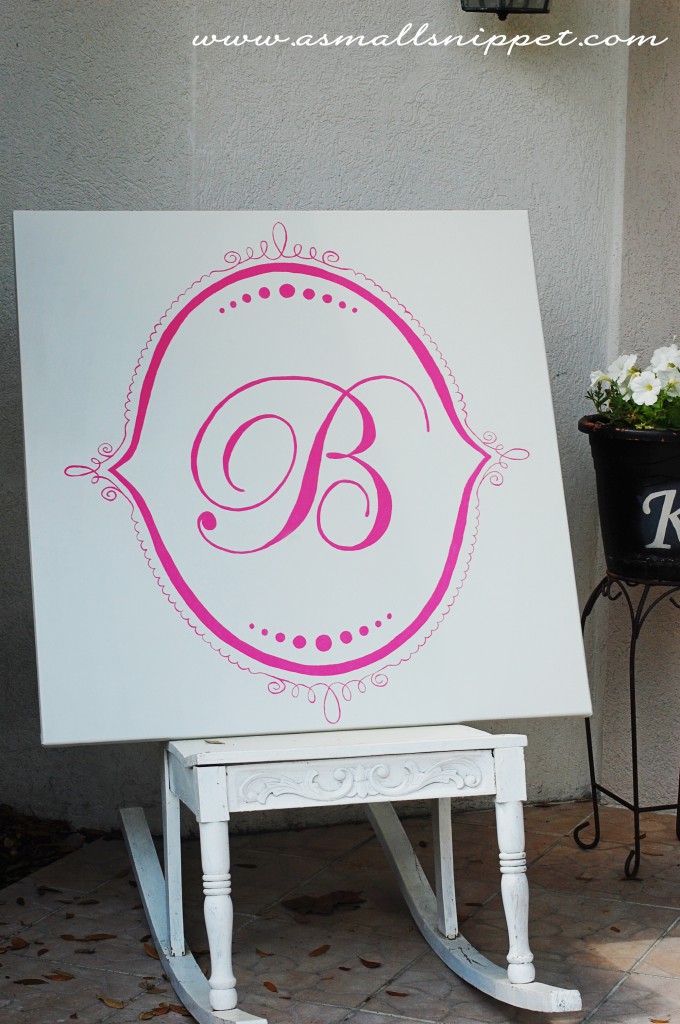
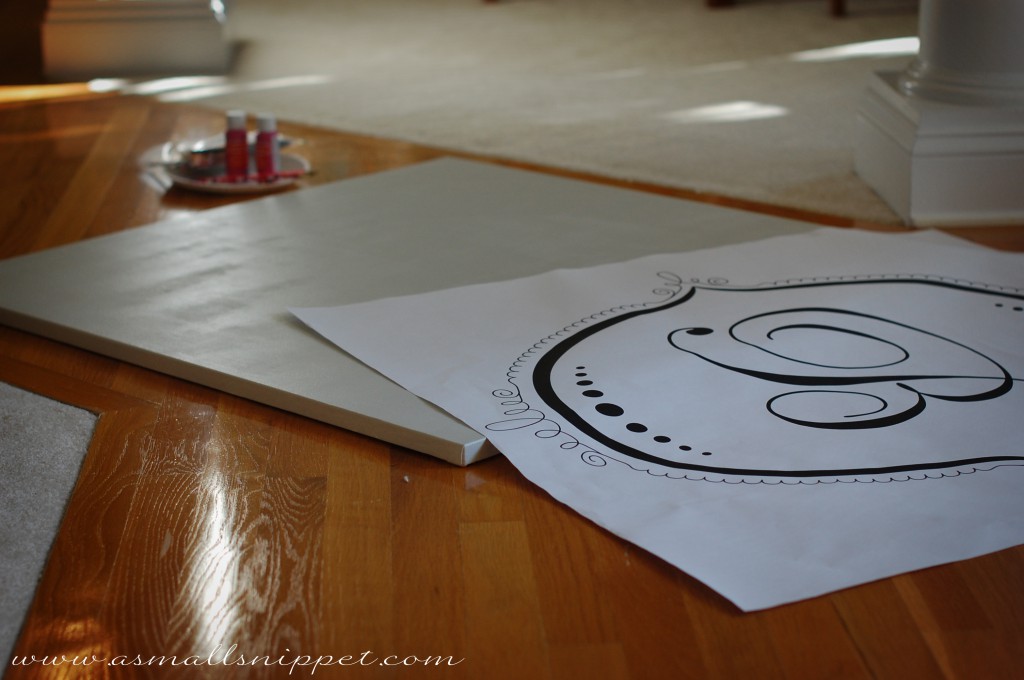
i used the same process as above. i did, however, paint my canvas first. i wanted the background to be the color of Bella’s wall (Benjamin Moore, “Grey Owl”) because i wanted the “B” image to look like it could be painted onto the wall, and i thought a plain white background would stand out too much. my sister in law had created the image for me years ago in Photoshop, so i just resized it to fit my canvas, and had Fed-Ex print it to a 36×36 inch square:
i traced the image onto the back as described above, and then positioned the image onto the canvas and tranced the front, transferring the image onto the canvas:
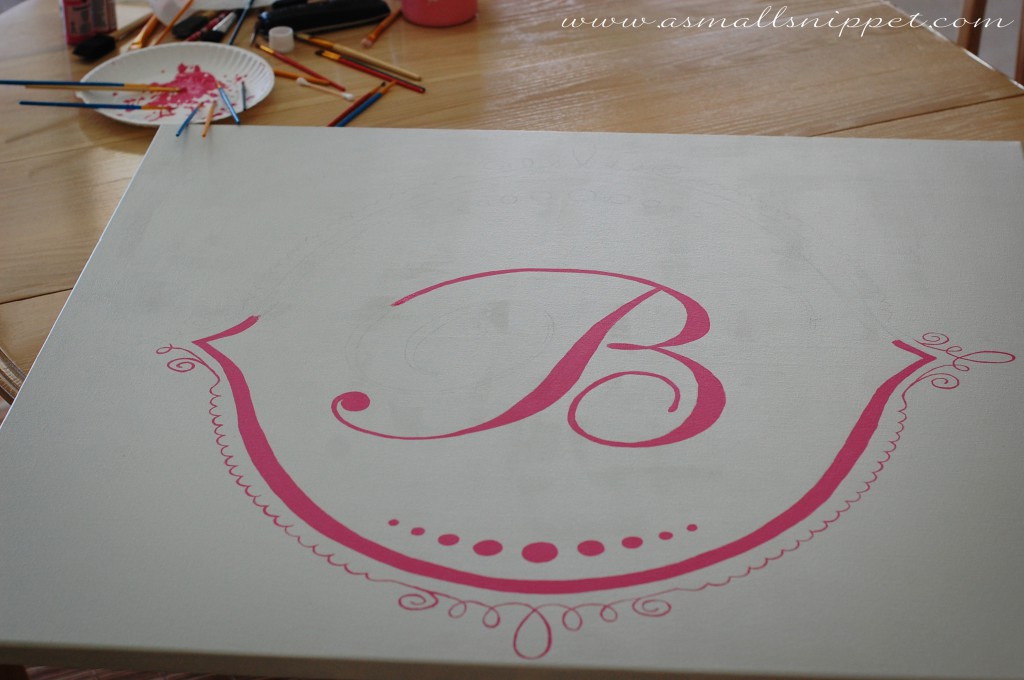
i then filled it in with paint. you can see the number of brushes i use. i’m telling you…that makes all the difference in the world because often times, some parts of your design will be thicker or thinner than others, and using certain brushes on certain parts gives you better control. another tip: as you paint, start working from the inside out so that you don’t press your hand into wet paint as you are painting another section. i flipped and turned this canvas all around as i painted to ensure that i wasn’t resting my hand in wet paint:
the completed project!
i surprised Bella with it on her birthday, and she loved it. we haven’t hung it up in her room yet, because i am in the process of switching out her dresser (in fact, i’m texting right now with a Craigslist seller, hoping that i finally found the right one!) once i have her new dresser in her room, i can arrange her bed in the right place and hang the canvas. when i get it all completed, i’ll show you pictures of it in her room.
y’all know that i love to share anything i can with you, but to save you and me both time and energy, i’ll go ahead and tell you now that i cannot share the photoshop files this time around for either canvas. replying to multiple requests and sharing those files takes lots of time for me, and since the first one was a special gift, and the second one was created especially for Bella, i would love to keep them one of a kind. i think that’s the beauty of projects like this…you can create your own and they can all be unique! but i promise that with minimal effort, you can easily create your own. but i am happy to share with you the fonts i used for the first canvas. they can all be downloaded for free off the internet:
Quilline Script Thin
Ariel Narrow
Budmo Jiggler
ITC American Typewriter
hope that helps! let me know how your’s turn out! i’d love see pictures,



 Follow
