Nov
03

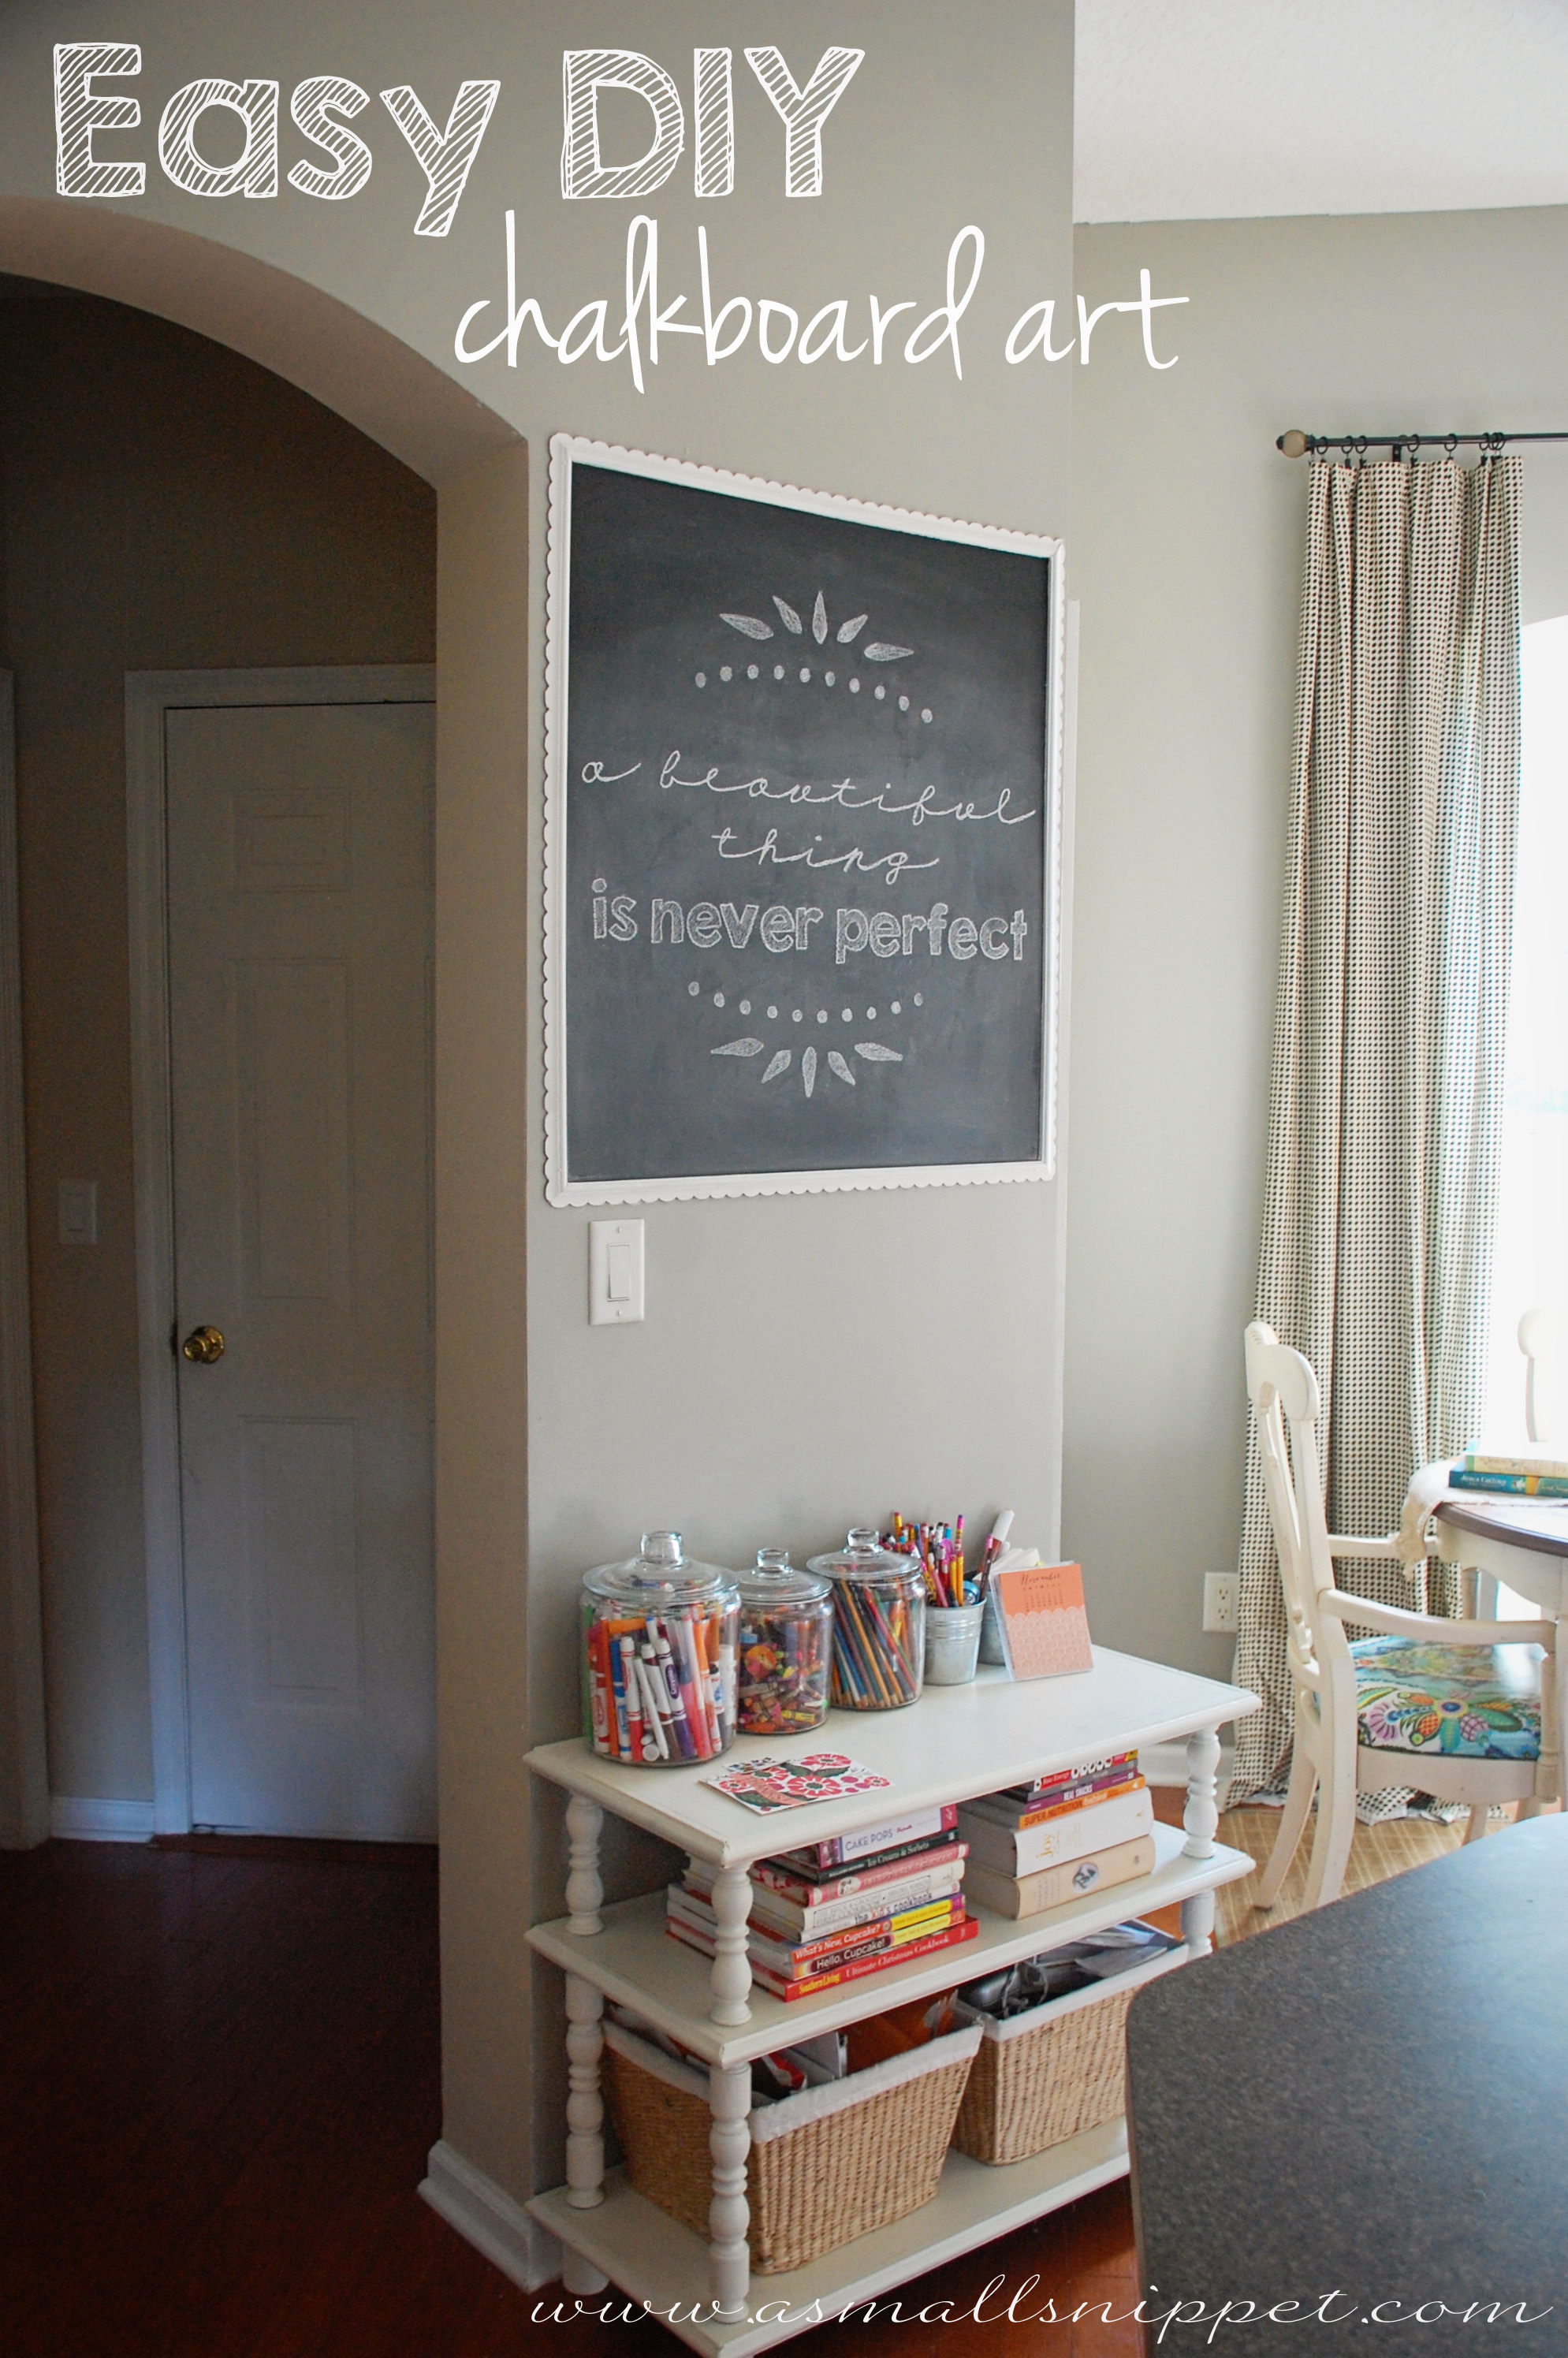
Easy DIY Chalkboard Art
you might remember from Berkeley’s First Birthday Party post where i told you that i would show you an easy way to create chalkboard art. today is the day, my friends!
this was a game-changer for me. i am a recovering perfectionist, so when it comes to things like chalkboard art, my free-hand creates lots of unnecessary frustration and leaves A LOT to be desired! even the smallest inconsistency would bother me, so of course it would take me multiple tries and lots of erasing to get anything even close to how i wanted it to look…and even then, i was never completely satisfied. there are lots of things these days that i’m slowly learning that do not need to be perfect, and in fact are better because of their imperfections (hence the phrase that is currently on my chalkboard!) but when it came to chalkboard art, i really did like it to look polished and clean and…well…as close to perfect as i could get it.
when i figured out this simple technique through some trial and error, my erasing-and-starting-over days became a thing of the past.
here’s what i do.
first off, create a document that looks the way you want your chalkboard art to look. i use photoshop but you could use a simple word document. just make sure that you create your document to the size of your chalkboard. so the first thing i do before anything else is change the image size to the dimensions of my chalkboard. you should easily be able to do that in any drawing or graphic design application. (even open office draw has that capability, and that’s a free program that you can download off the internet. i use that program a lot, and its very easy to work with.)
there are TONS of free fonts available to get the look you’d like, (i love mixing fonts) and lots of free fonts that offer frames and ornaments and dingbats to add decor to your art. here’s a link to some fonts from my all time favorite font designer. she has lots of frames and decoration fonts too. (scroll through the pages in the link to see more.)
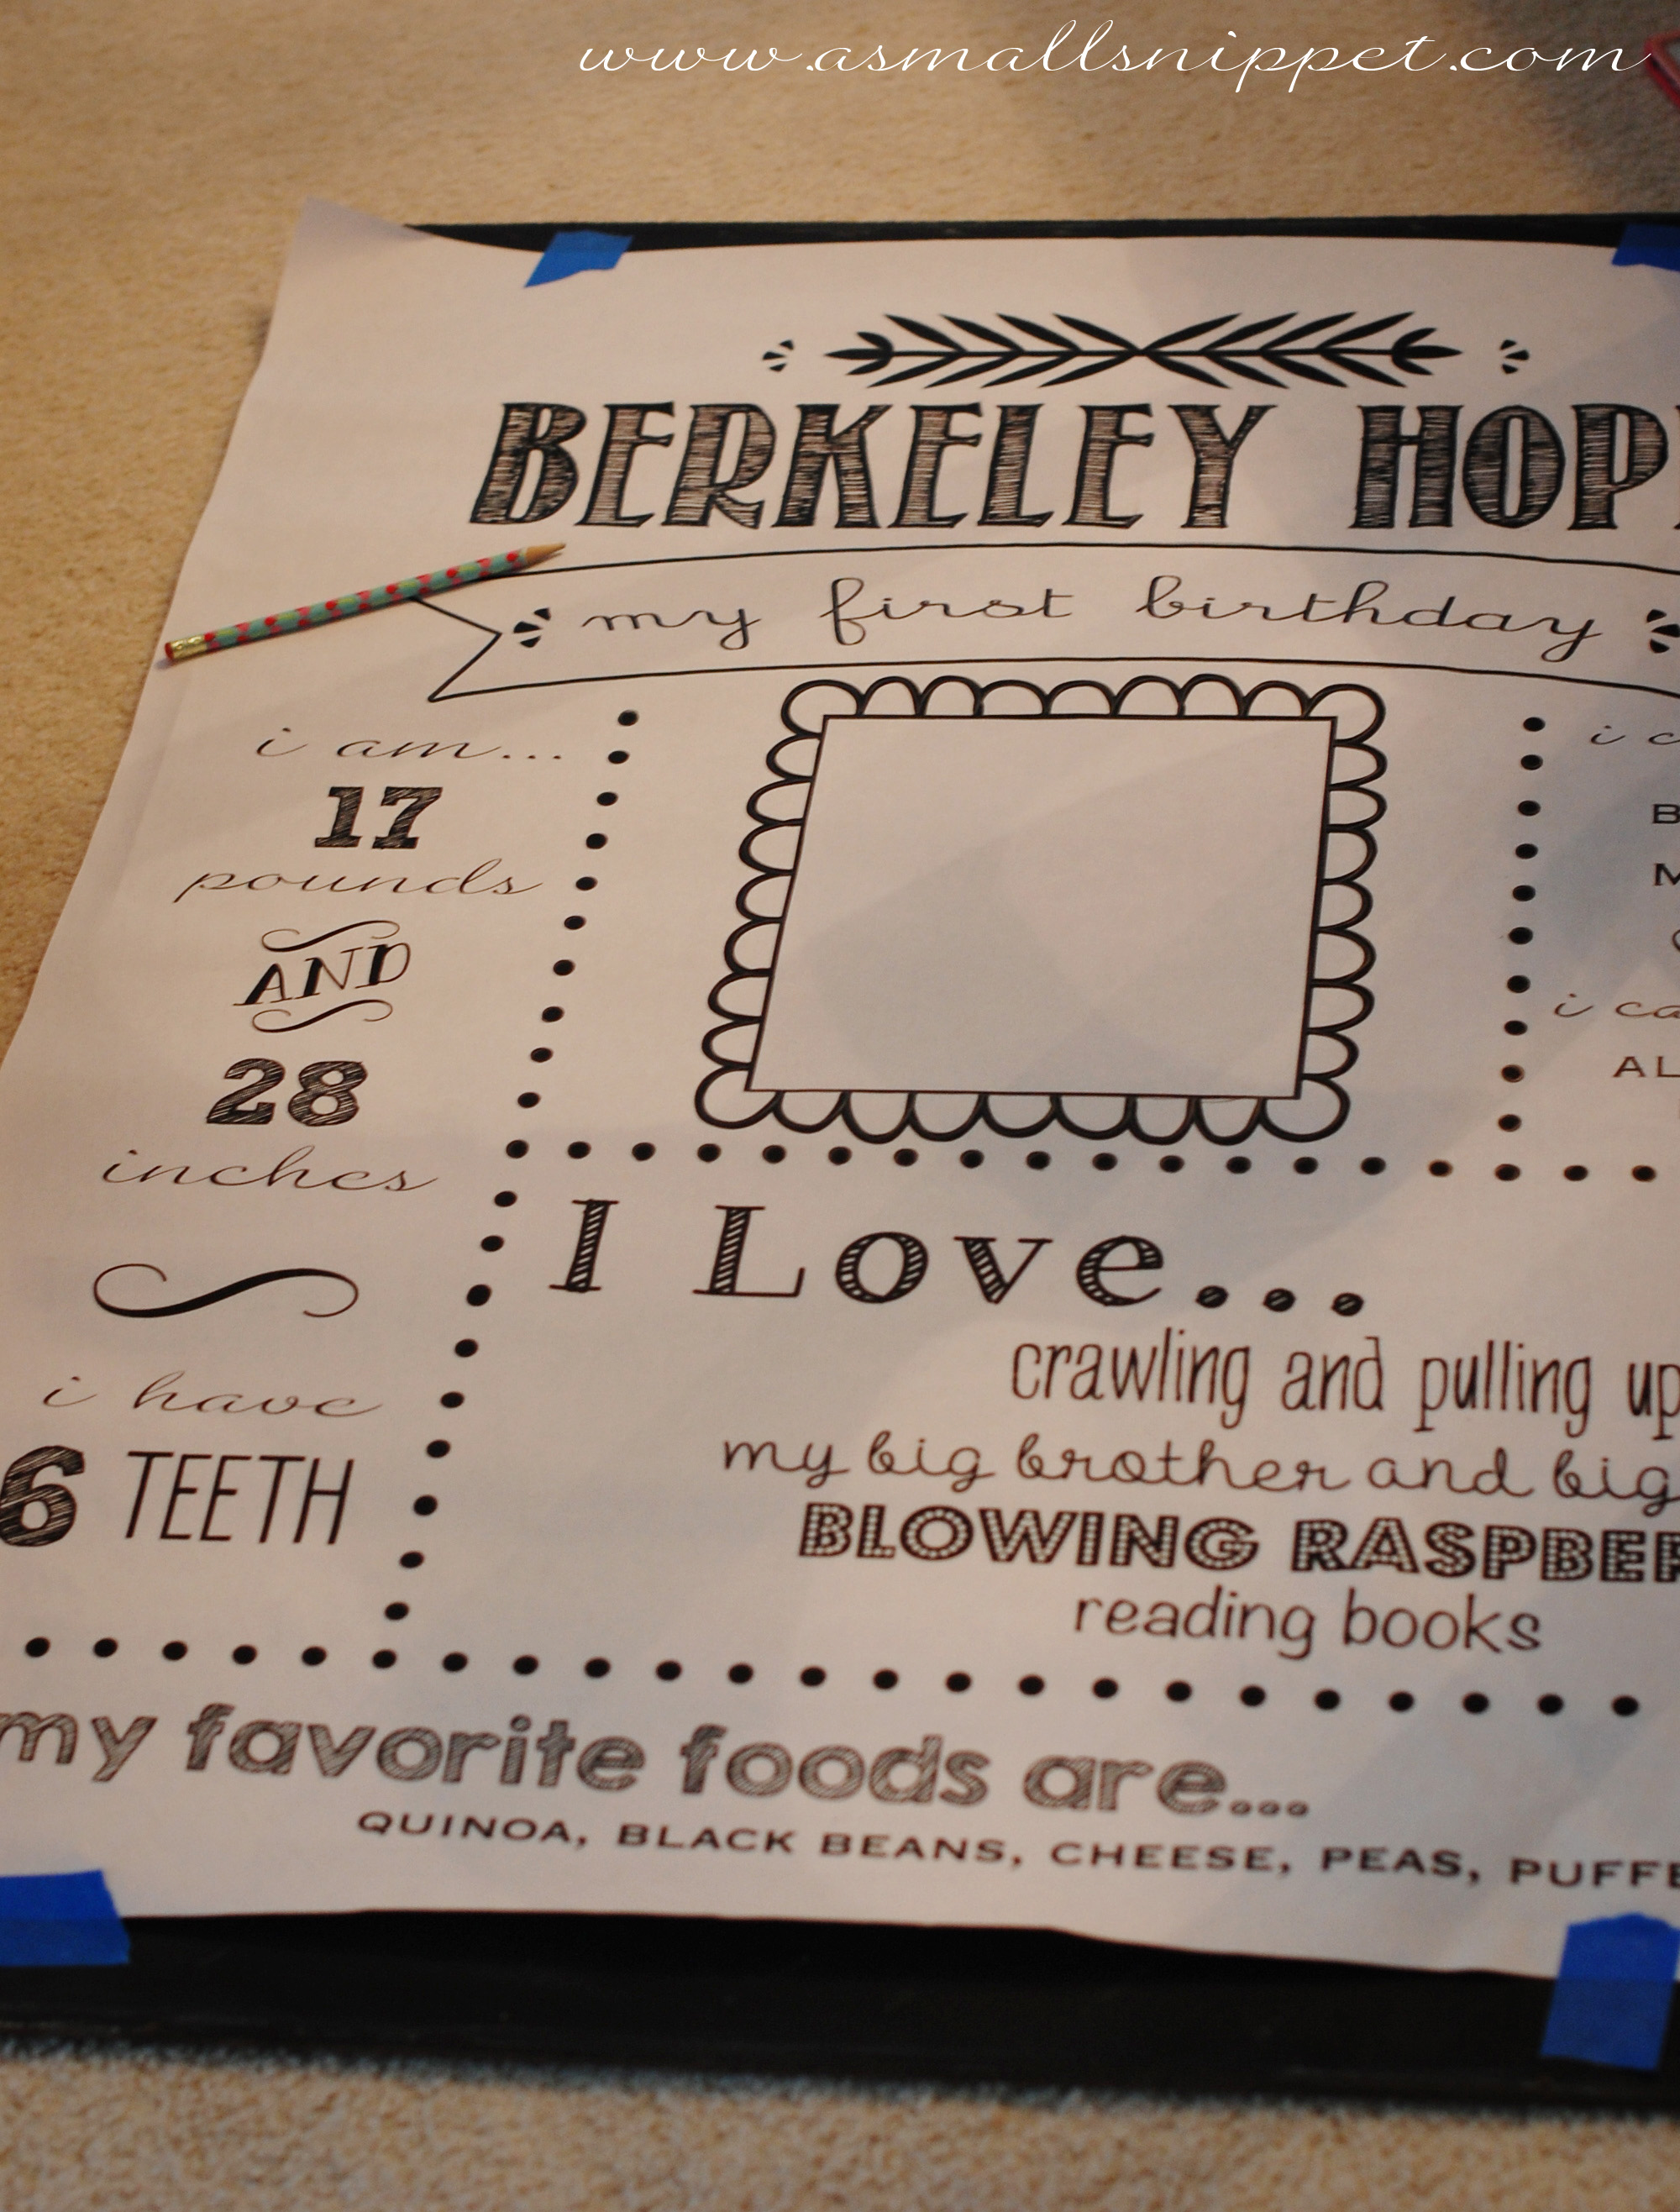
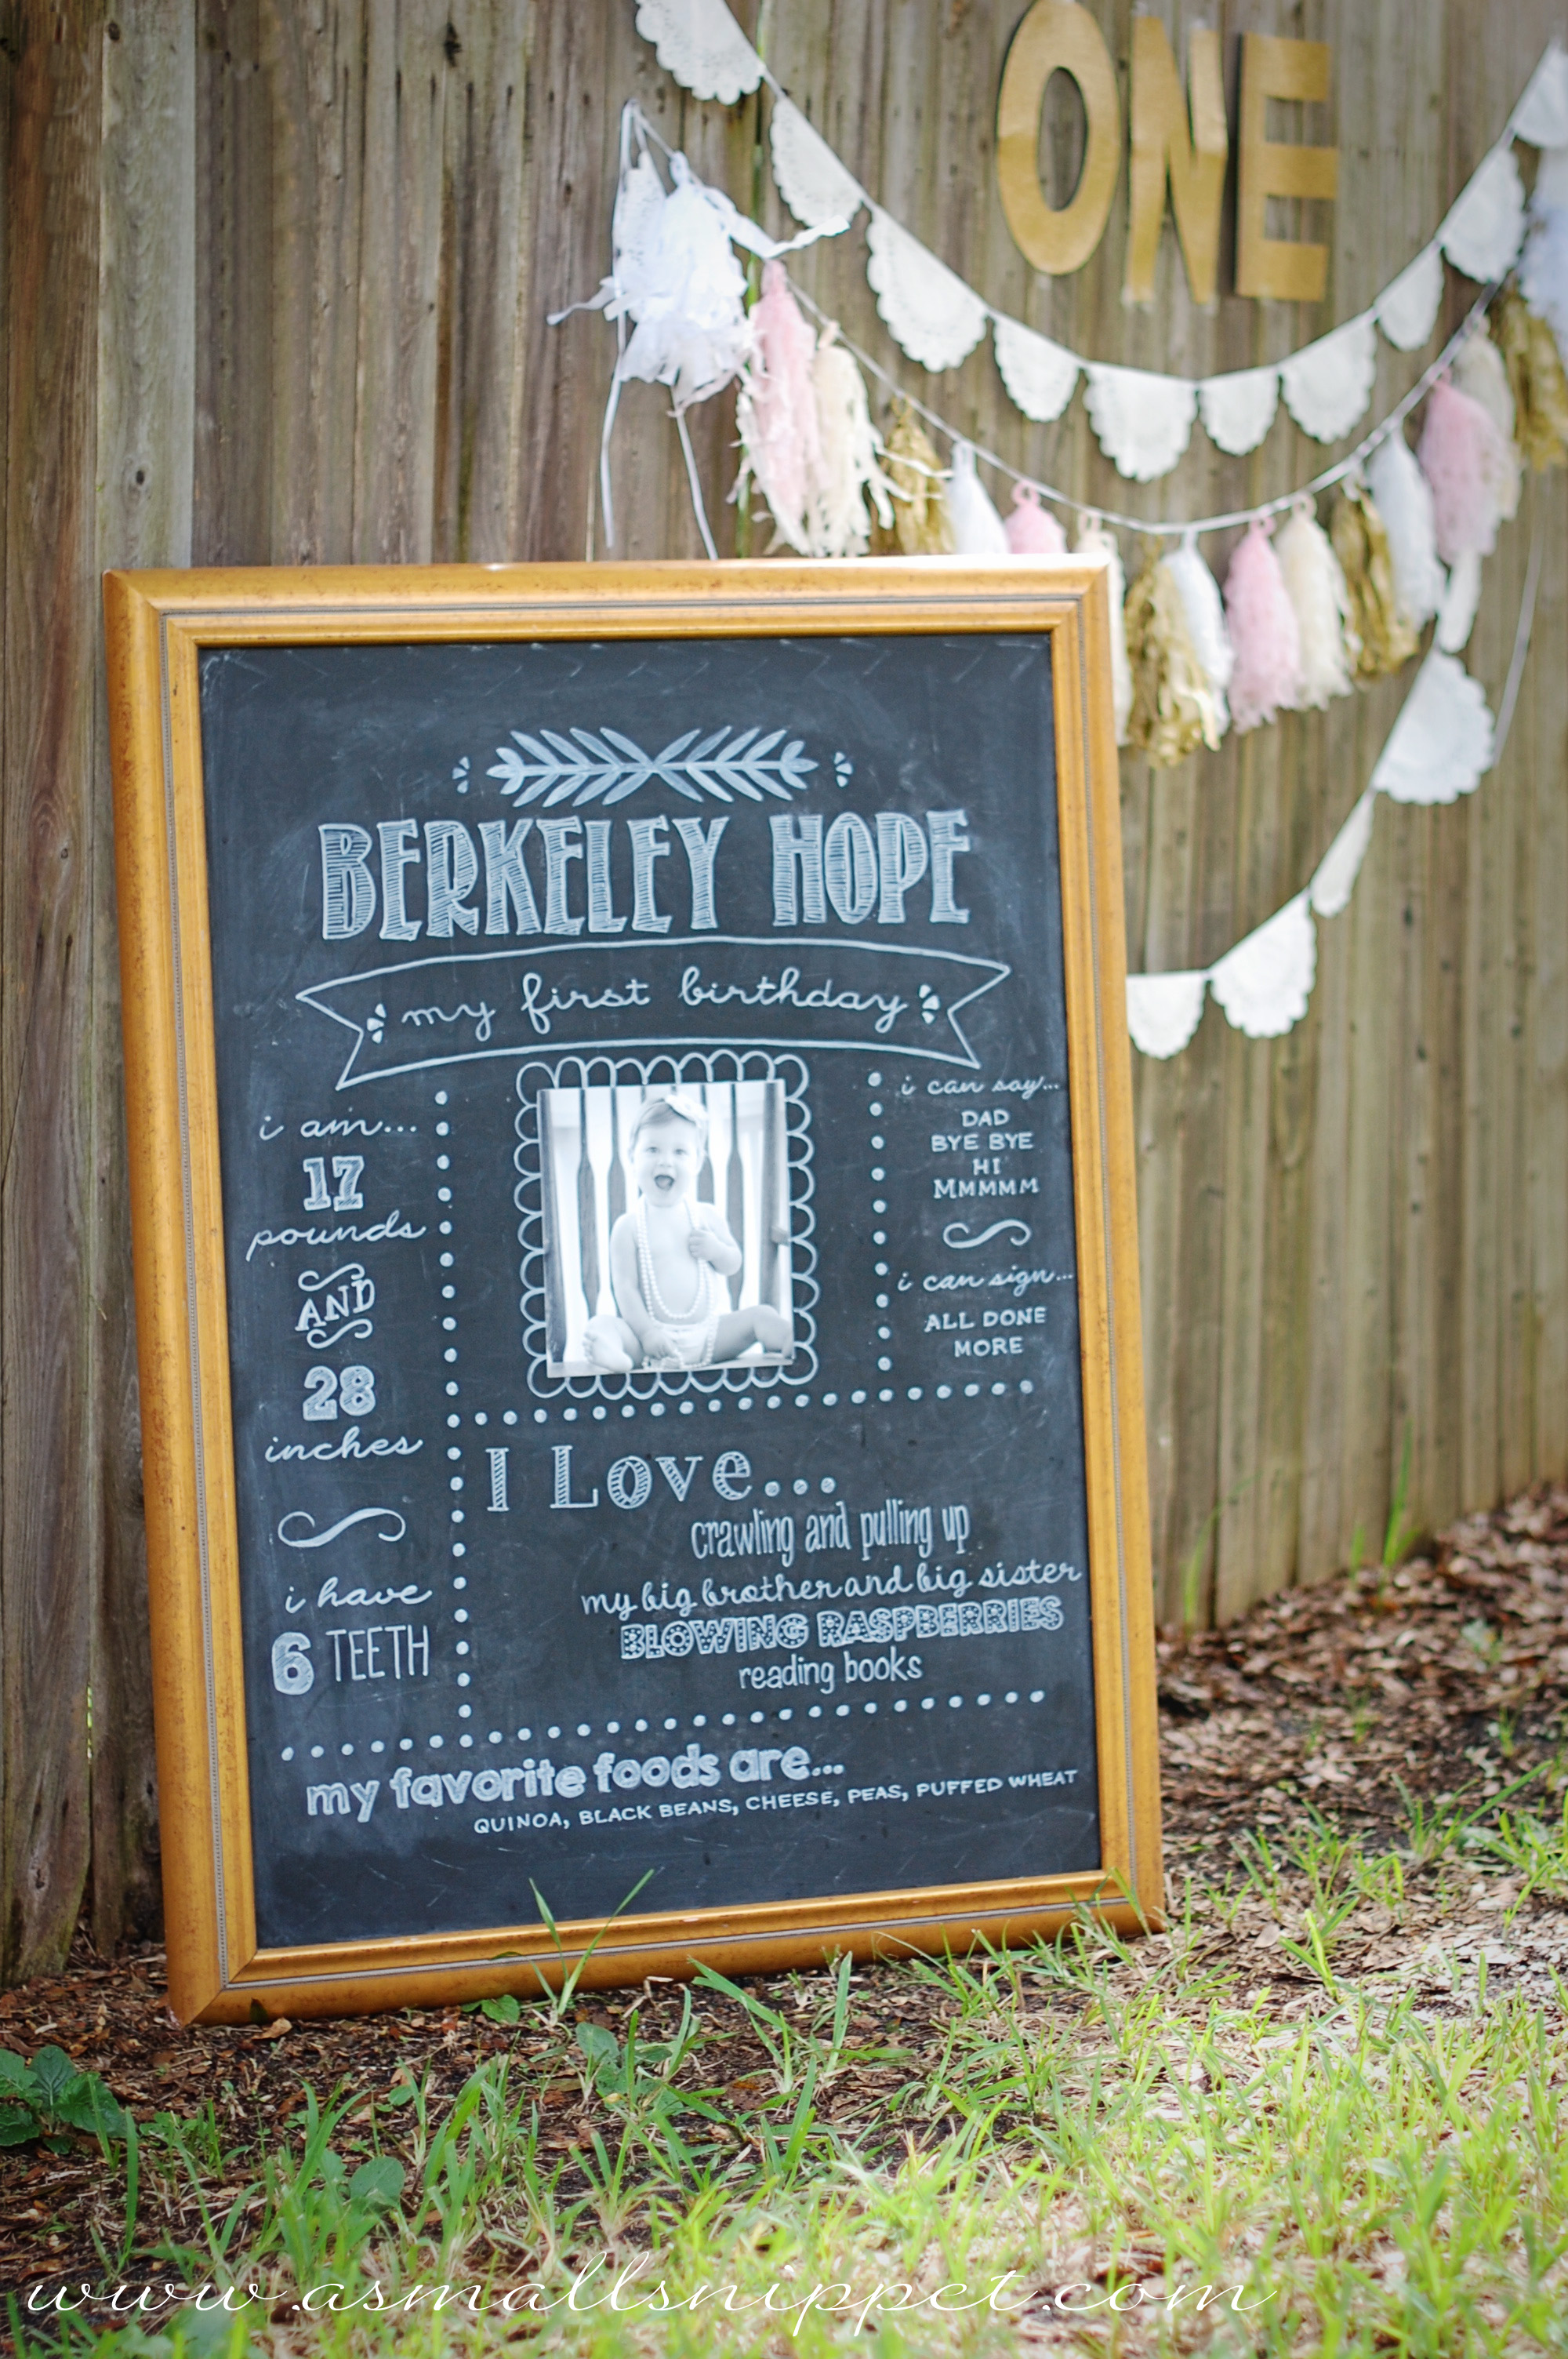
here’s a sample of the document i did for Berkeley’s Birthday Chalkboard:

this one is slightly more involved then most chalkboard art i would typically do, but it gives you a good idea of what i mean by using different fonts and decorations. (and at the end of the post, i’m giving you a printable for another document i created for your own personal use.)
once i have the document finished, i then take it to my local Fed-Ex Office store. y’all by now know of my deep love for my Fed-Ex peeps. i use this place ALL THE TIME to do my dirty work! basically, i email them or take in my document on a flash drive, and tell them the exact measurement of my chalkboard, and then they print that bad boy up just right! it usually only costs a few bucks. i just make sure to tell them to print on the cheapest paper, in black and white.
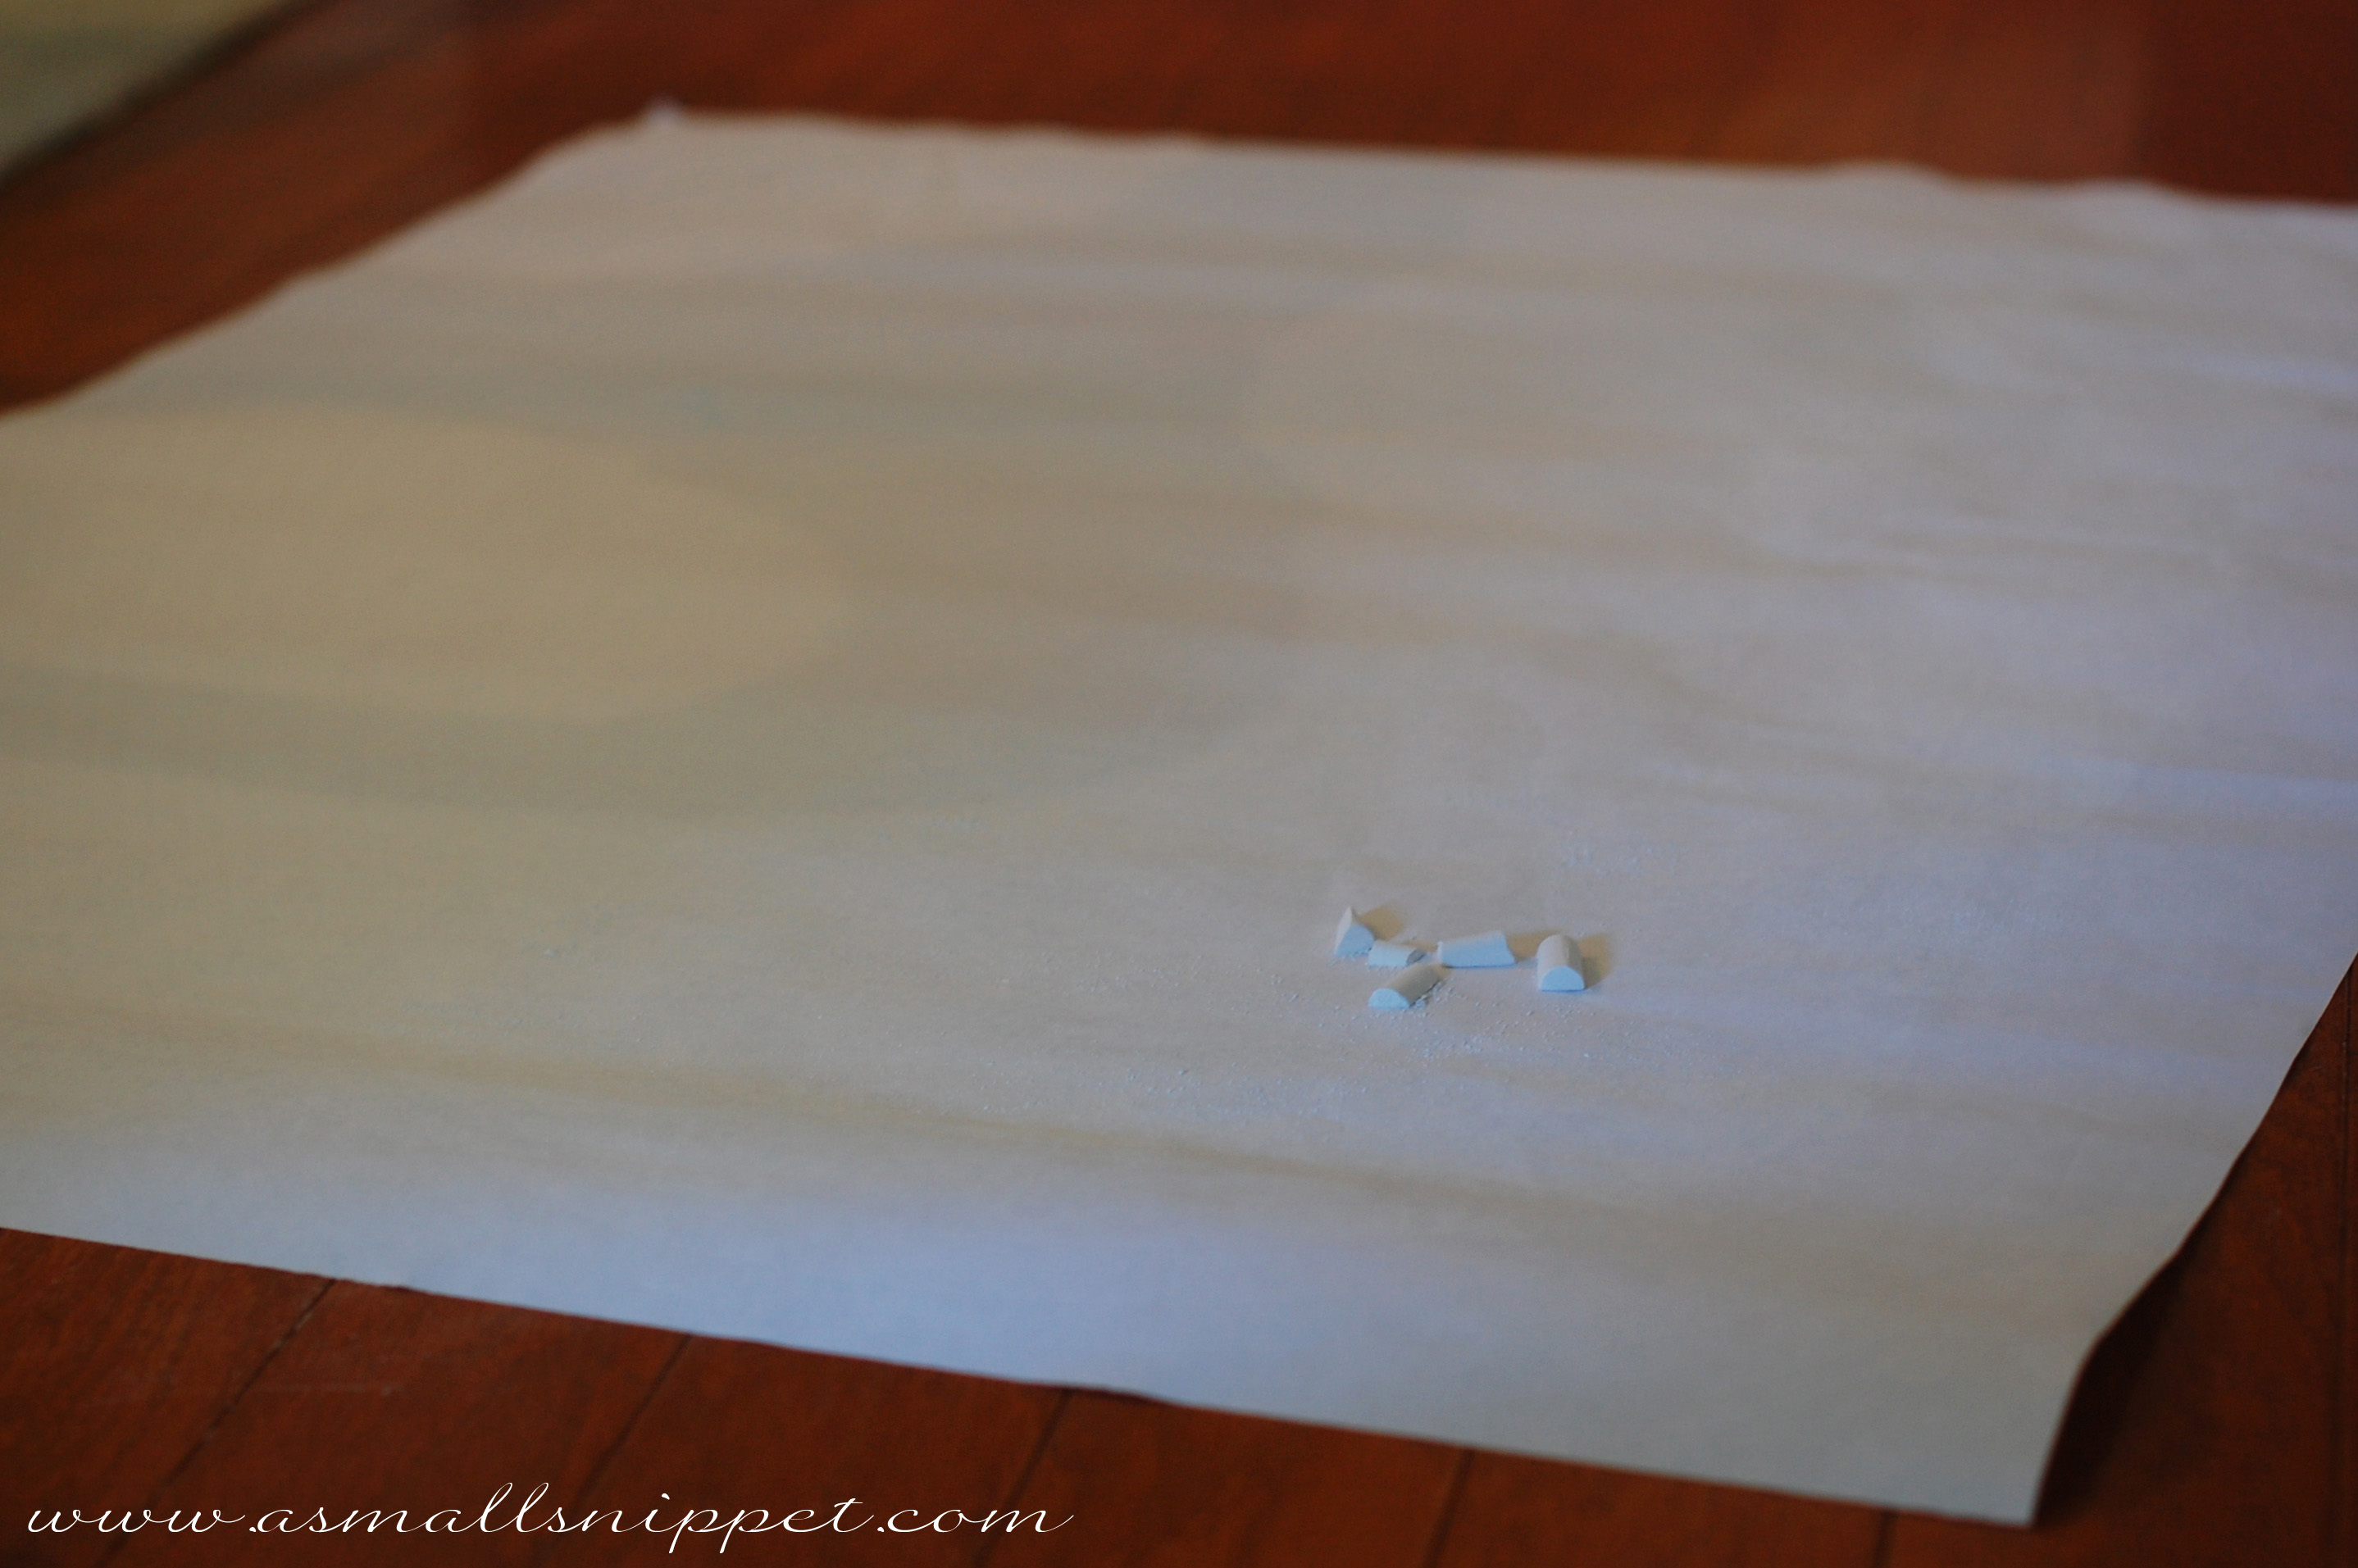
now comes the fun part. you take that big ol piece of paper, flip it over so the printed side is down, then color in the entire backside of it with a piece of chalk. use the long side of the chalk and rub it all over the paper to really cover every inch of it well in chalk dust:
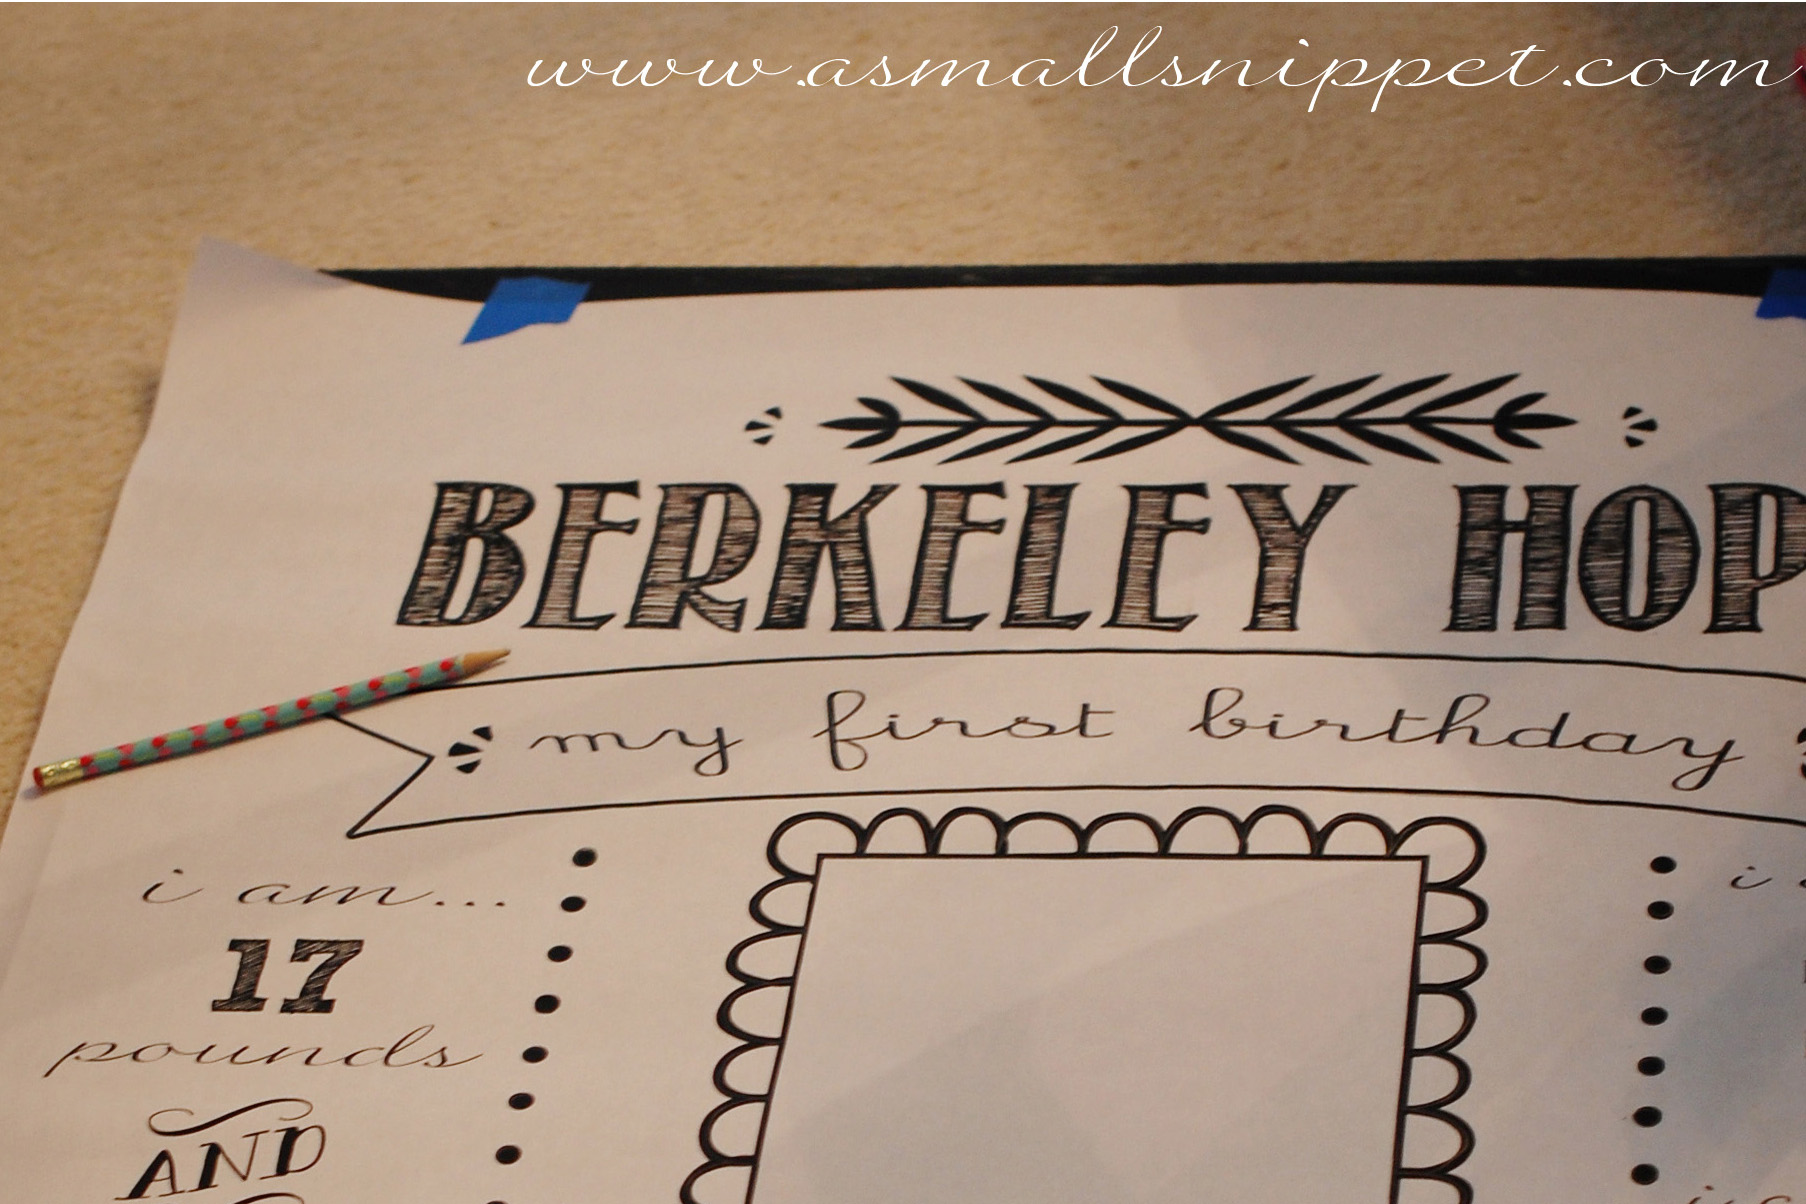
 next, flip it over onto your chalkboard so the printed side is now up, get it all centered and positioned just right, and tape it down so it stays in place. the chalk dusted part should now be touching your chalkboard.
then you take a dull pencil (you don’t want to use a super sharp pencil)….

and trace over all the printed areas…every word, decoration, etc. this process will transfer the chalk dust to the chalkboard in the exact areas you want it. if you have a word or decoration that will need to be filled in later, you can simply trace the outline of it for now.
when you are finished tracing the entire document, carefully remove your template, and you will see that it is now transferred onto your chalkboard in a light outline (don’t worry about the extra chalk dust around the art. that will fade as you complete your project, and you can always go in later and wipe it off):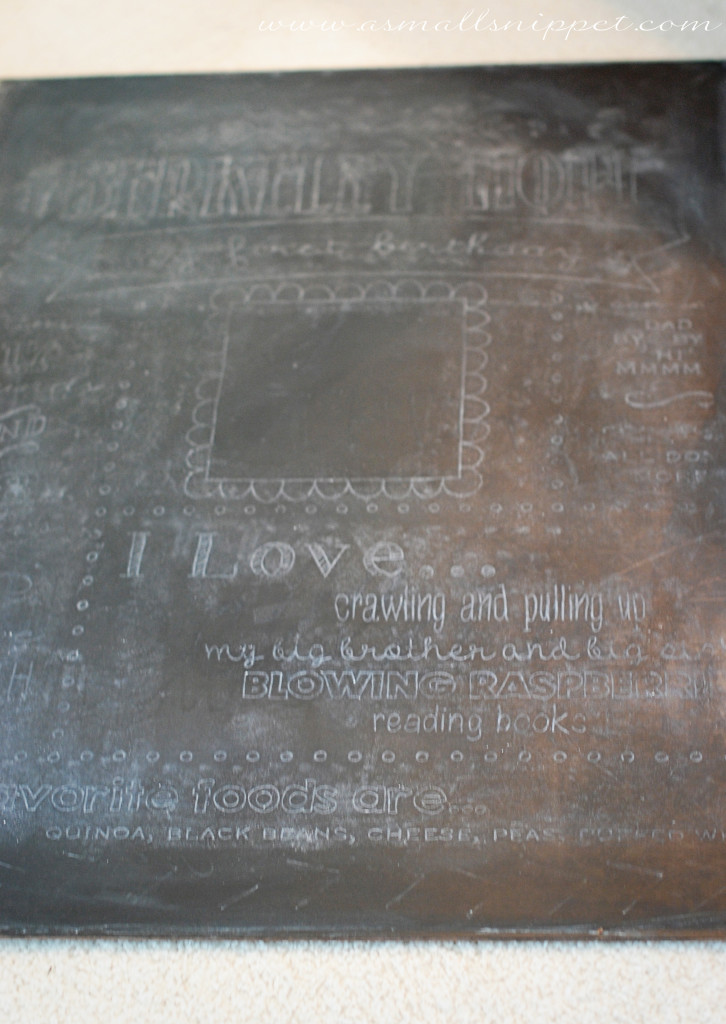
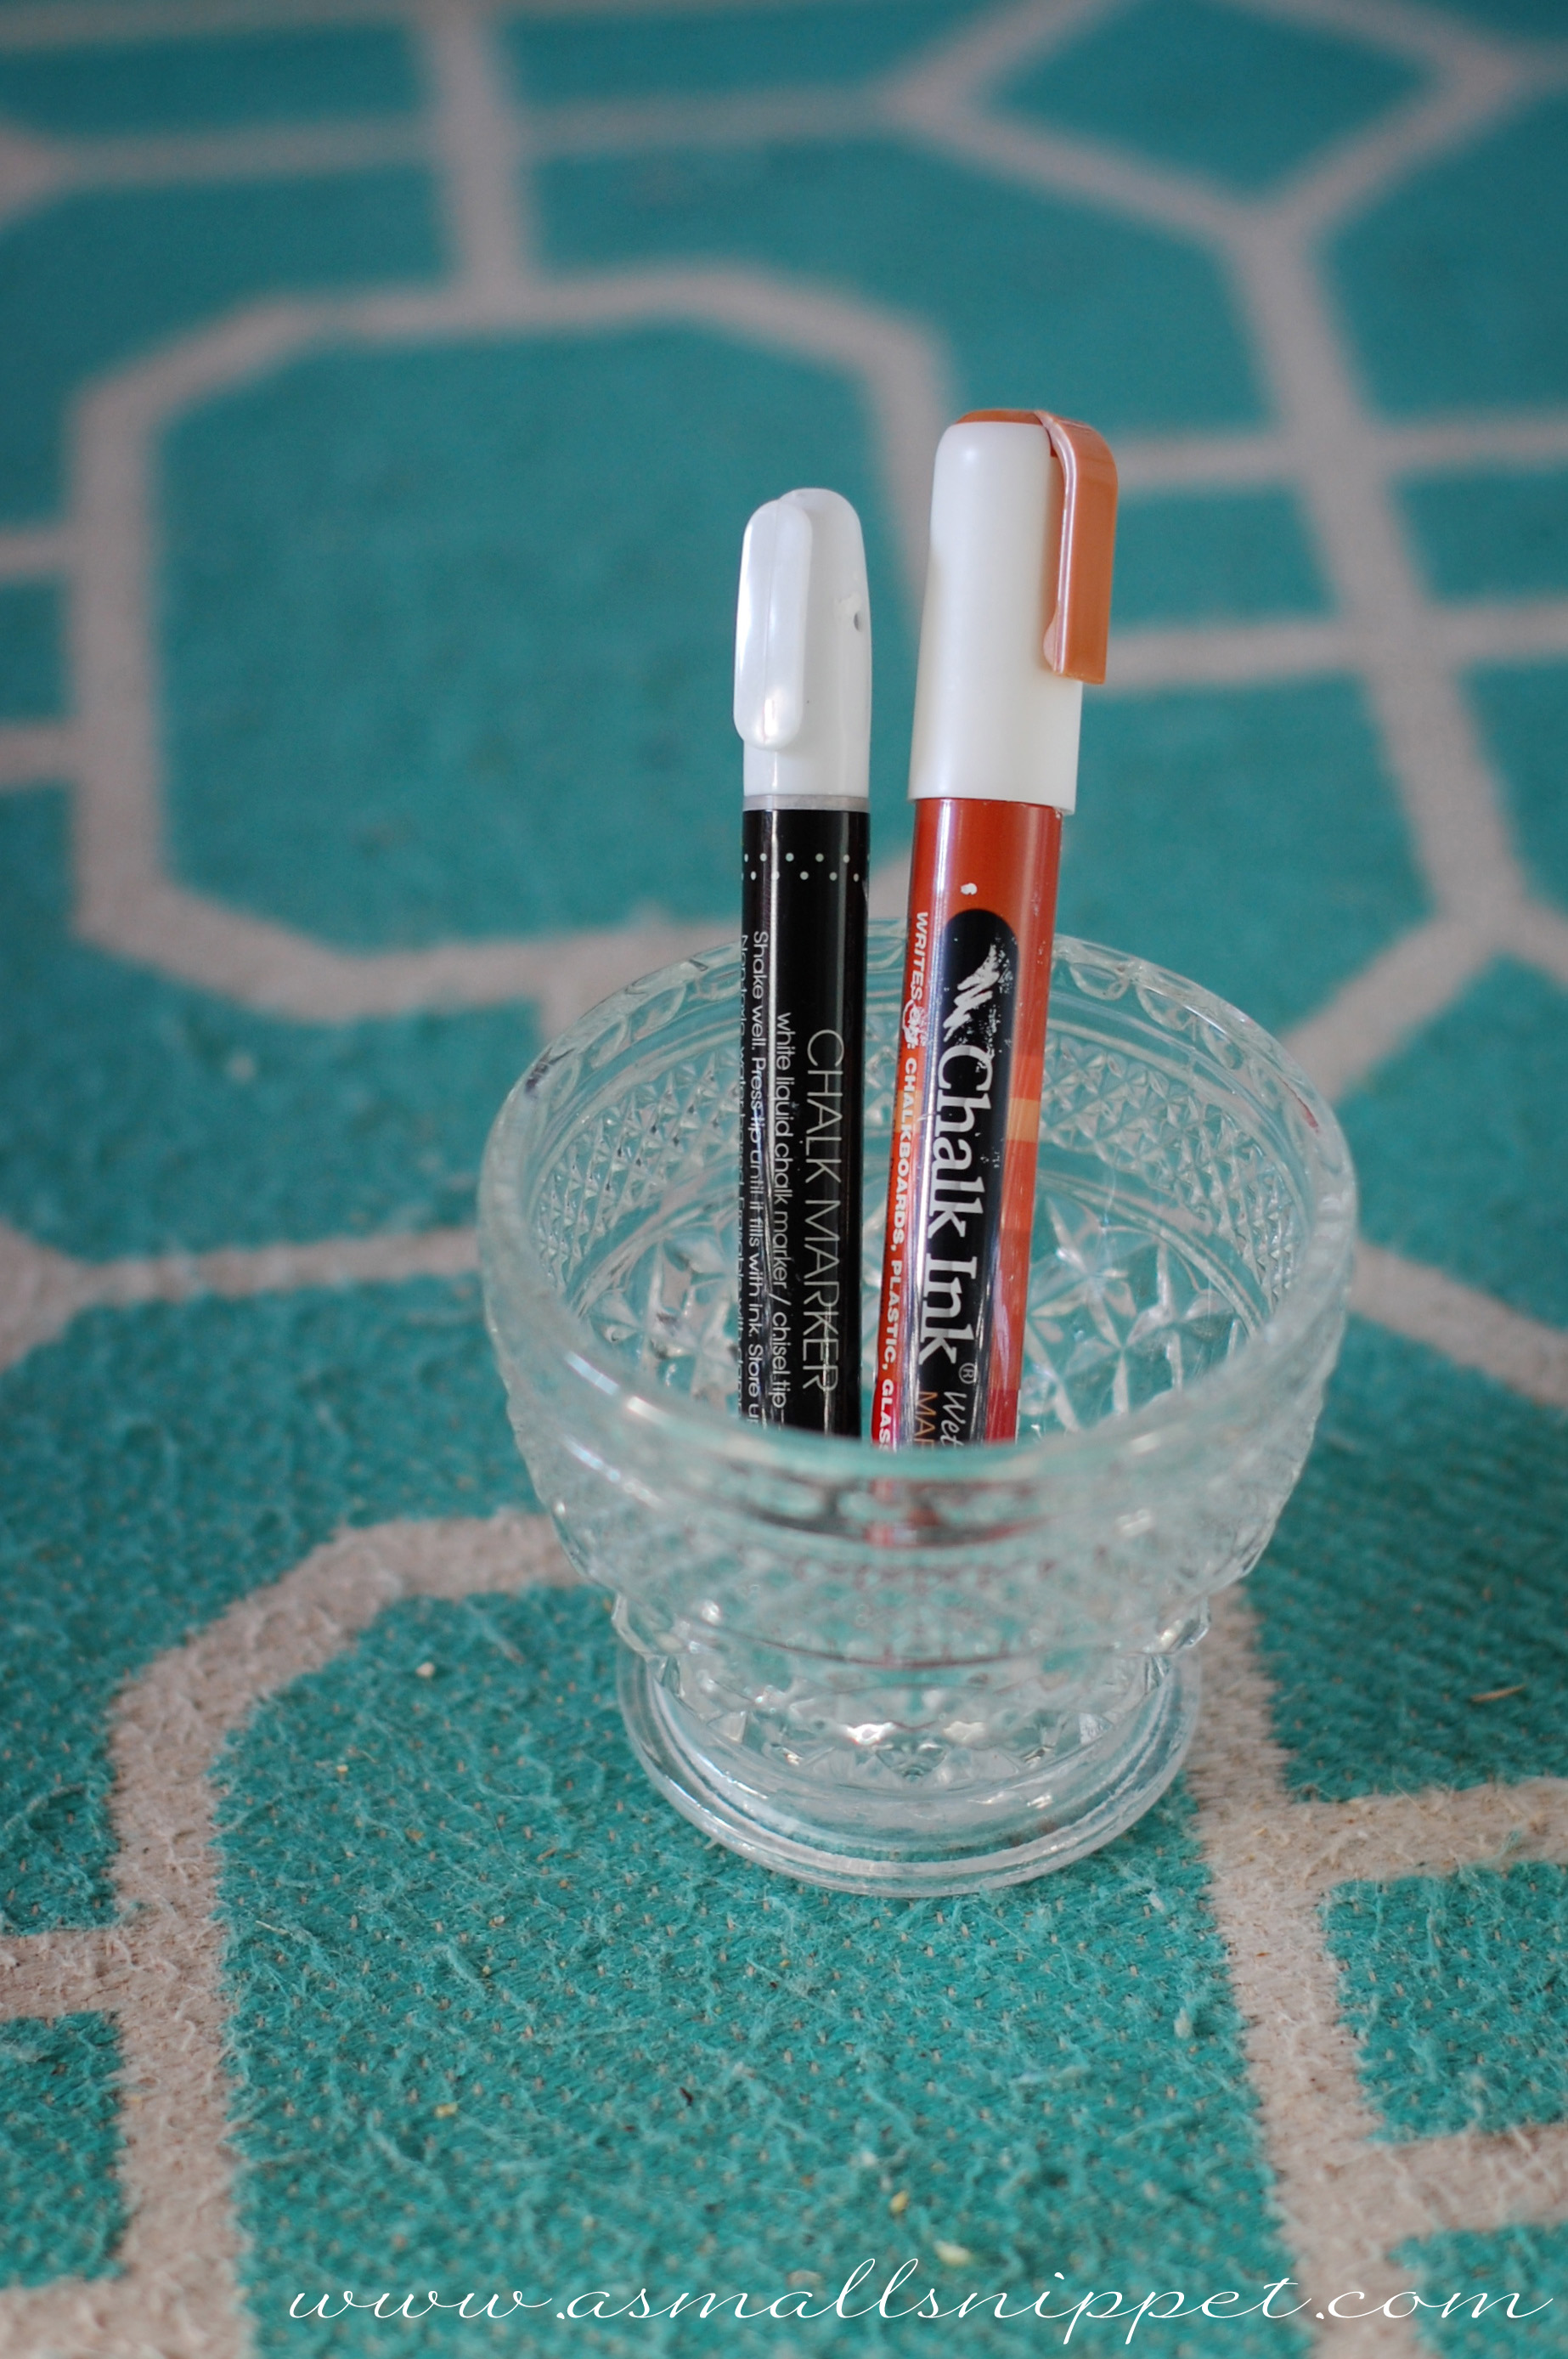
this is where using a chalk marker makes this project really easy. if you don’t have a chalk marker, you can always use a piece of chalk, but its best to dip the tip in water as you are writing. that gives you a crisper line, and makes it less likely to smudge. however, if you have a few bucks to spend, its worth investing in a chalk marker. the one on the left was only $1.00 at Target (in that brilliant dollar section that beckons me to buy everything!!!). i stock up on them whenever i see them in there. the one on the right is a little thicker, and i ordered it off Amazon. here is the link: Chalk Ink 6 mm Chalk Marker, White
take your chalk marker, or wet chalk, and begin going back over everything, filling in whatever you need to fill in.
once you are all finished, you will be left with a crisp and clean chalkboard. 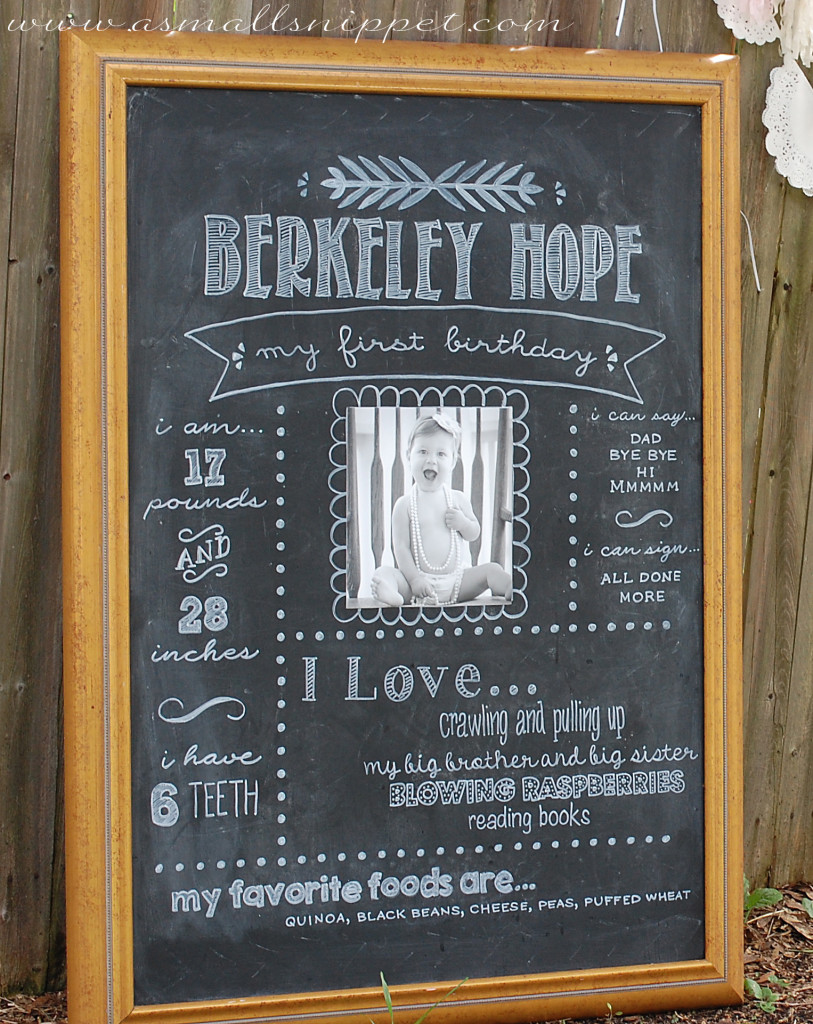
i use the same exact technique for my chalkboard that is painted directly on my wall. it takes a bit more effort, because i have to stand on a chair to do it, but it yields the same effect. this is currently what is on my chalkboard in my kitchen (although i’m getting ready to change it out for the holiday season):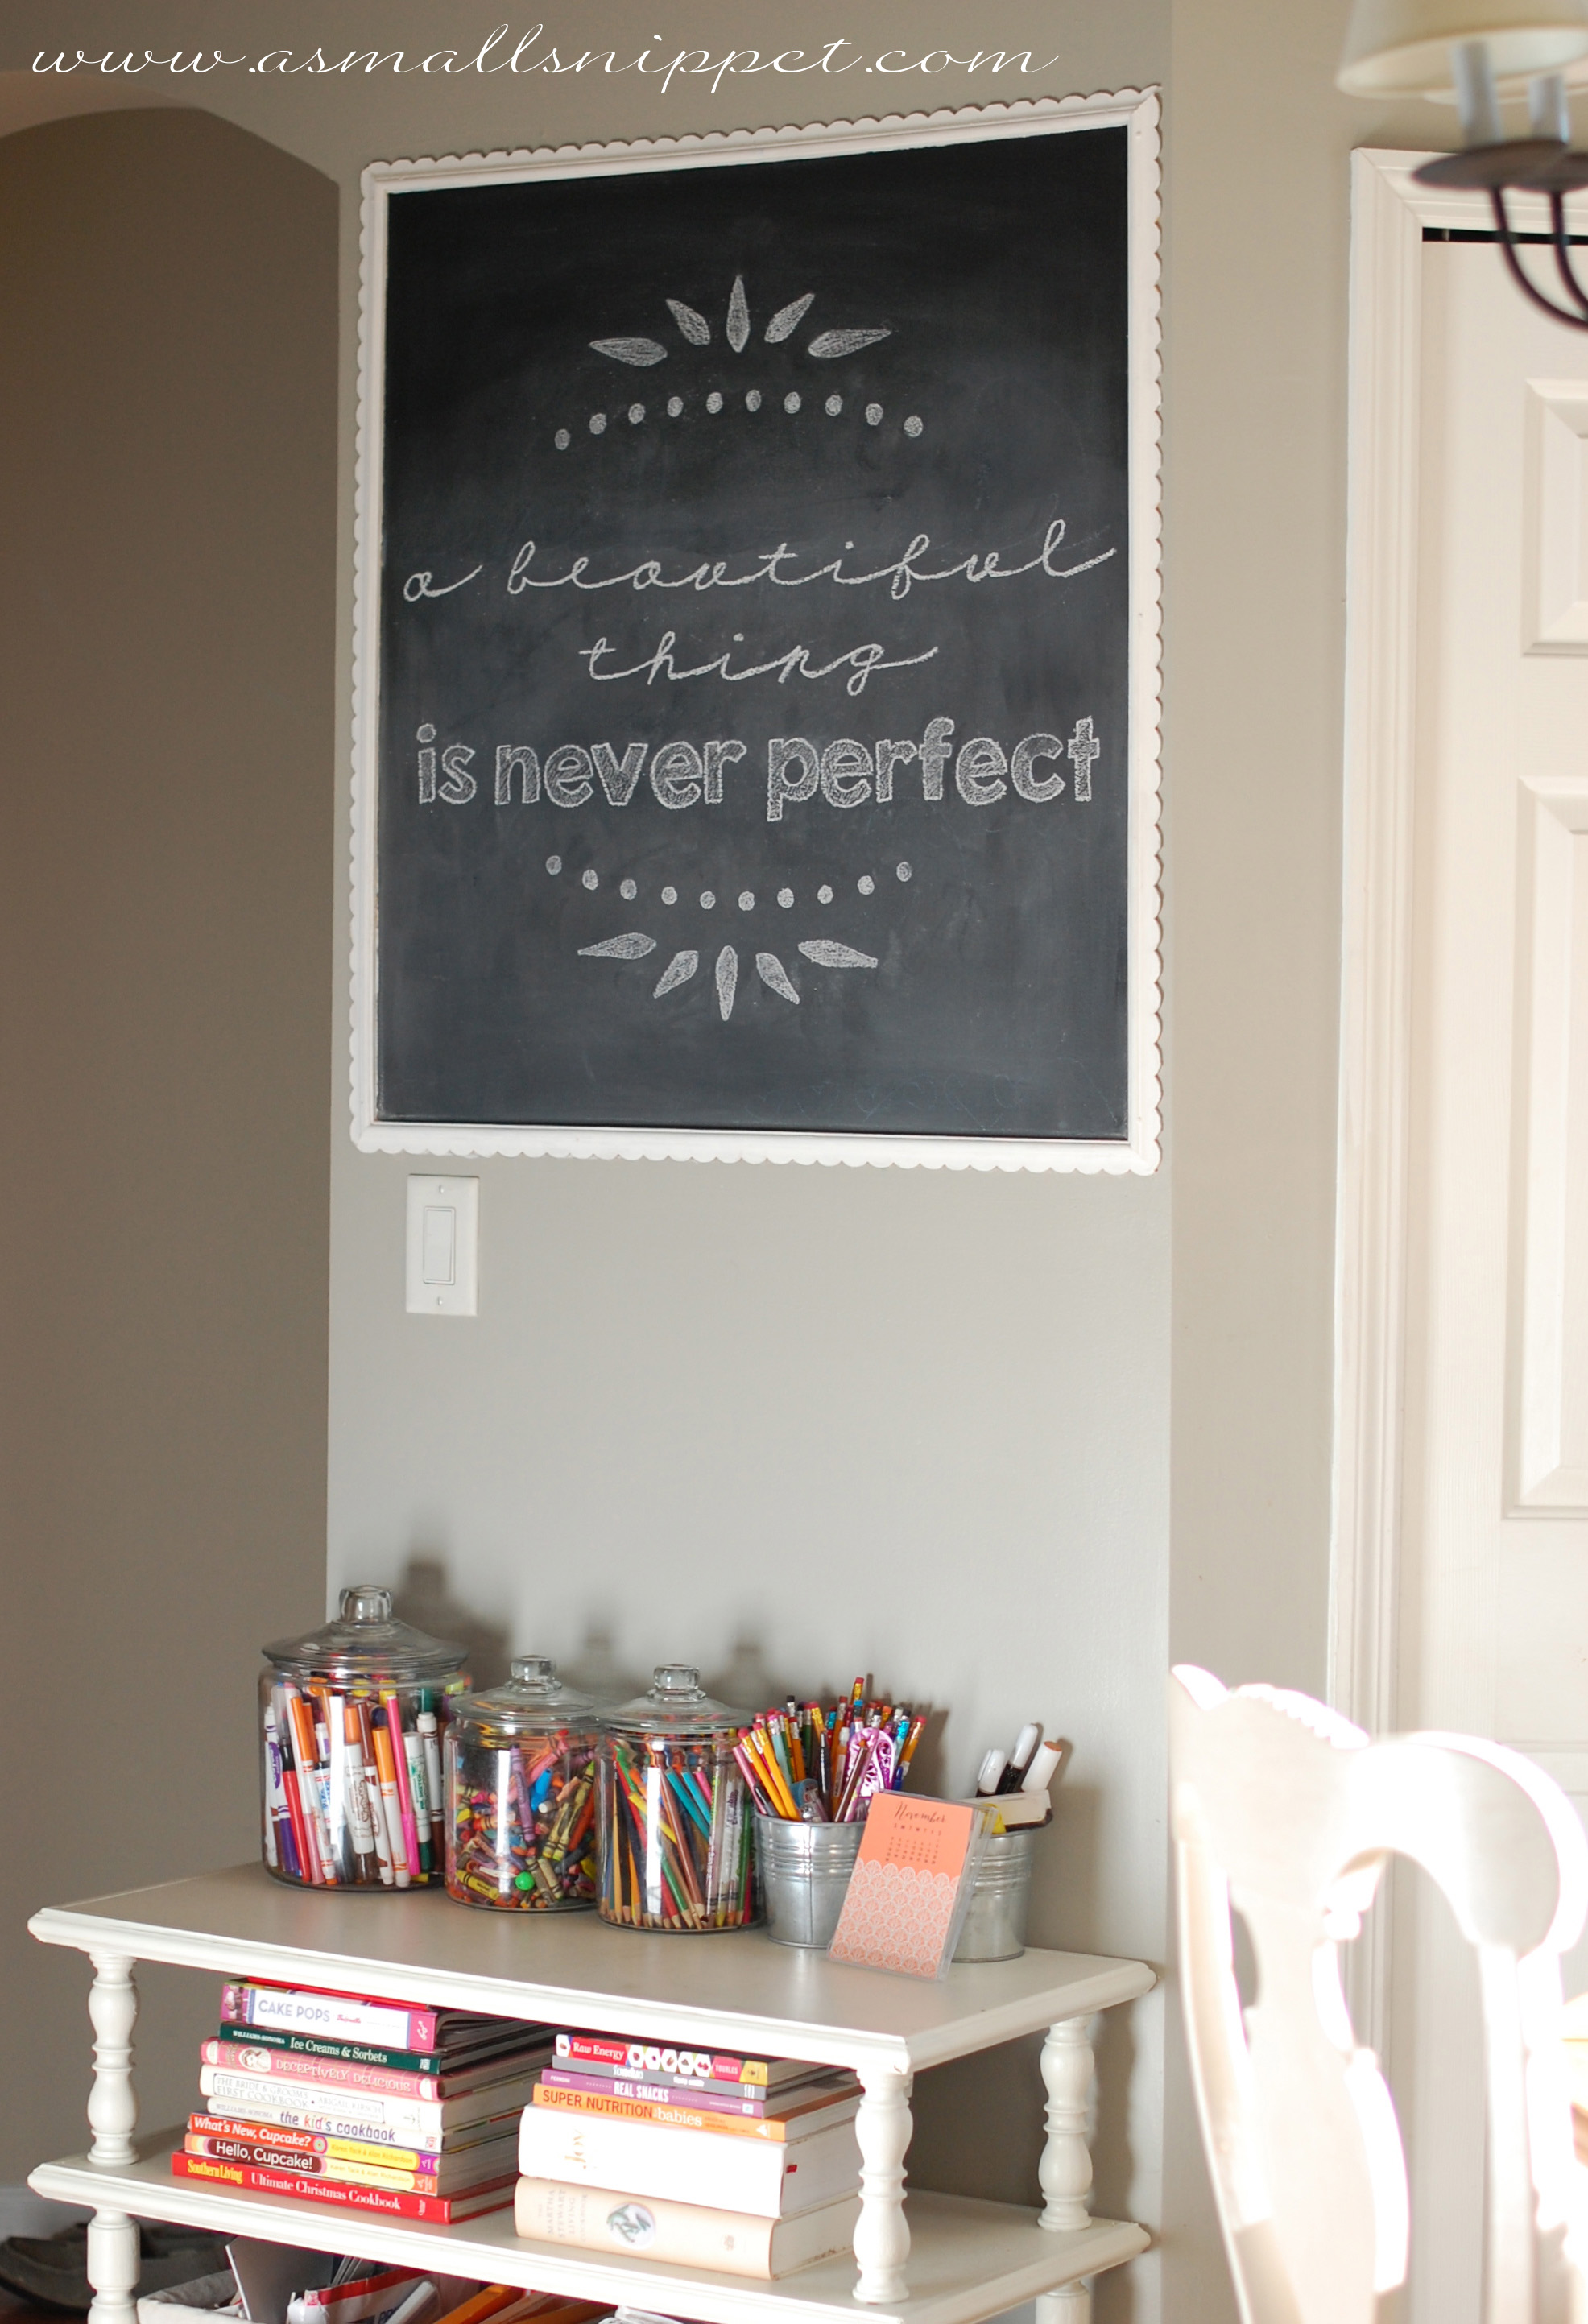
i read that quote when reading this precious book, The Nesting Place: It Doesn’t Have to Be Perfect to Be Beautiful. y’all…this book was written for me! it is such an easy, and enjoyable, and encouraging read. if you haven’t read it, i’m telling you, its worth your time. that quote has been my mantra, as we’ve moved and settled into our “new” old house. its just so good to remember in all areas of life…”A beautiful thing is never perfect.” i’m beginning to believe that maybe the imperfections of life are what make life beautiful. although as soon as i finished writing it up on the chalkboard, my precious and oh-so-witty and smart son came to me and told me that it wasn’t true…and then proceeded to use Heaven as an example of something that is beautiful AND perfect. i couldn’t really argue with that one, but you get the point!
anyway, i’ve attached the document i created for that chalkboard art for your personal use, in case you are also, like me, a recovering perfectionist and need to be reminded of this too! i think you can just save the image by right clicking, and then get it printed to the size you need.
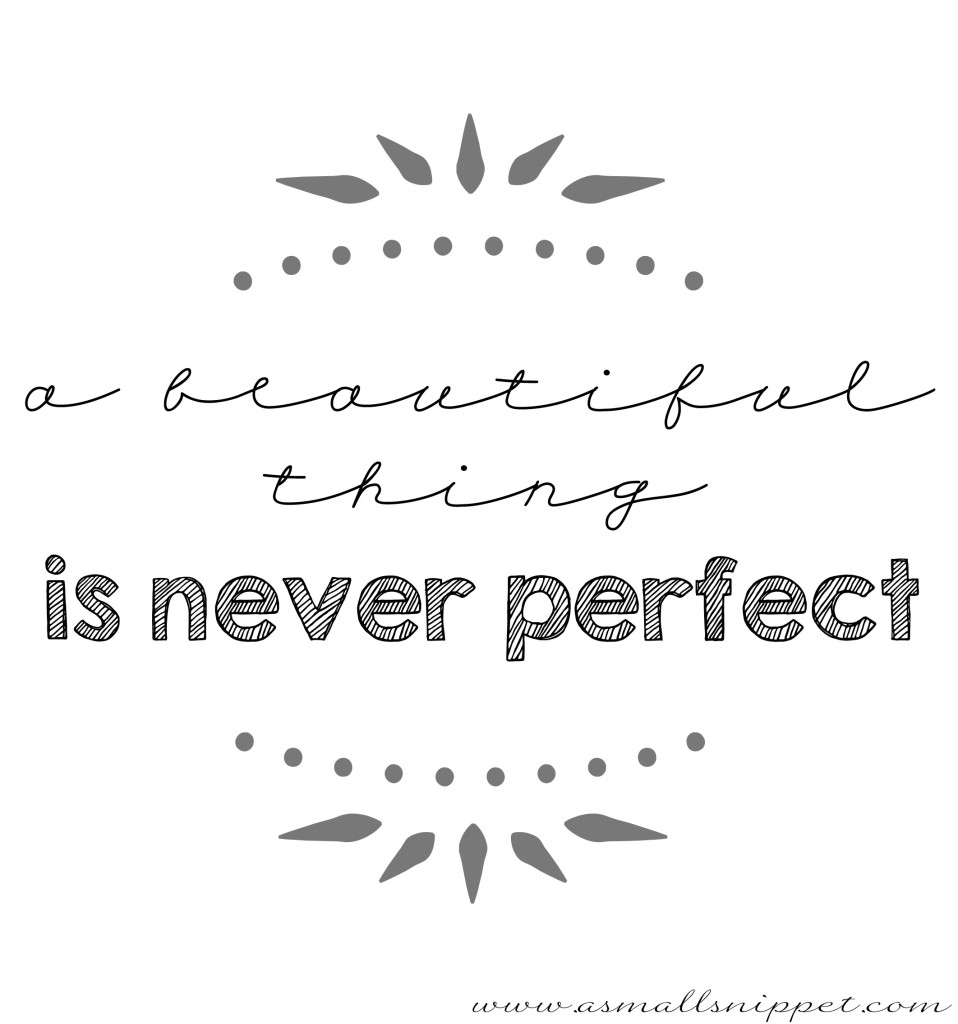
another great thing about creating chalkboard art this way, is that i keep all of my printed documents, so if i change out my chalkboard for the holidays, but want to put that quote back up later on, i already have the document all ready to go. an added bonus!
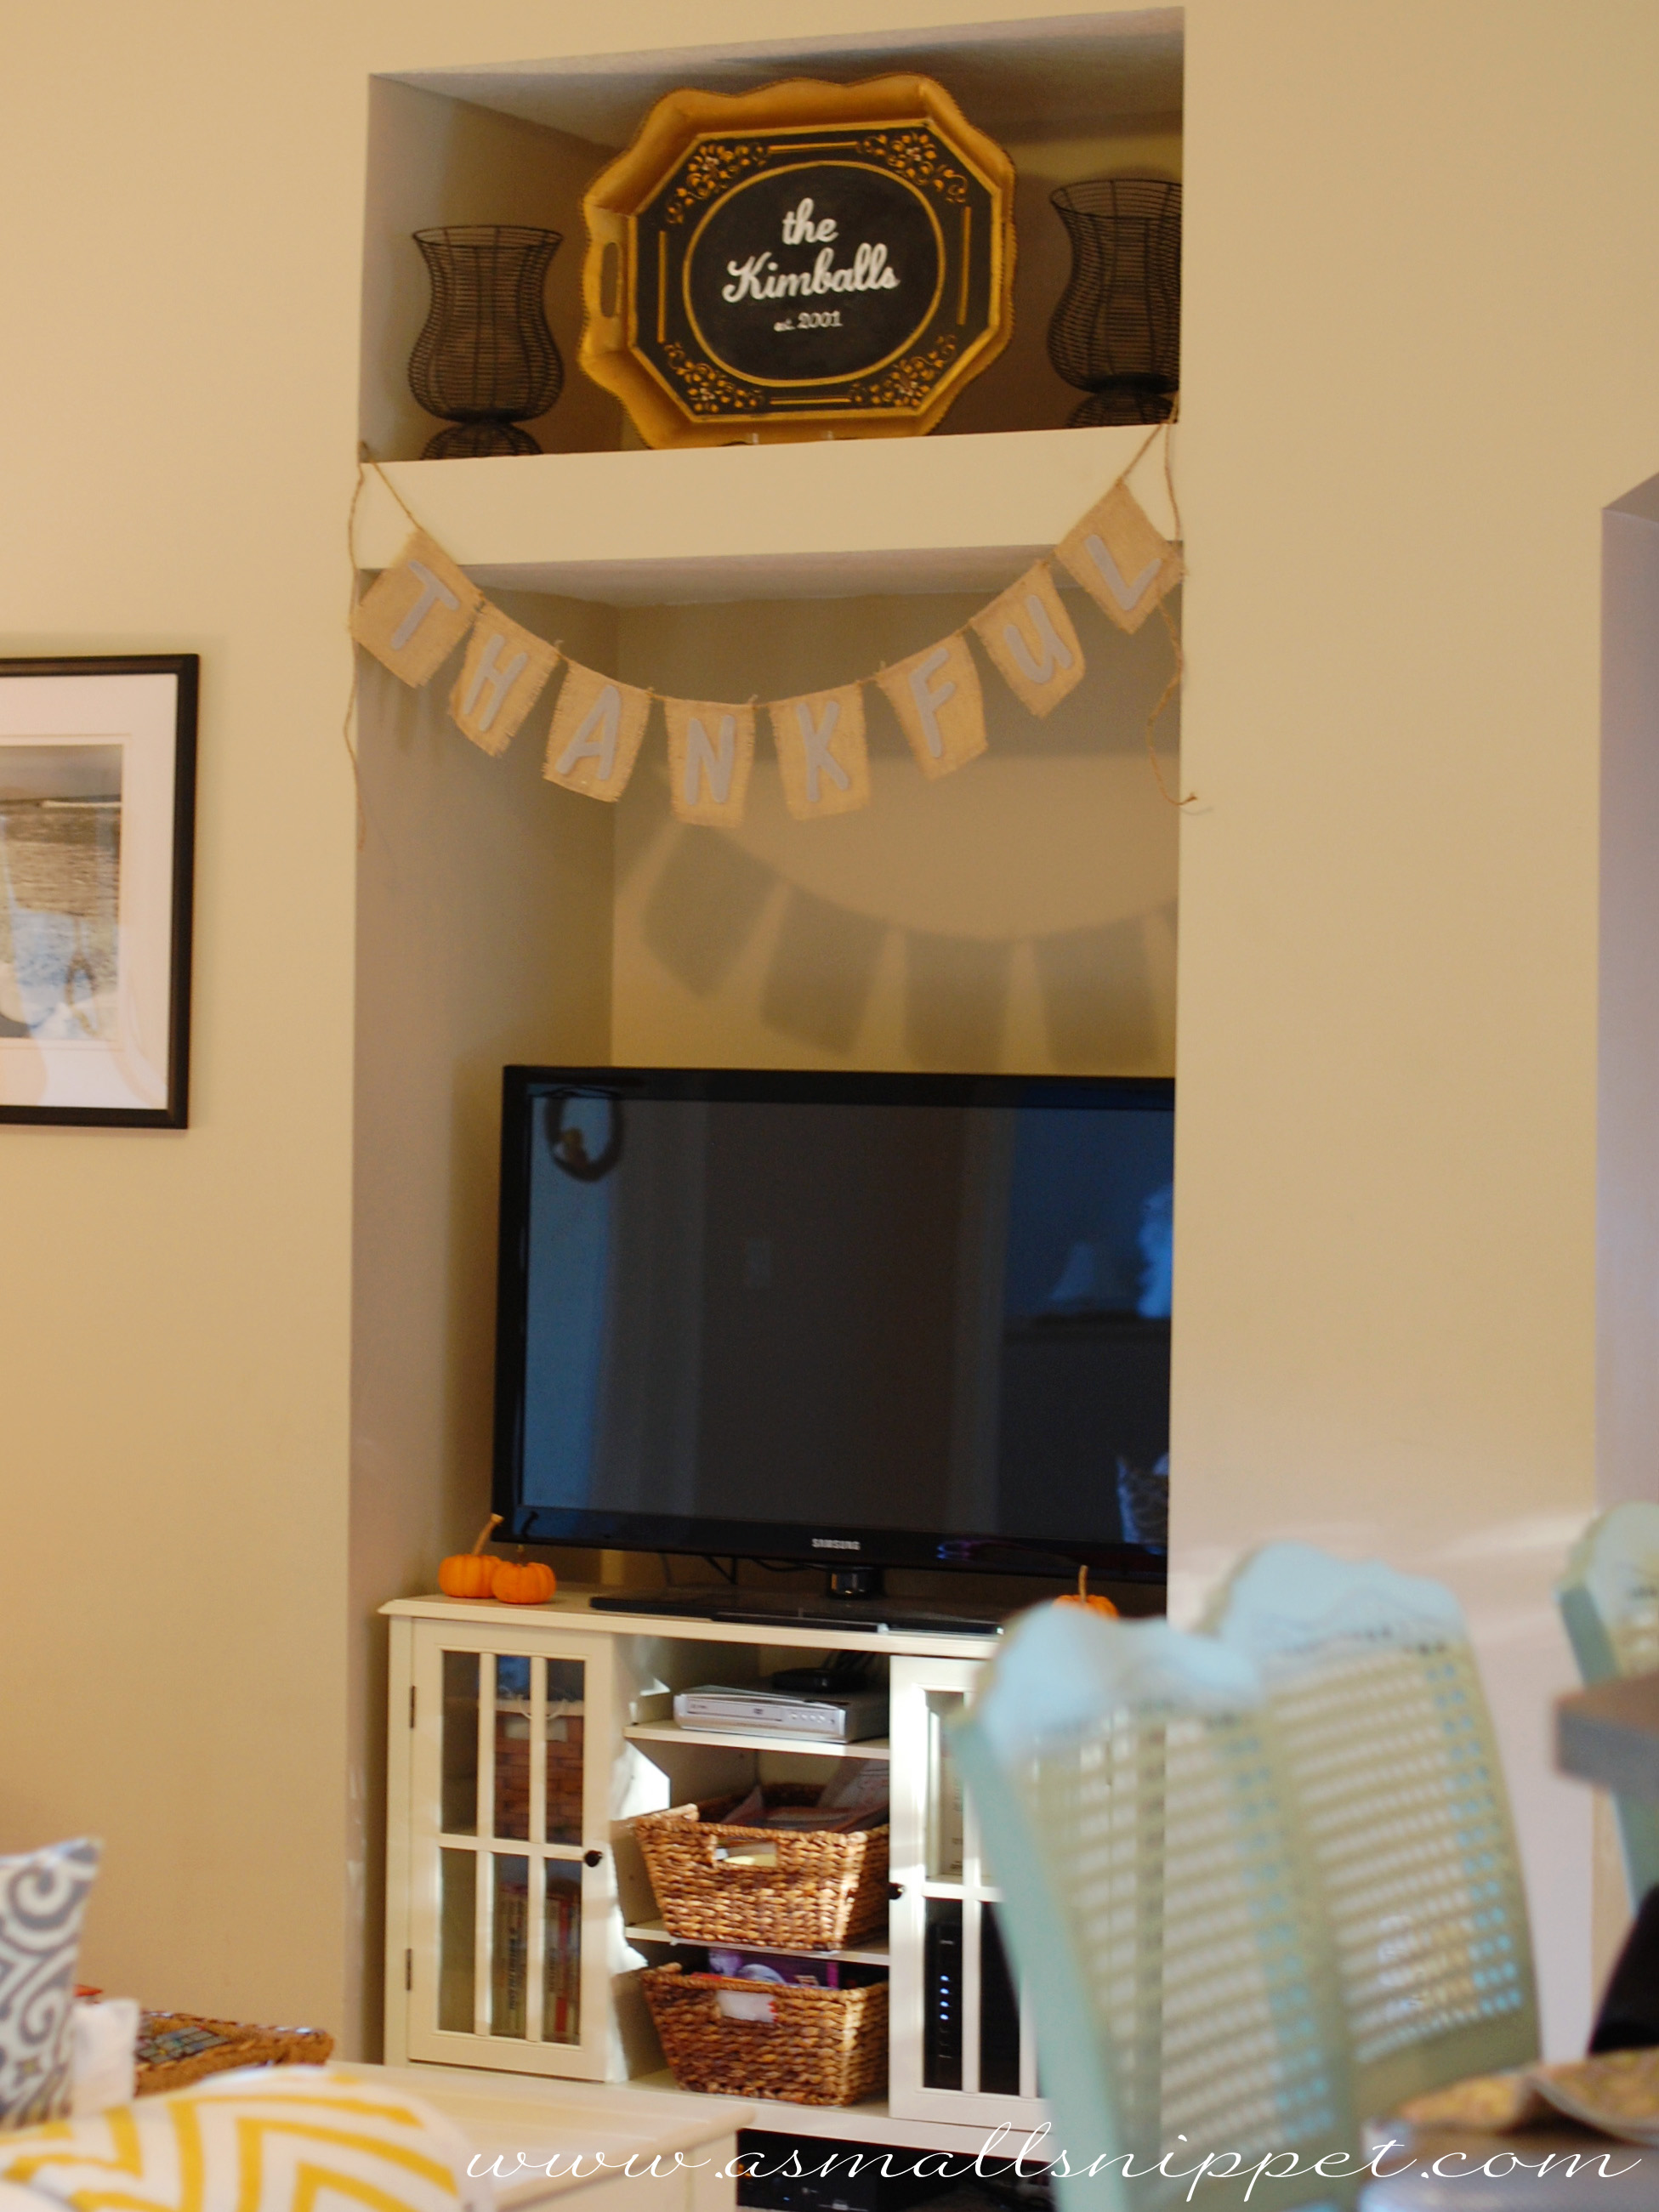
i’ve also used this technique for smaller chalkboards around the house. i painted the center of an old tray that i had with chalkboard paint, and personalized it to go above our TV in our family room. for smaller chalkboards like this one, i can simply print the document at home:
the possibilities are endless…now go have some fun creating some chalkboard art!

 Follow
