Adjustable Ruffled Crib Skirt
can blogging be considered a part of nesting that momma’s experience at the very end? cause i’ve had a spurt of energy to get you these tutorials…more so than i’ve had in months!
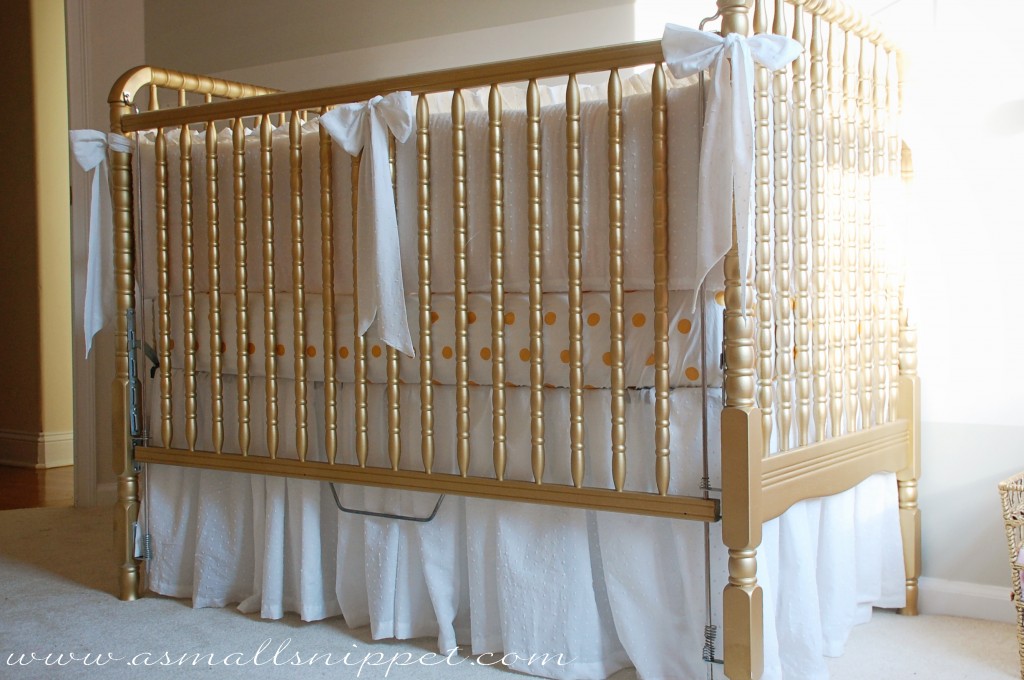
i wanted to finish out the bedding tutorials today, so as a follow-up to the Ruffled Crib Bumper tutorial i posted a few days ago, today i’m going to show you an easy way to create an Adjustable Ruffled Crib Skirt:
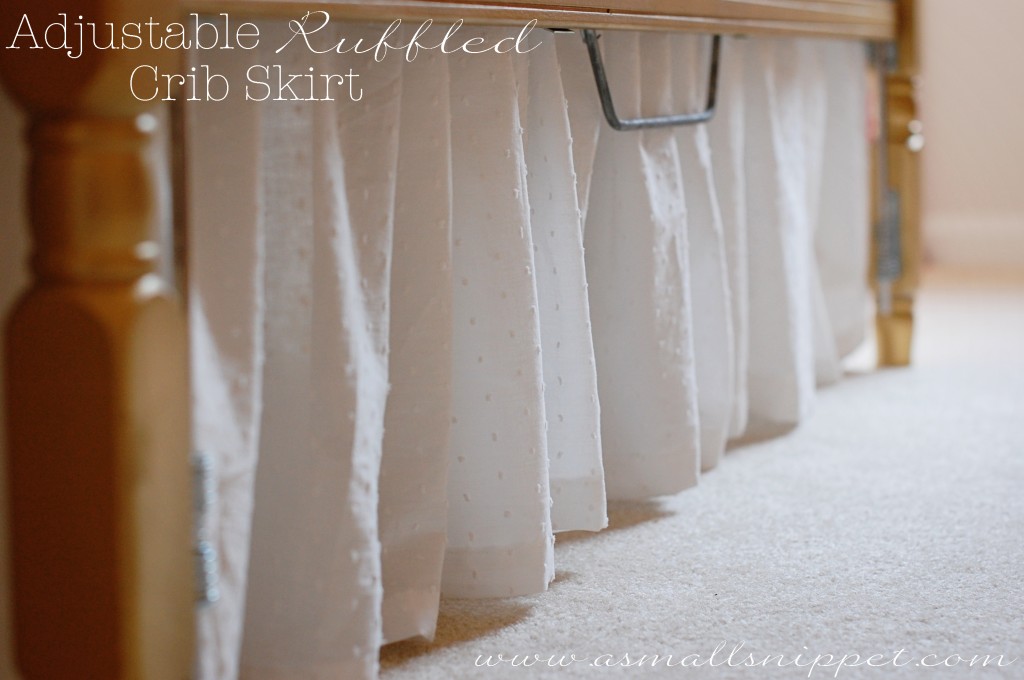 before attempting this project, i scoured the internet looking for tutorials for adjustable crib skirts, and there are tons out there, but none that were for adjustable ruffled, or gathered, skirts. i knew that i wanted it to be a gathered crib skirt, as opposed to a straight skirt, and i knew that i wanted to be able to adjust it as i moved the crib mattress lower in the months to come. i wanted the skirt to always just be touching the floor, versus being too short as the crib mattress is at its height, or too long once its at its lowest.
so i came up with this easy tutorial, that literally took no time at all, and achieved just the look i was hoping for.
the amount of fabric you will need will depend on the width of the fabric, as well as the measurements of your crib. but for a standard crib, and a 54 inch wide fabric that you can cut in half width-wise, you will need 3 3/4 yards.
if your fabric is not 54 inches wide, then you will need 7 1/4 yards of fabric, unless the fabric you choose is wide enough to cut in half and still have your skirt touch the floor when your mattress is at its highest.
i started by cutting my fabric. i made my crib skirt out of 3 separate panels, one for the front, and 2 for each side. i did not need one for the back, as that is facing the wall, and you would never see back there anyway.
as i mentioned in my last post, i was using a white swiss dotted cotton, and my fabric was 54 inches wide. i would again suggest pre-washing it.
the first thing you want to do is take your crib measurements. my crib measurements were:
27 inches long for the short sides
and 50 inches long for the long side
(these measurements don’t have to be completely exact, as the skirt will be ruffled anyway, so you can take just a rough measurement of the length of your sides and front.)
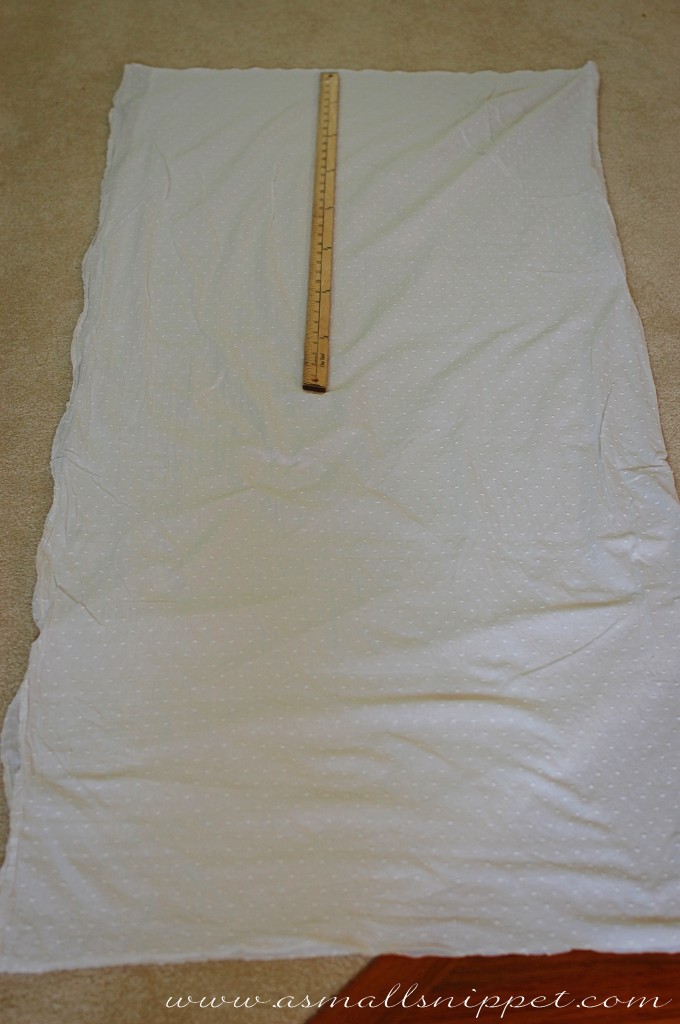
i decided that since my fabric was 54 inches wide, i would just cut that in half to 27 inches, and that would be plenty of length to give me room to tie the skirt to the crib and still have it hang to the floor with the mattress at the highest place.
since i was wanting to ruffle the skirt panels, i needed to cut the panels 2.5 times the length of the crib in order to get a full ruffle.
so my final panel measurements were:
27 inches x 67.5 inches for my short panels (so cut 2 of those)
and 27 inches x 125 inches for the long panel
you might remember from my last post that as i was cutting out my fabric for my bumper, i was left with a piece that was 27 inches wide and 162 inches long. i was able to utilize that piece for my long panel, so that i wasn’t wasting fabric. so if you are sewing both the skirt and the bumper from the same fabric, you should be able to do the same if your fabric is 54 inches wide.
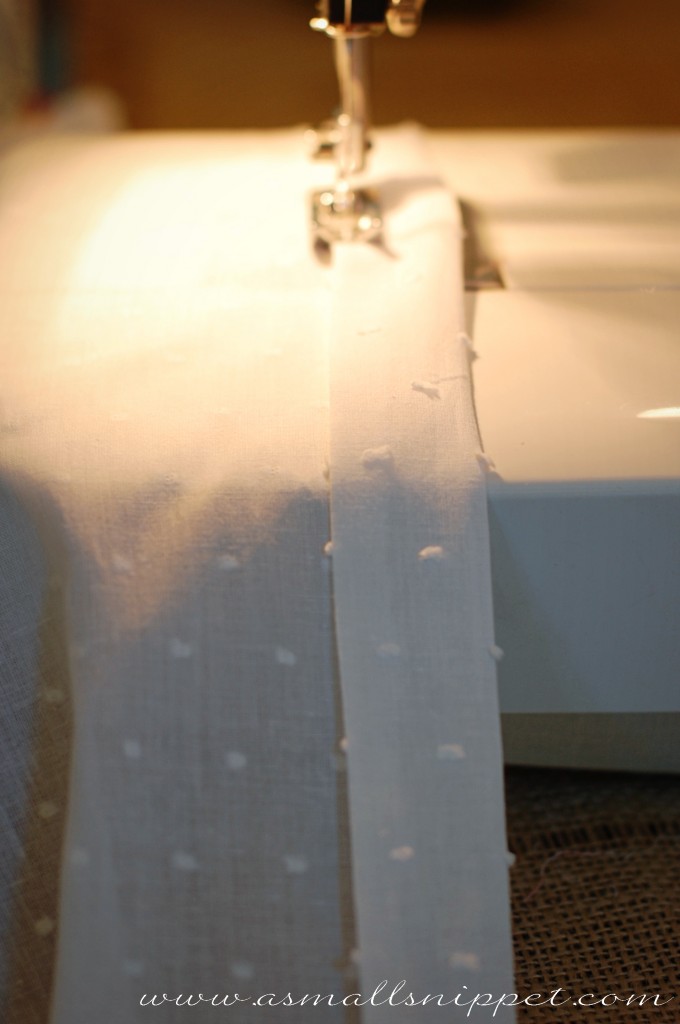
after cutting your panels, hem the long side of each of your 3 panels. i folded over and ironed 1/2 inch and then another 1 inch, and then sewed to create a nice big hem. this will be the bottom of your crib skirt panels:
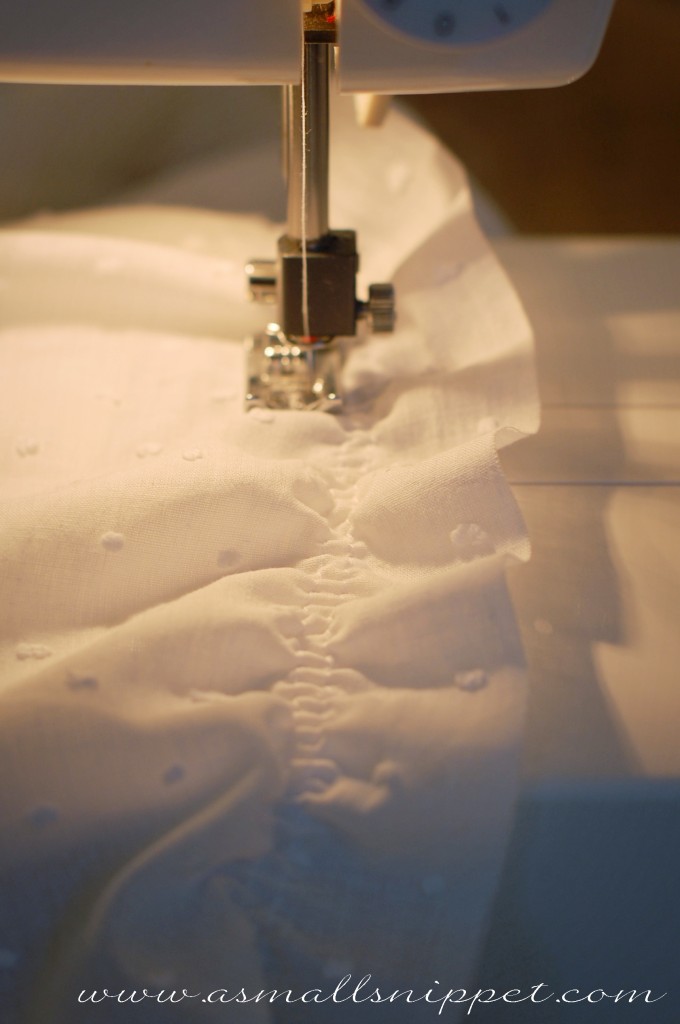
the next thing you need to do is ruffle your panels. i ran a few lines of elastic thread on the top of each panel (opposite side from where you just hemmed), just like i did for the ruffle on the crib bumper. you can check back here for more details on ruffling:
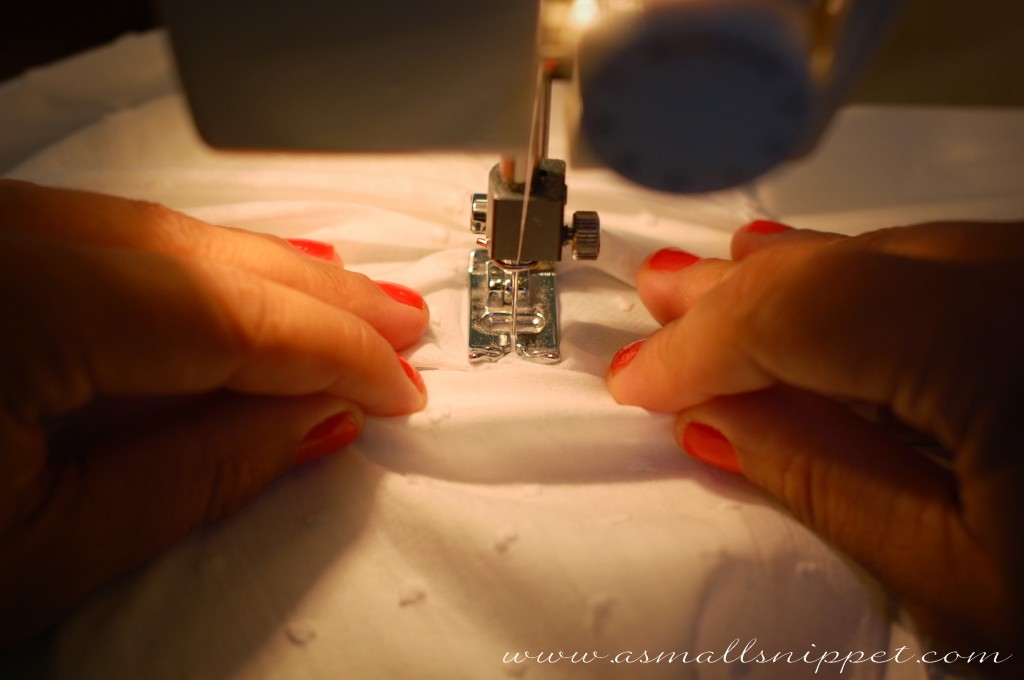
however, because this fabric was so long and therefore heavier than my small little ruffle on the bumper, i noticed that it was not ruffling as much as i needed it to. so as i sewed my third line of elastic, i began scrunching the fabric by hand as it moved through the presser foot. it ruffled beautifully that way! and since that part of the skirt would be hidden underneath the crib mattress, it didn’t matter what the top looked like, as long as it created the ruffle down below:
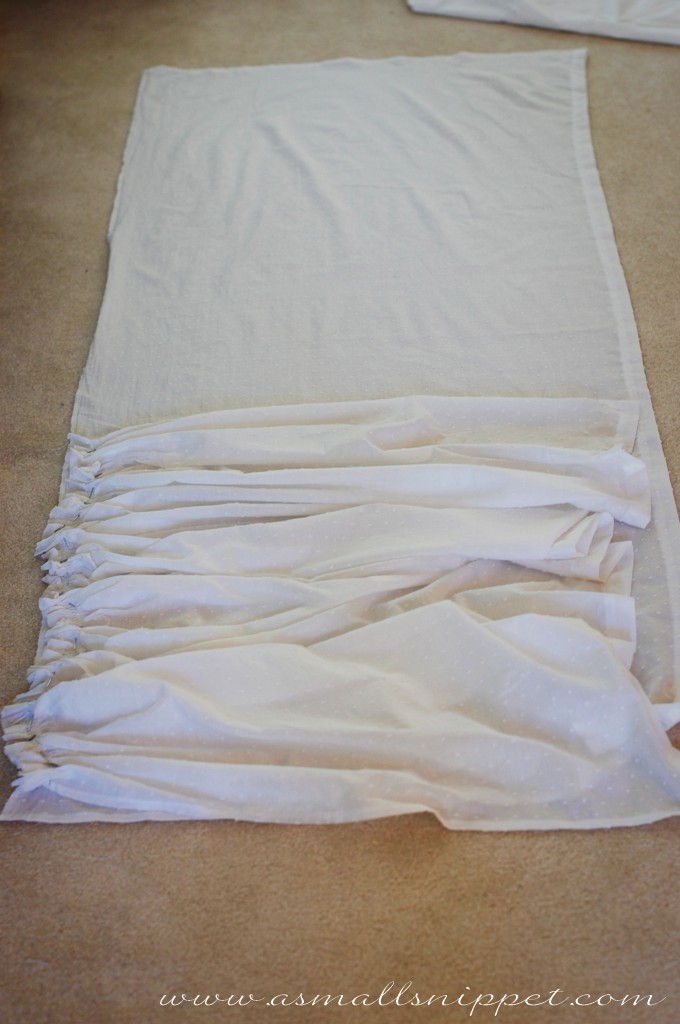
using my other short panel as a quick measurement, i continued to ruffle until my panel was a little less than half the length of the unruffled panel. that way i knew that i had ruffled enough:
i ruffled the same way for the long panel. you just want to make sure that as you are scrunching the fabric through the machine, that you end up with it being ruffled enough, but not too much. if you scrunch evenly, creating a normal ruffle, you should be fine. just hold it up to the crib to be sure you are in the right ballpark. also, since you are sewing with elastic thread, you always have the option of stretching the fabric a bit as you tie it to the crib. so you can’t really mess it up too much!
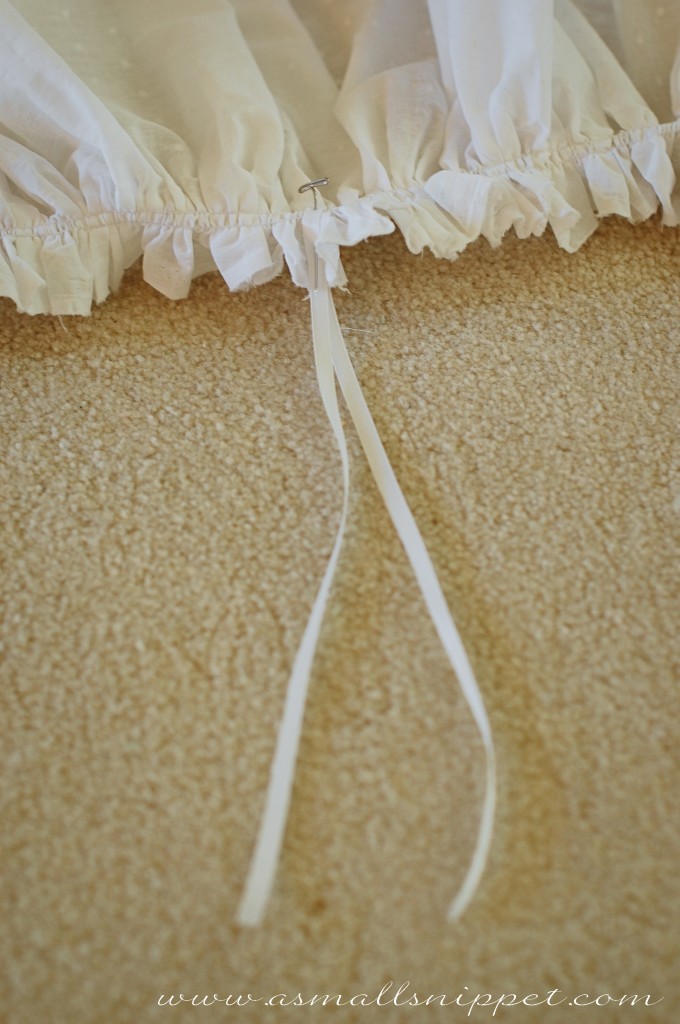
after ruffling each panel, i pinned on strips of thin ribbon, evenly across the top of each panel. i folded the ribbon strip in half, and pinned at the fold line. i used 3 strips for the short panels (one on each end, and one in the middle) and 5 strips for the long panel (one on each end, and then 3 more spaced evenly in the middle.)
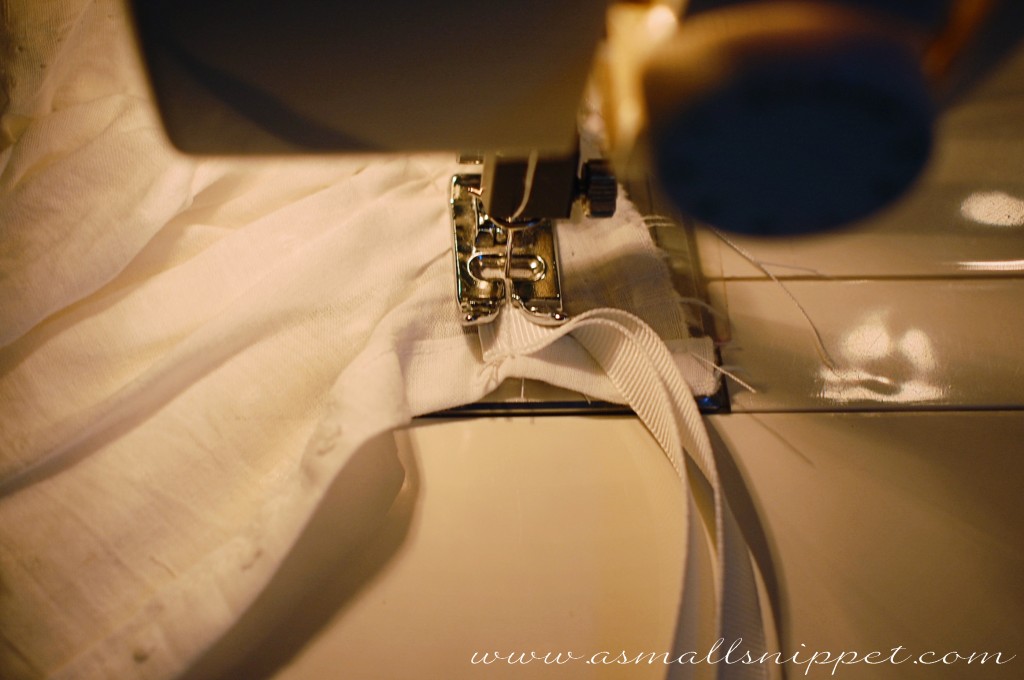
i sewed those on using my machine, and backstitched a few times to ensure that they would stay on tightly:
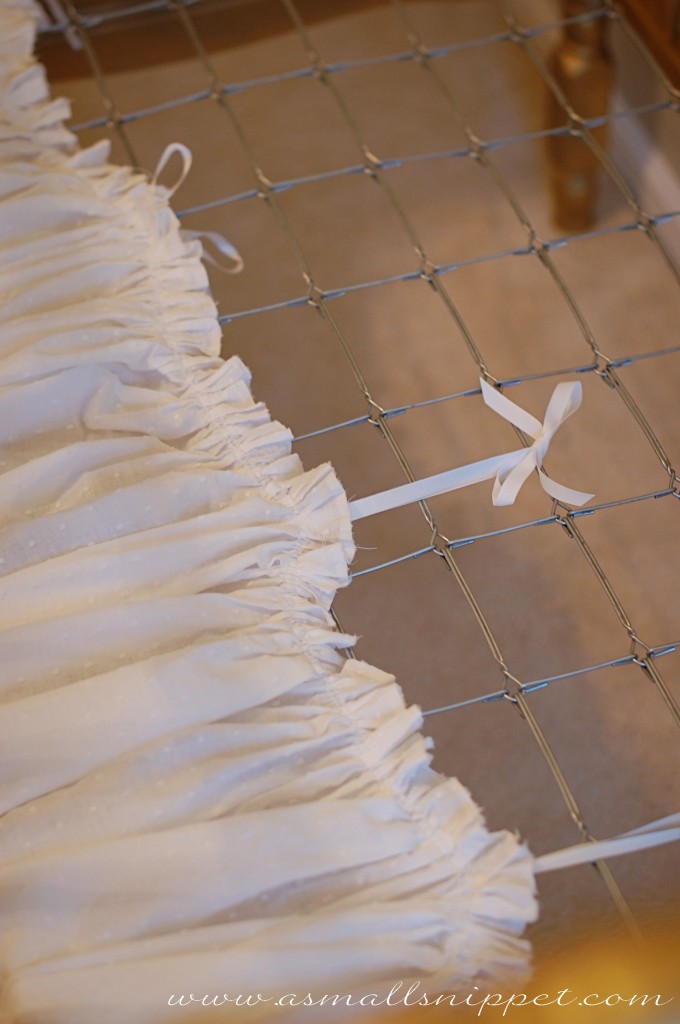
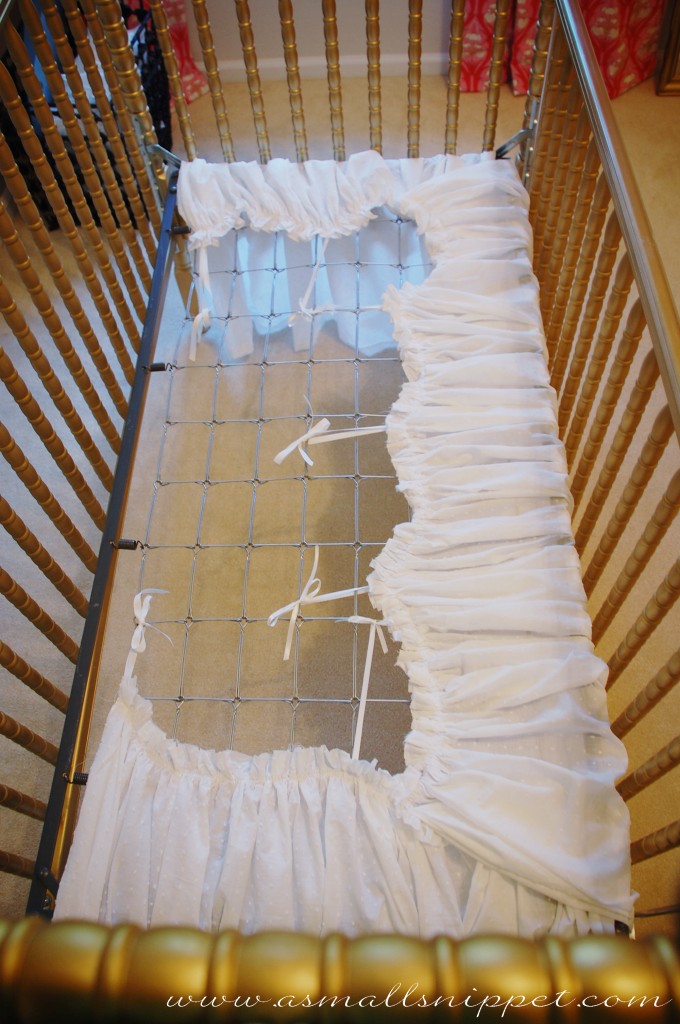
then you just tie each panel to your crib!
i didn’t use any kind of special technique to do this…just tied it where i thought it looked best, so that the panel just touched the floor once tied on:
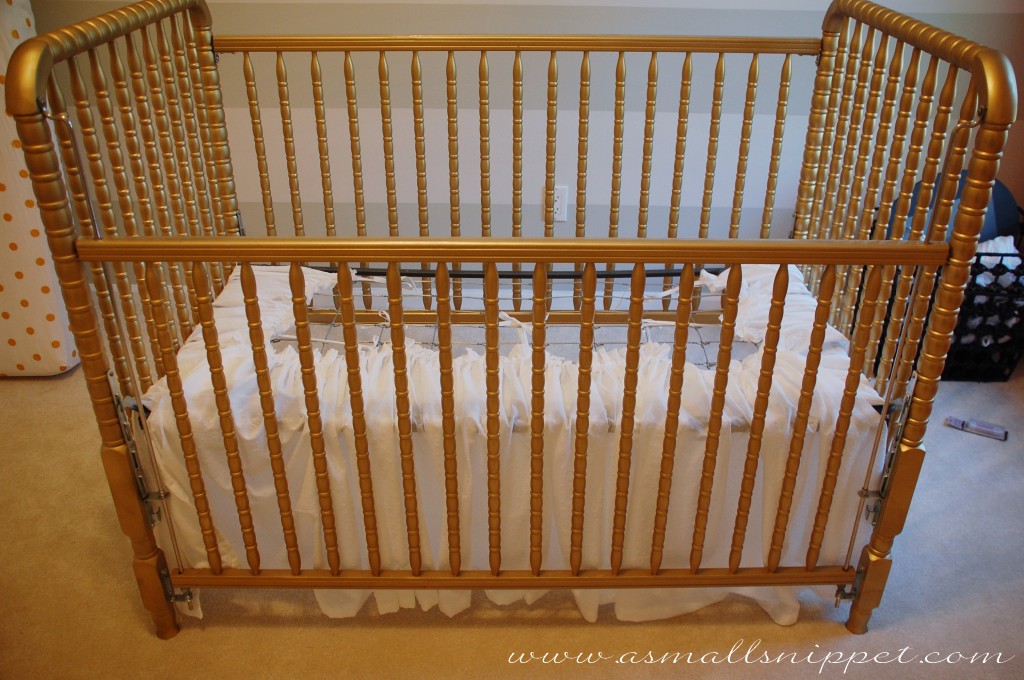
you can see that i have plenty of room to adjust the ties farther back once we lower the mattress as Baby Berkeley gets older, so that the skirt will always just be touching the floor:
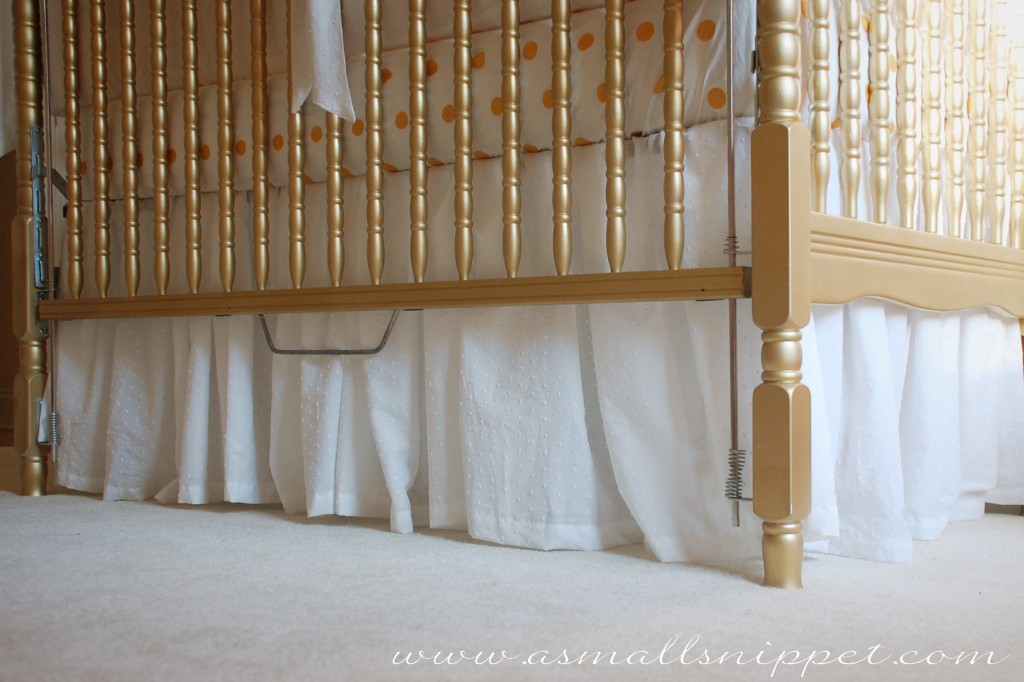
once the mattress is back in place, you can tuck or adjust the ruffles as needed, which i definitely did. the weight of the mattress will hold your adjustments in place:
that’s it! it took no time at all, and i promise that if you can sew a somewhat straight line, then you can make this crib skirt. as i mentioned before, its one of the reasons i love ruffles so much…they are SUPER forgiving, so your sewing and measuring skills do not need to be perfect! 
i’ve got a few more tutorials for you coming up soon, and full pictures and details of the nursery too!
see you back here soon,



 Follow
